Firebase
Add Single Sign-On to your Firebase application with WorkOS.
In this guide, you’ll learn how to use WorkOS to add Single Sign-On (SSO) to a Firebase application. This will allow users to sign in to an existing Firebase application using WorkOS SSO Connections.
WorkOS will provide the following pieces of information: API key, Client ID, and the Issuer URL.
- The API key can be found in your WorkOS dashboard under API Keys.
- The Client ID can be found in your WorkOS dashboard under Configuration.
- The Issuer URL is constructed with the Client ID.
https://auth.workos.com/sso/<client_id>.
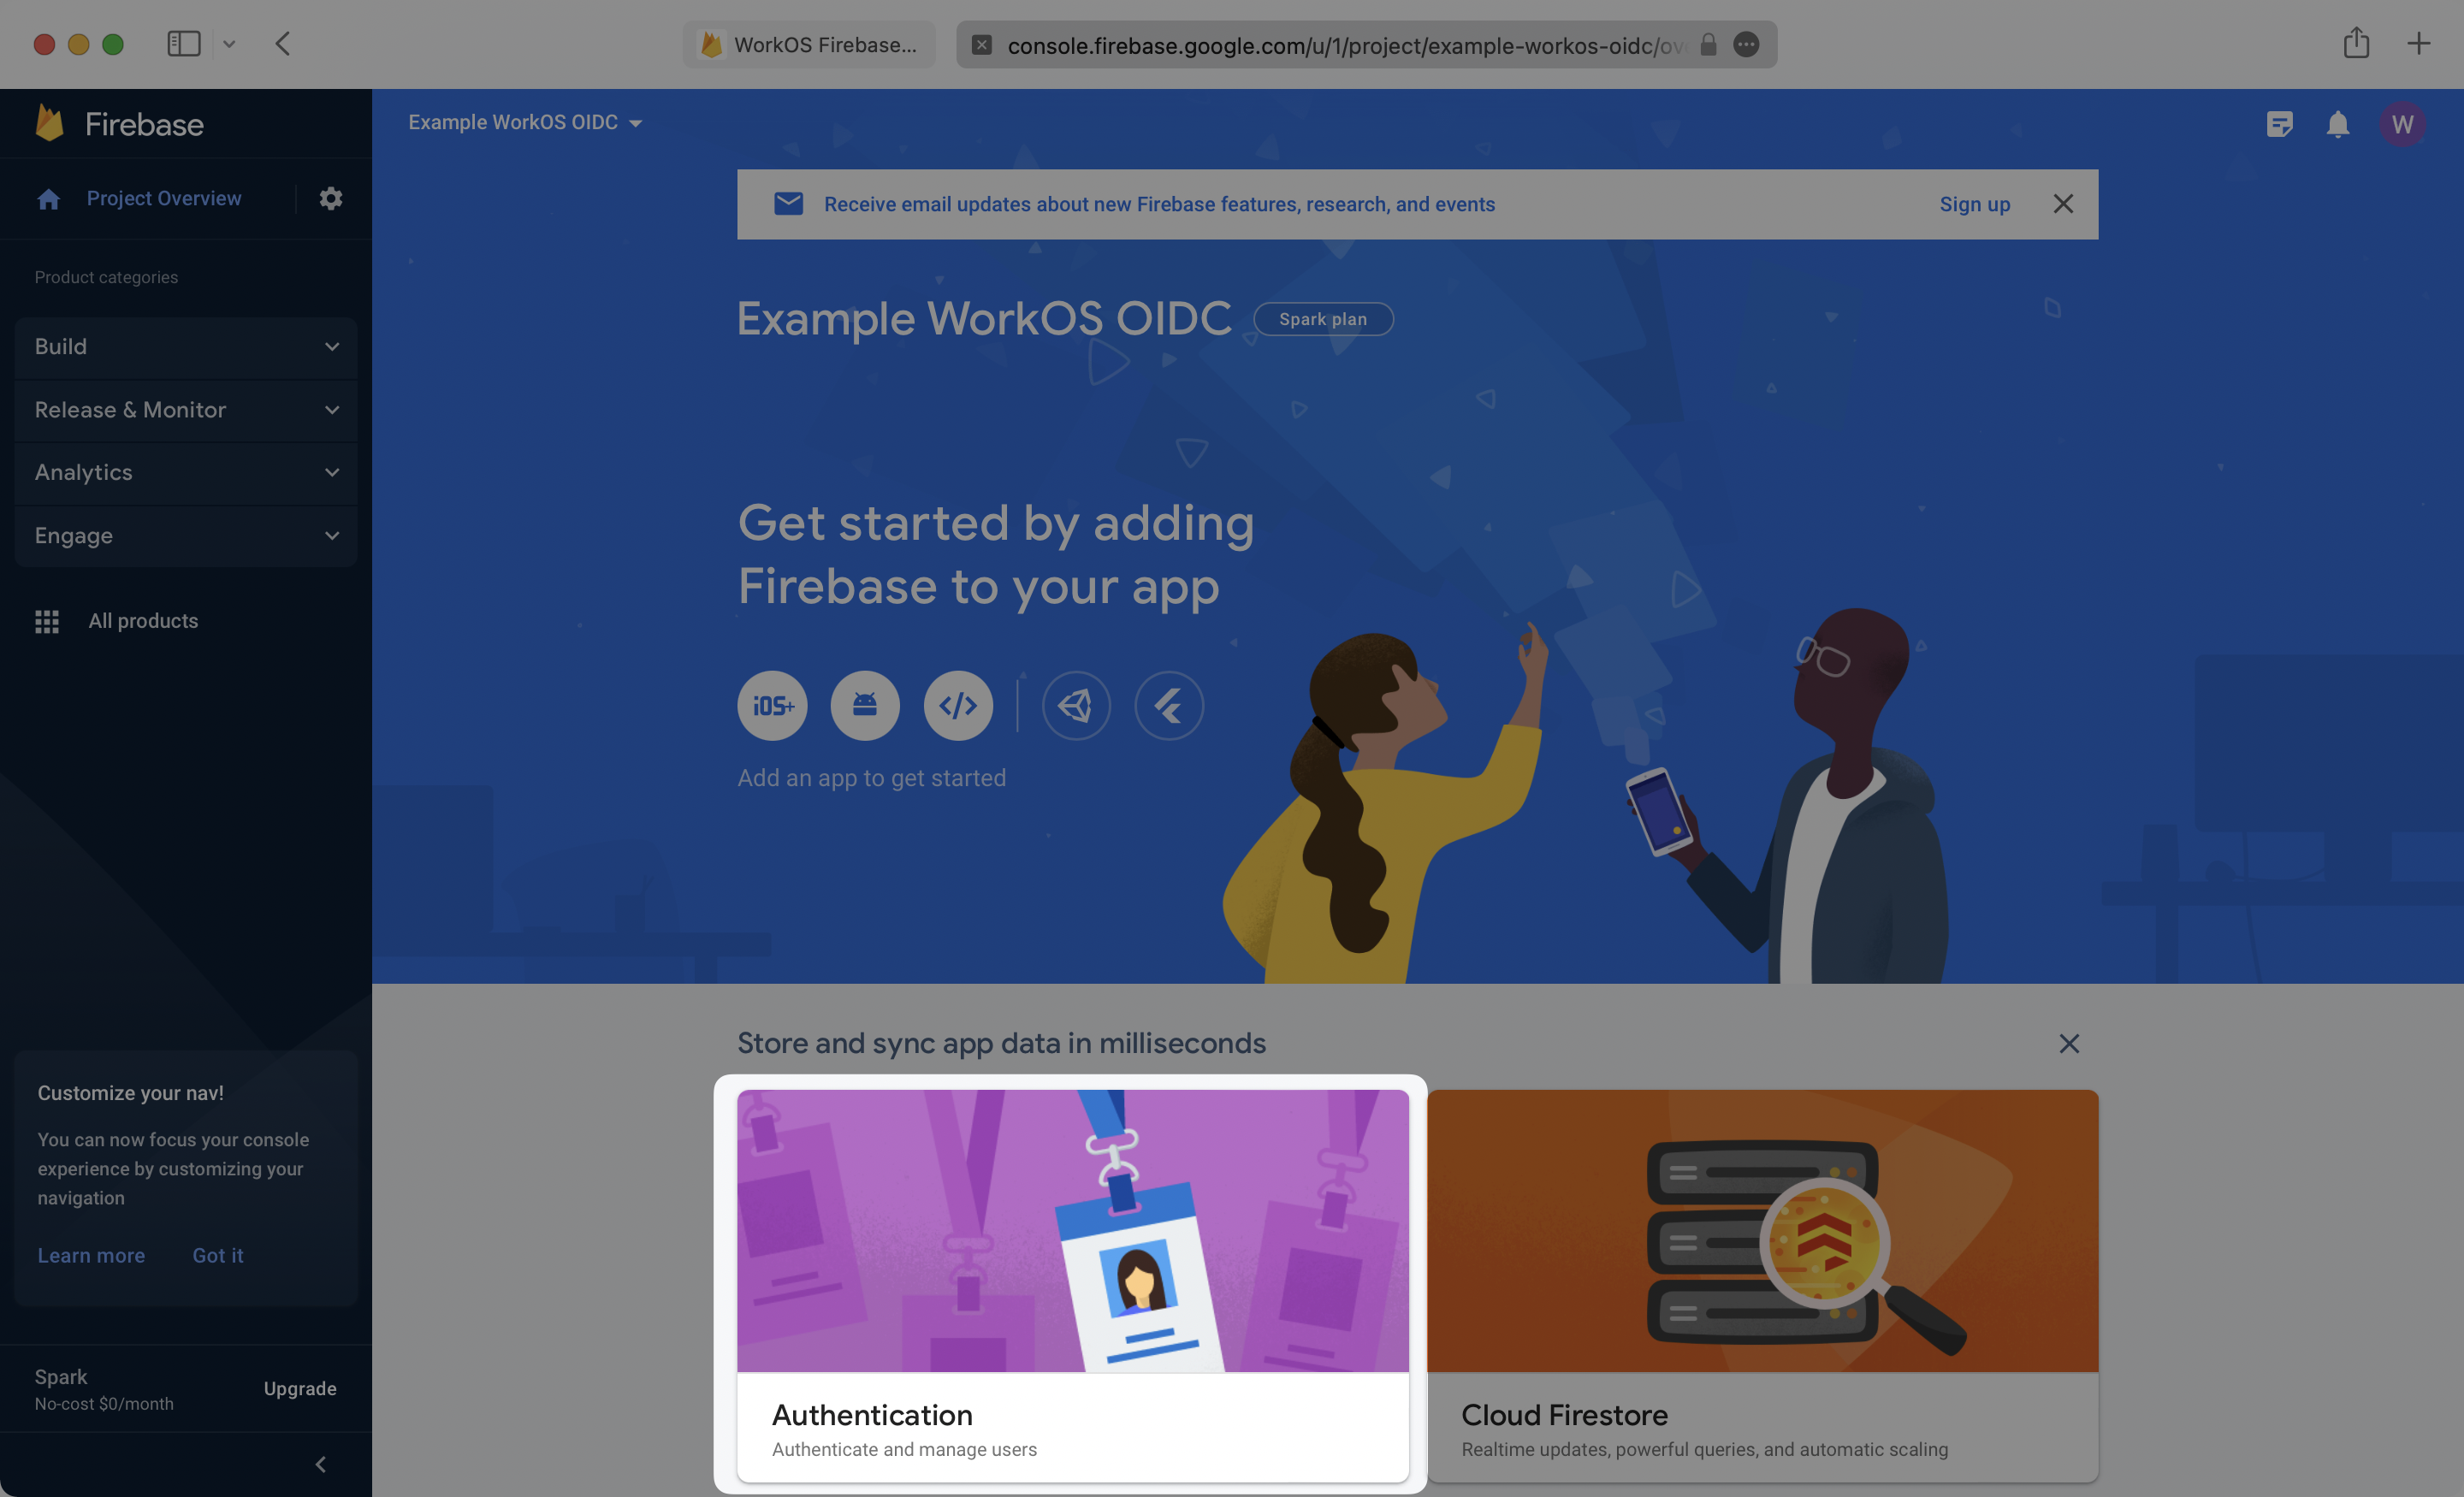
Log into Firebase and navigate to your project. Click on the Authentication tile to set up a new Authentication method for your project.
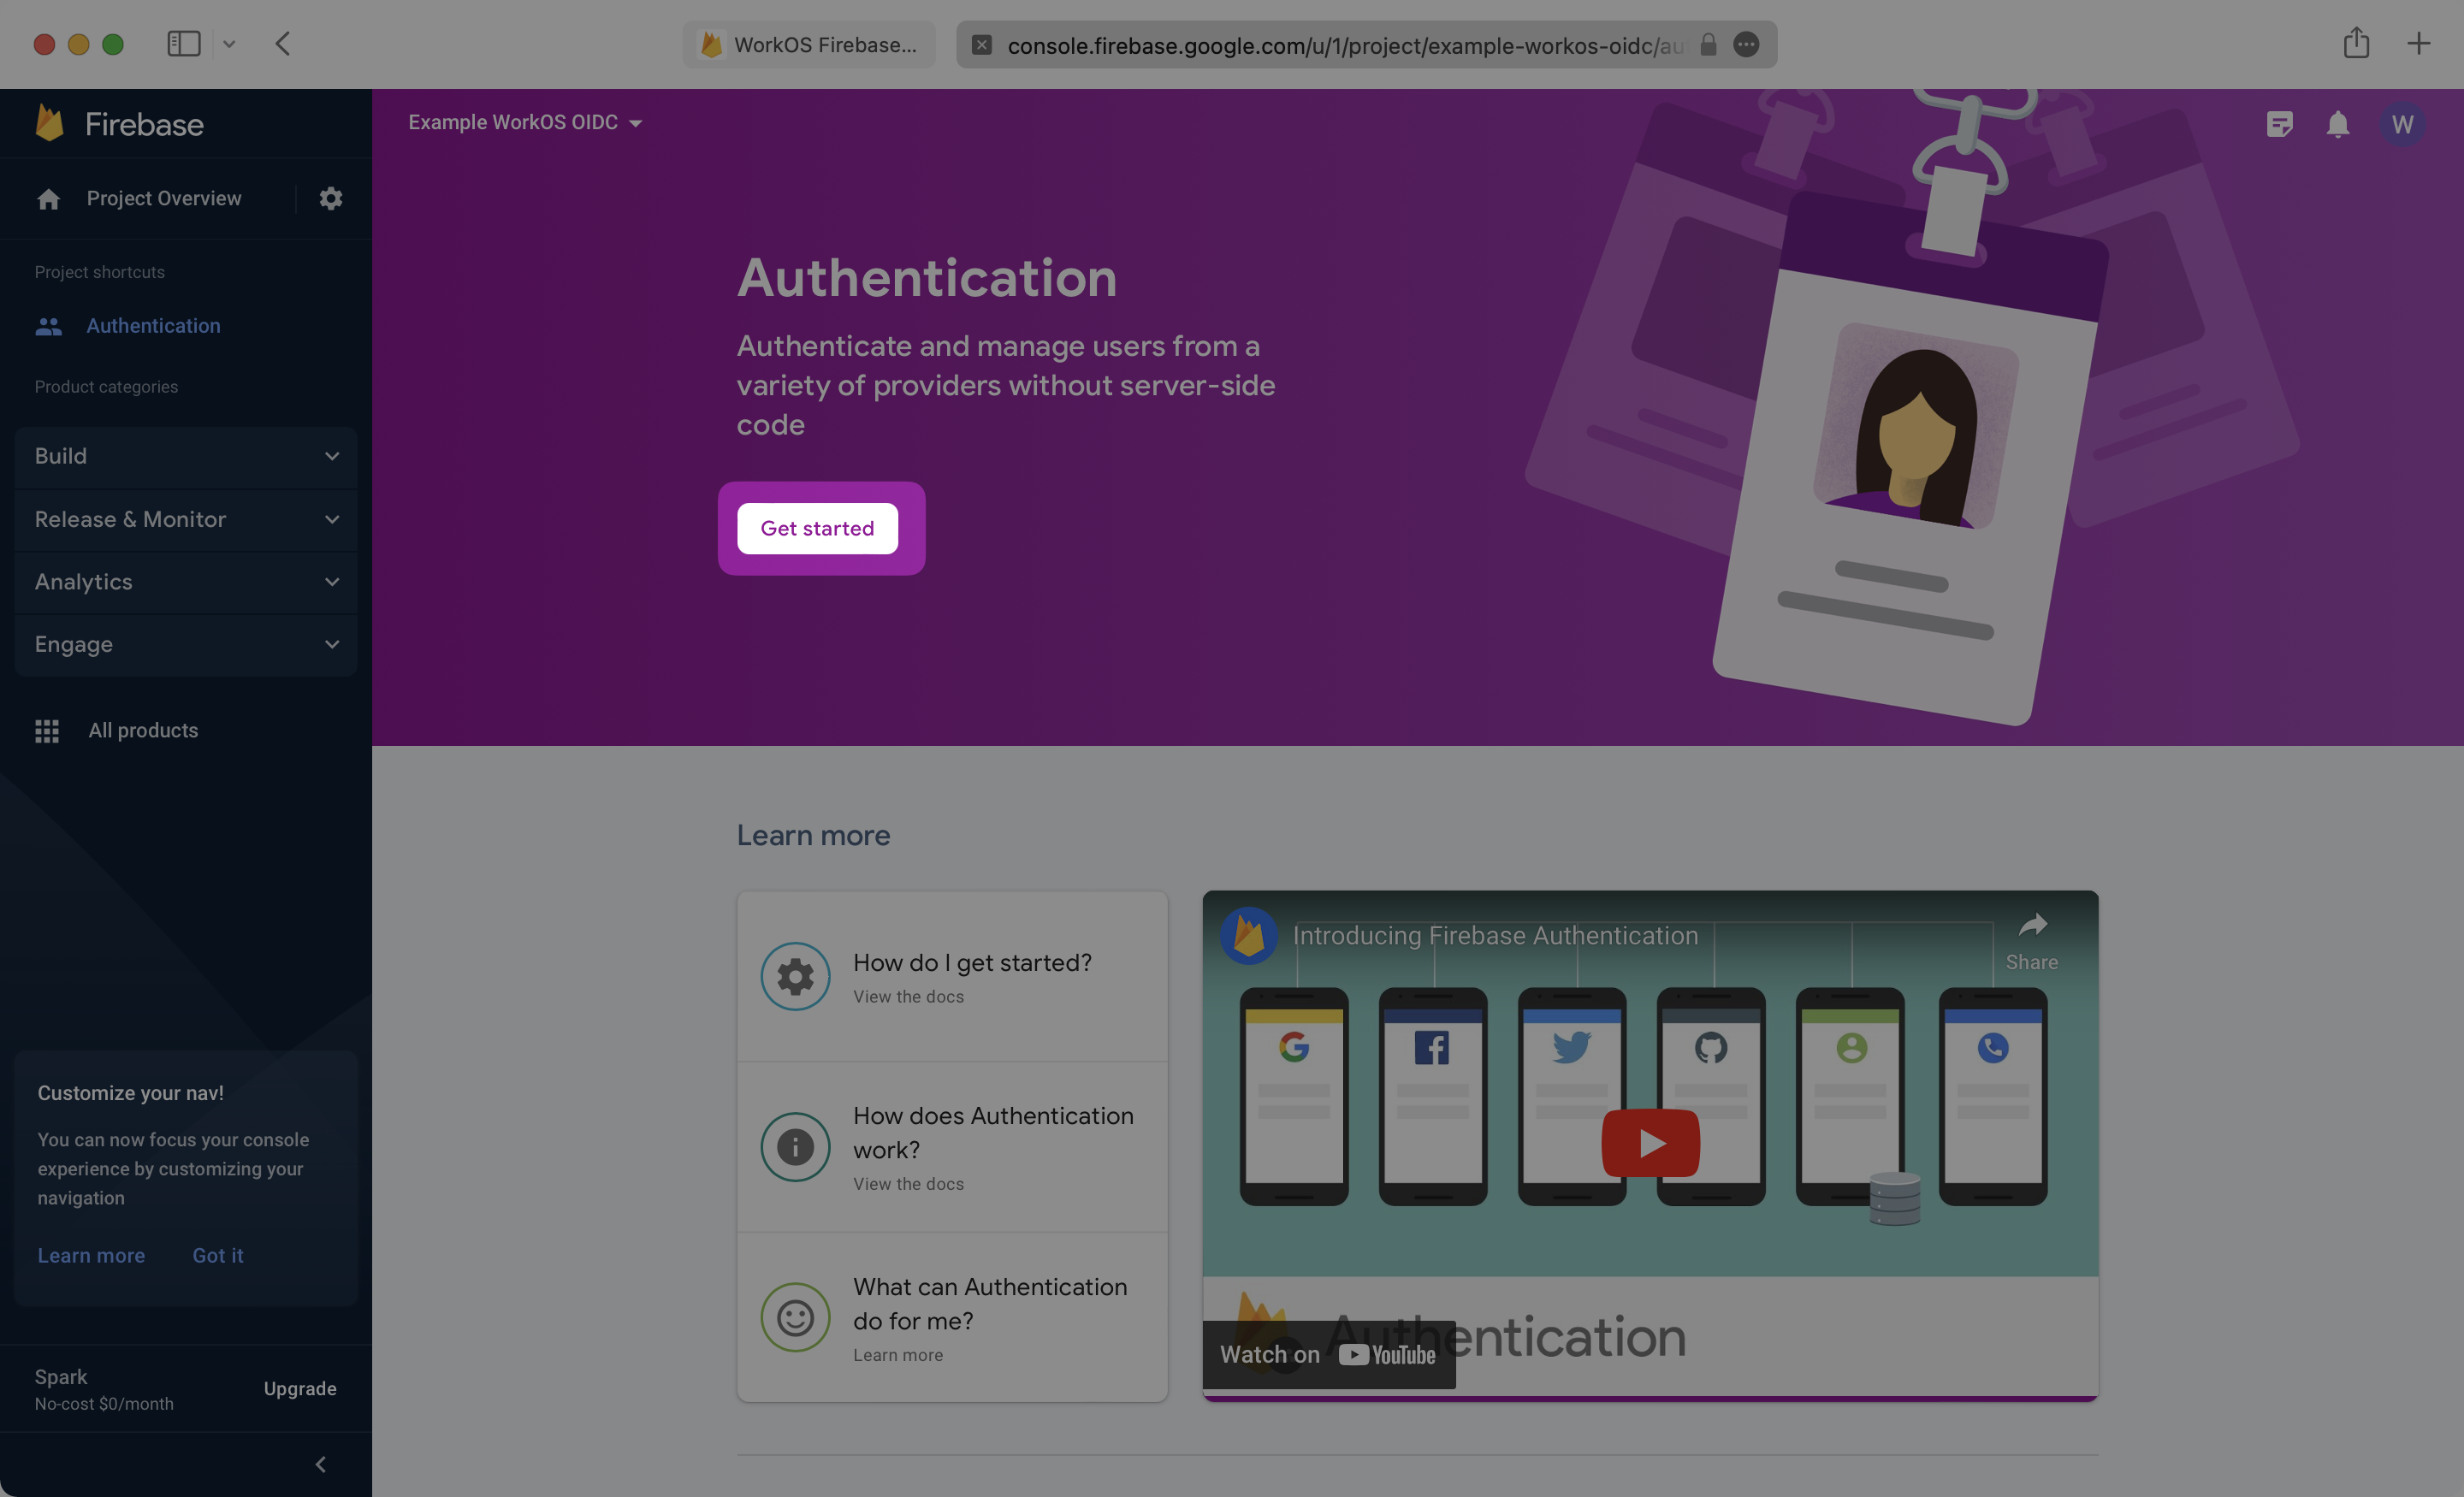
Next, click Get started.
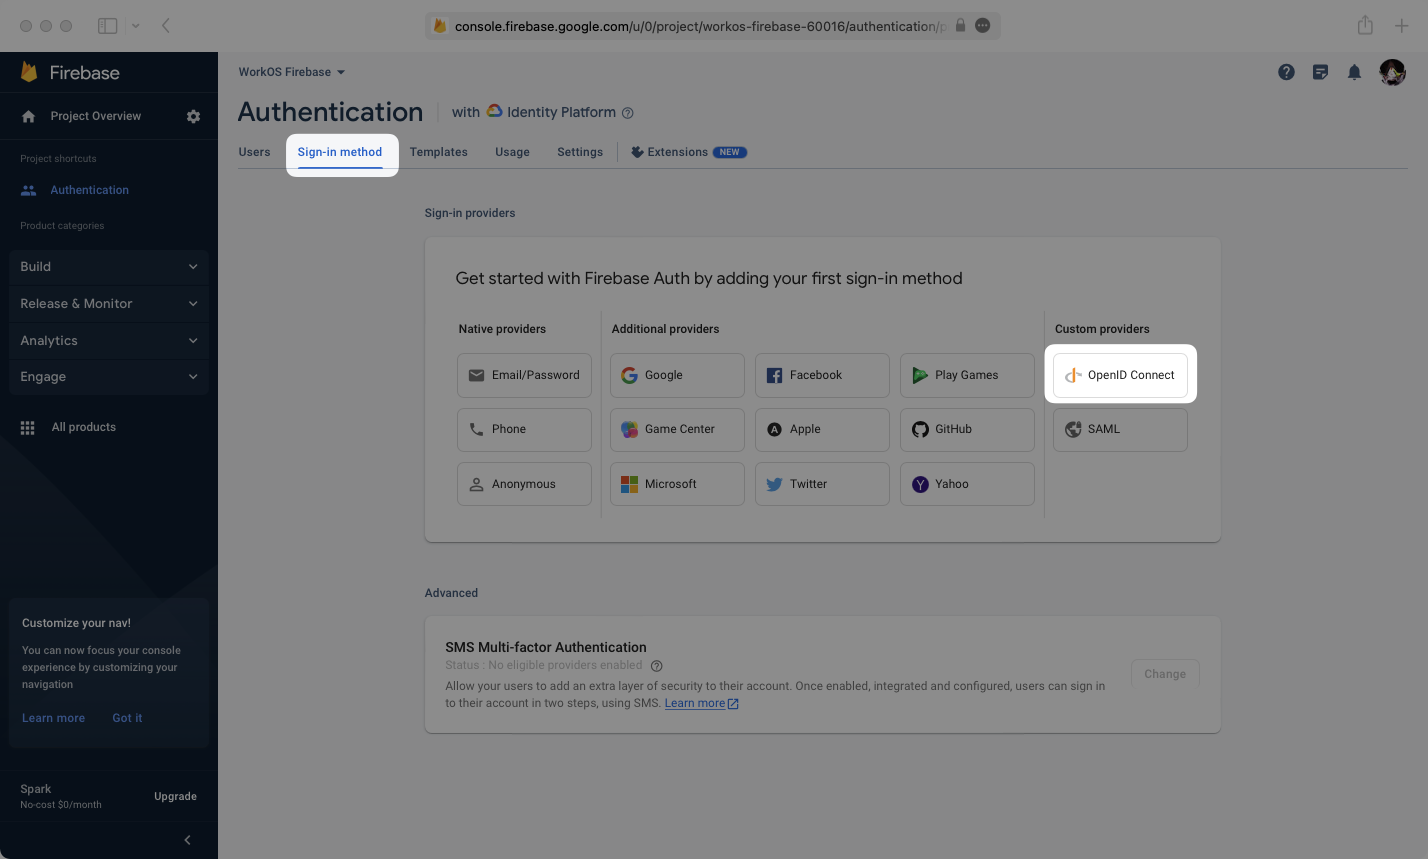
Click on the Sign-in method tab and then select the OpenID Connect custom provider.
Enter the configuration details for the connection between WorkOS and Firebase.
You will need the following pieces of information:
- WorkOS Client ID: Found on the Configuration tab of the WorkOS Dashboard
- WorkOS API Key: Located on the API Keys tab of the WorkOS Dashboard
- Issuer (URL): This will be
https://auth.workos.com/sso/appended with your client ID, ex:https://auth.workos.com/sso/client_123 - Provider ID: This is found in Firebase under the Name of your OIDC provider. This will be important for a later step.
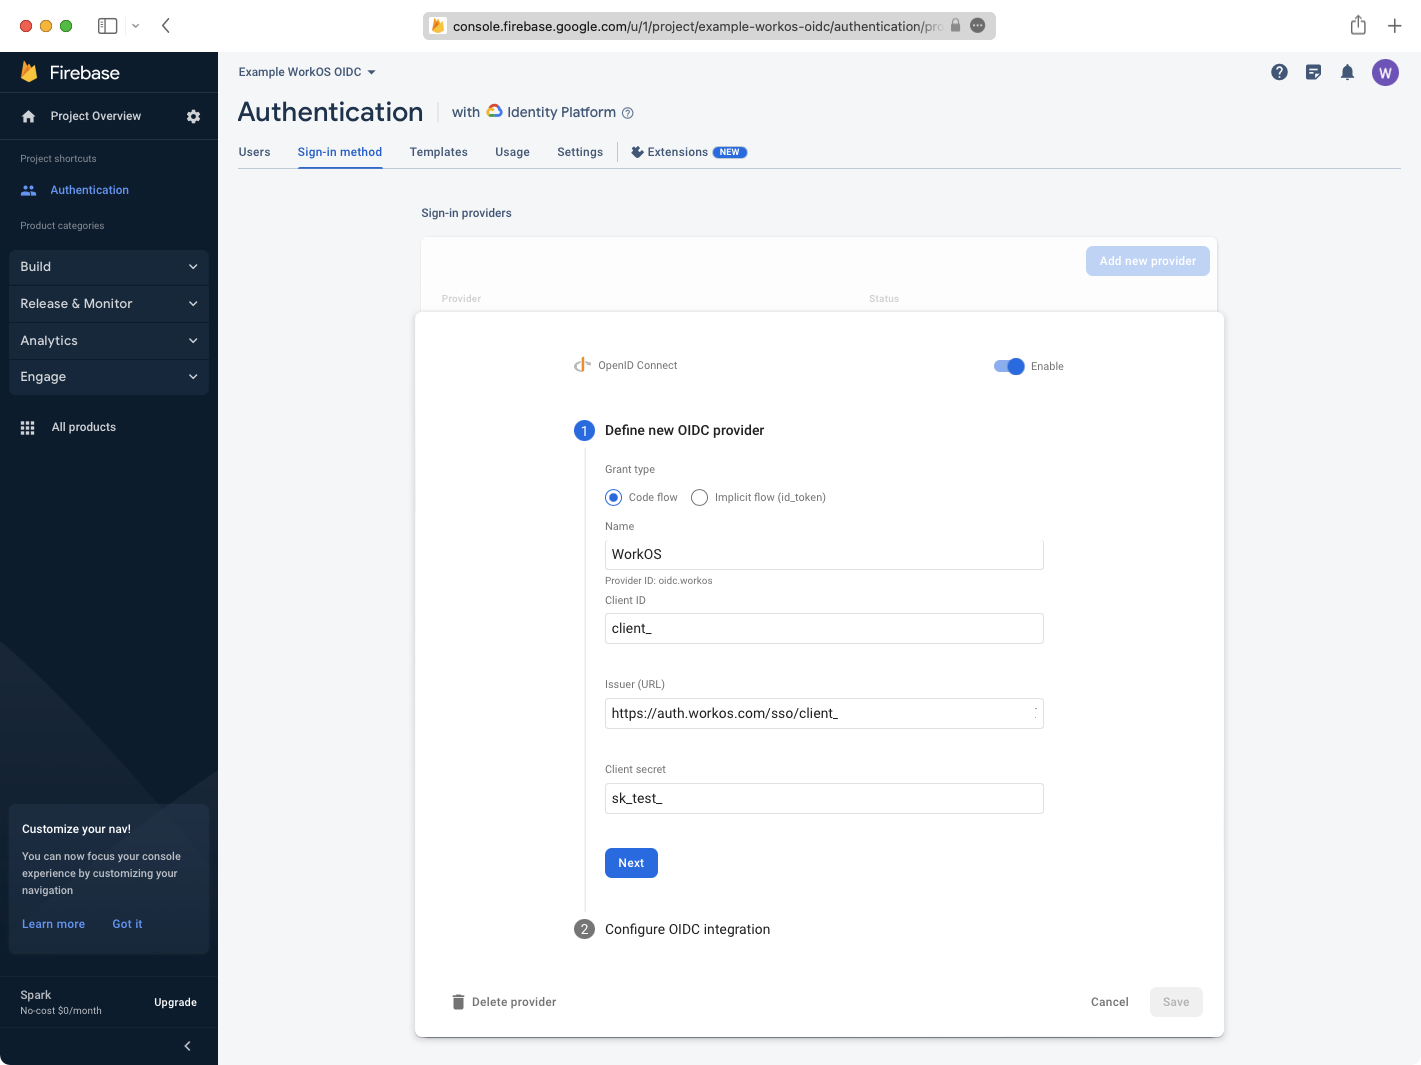
Click Next, then copy the Callback URL provided by Firebase.
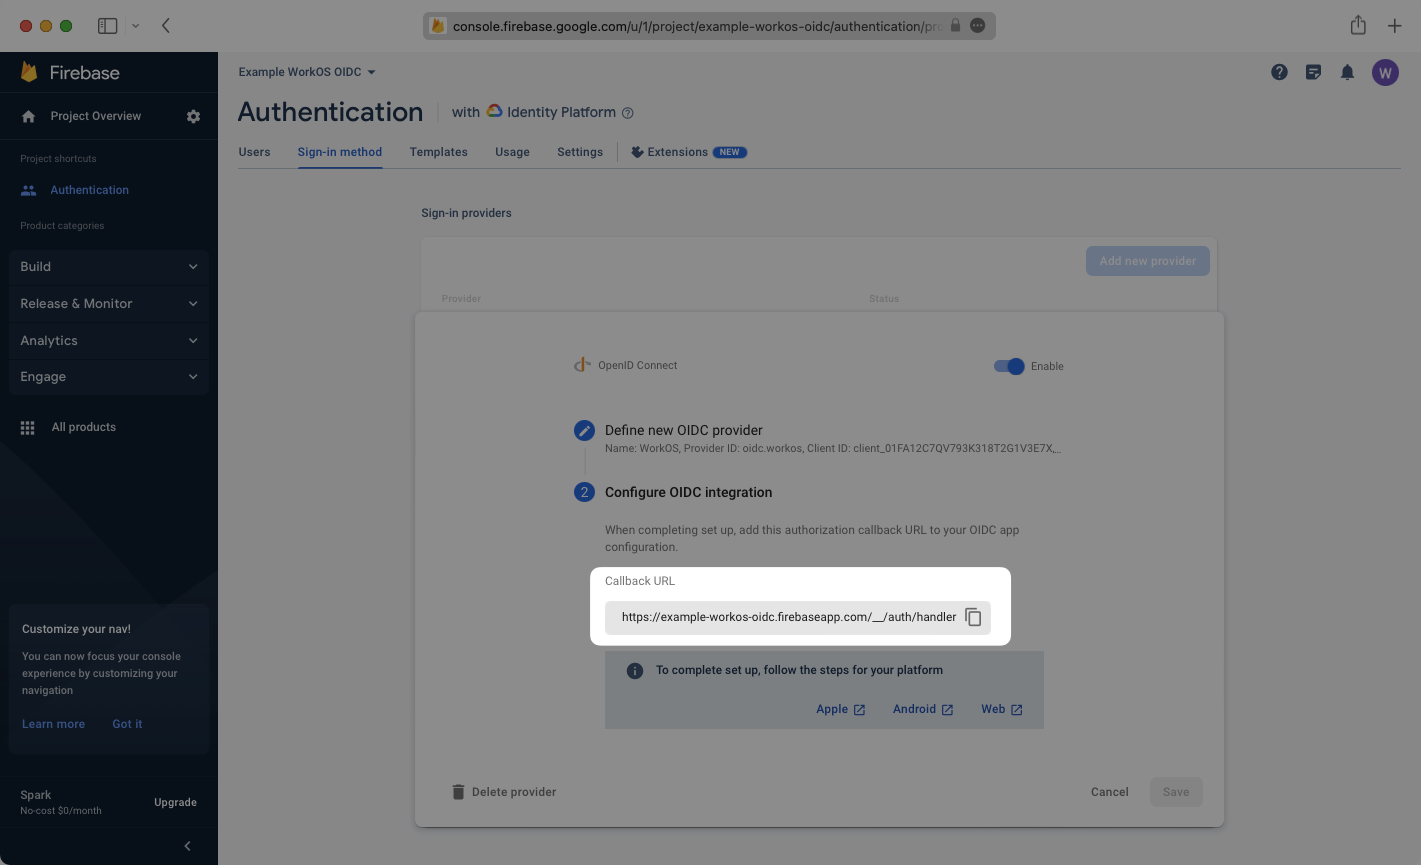
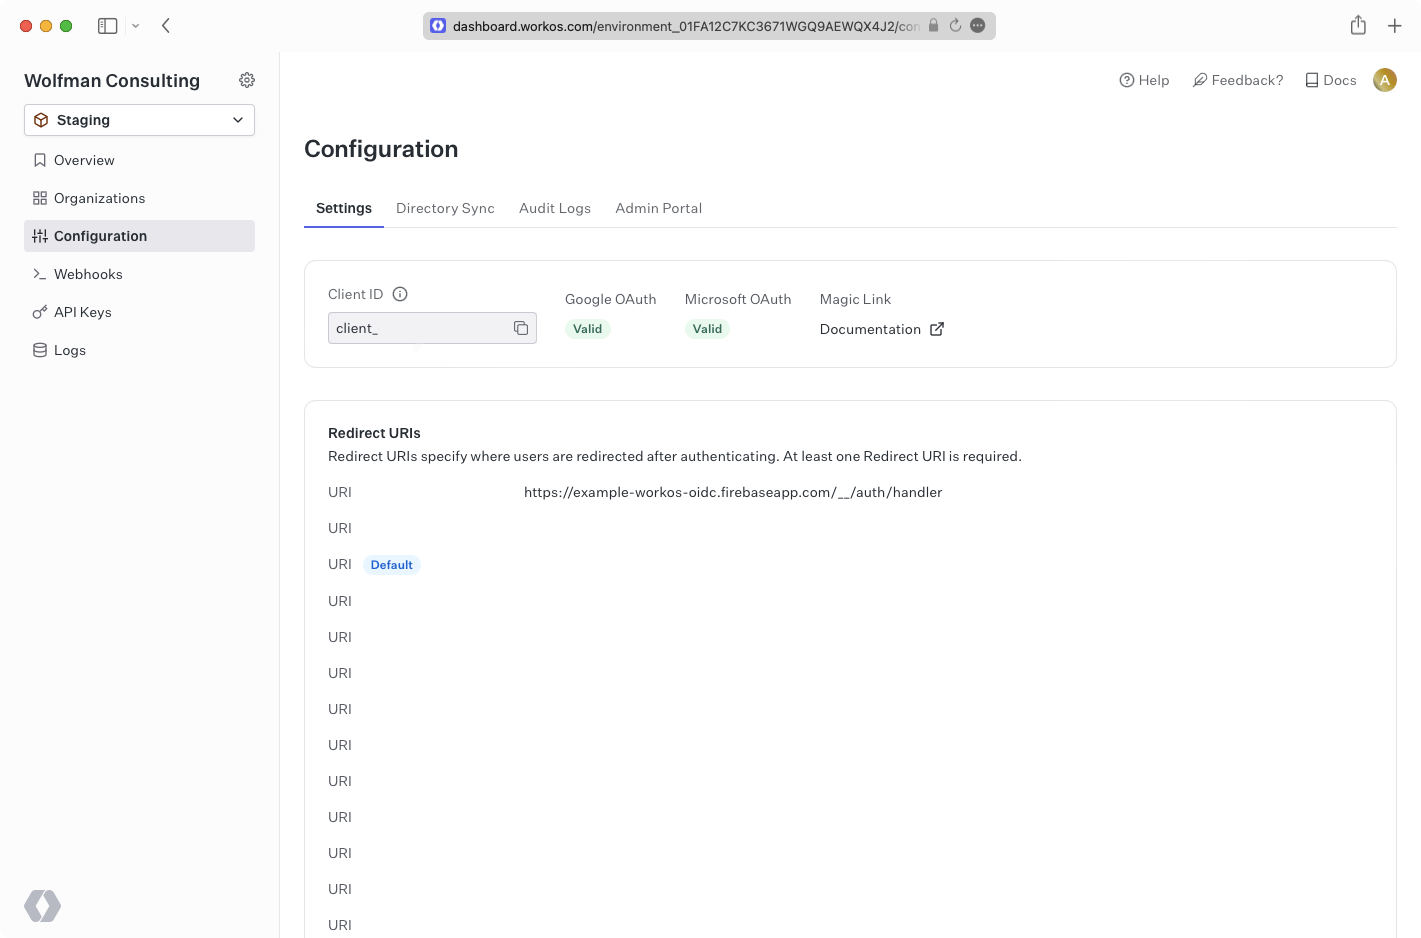
Paste the Callback URL in the list of Redirect URI’s in the configuration tab of your WorkOS dashboard.
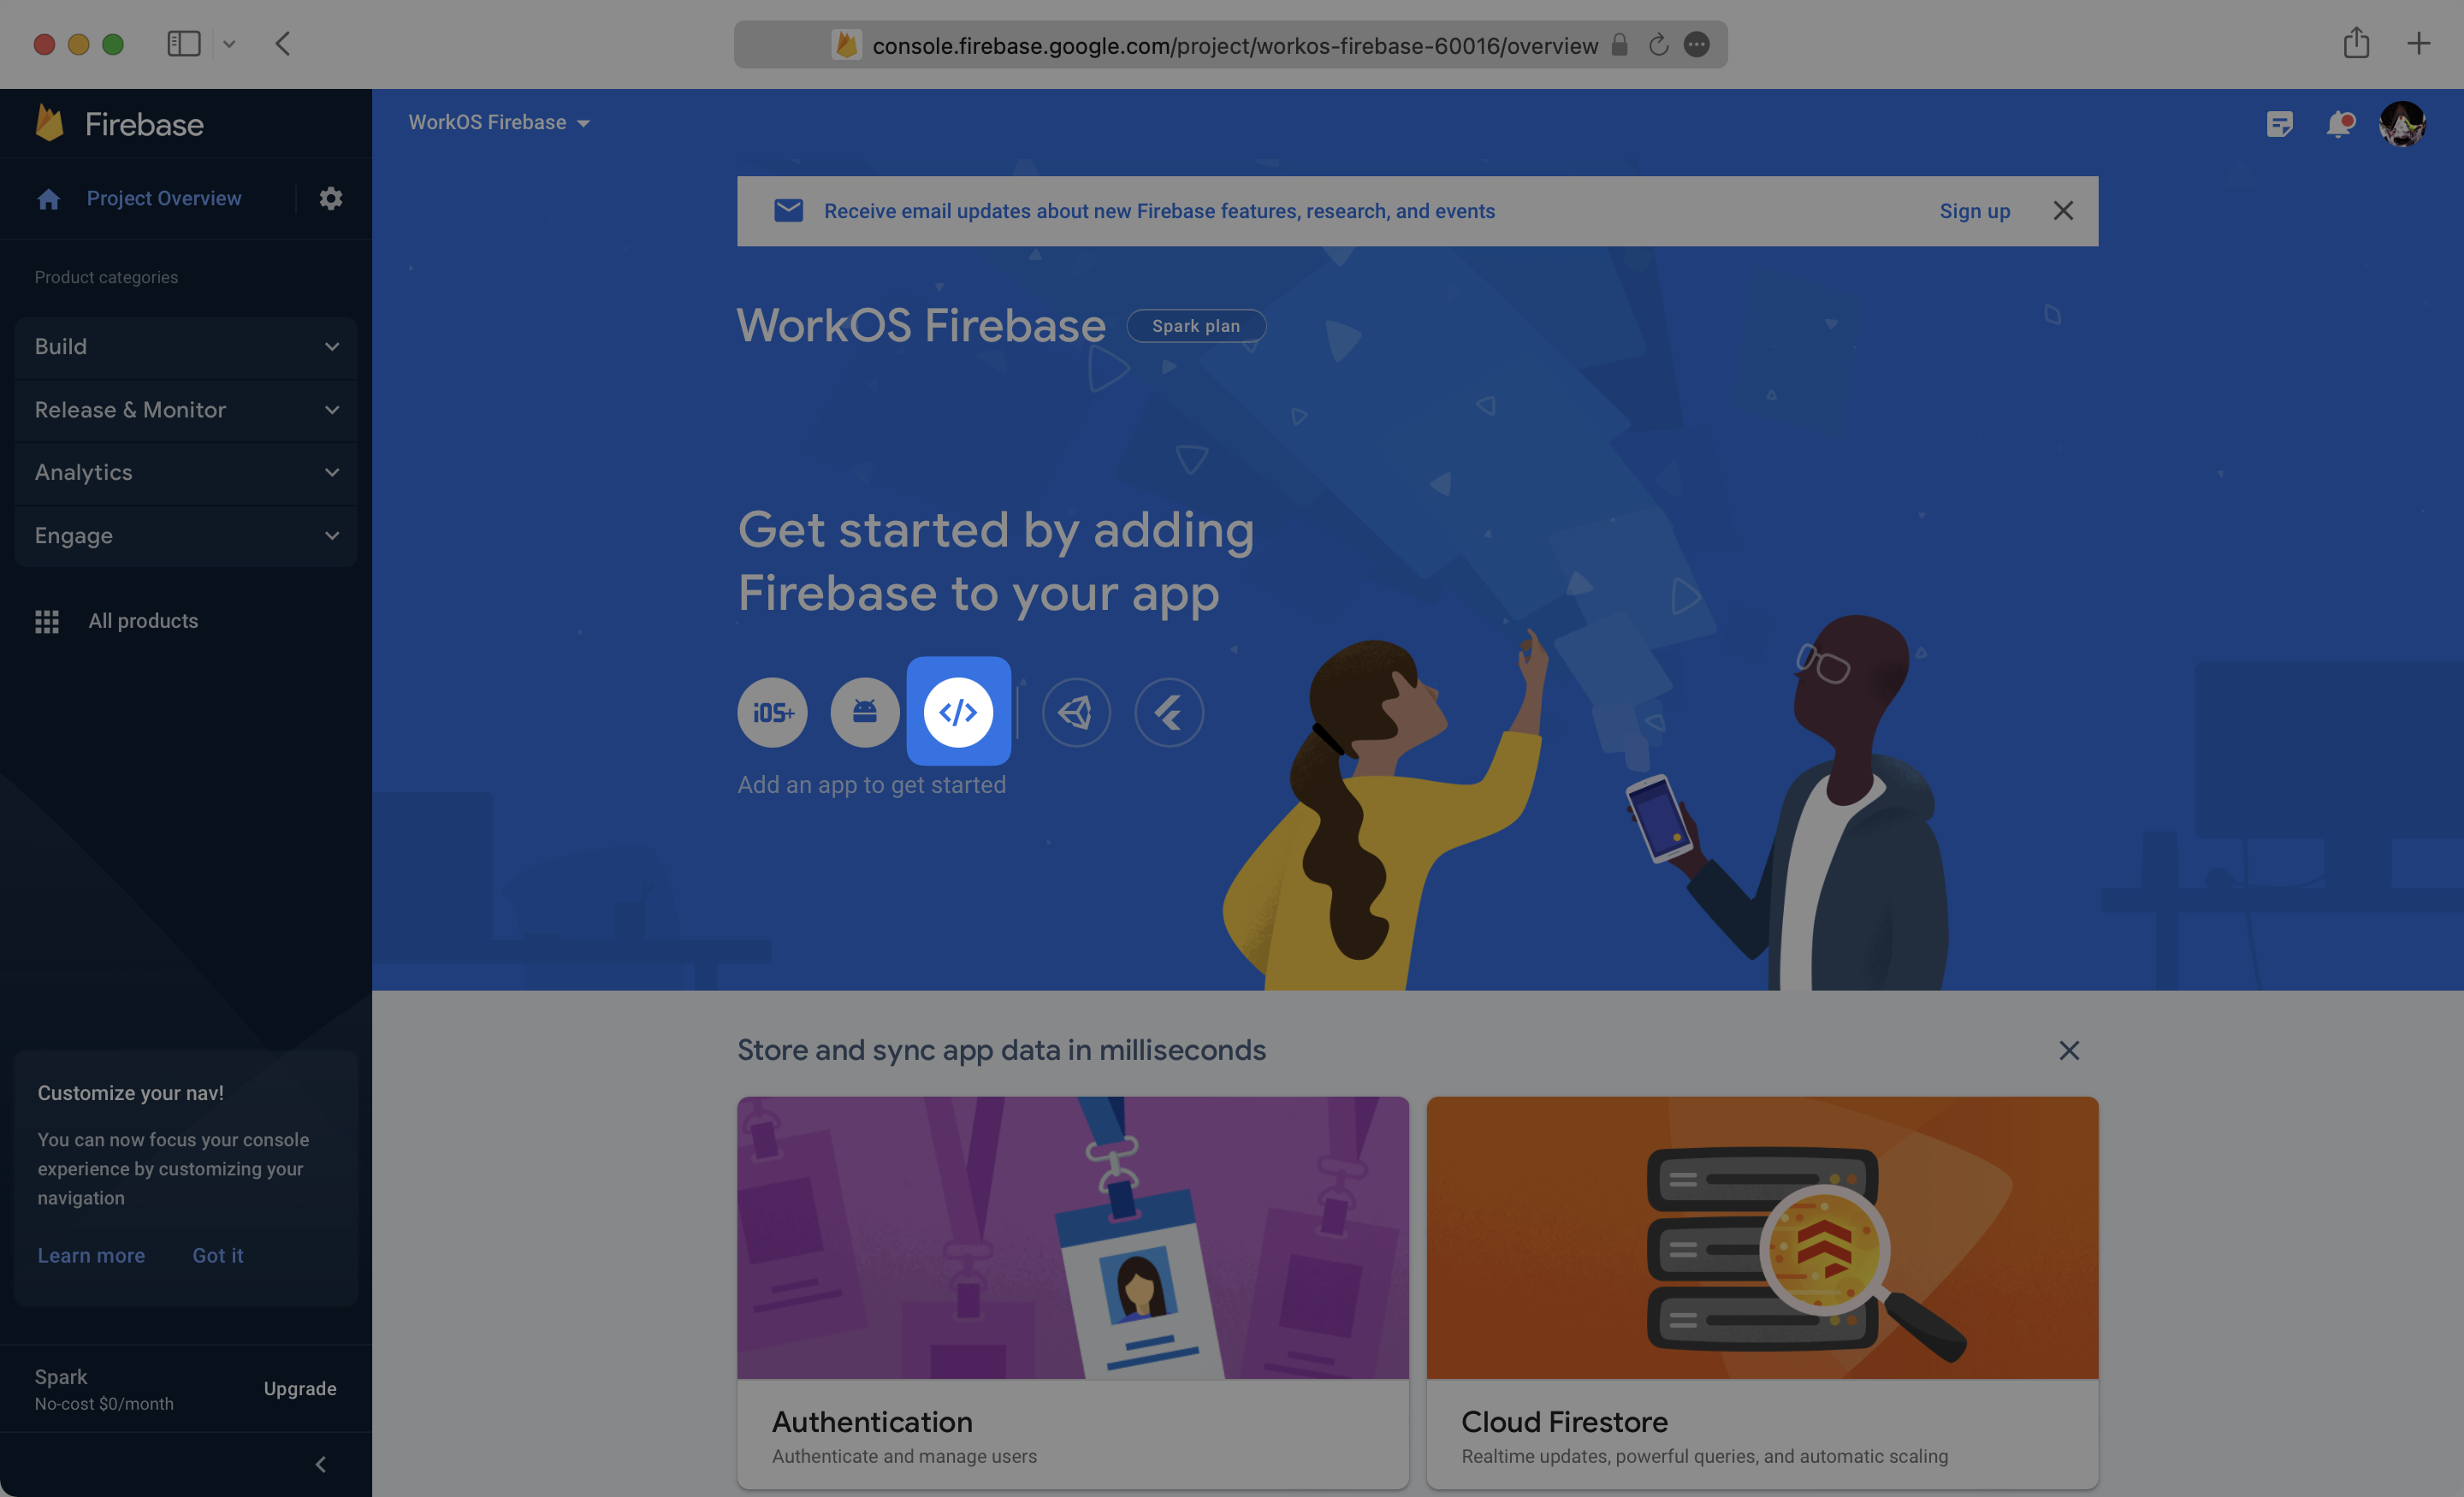
On the Firebase Project Overview page, click the web icon above Add an app to get started, or navigate to your project settings page if your project is already set up.
Choose a name for your application, and then take note of the firebaseConfig from the Add Firebase SDK step.
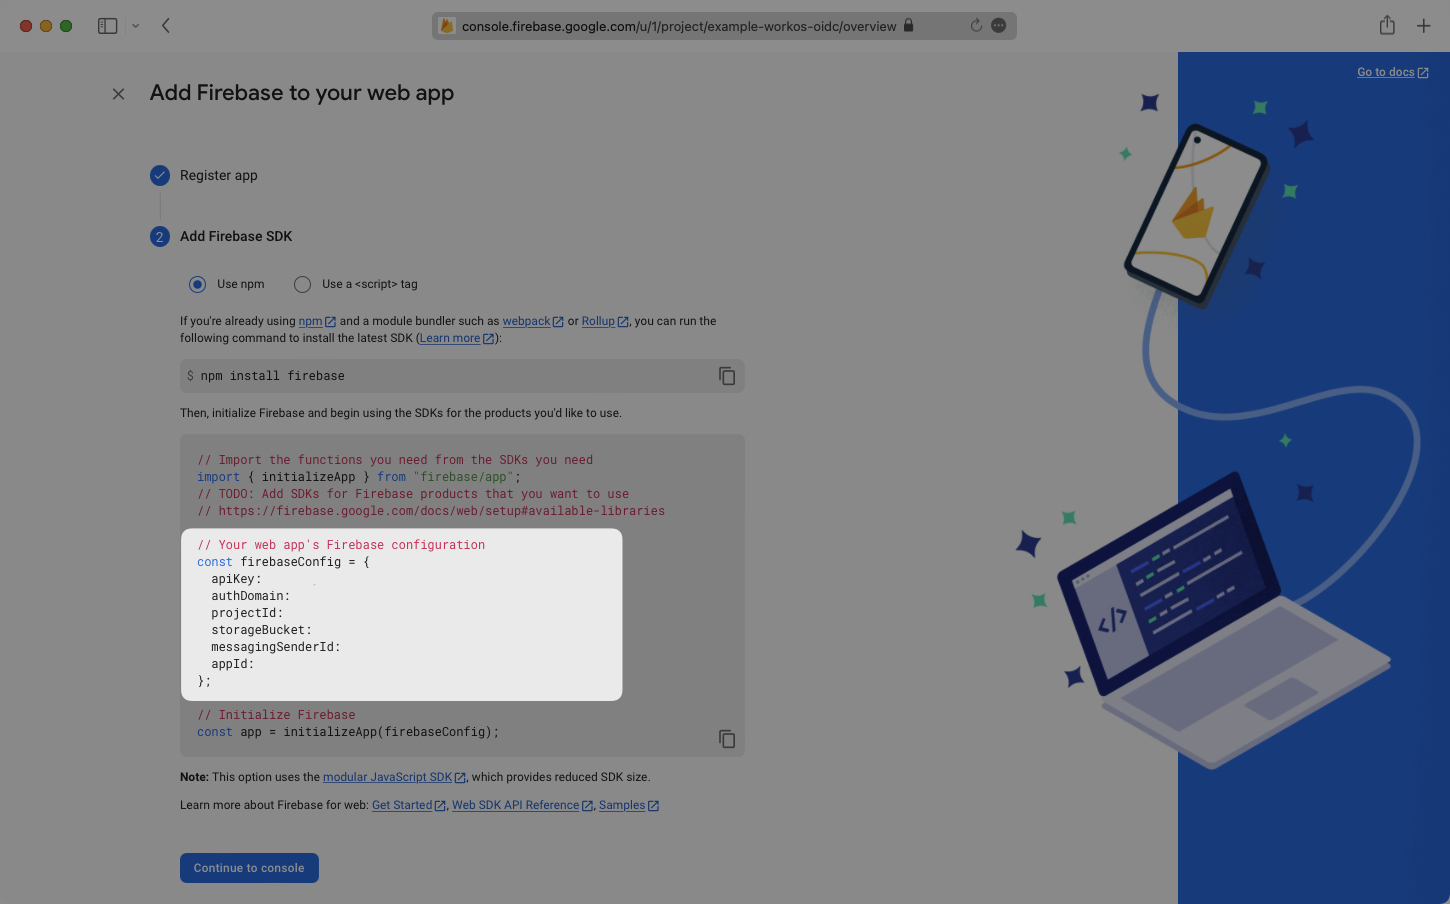
Your Firebase configuration and Provider ID can now be used along with any Organization ID from an Active WorkOS SSO connection to log users in to your Firebase app. Here is a basic example showing how this can be set up.
Replace the firebaseConfig variable value with the config from your Firebase app, the OAuthProvider value with your Provider ID, and the organization under provider.setCustomParameters with the organization to target. This organization should have an active SSO connection already set up.
The connection parameter may be used in place of the organization parameter to target a connection.
Finally, run the app and click the sign-in button.
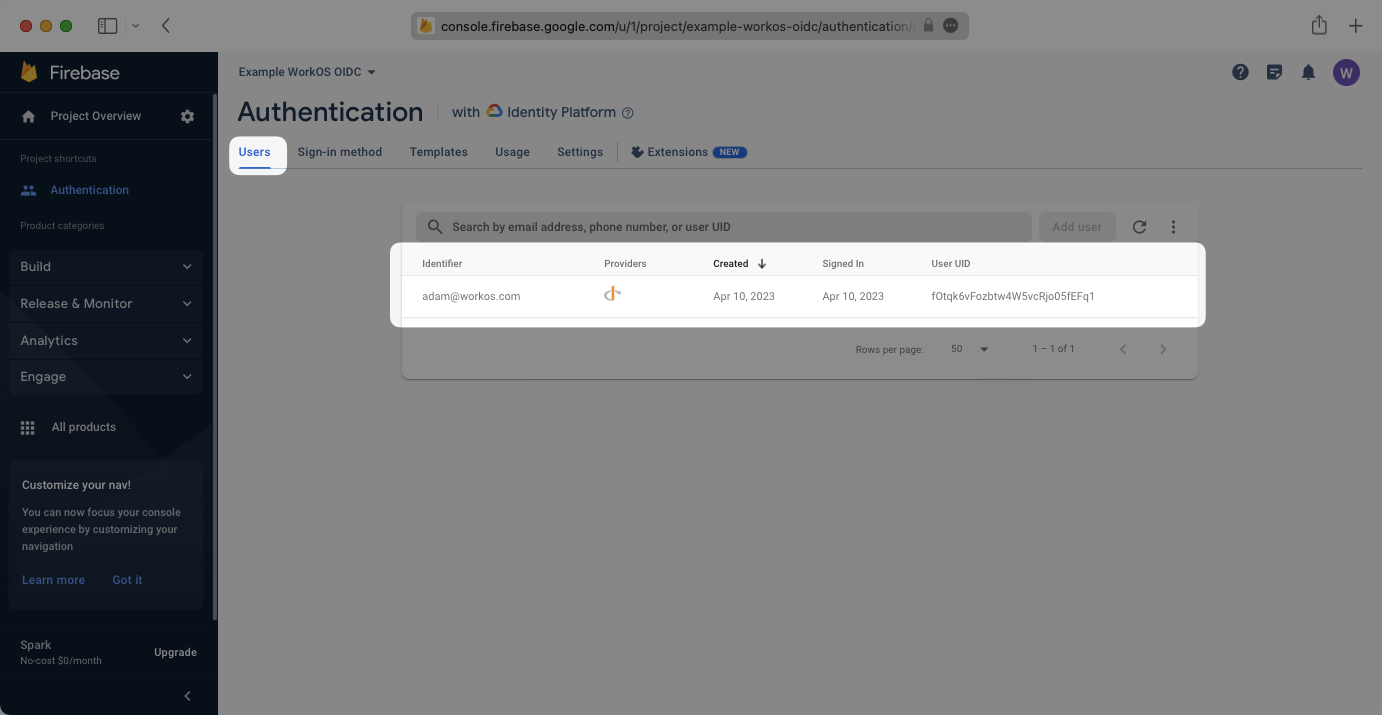
You will now see the user signed in on the Authentication section’s user tab in Firebase. You can also view the user information by decoding the access token which is logged to the console.
