GitHub OAuth
Learn how to set up OAuth with GitHub
The GitHub OAuth integration allows your users to authenticate using their GitHub credentials. WorkOS supports both GitHub OAuth Apps and GitHub Apps for authentication.
The configuration process involves creating an OAuth application or GitHub App in GitHub and configuring the client credentials in the WorkOS Dashboard.
WorkOS provides a default GitHub Client ID and Client Secret combination, which allows you to quickly enable and test GitHub OAuth. Use the WorkOS API to initiate SSO, setting the provider parameter to GitHubOAuth, and WorkOS will automatically use the default credentials until you add your own GitHub Client ID and Client Secret to the configuration in the WorkOS Dashboard.
Please note that when you are using WorkOS default credentials, GitHub’s authentication flow will display WorkOS’ name, logo, and other information to users. Once you register your own application and use its GitHub Client ID and Client Secret for the OAuth flow, you will have the opportunity to customize the app, including its name, logo, contact email, etc.
When setting up GitHub OAuth, WorkOS provides one key piece of information that needs to be configured in your GitHub OAuth application:
- Redirect URI: The endpoint where GitHub will send authentication responses after successful login
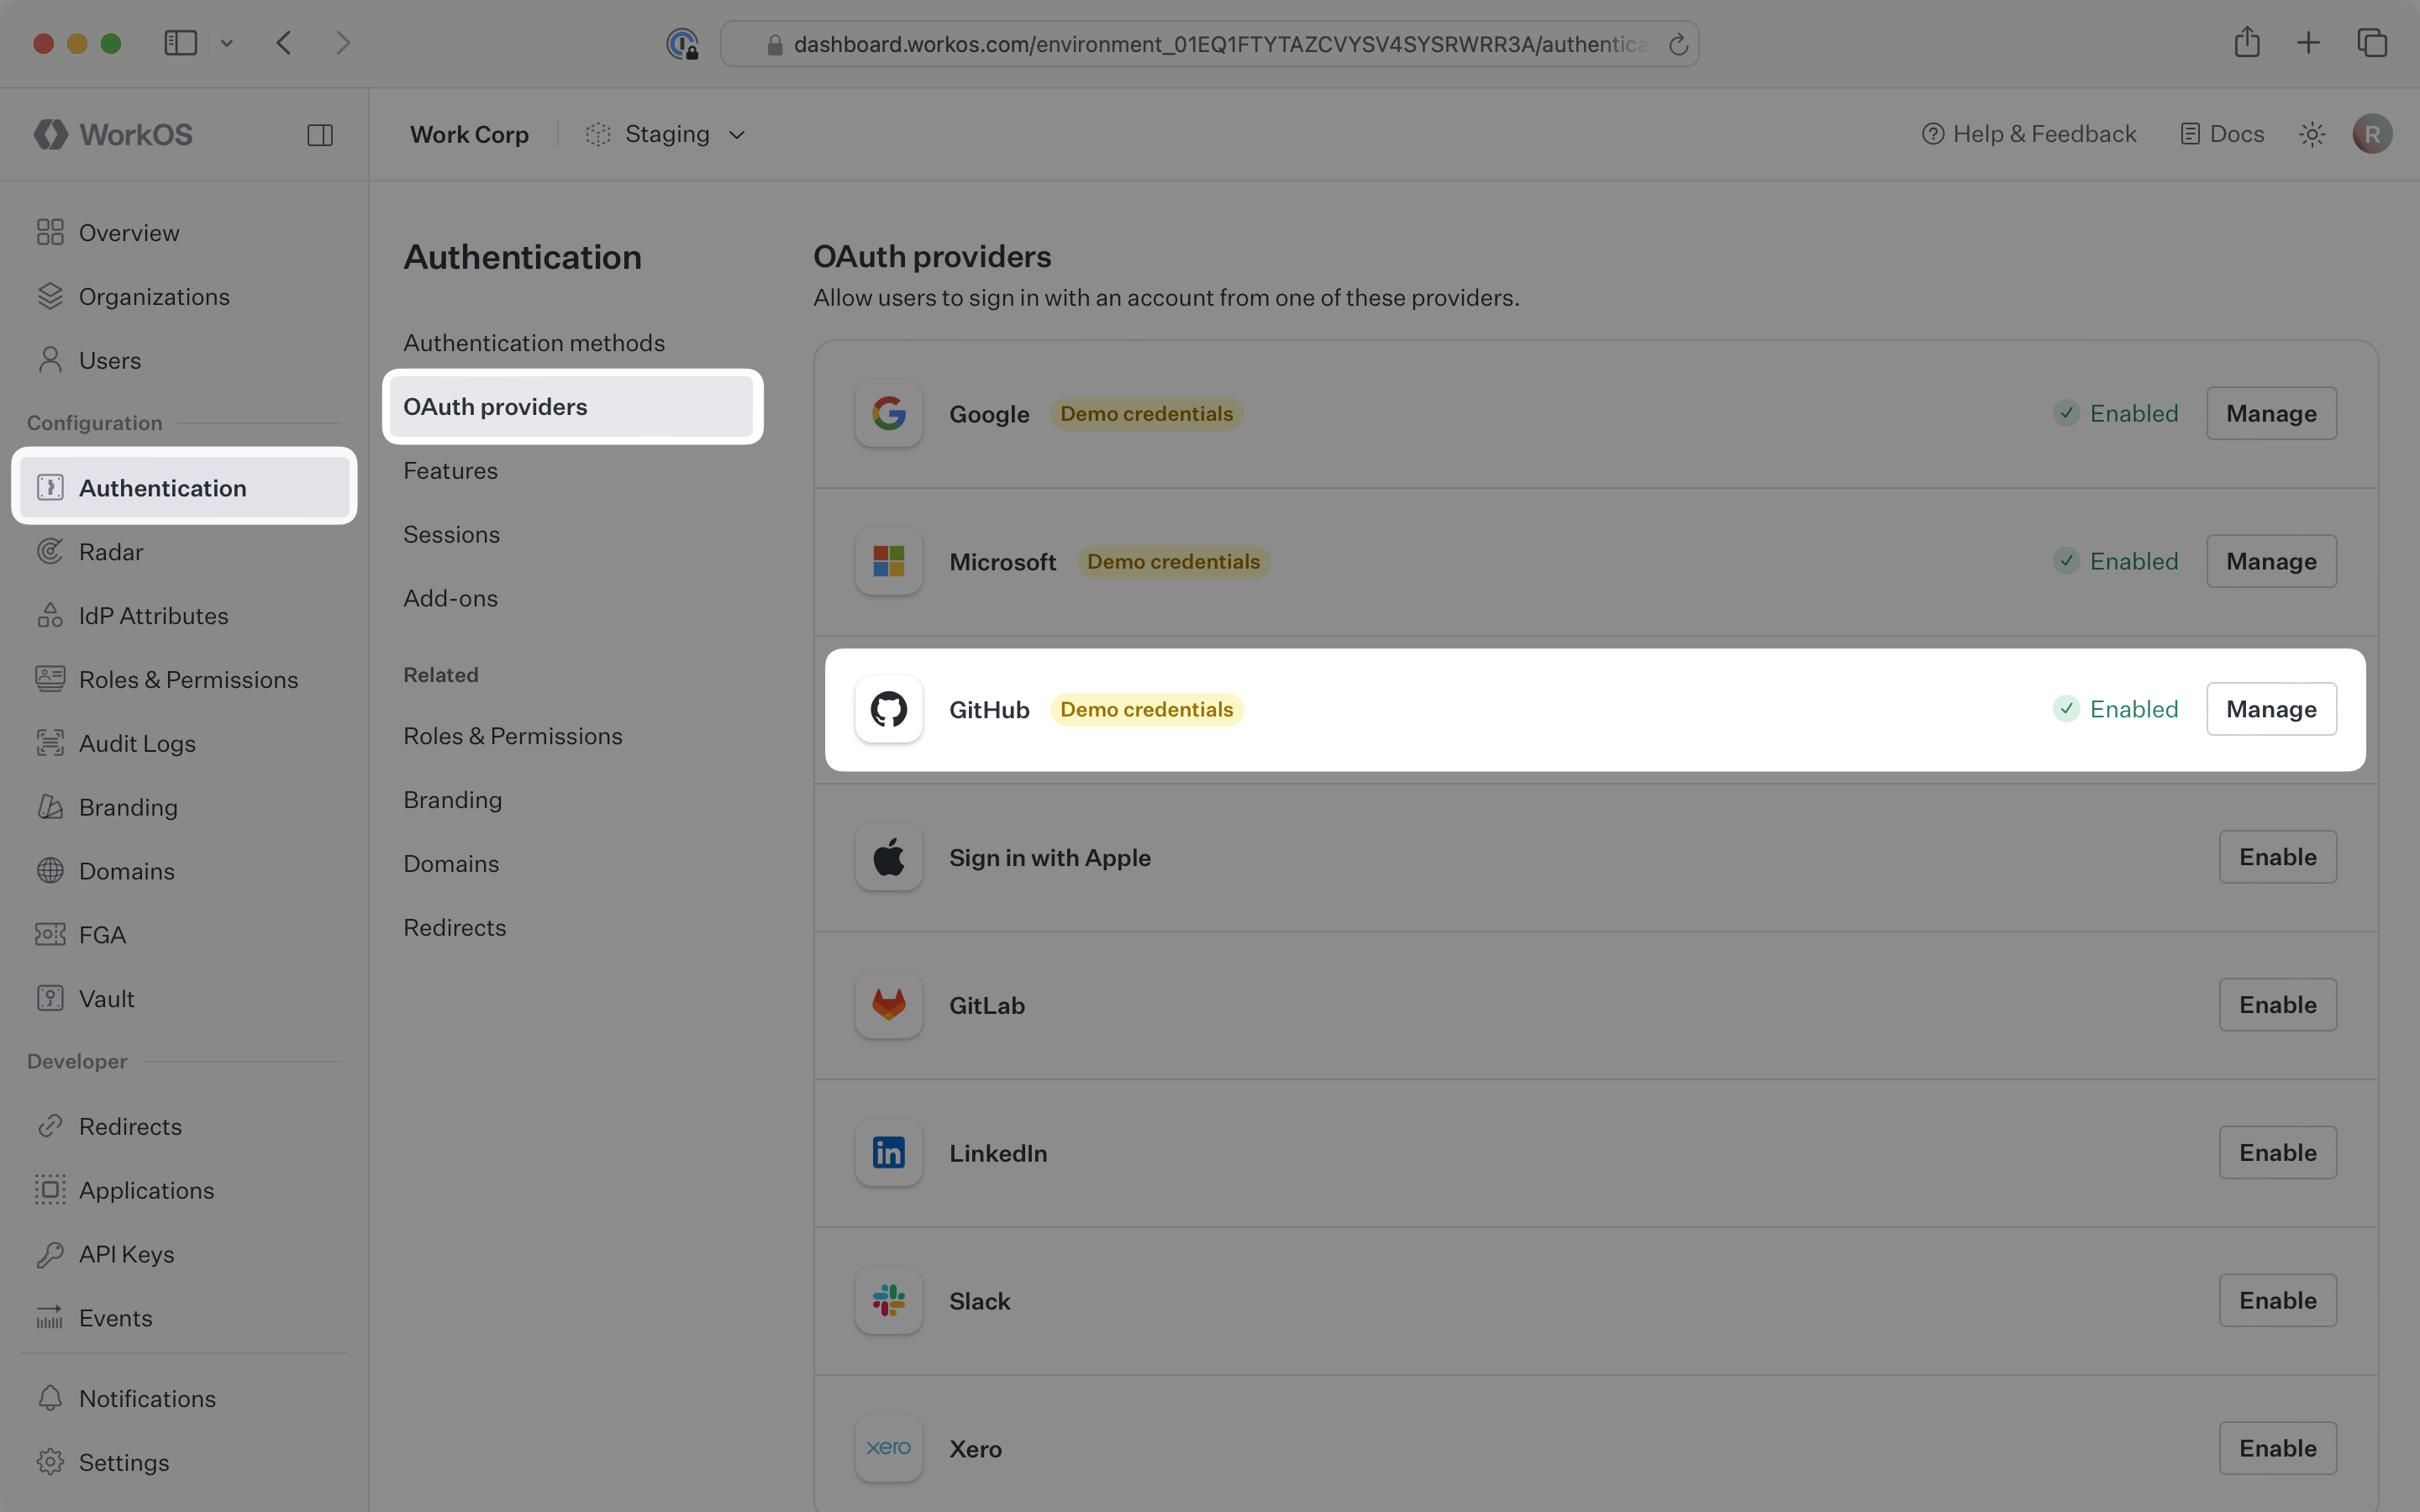
The Redirect URI is available in the WorkOS Dashboard. In the left navigation menu, select the Authentication tab and the OAuth providers sub-tab. Locate the GitHub section.
Click Manage. The GitHub OAuth configuration dialog will open. Locate the Redirect URI.
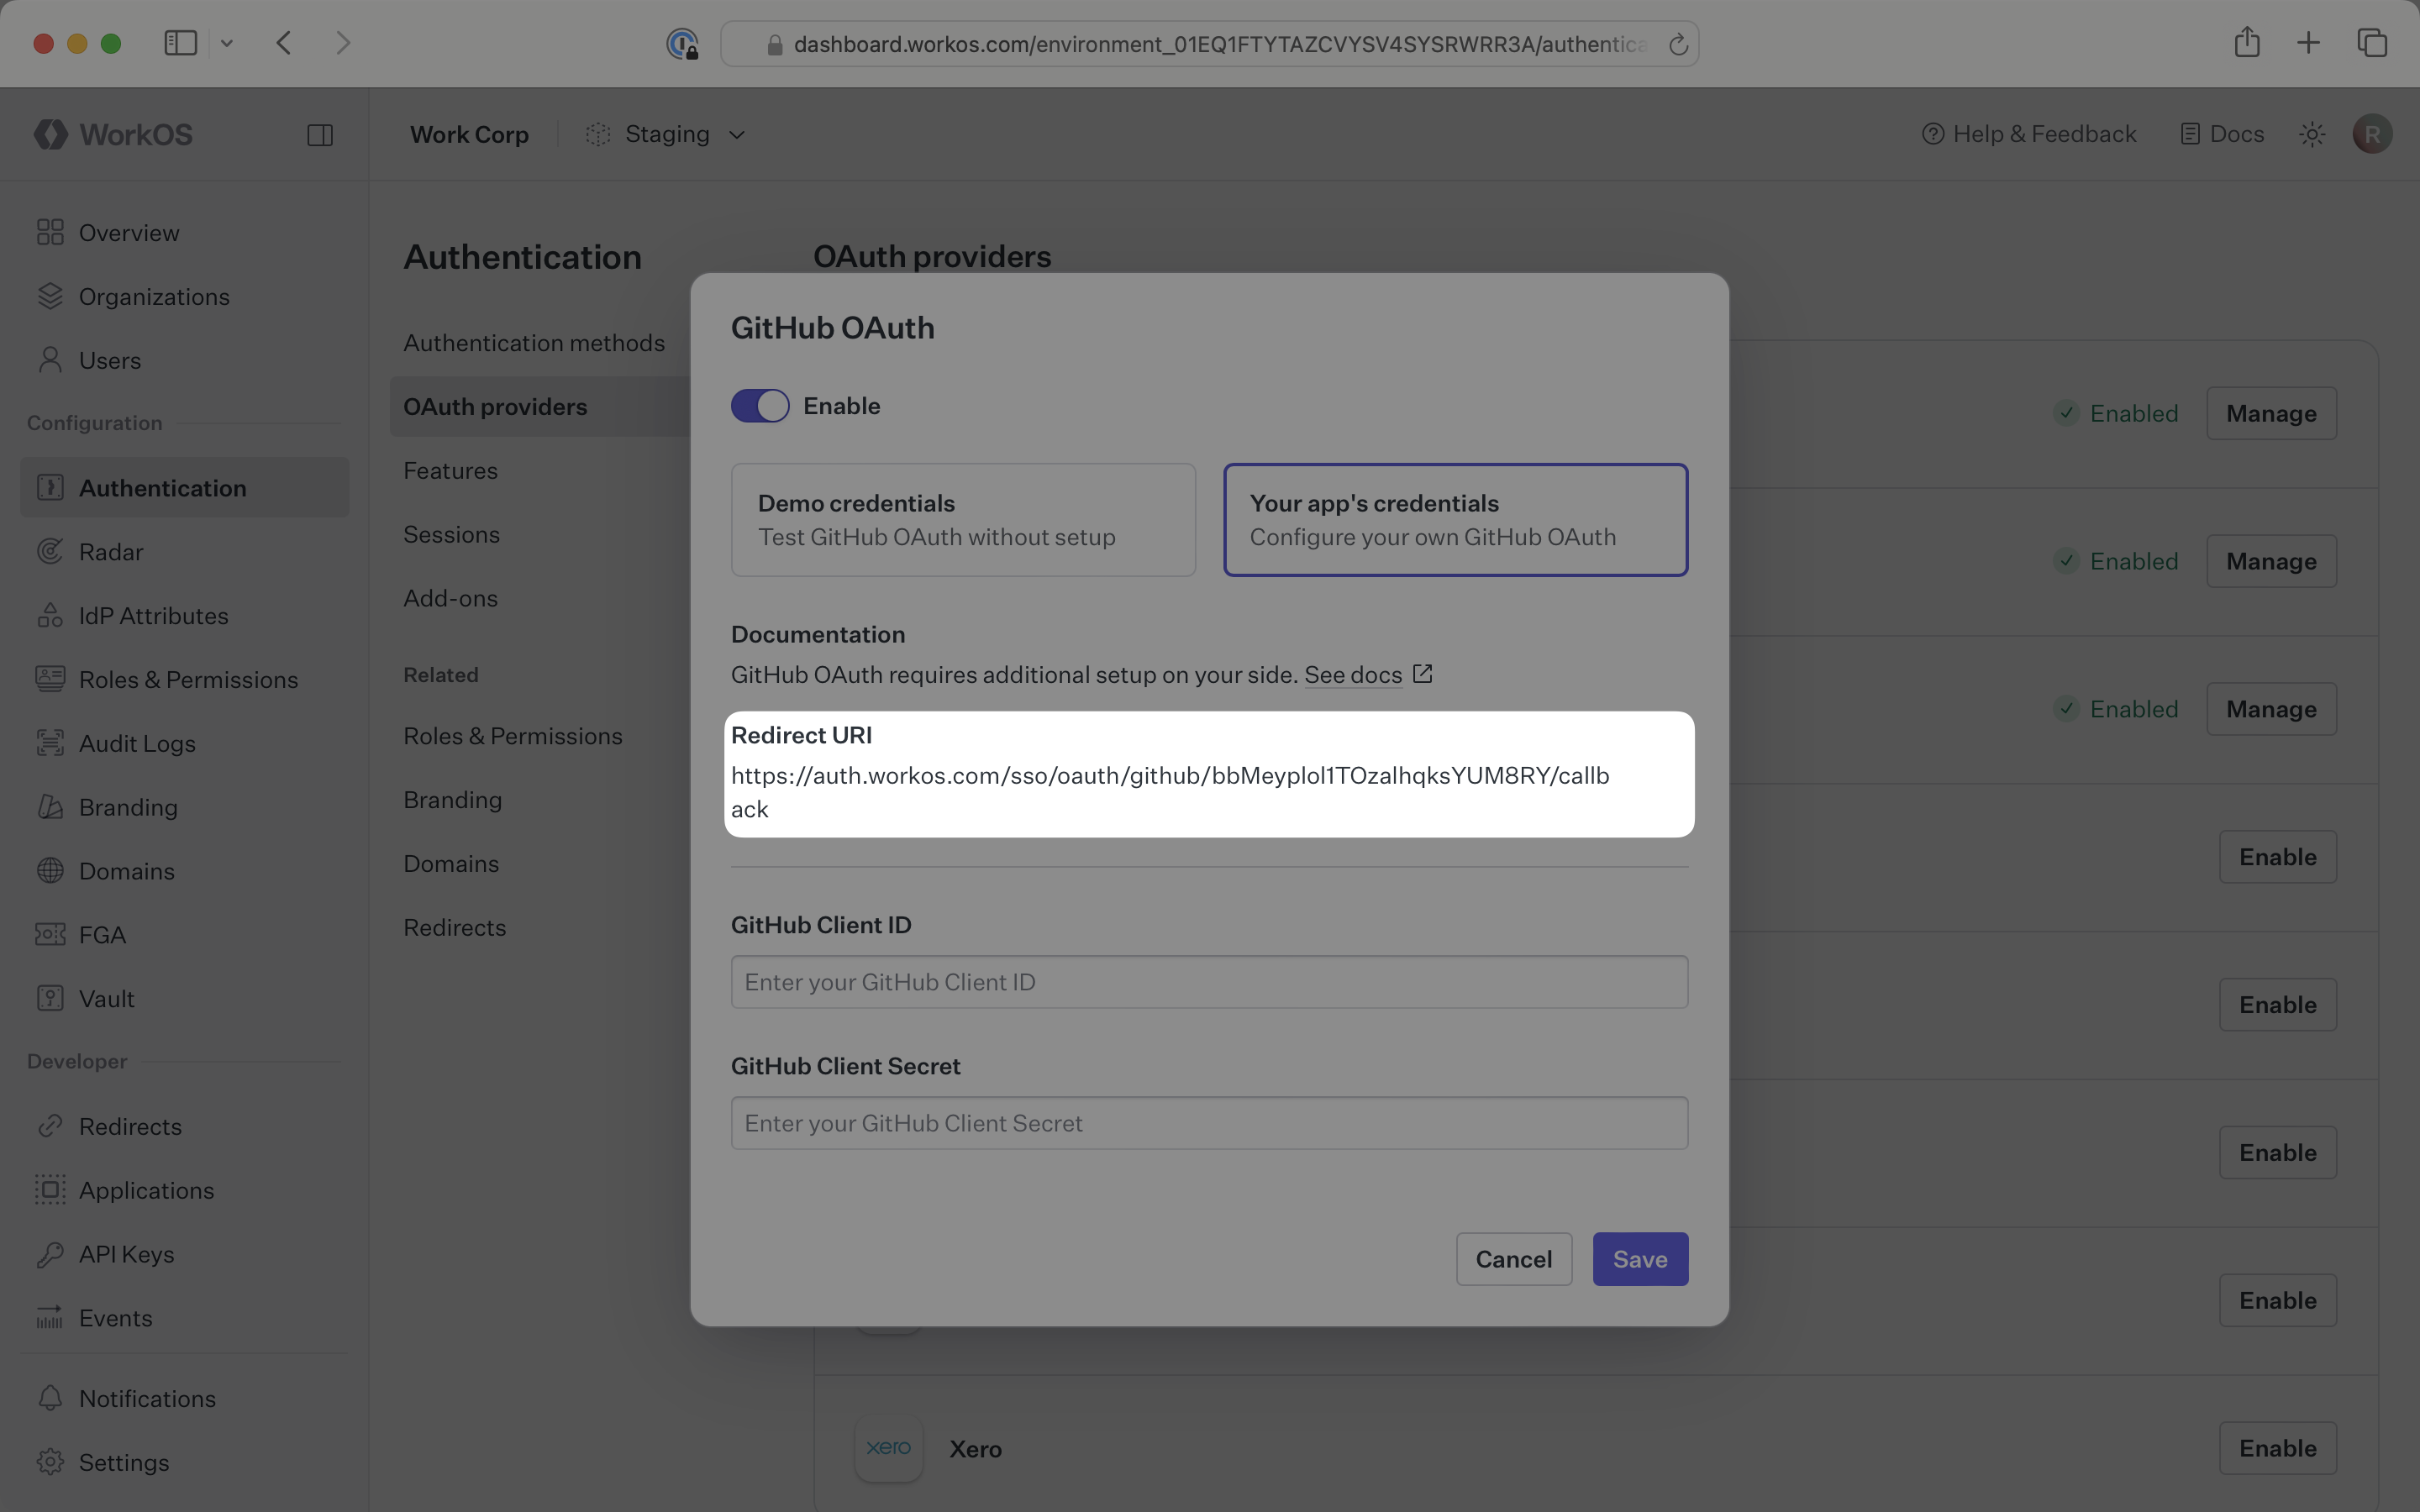
The Redirect URI serves as the destination for authentication responses and must be configured in your GitHub OAuth application as the authorization callback URL.
You will need to obtain two pieces of information from a GitHub OAuth application:
- GitHub Client ID: Application identifier from GitHub
- GitHub Client Secret: Authentication secret for the application
The following sections will guide you through creating an OAuth application in your GitHub account and generating these credentials.
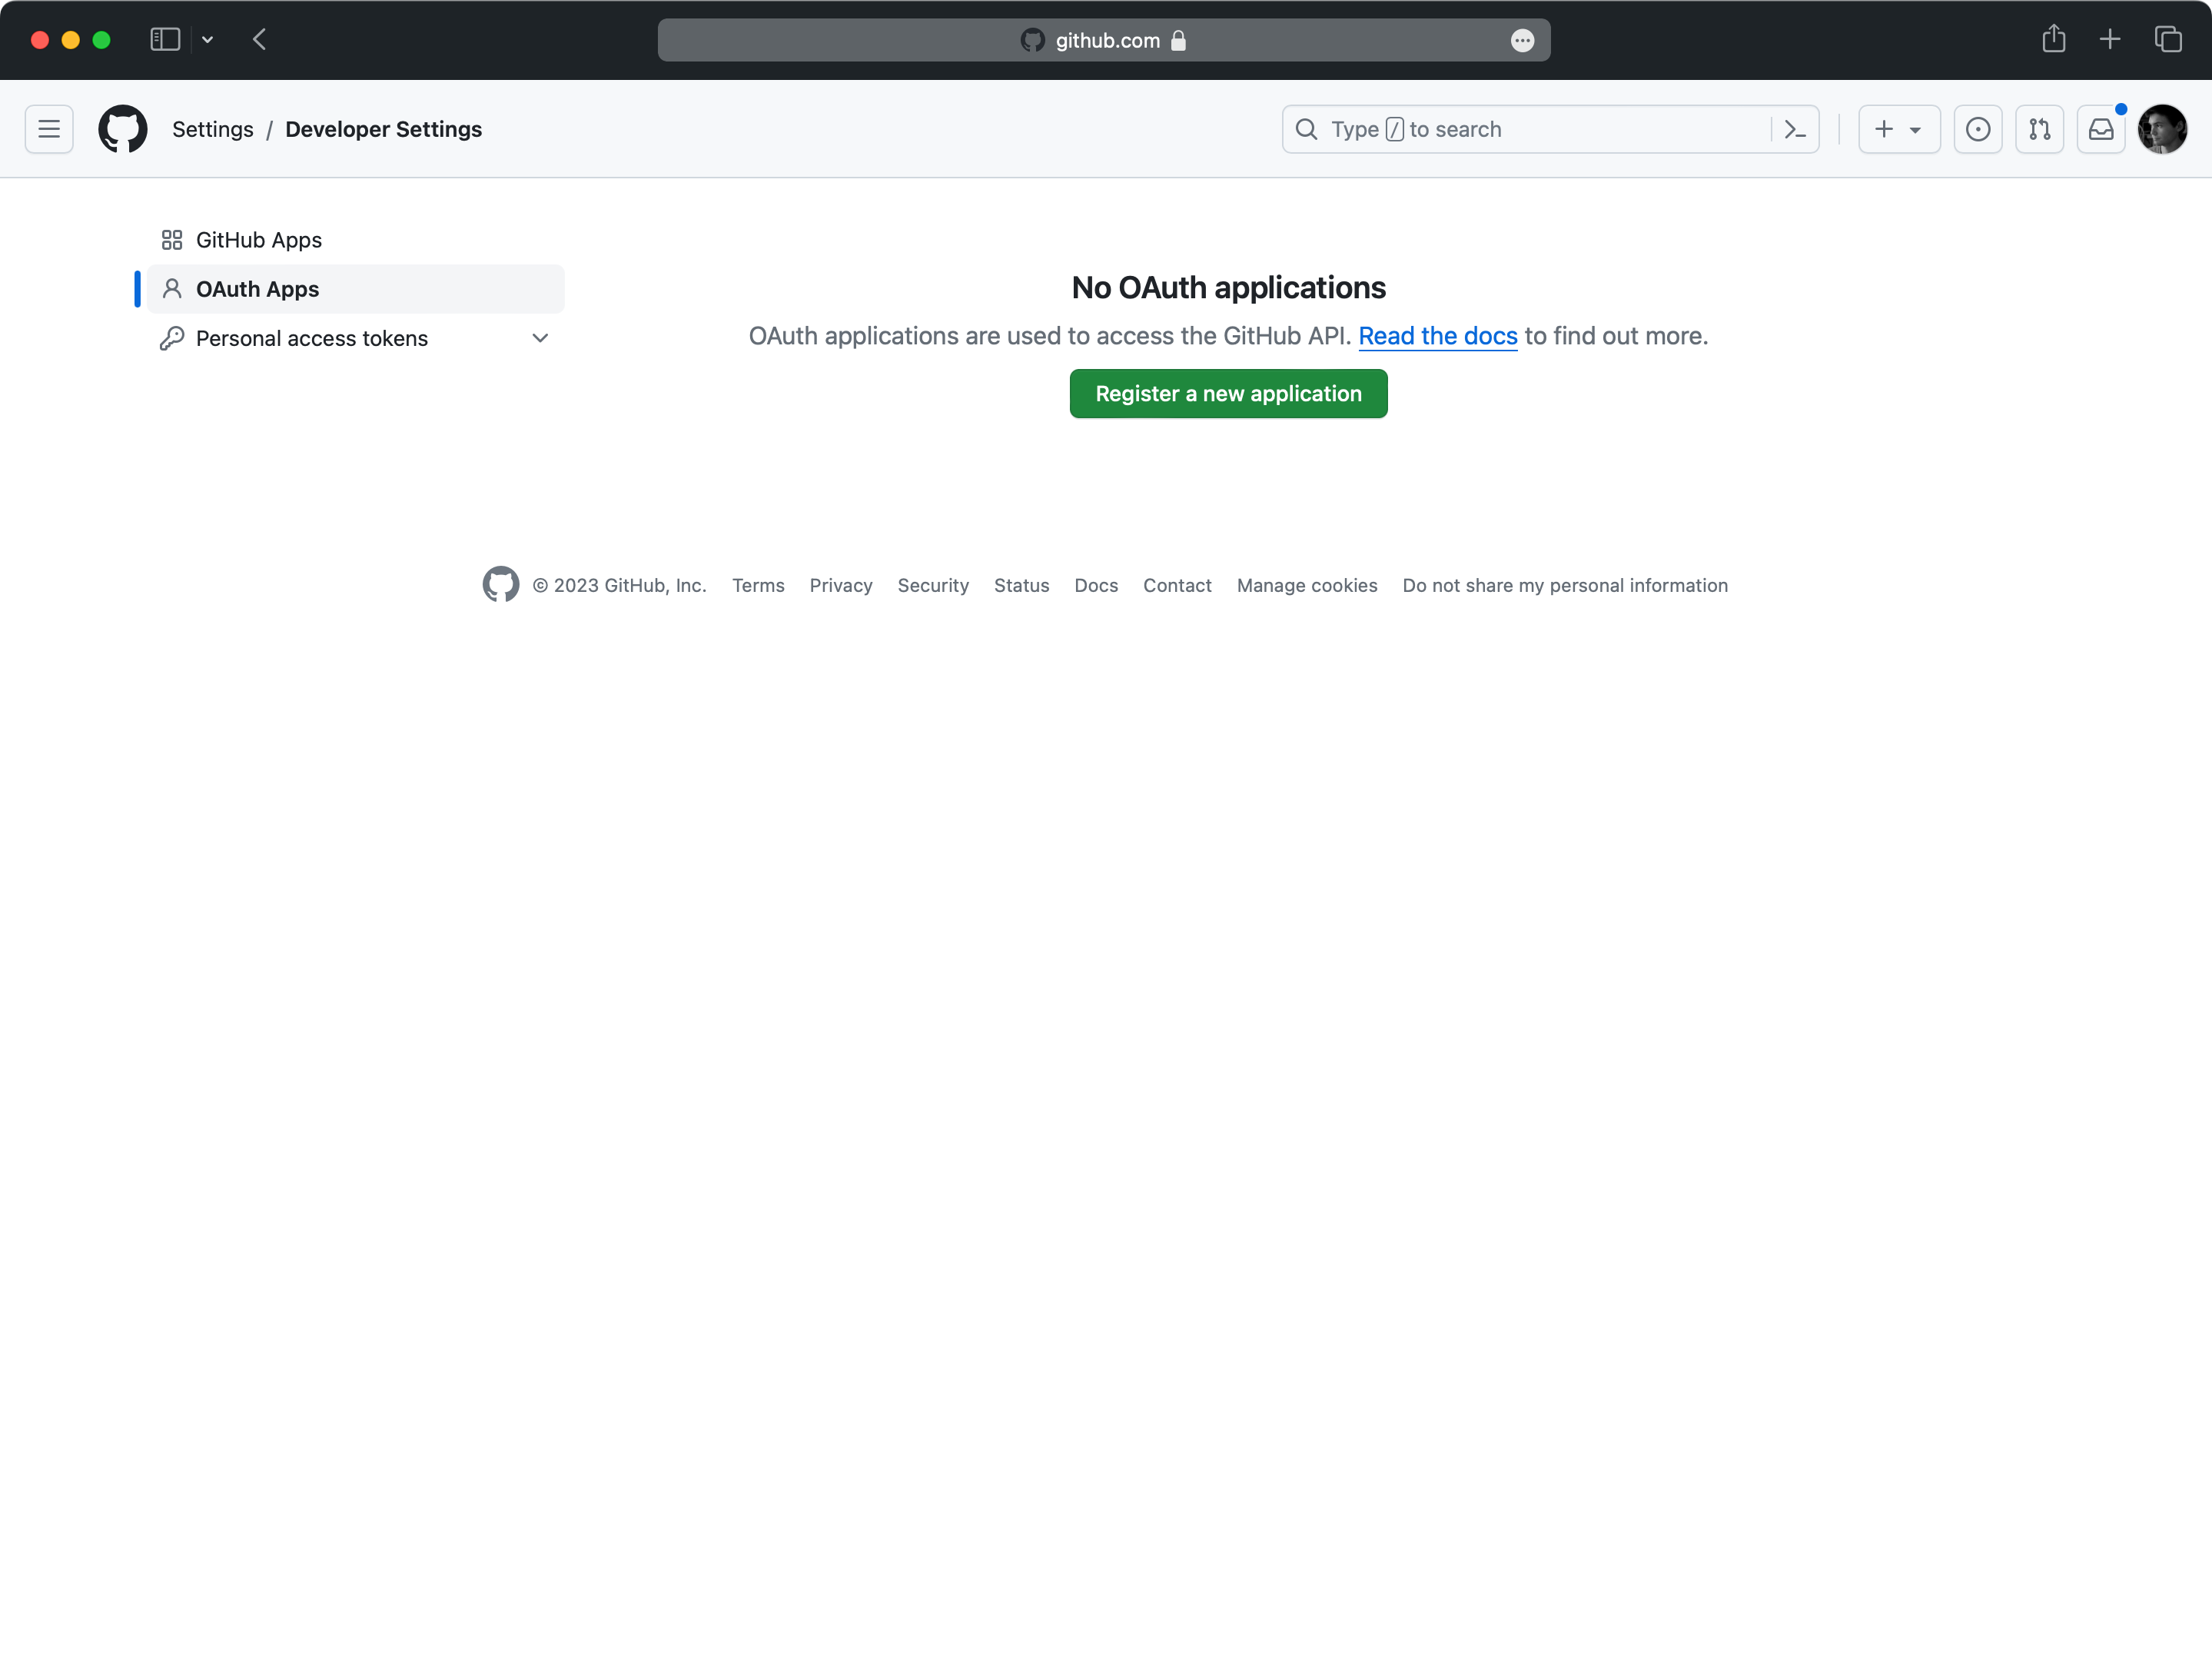
Sign in to GitHub and navigate to Developer settings. You can create either an OAuth App or a GitHub App.
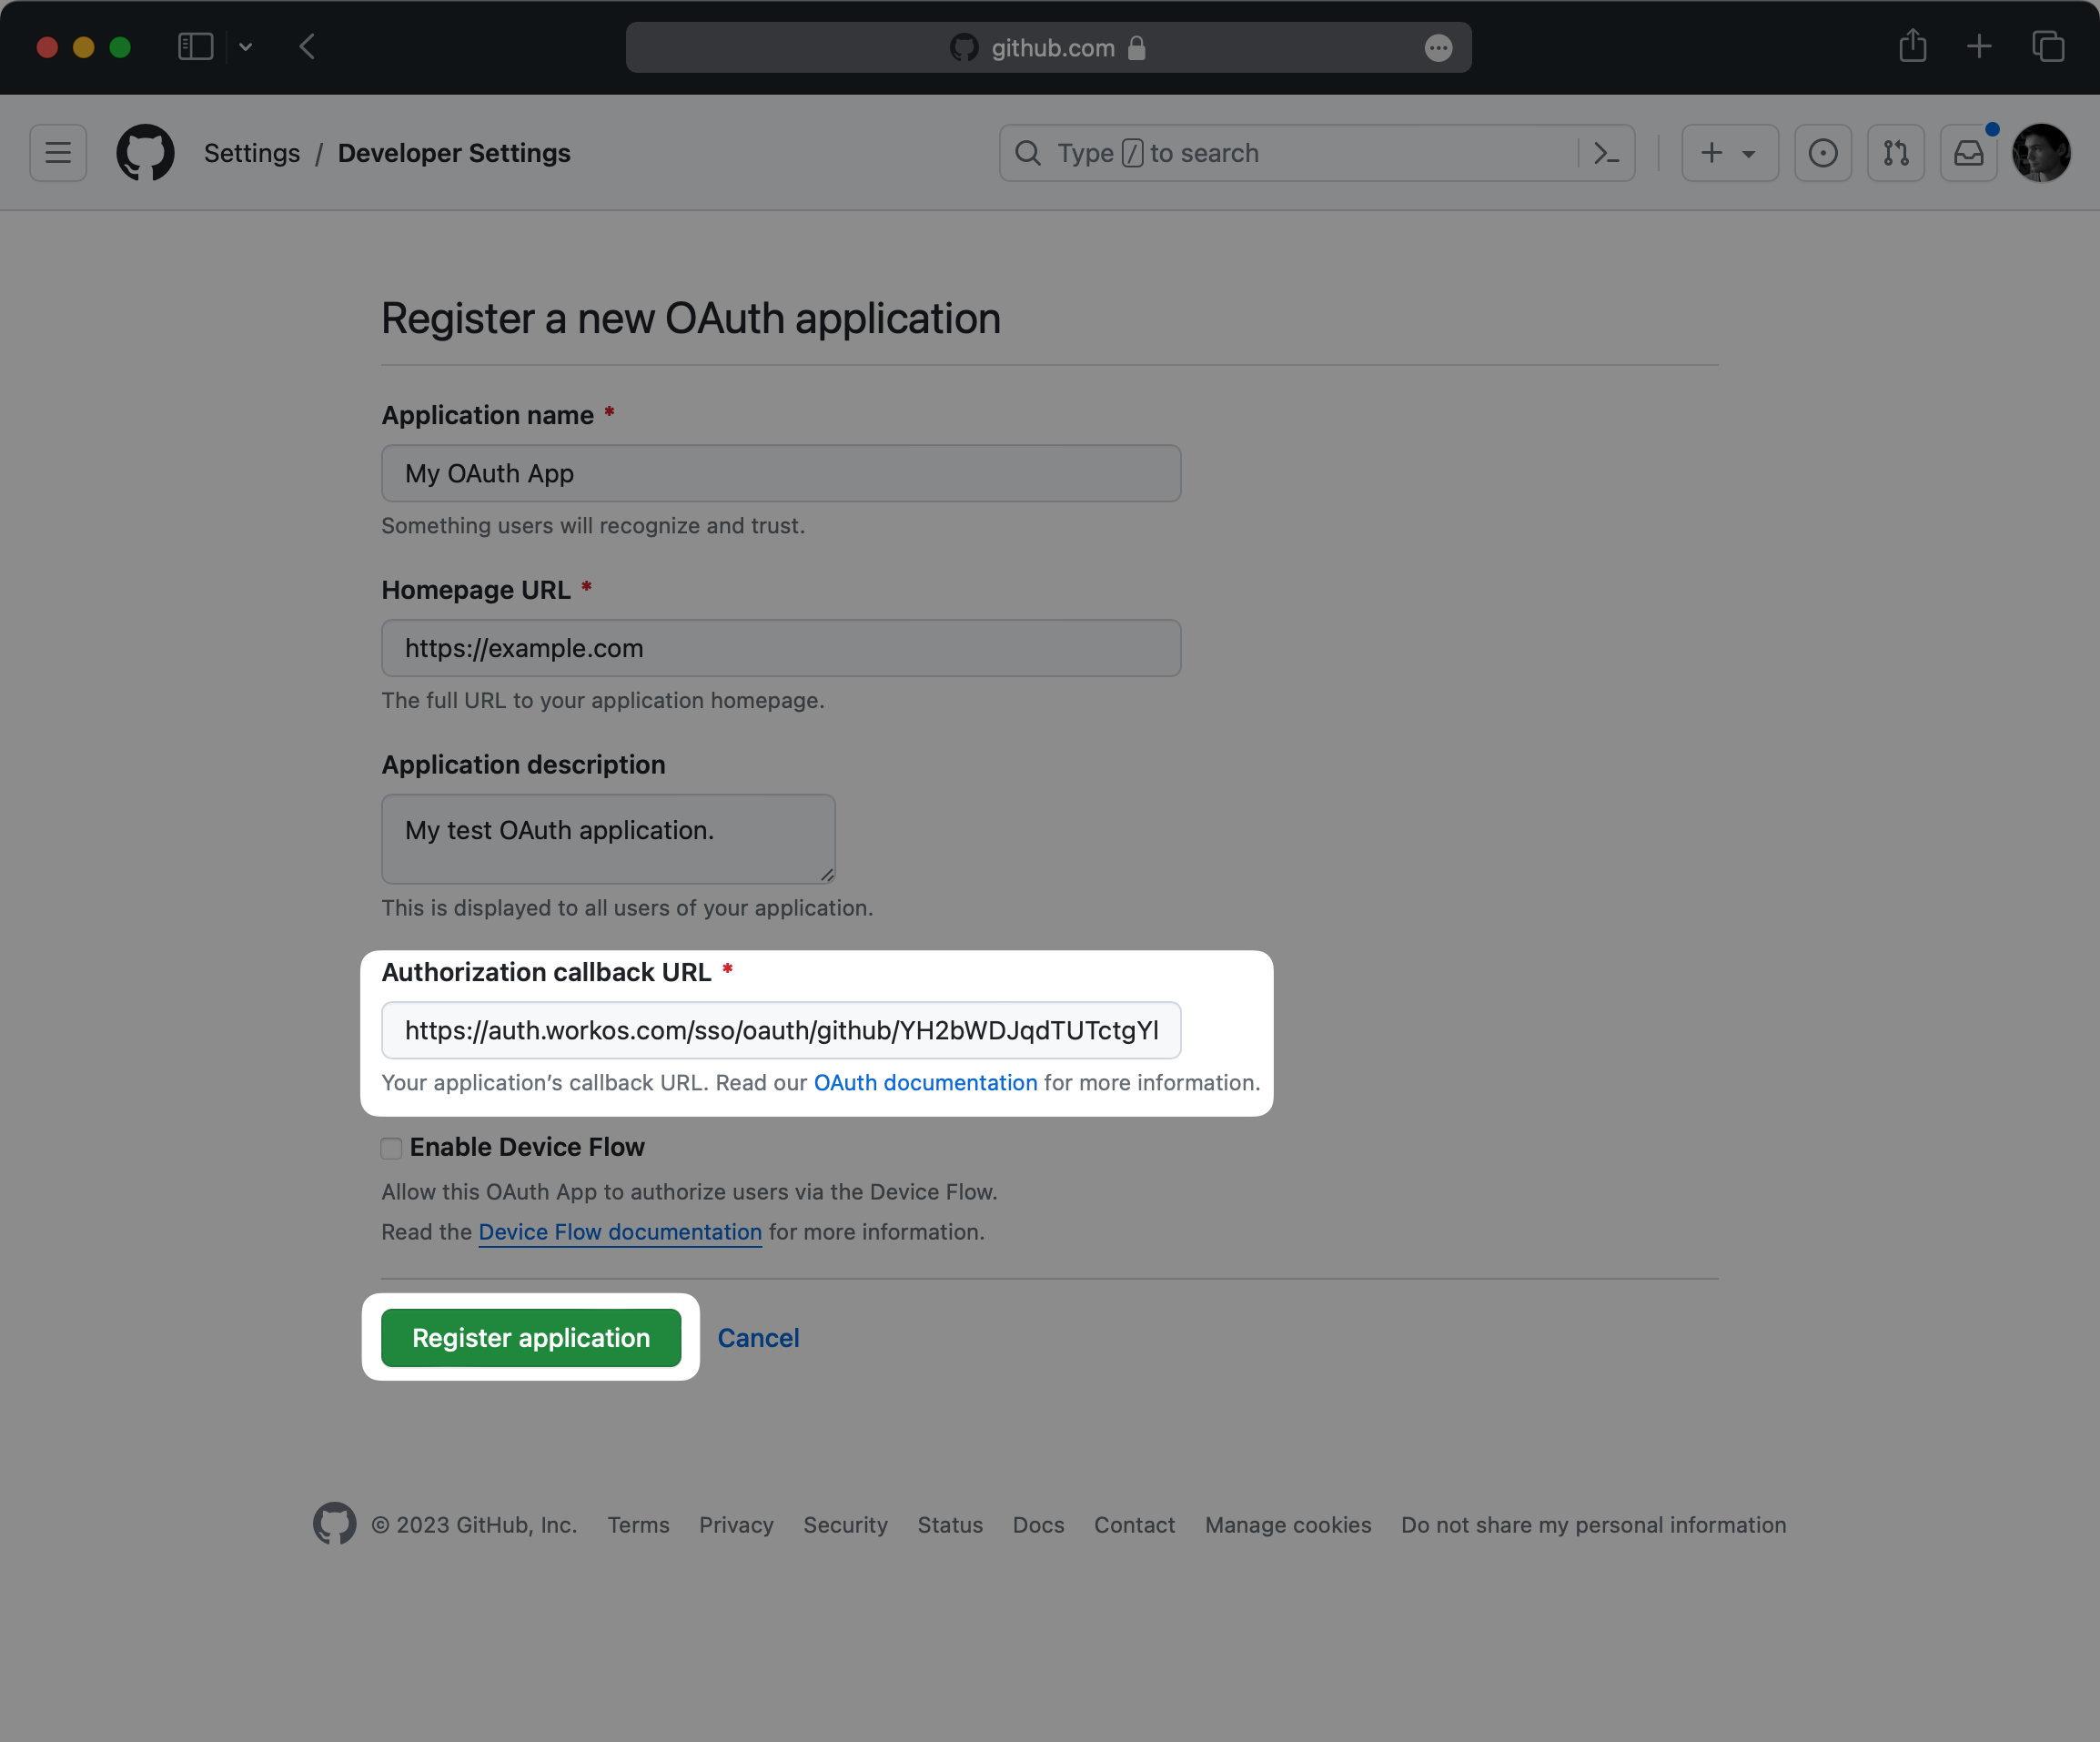
Select OAuth Apps and create a new OAuth app. Be sure to at least enable the user:email scope, as this is required to retrieve the user’s email address from GitHub, which is necessary for authentication. You can optionally configure additional scopes as needed.
Select GitHub Apps and create a new GitHub App. GitHub Apps offer more granular permissions and can provide refresh tokens with expiration for improved security. For more information, see GitHub’s documentation on differences between GitHub Apps and OAuth Apps.
Fill out the application form. For the Authorization callback URL (OAuth App) or Callback URL (GitHub App), enter the Redirect URI from the WorkOS Dashboard.
Click Register application (OAuth App) or Create GitHub App (GitHub App).
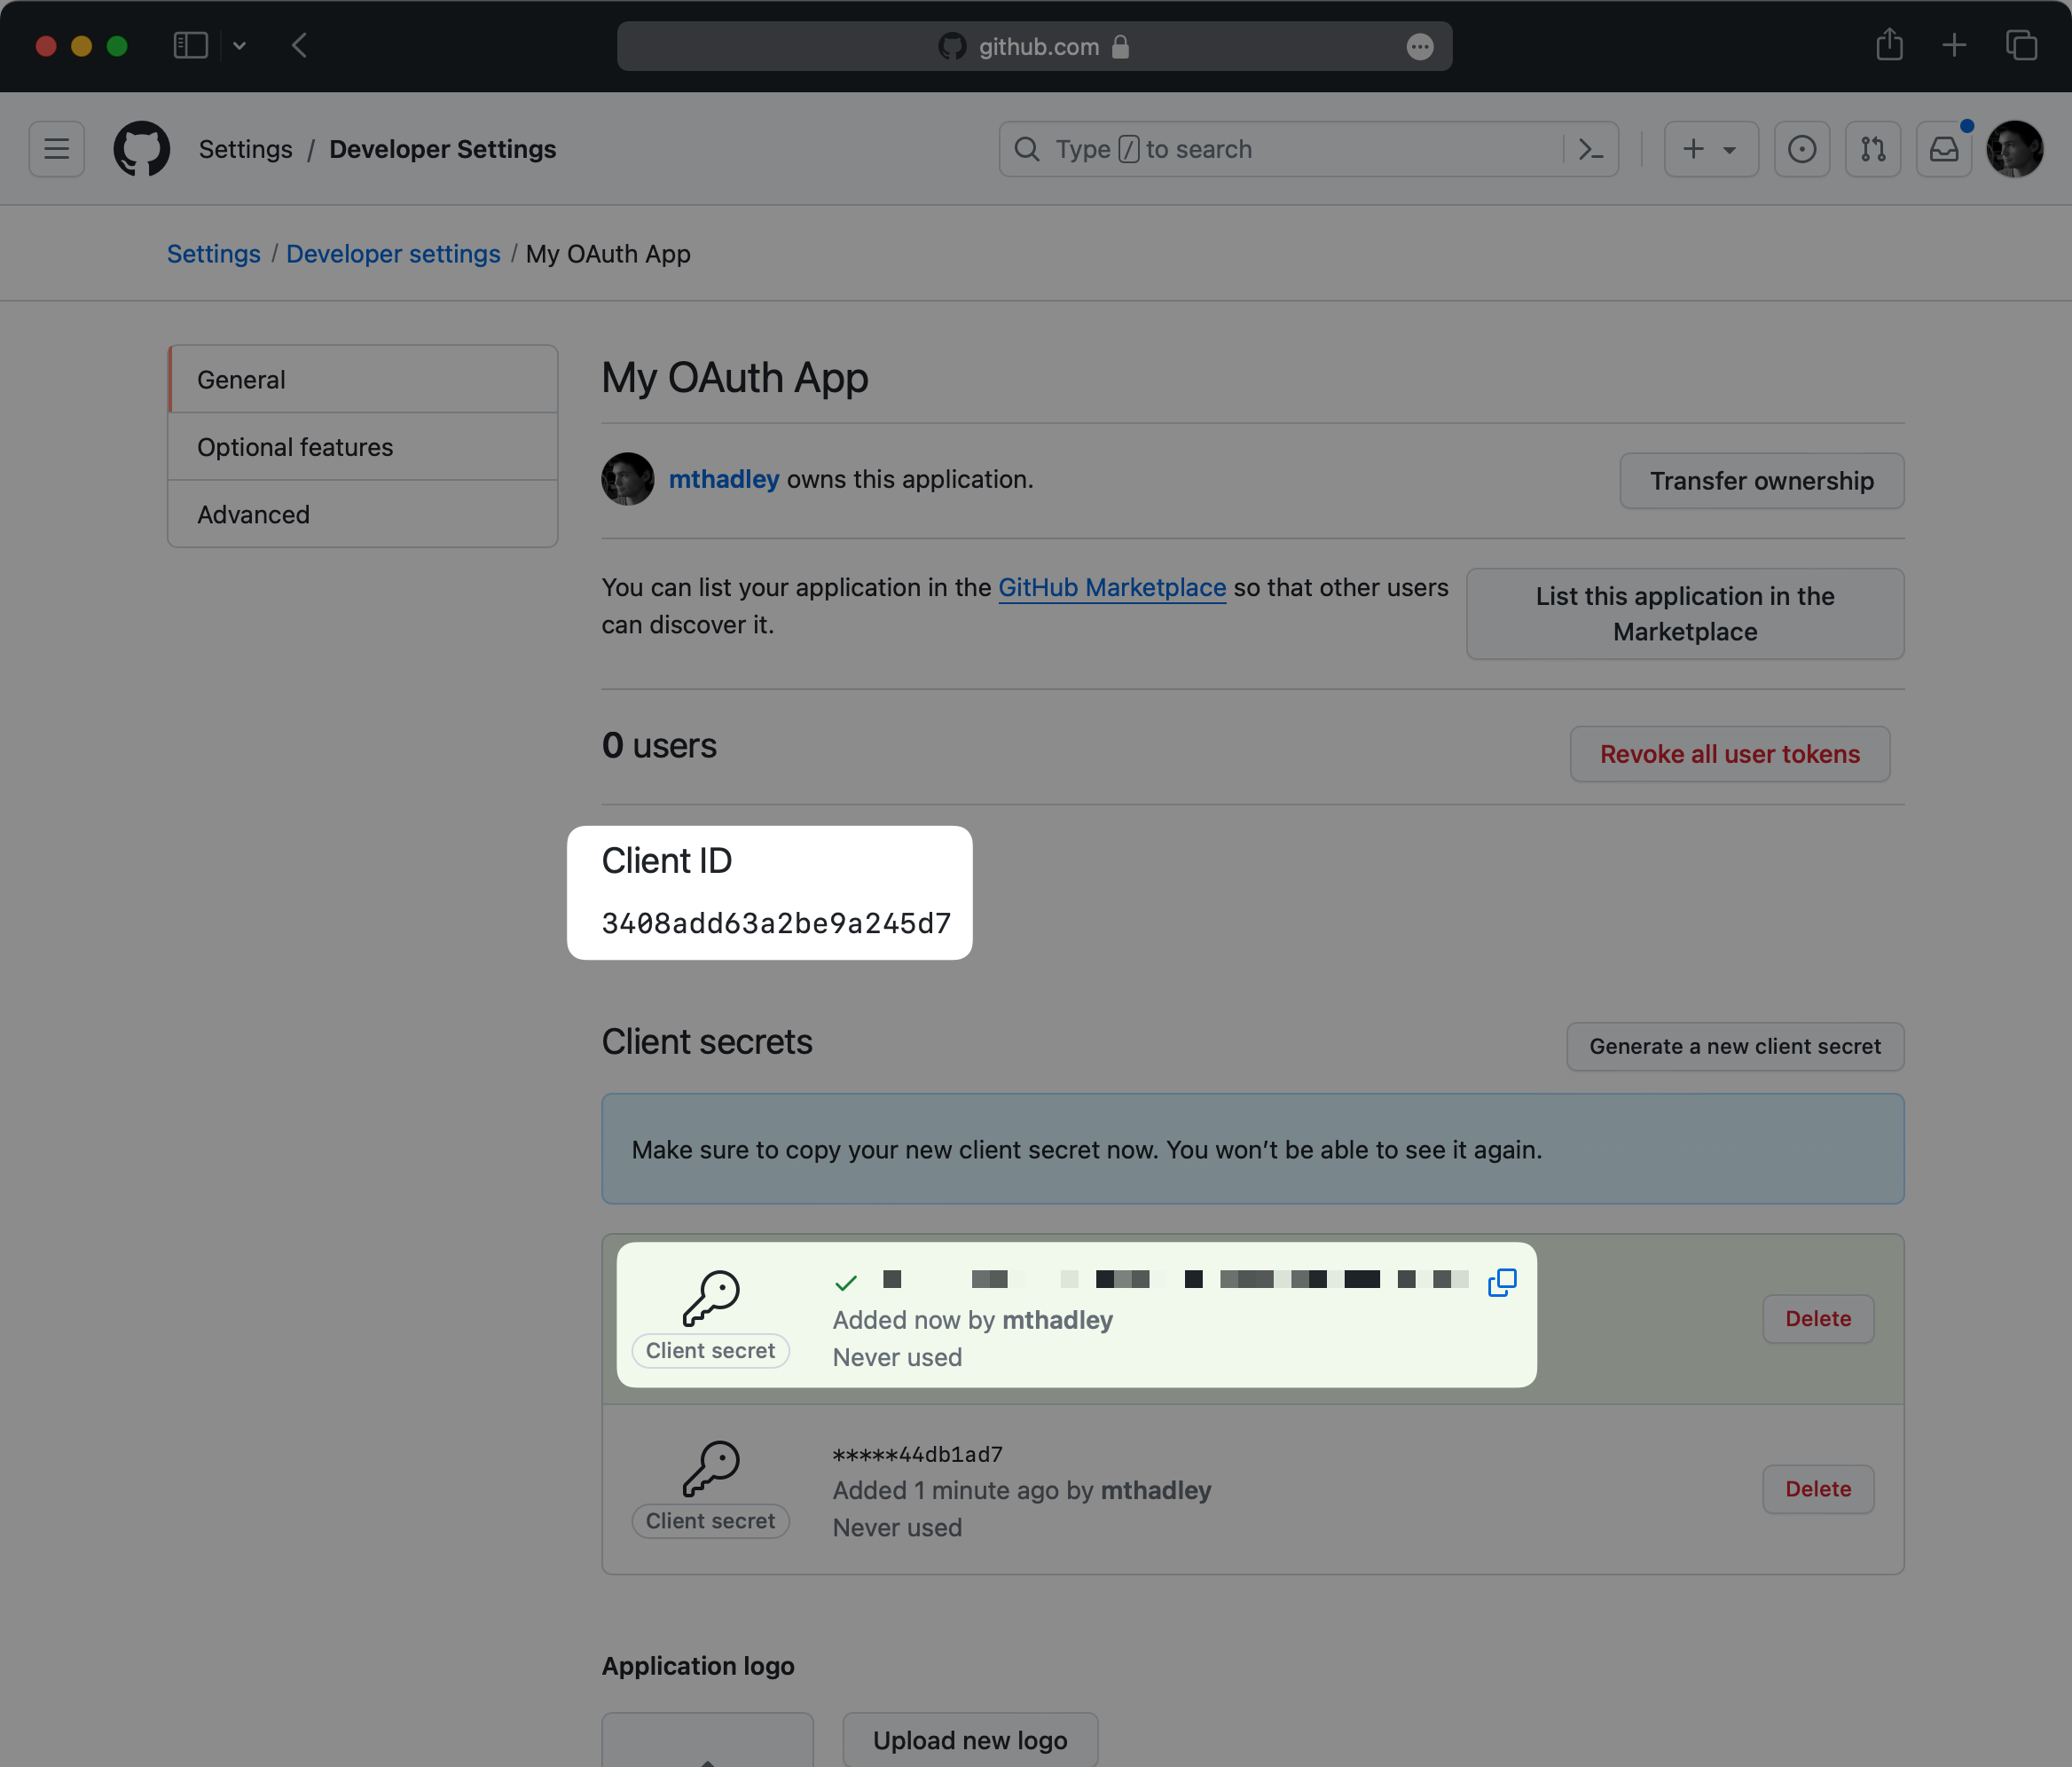
You’ll be given a Client ID. Note this value as you’ll need it for the WorkOS configuration.
Click Generate a new client secret to generate a new client secret. Note that this value is only temporarily available, so make sure to save it before proceeding.
Now that you have the GitHub Client ID and GitHub Client Secret from the previous step return to the WorkOS Dashboard.
In the GitHub OAuth configuration dialog, select Your app’s credentials. Paste the credentials from GitHub into their respective fields in the WorkOS Dashboard.
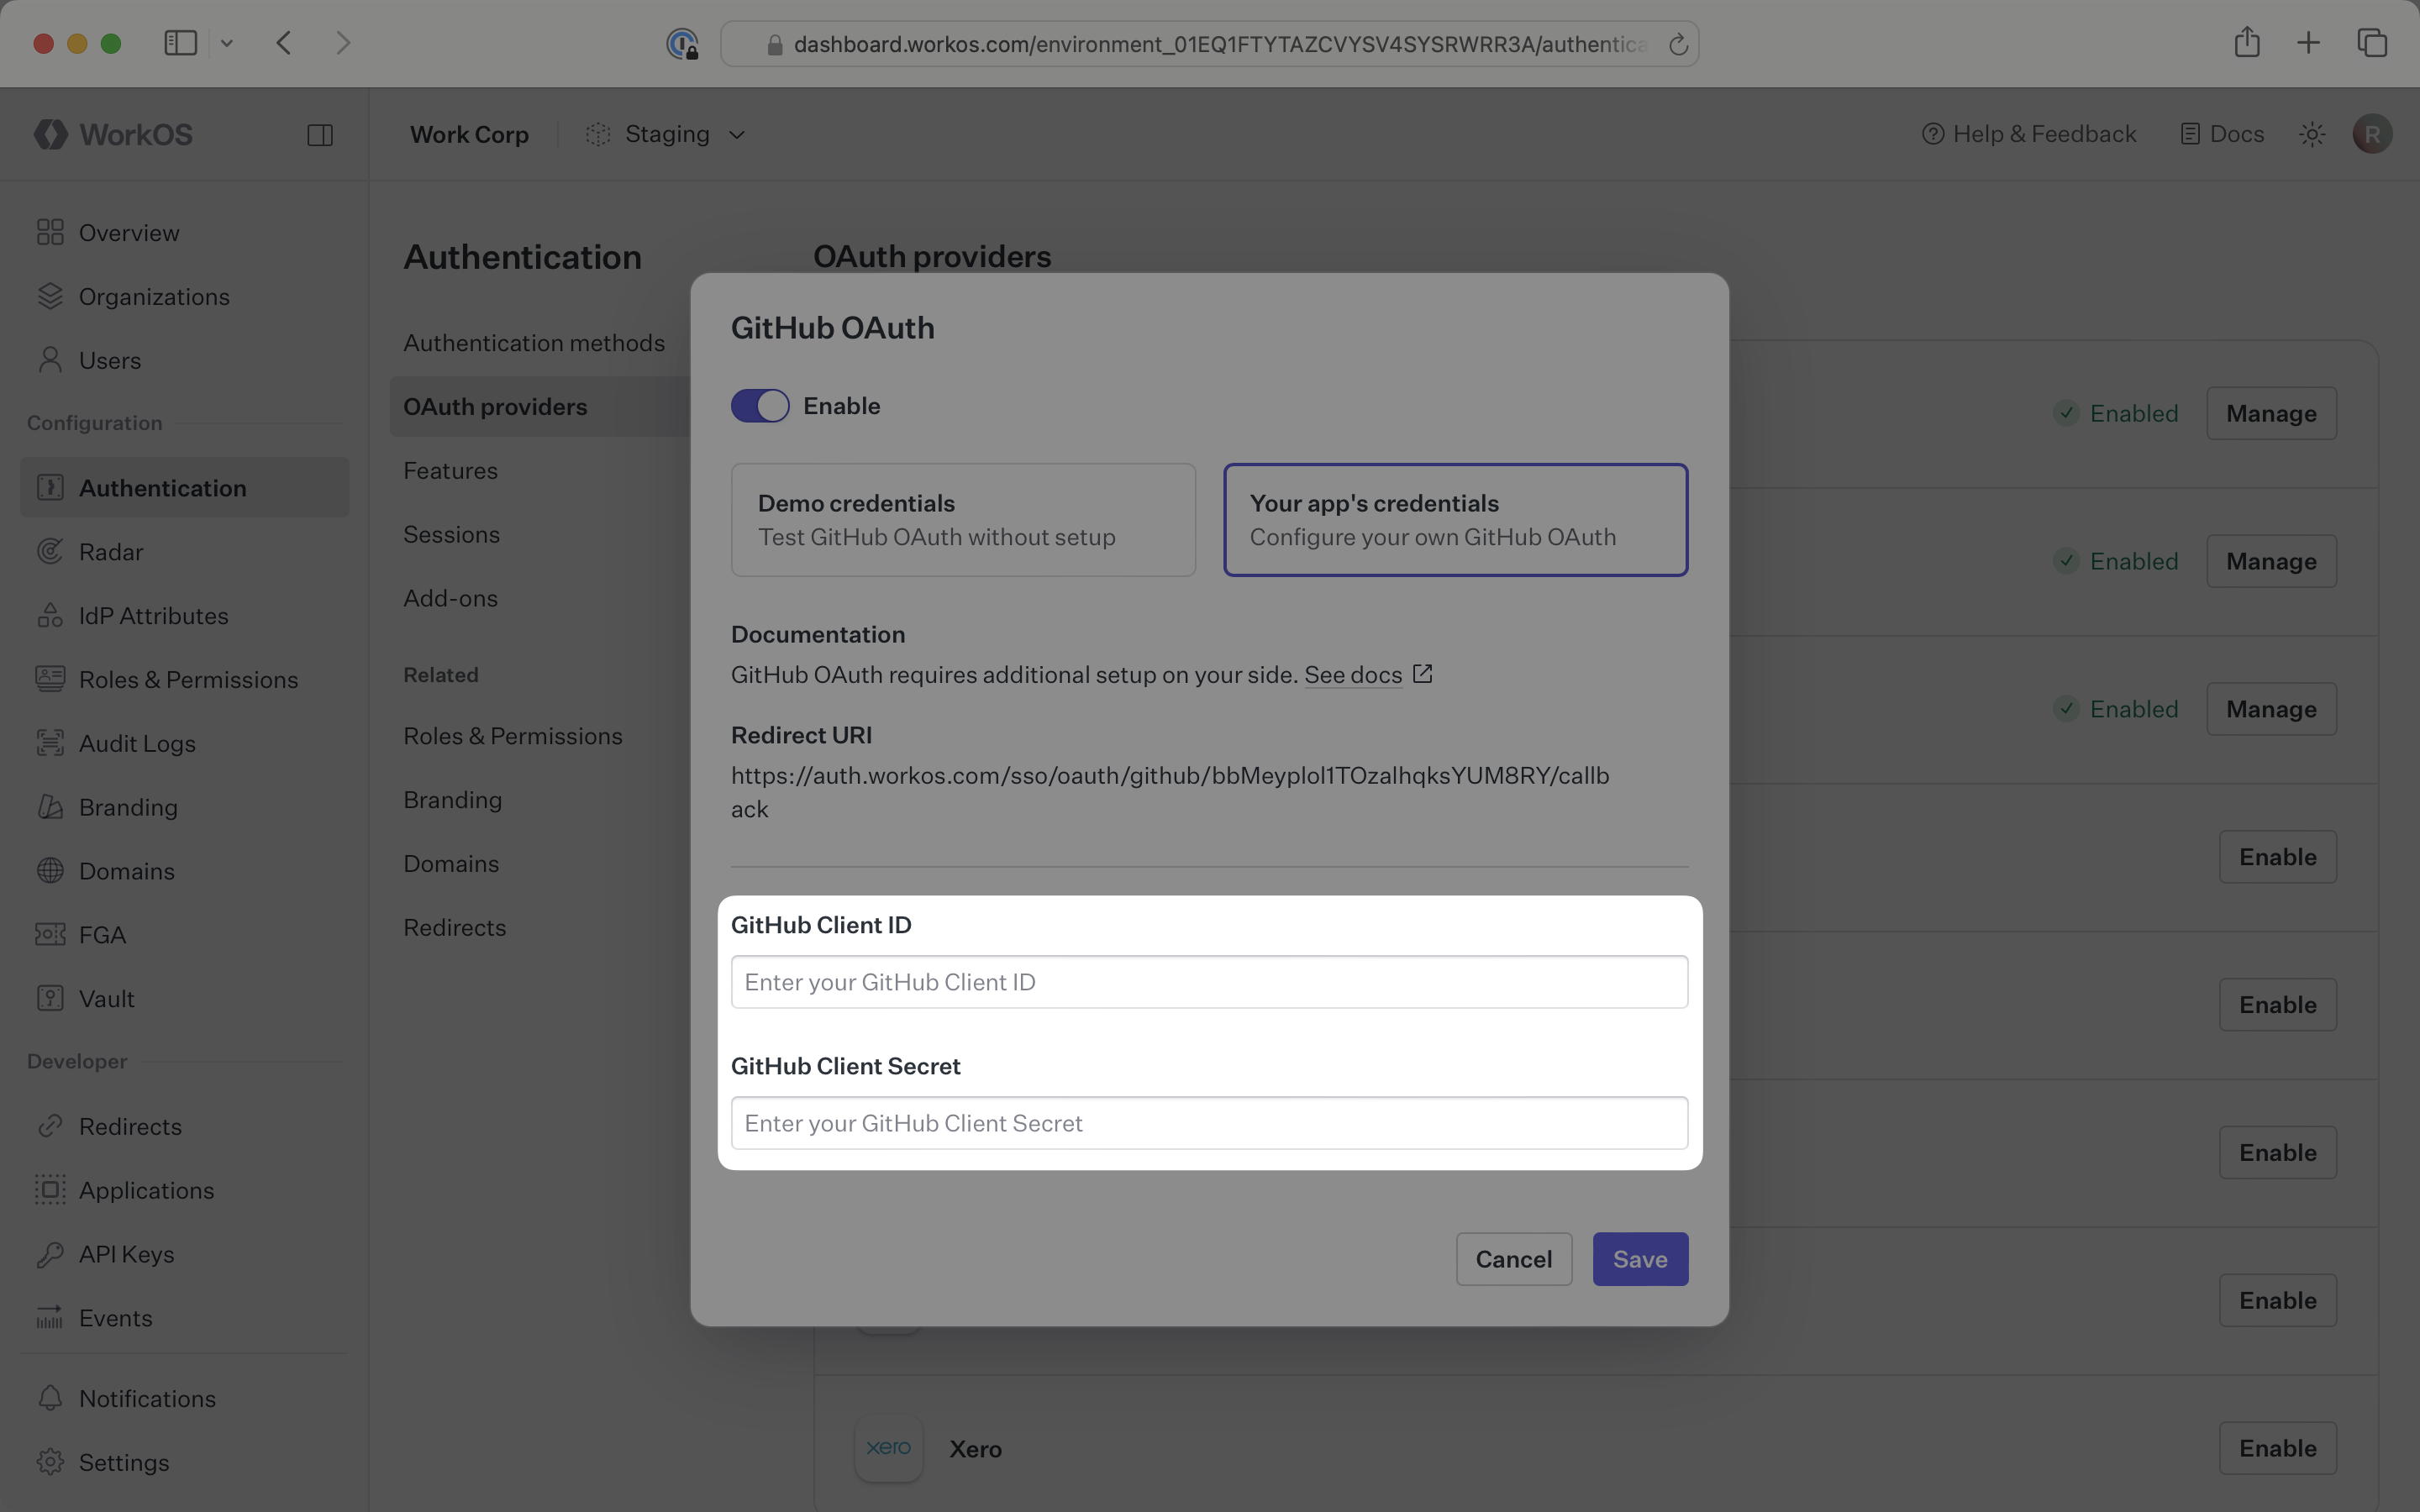
Click Save to complete the configuration.
You’re now able to authenticate users with GitHub OAuth. You will use the provider query parameter in the Get Authorization URL API endpoint to support global GitHub OAuth for any domain. The provider query parameter should be set to GitHubOAuth.
WorkOS will request the OAuth scopes that are required for authentication by default. You can optionally configure your integration to request additional OAuth scopes as needed.
When the Return GitHub OAuth tokens option is selected, the access token from GitHub will be included in the response from the Authenticate with code API. For GitHub Apps, the response will also include a refresh token and expiration when available.
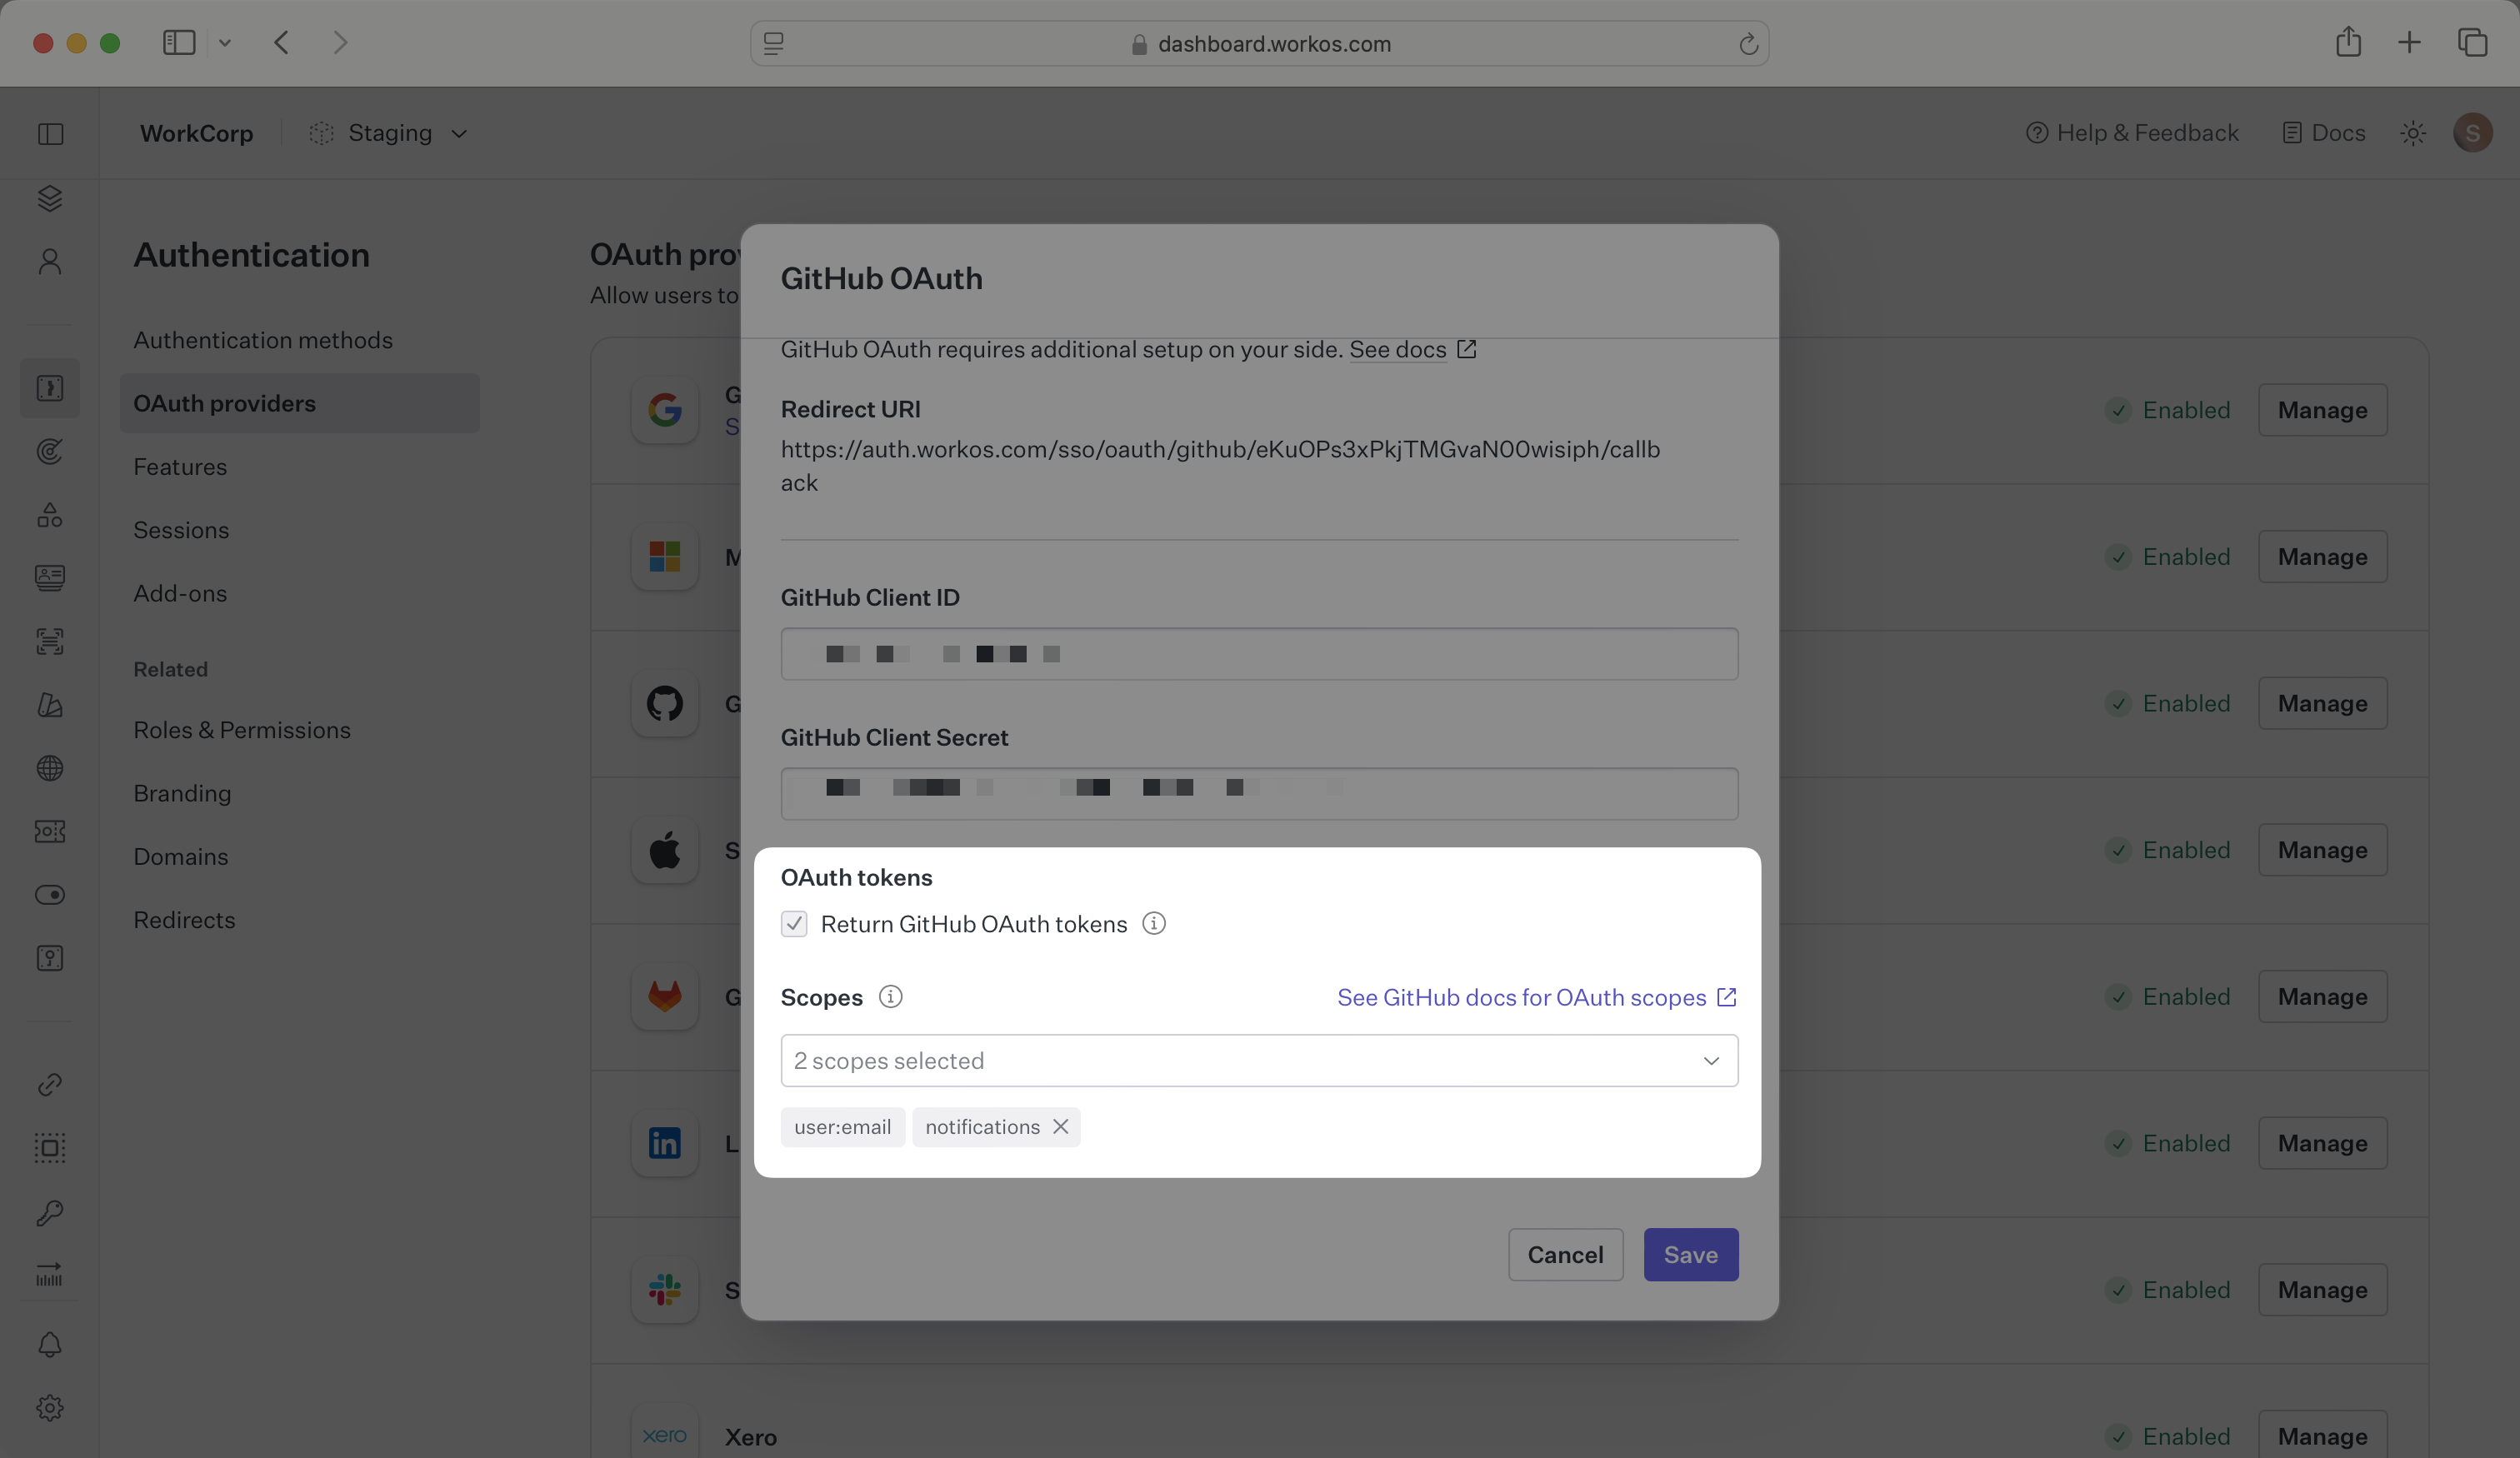
Any scopes configured here will be included on every GitHub OAuth request. To specify additional scopes dynamically, use the provider_scopes query parameter on the Get Authorization URL API endpoint.
For more information, see GitHub’s OAuth scopes documentation.
How is the WorkOS GitHub OAuth integration different from implementing regular GitHub OAuth flow?
It’s the same GitHub OAuth flow as you could build yourself, but it’s encapsulated within WorkOS SSO. This means you don’t need to build it yourself. In addition to GitHub OAuth, you can use WorkOS SSO to support other identity providers, all with a single integration.
What is the provider query parameter and how is it used in the GitHub OAuth integration?
You can use the provider query parameter in the Get Authorization URL API endpoint to support global GitHub OAuth for any domain. The provider query parameter should be set to GitHubOAuth.