GitLab OAuth
Learn how to set up OAuth with GitLab
The GitLab OAuth integration allows your users to authenticate using their GitLab credentials.
The configuration process involves creating an OAuth application in GitLab and configuring the client credentials in your WorkOS Dashboard.
When setting up GitLab OAuth, WorkOS provides one key piece of information that needs to be configured in your GitLab OAuth application:
- Redirect URI: The endpoint where GitLab will send authentication responses after successful login
The Redirect URI is available in the WorkOS Dashboard. In the left navigation menu, select the Authentication tab and the OAuth providers sub-tab. Locate the GitLab section.

Click Enable. The GitLab OAuth configuration dialog will open. Locate the Redirect URI.

The Redirect URI serves as the destination for authentication responses and must be configured in your GitLab OAuth application as the redirect URI.
You will need to obtain two pieces of information from a GitLab OAuth application:
- GitLab Client ID: Application identifier from GitLab (called Application ID in GitLab)
- GitLab Client Secret: Authentication secret for the application (called Secret in GitLab)
The following sections will guide you through creating an OAuth application in your GitLab account and generating these credentials.
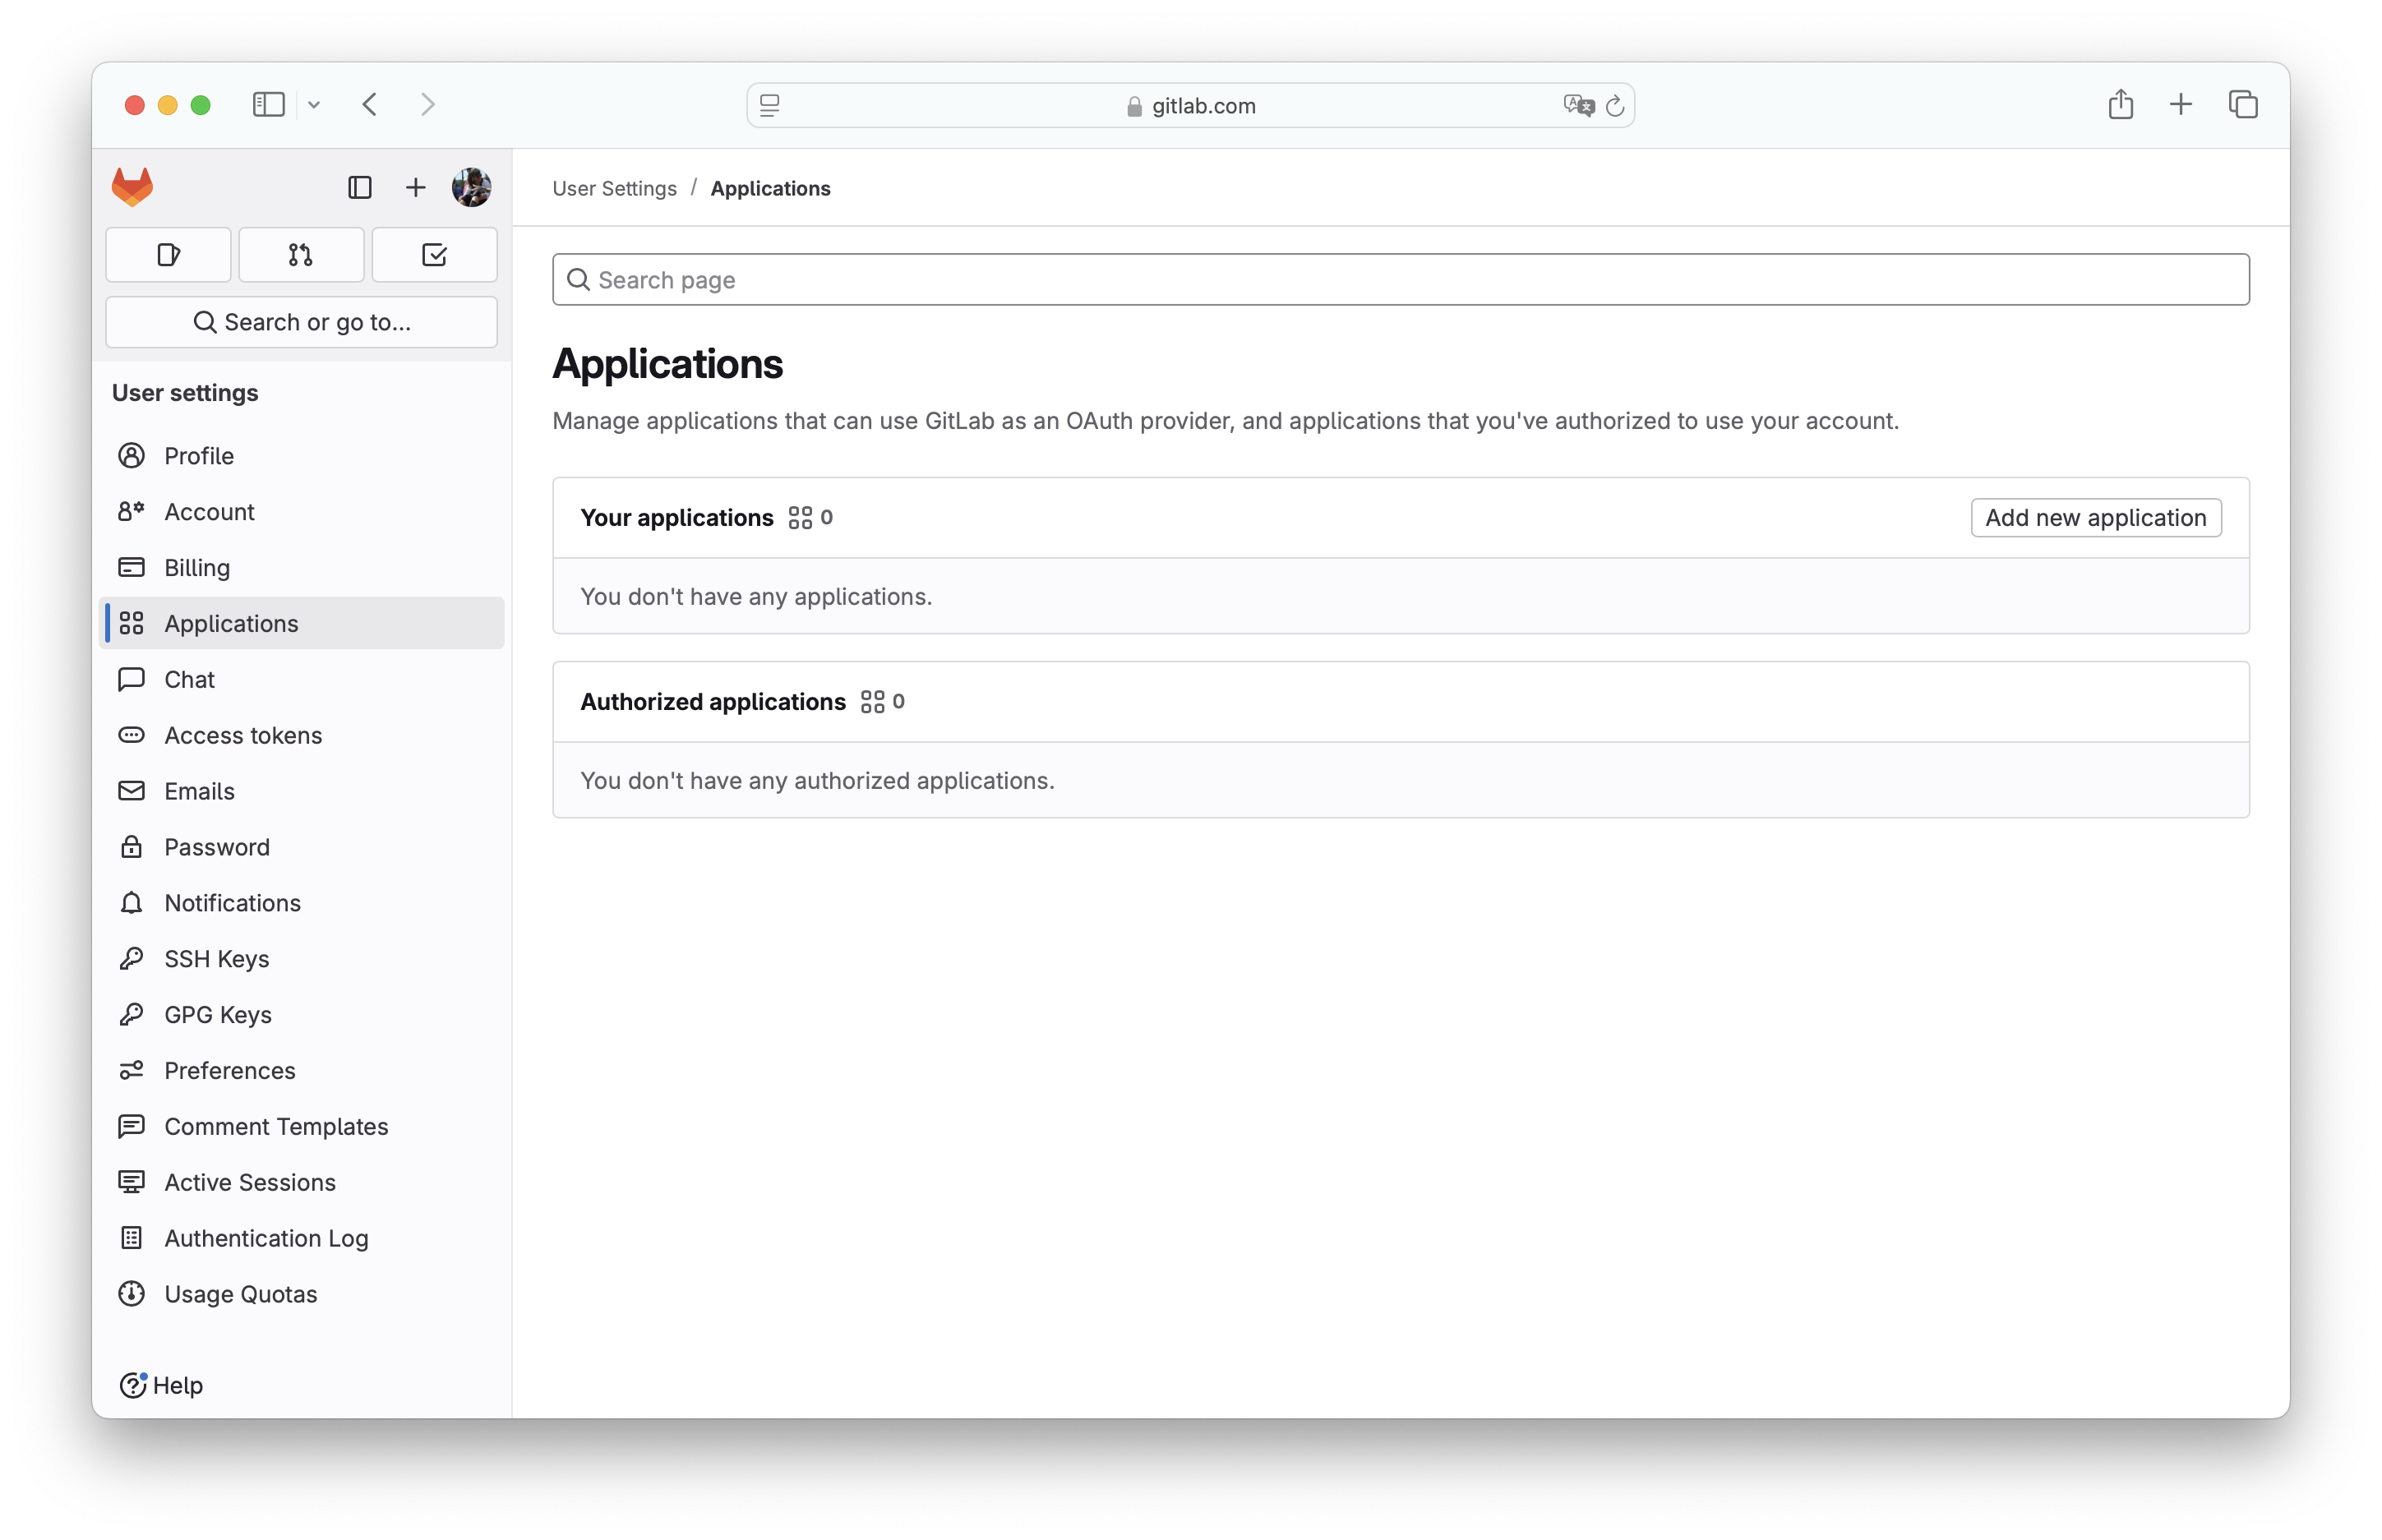
Log in to your GitLab account and navigate to your user settings.
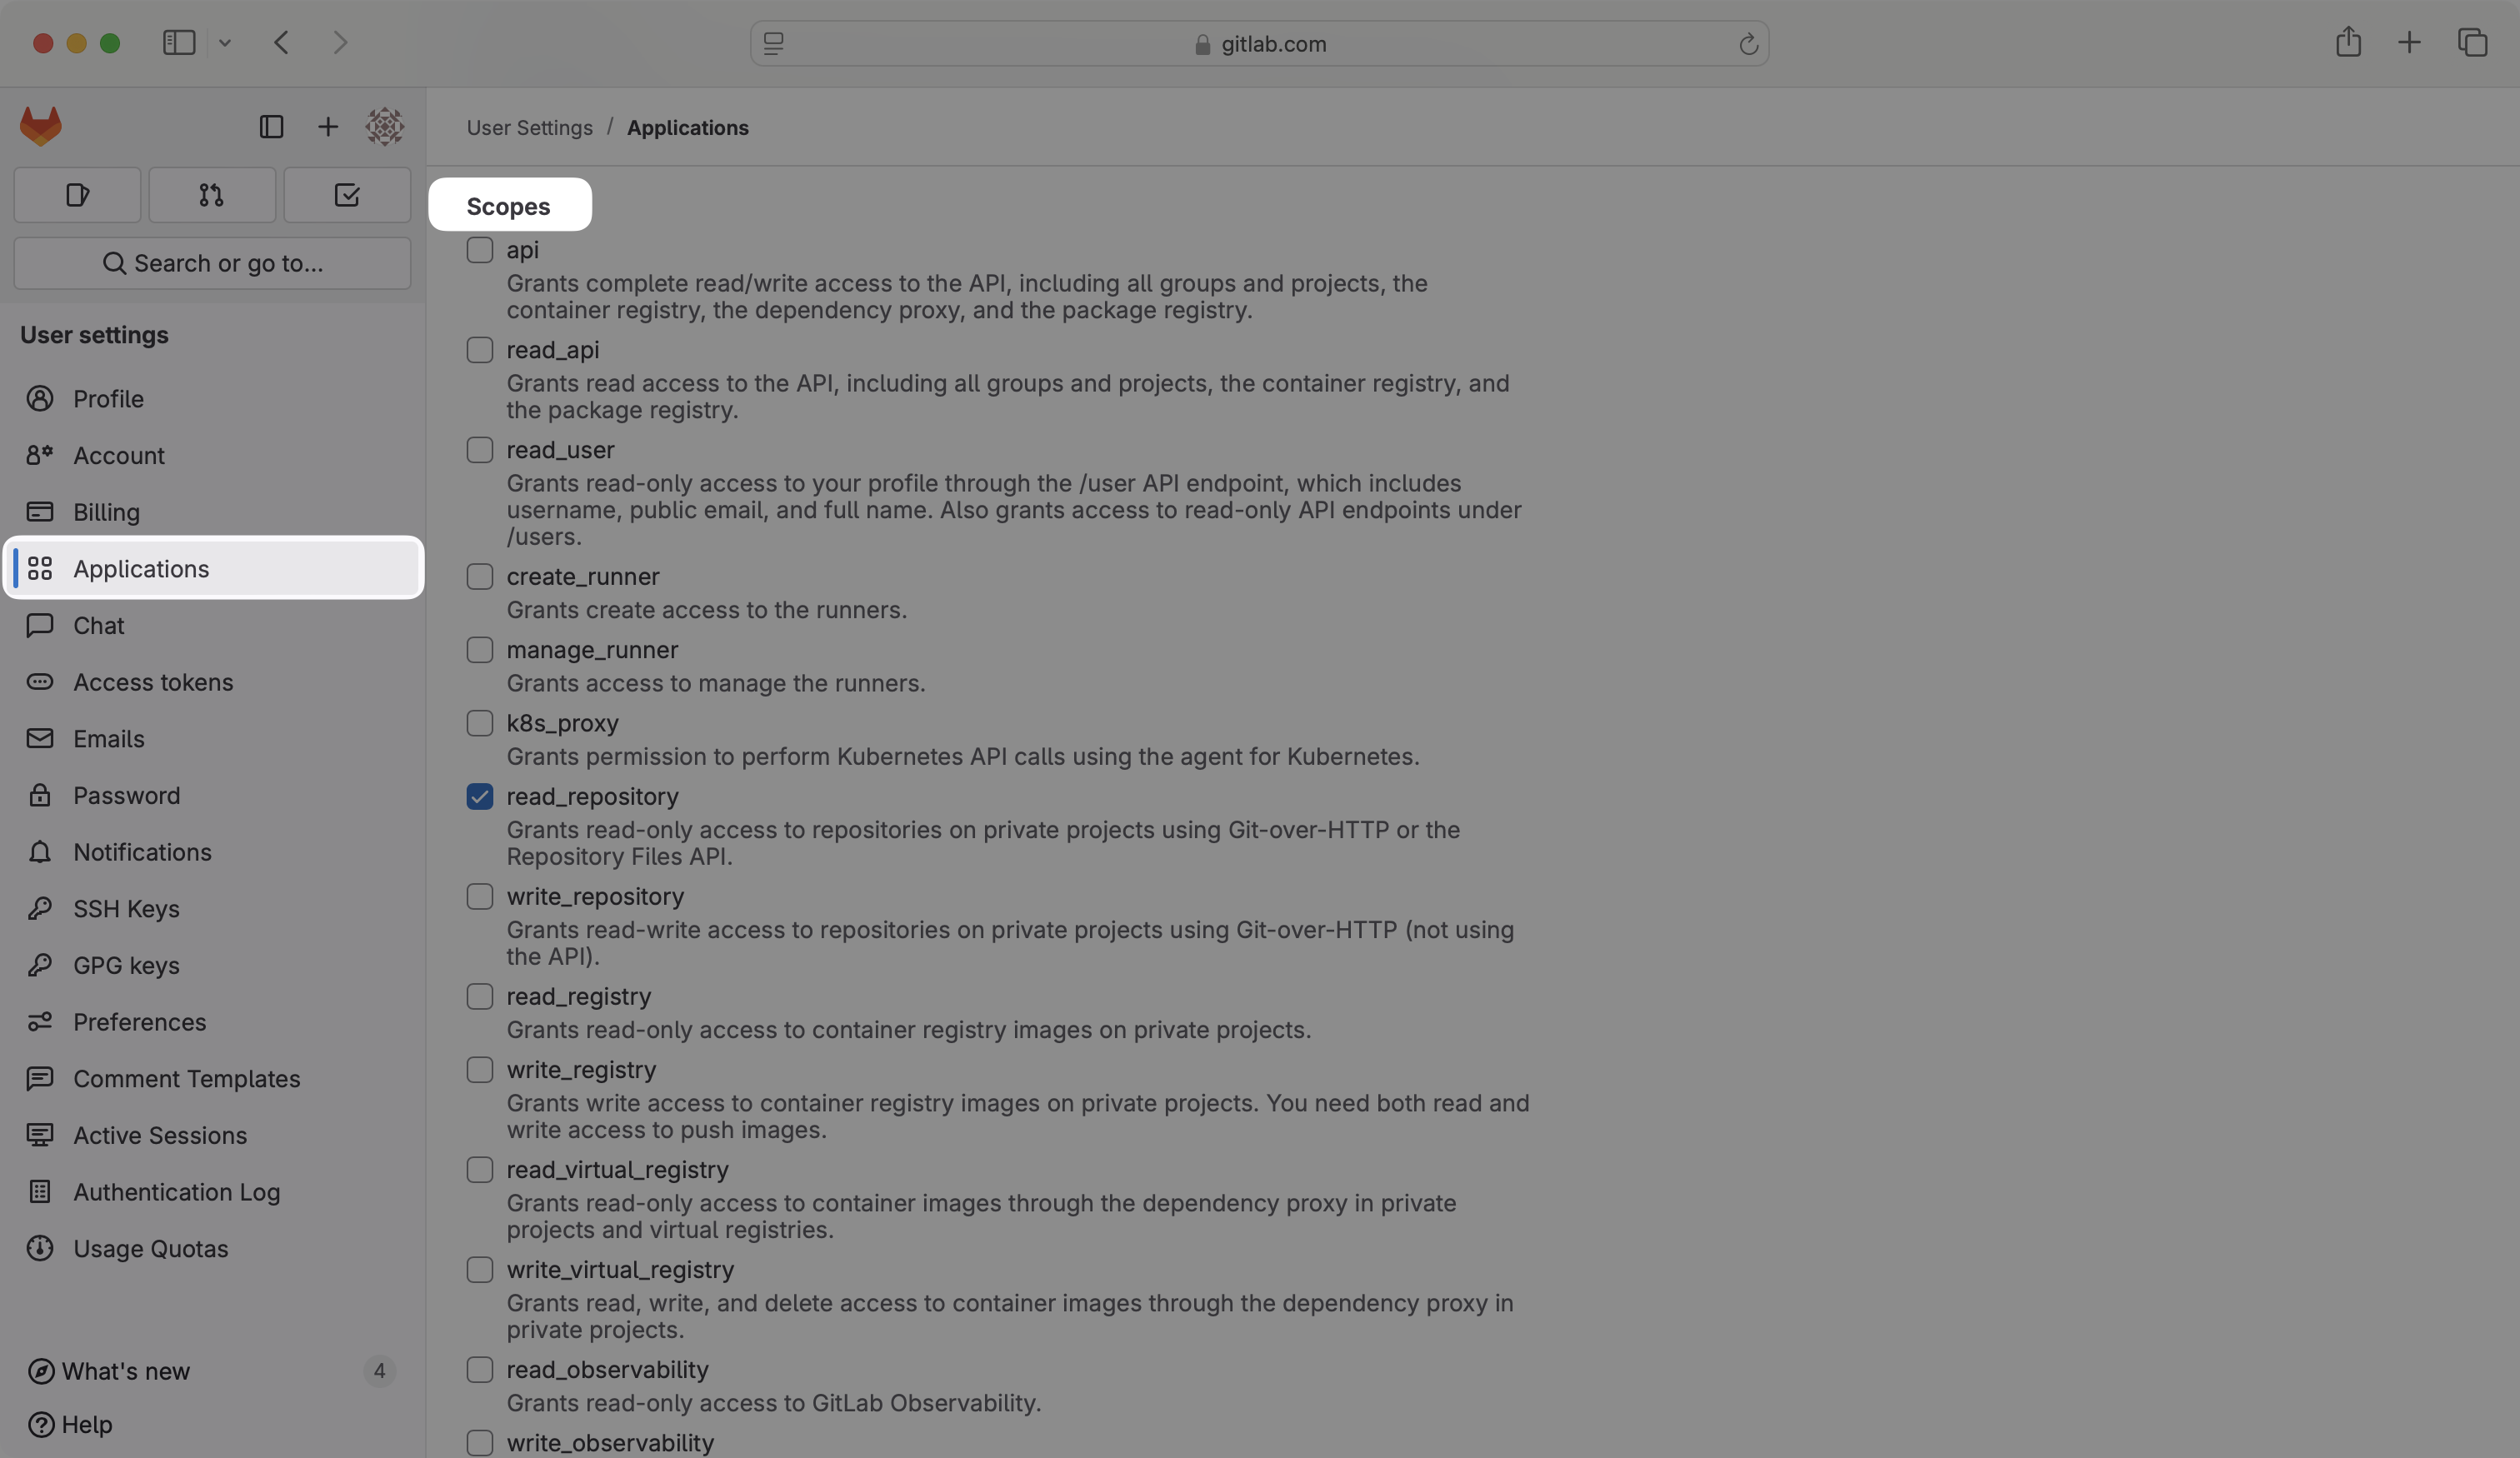
In the left navigation menu, select your avatar. Click Edit profile. Select Applications. Click Add new application.
Fill out the form with relevant details about your application, including the application name.
For Redirect URI, enter the Redirect URI from the GitLab OAuth configuration in the WorkOS Dashboard.
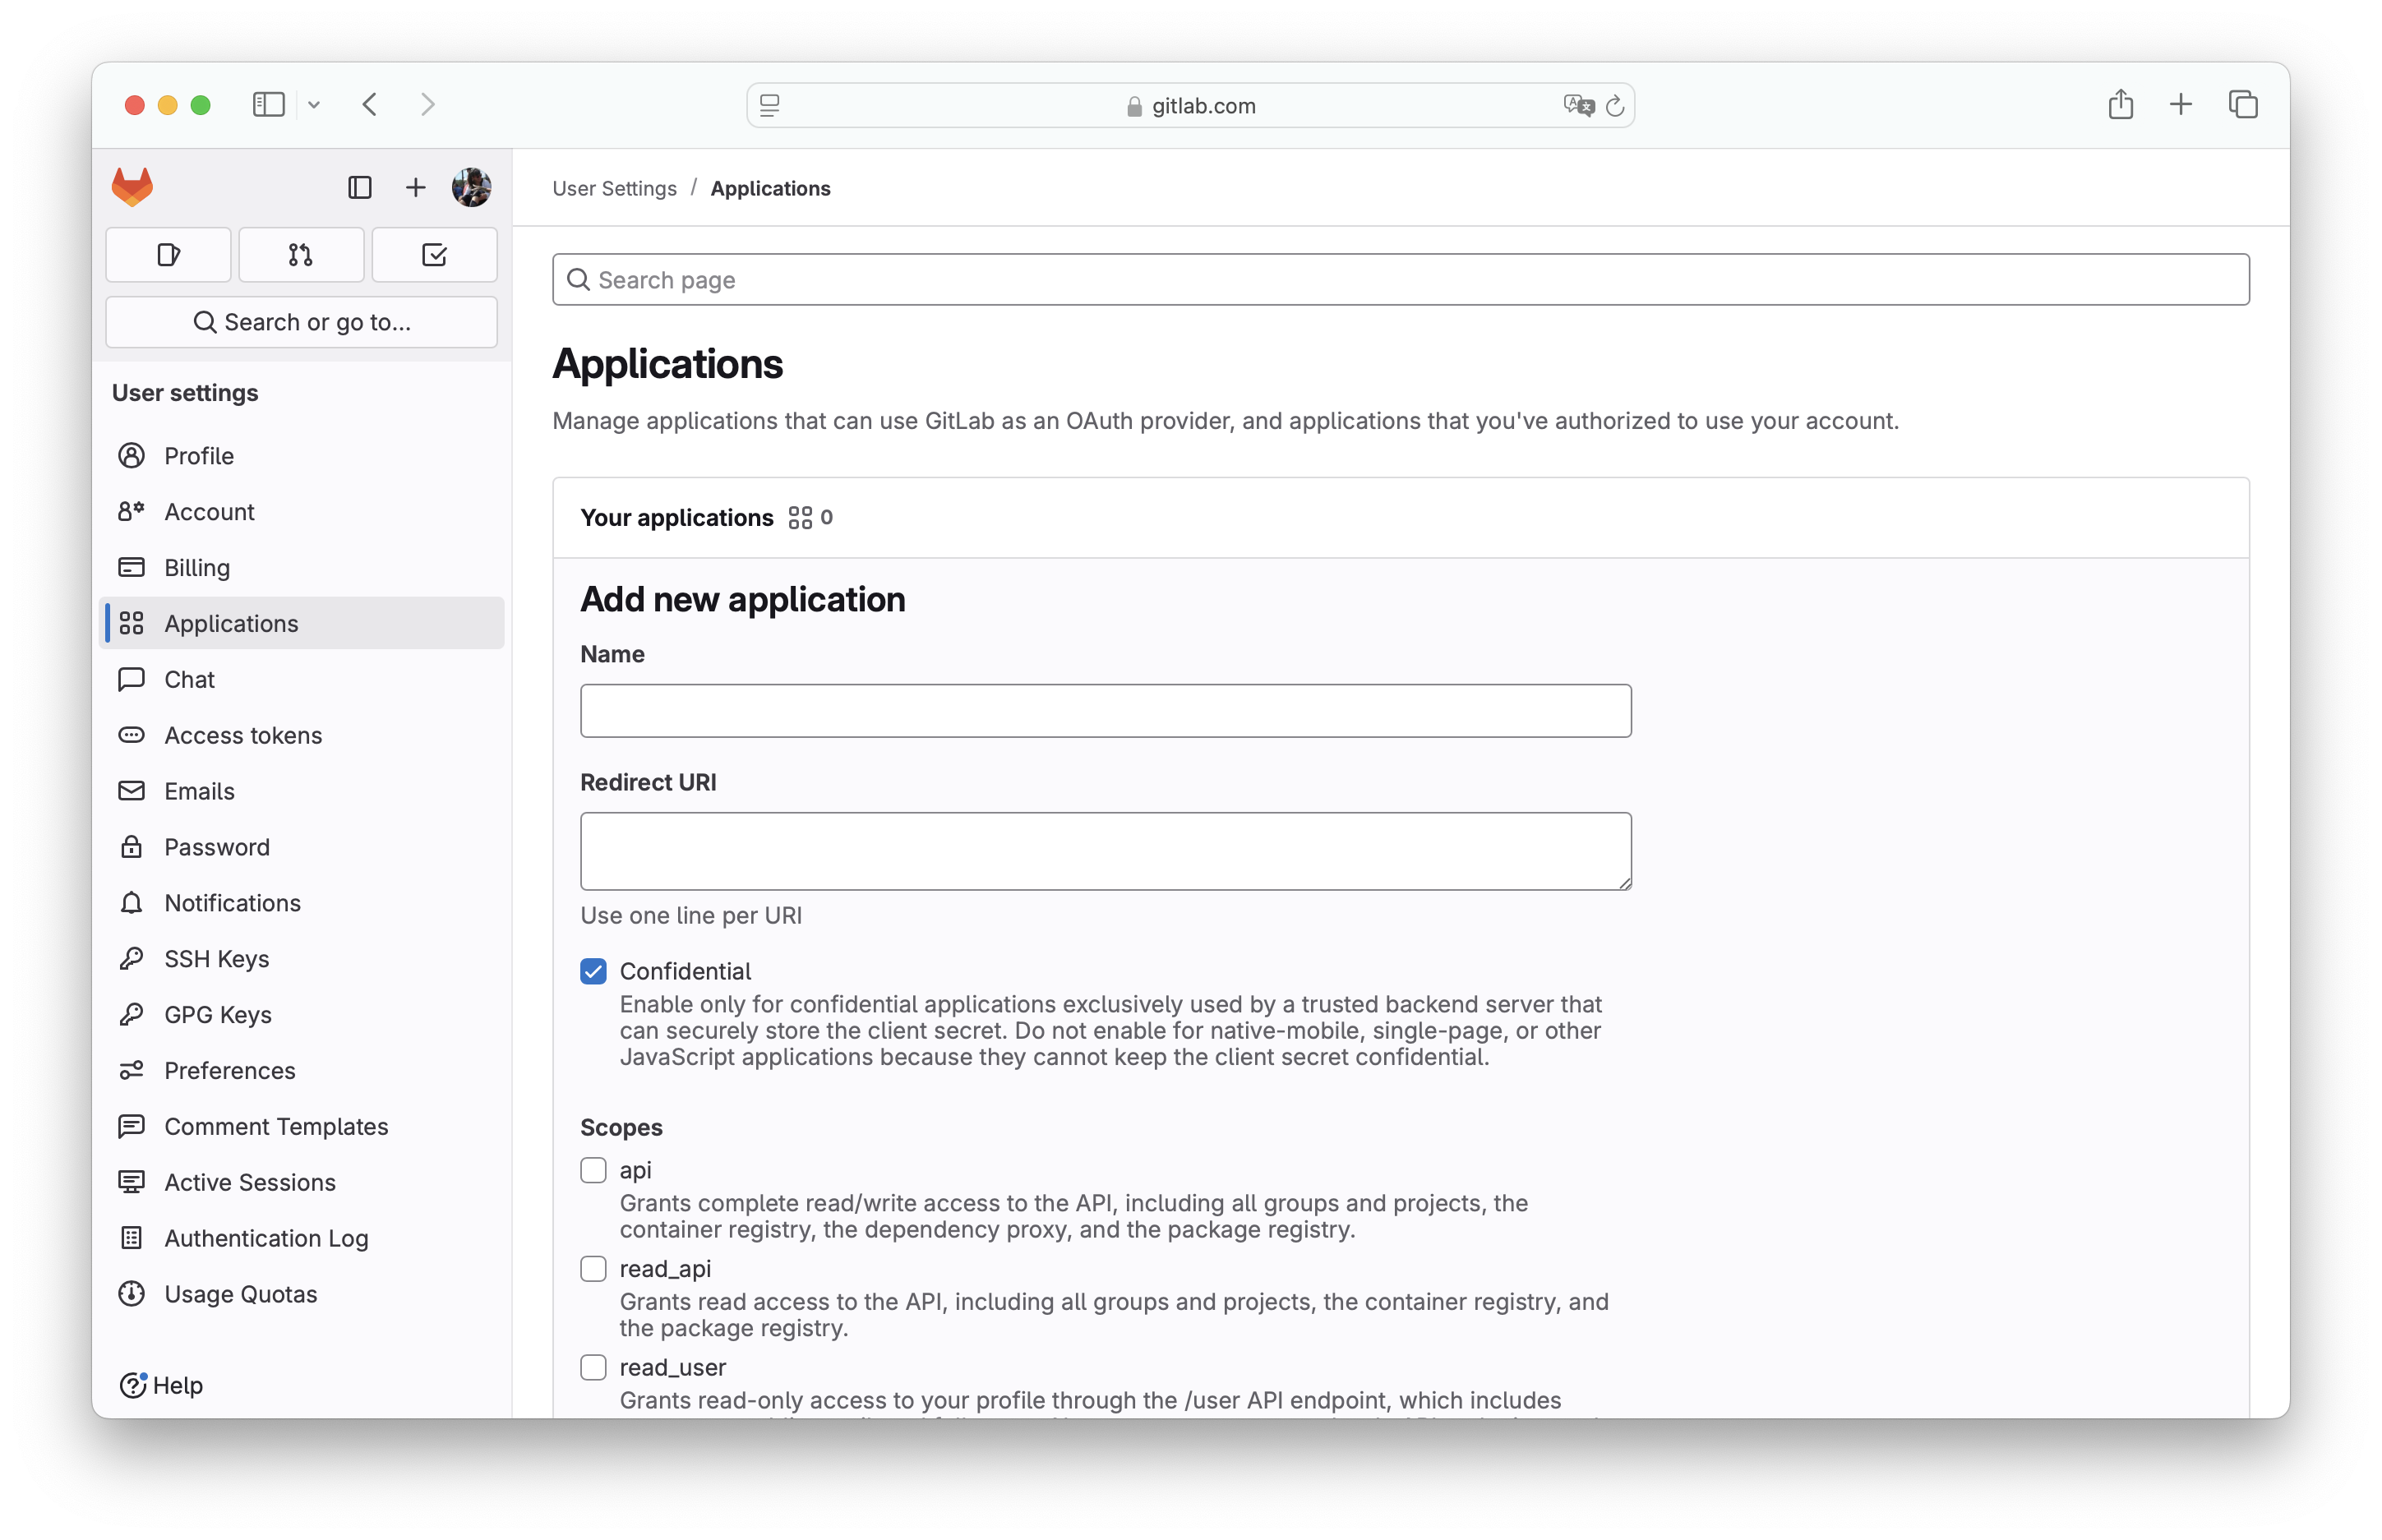
The Confidential flag is enabled by default. It should be exclusively used by a trusted backend server that can securely store the client secret. For native-mobile, single-page, or other JavaScript applications, disable this flag.
Select the openid, profile, and email scopes for this app to allow the application to read user profile information, then click Save application.
On the next page, you will see the GitLab Application ID and Secret for your new OAuth application.
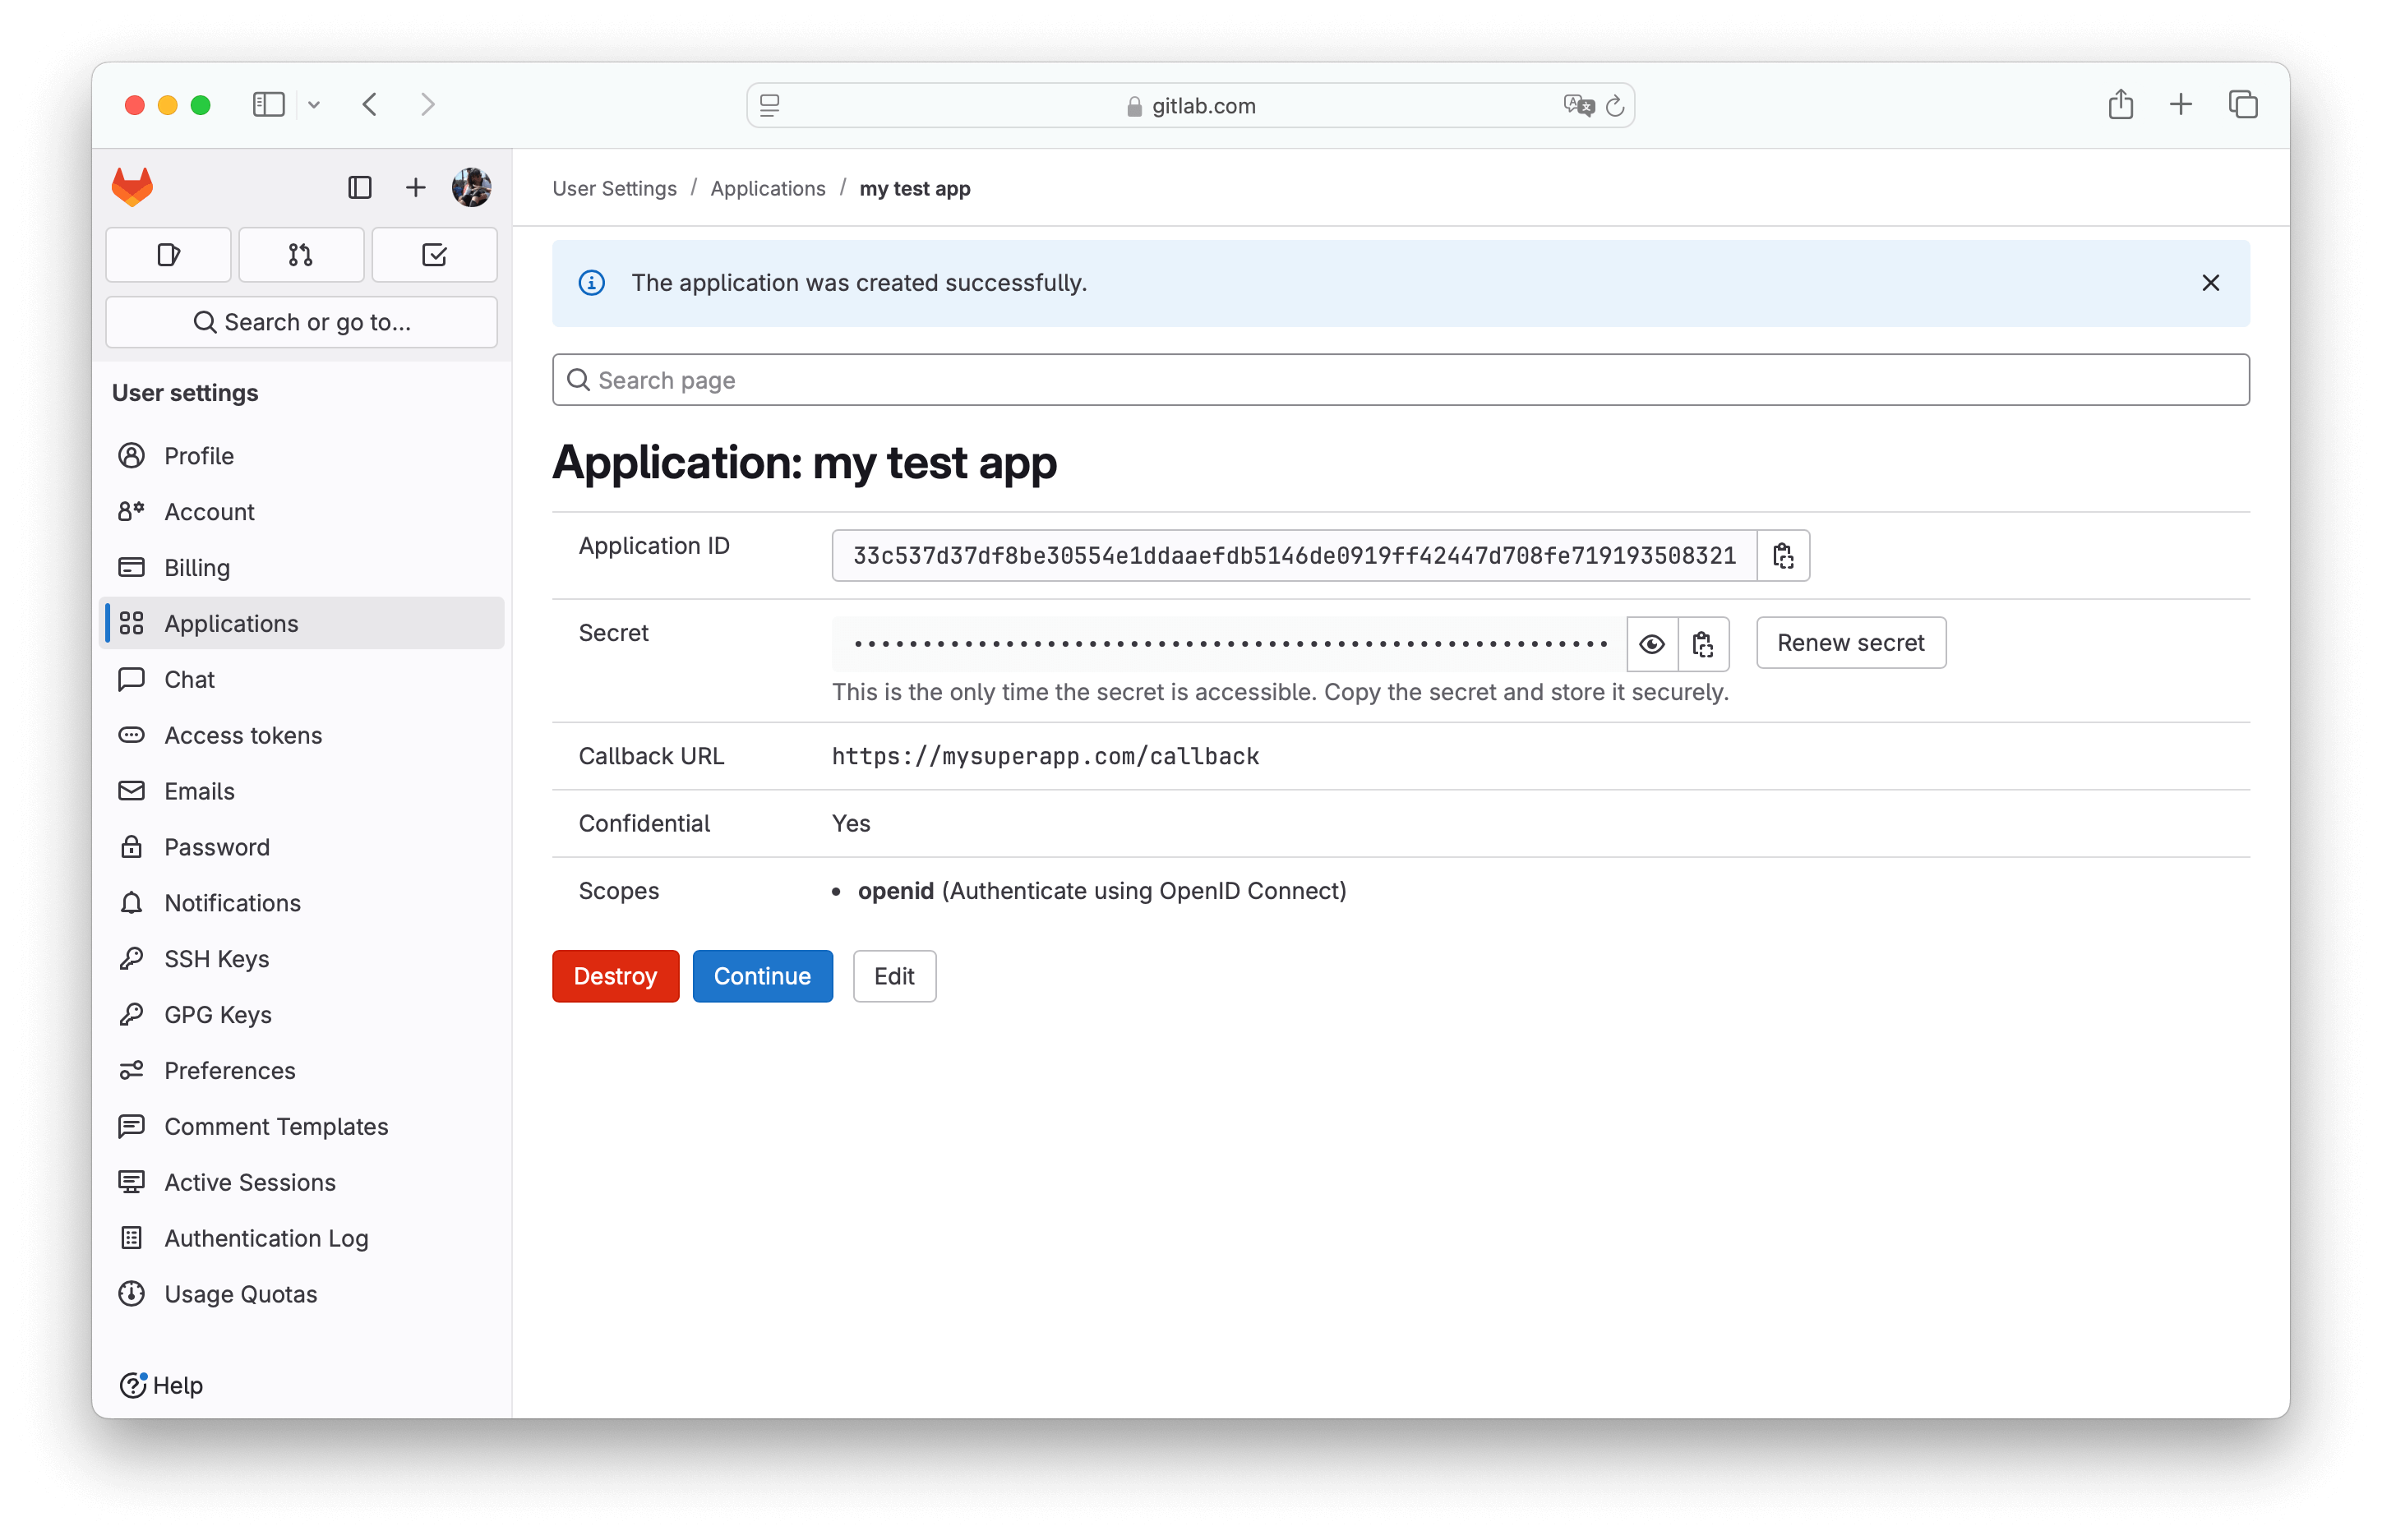
Note the Application ID and Secret values as you’ll need them for the WorkOS configuration.
Now that you have the GitLab Client ID (Application ID) and GitLab Client Secret (Secret) from the previous step, return to the WorkOS Dashboard.
In the GitLab OAuth configuration dialog, enable the integration. Paste the credentials from GitLab into their respective fields in the WorkOS Dashboard.
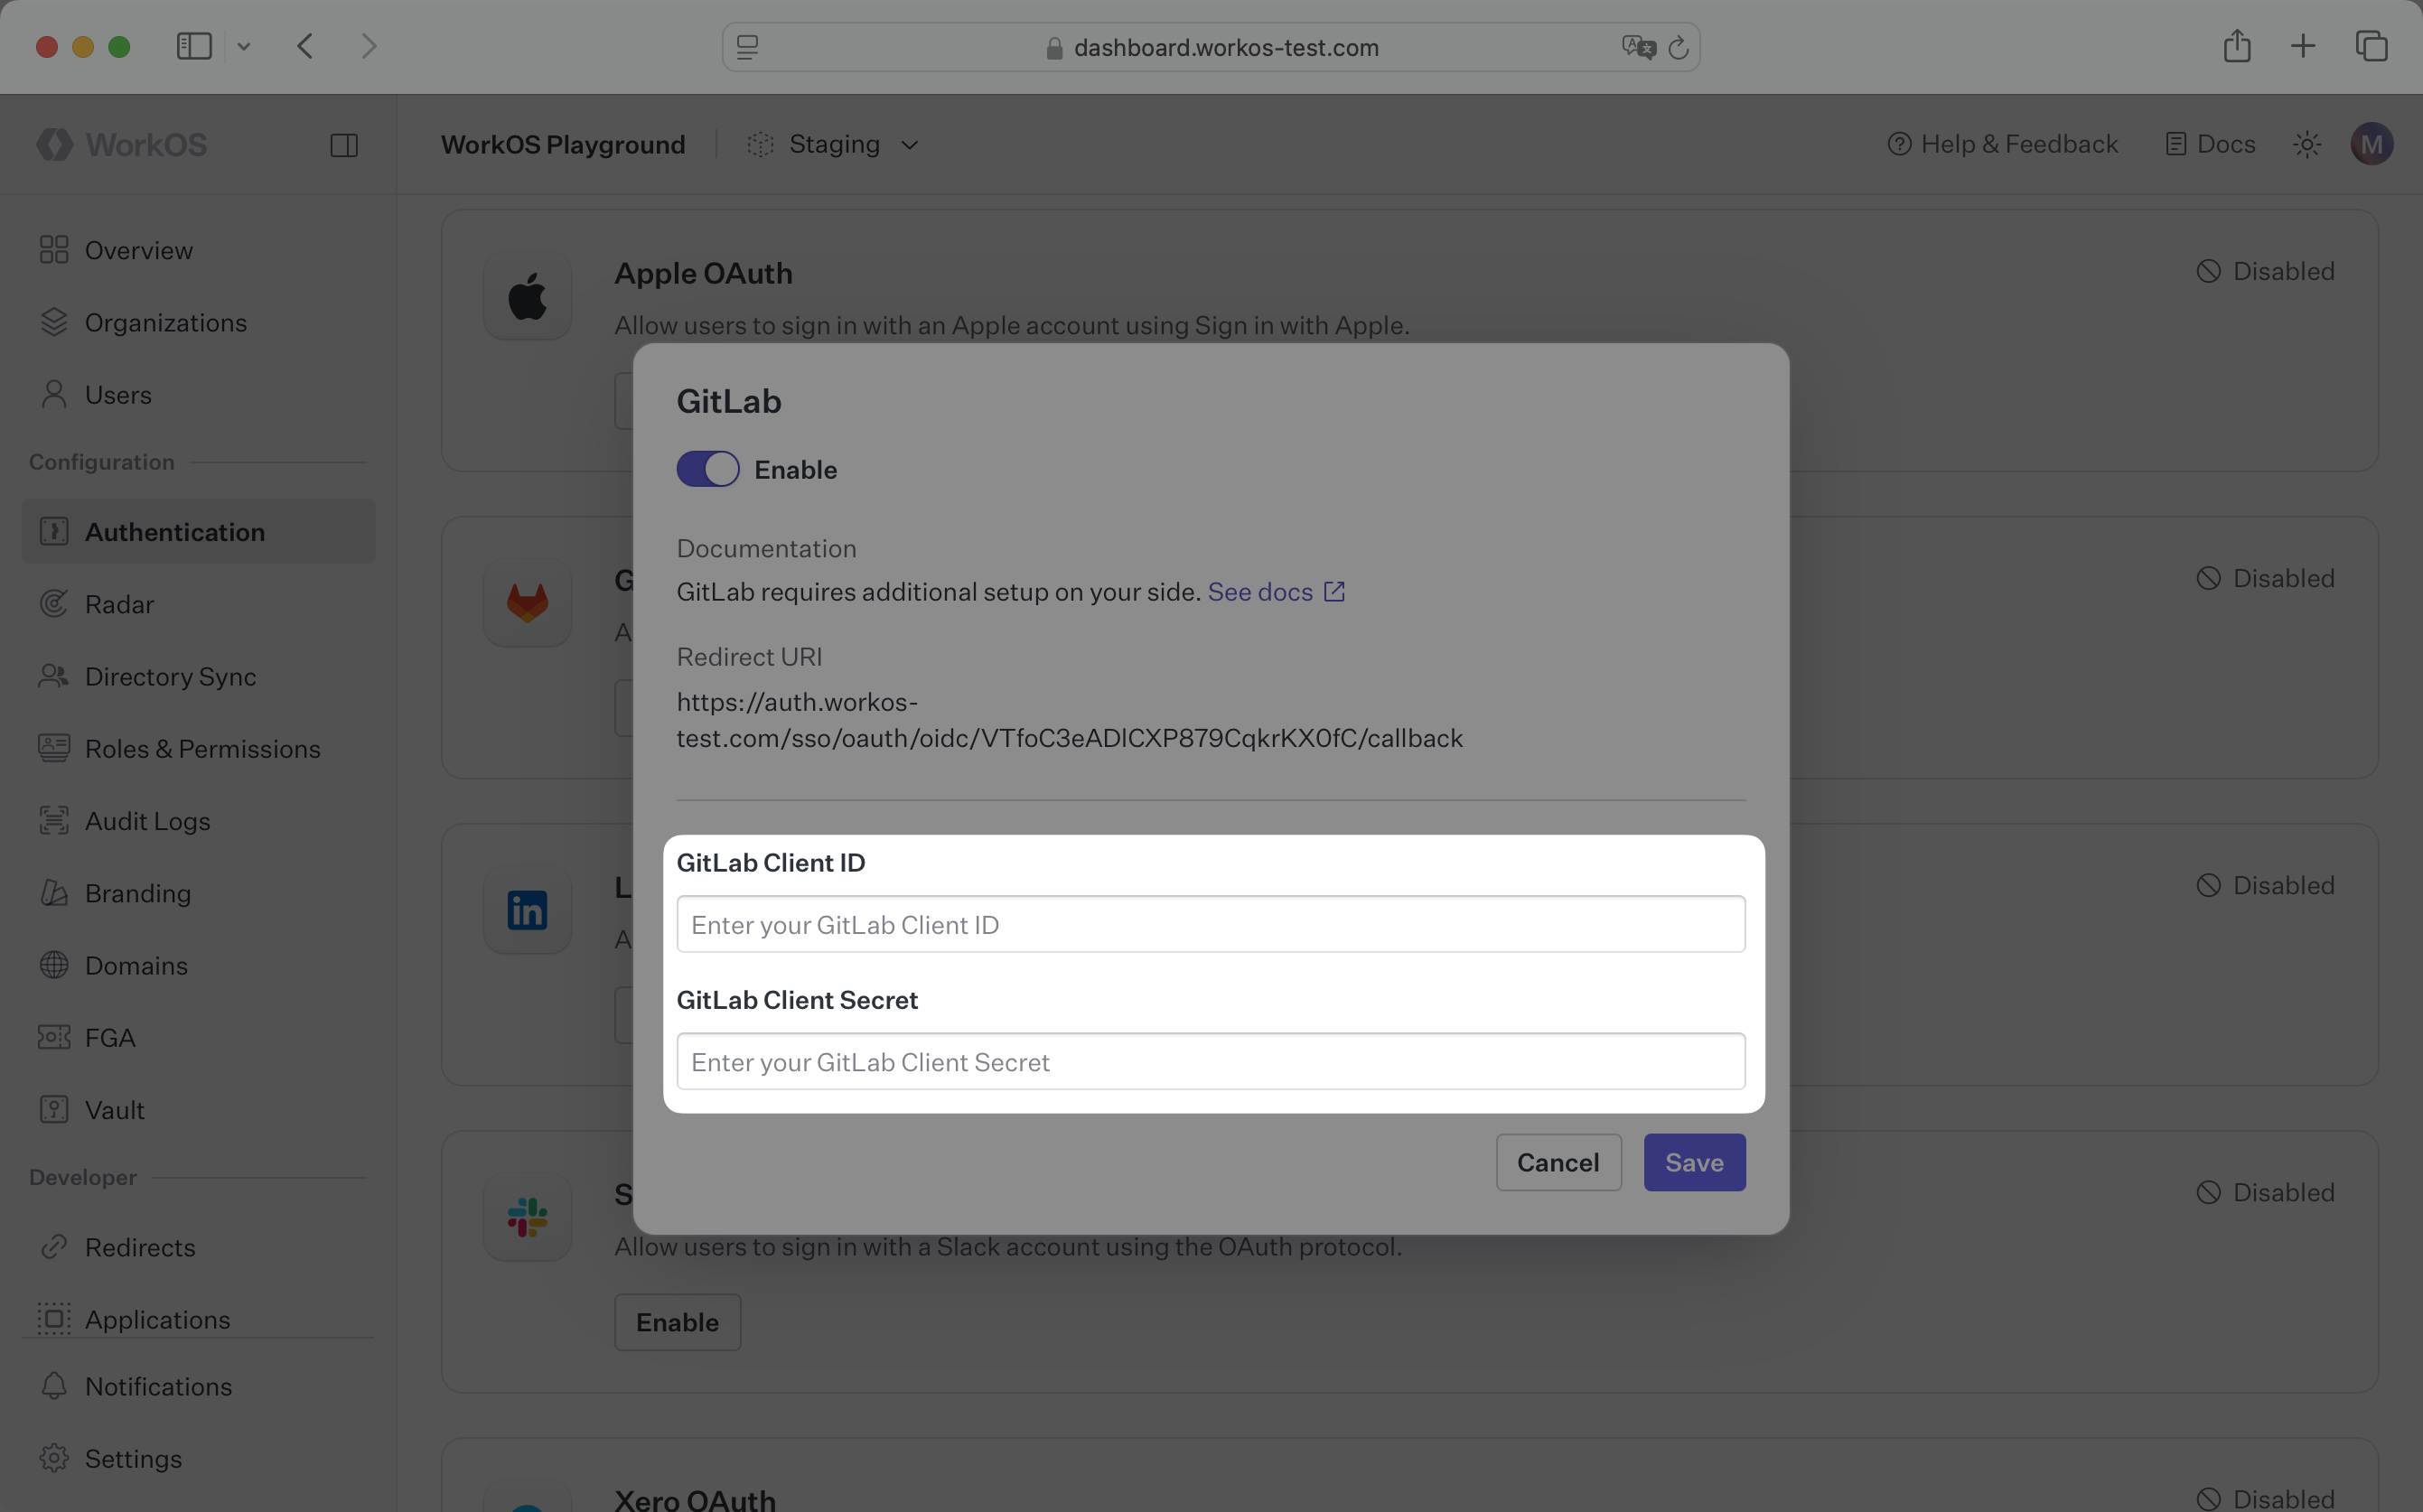
Click Save to complete the configuration.
You are now ready to start authenticating with GitLab OAuth. You will use the provider query parameter in the Get Authorization URL API endpoint to support global GitLab OAuth for any domain. The provider query parameter should be set to GitLabOAuth.
WorkOS will request the OAuth scopes that are required for authentication by default. You can optionally configure your integration to request additional OAuth scopes as needed.
When the Return GitLab OAuth tokens option is selected, the access token and refresh token from GitLab will be included in the response from the Authenticate with code API.
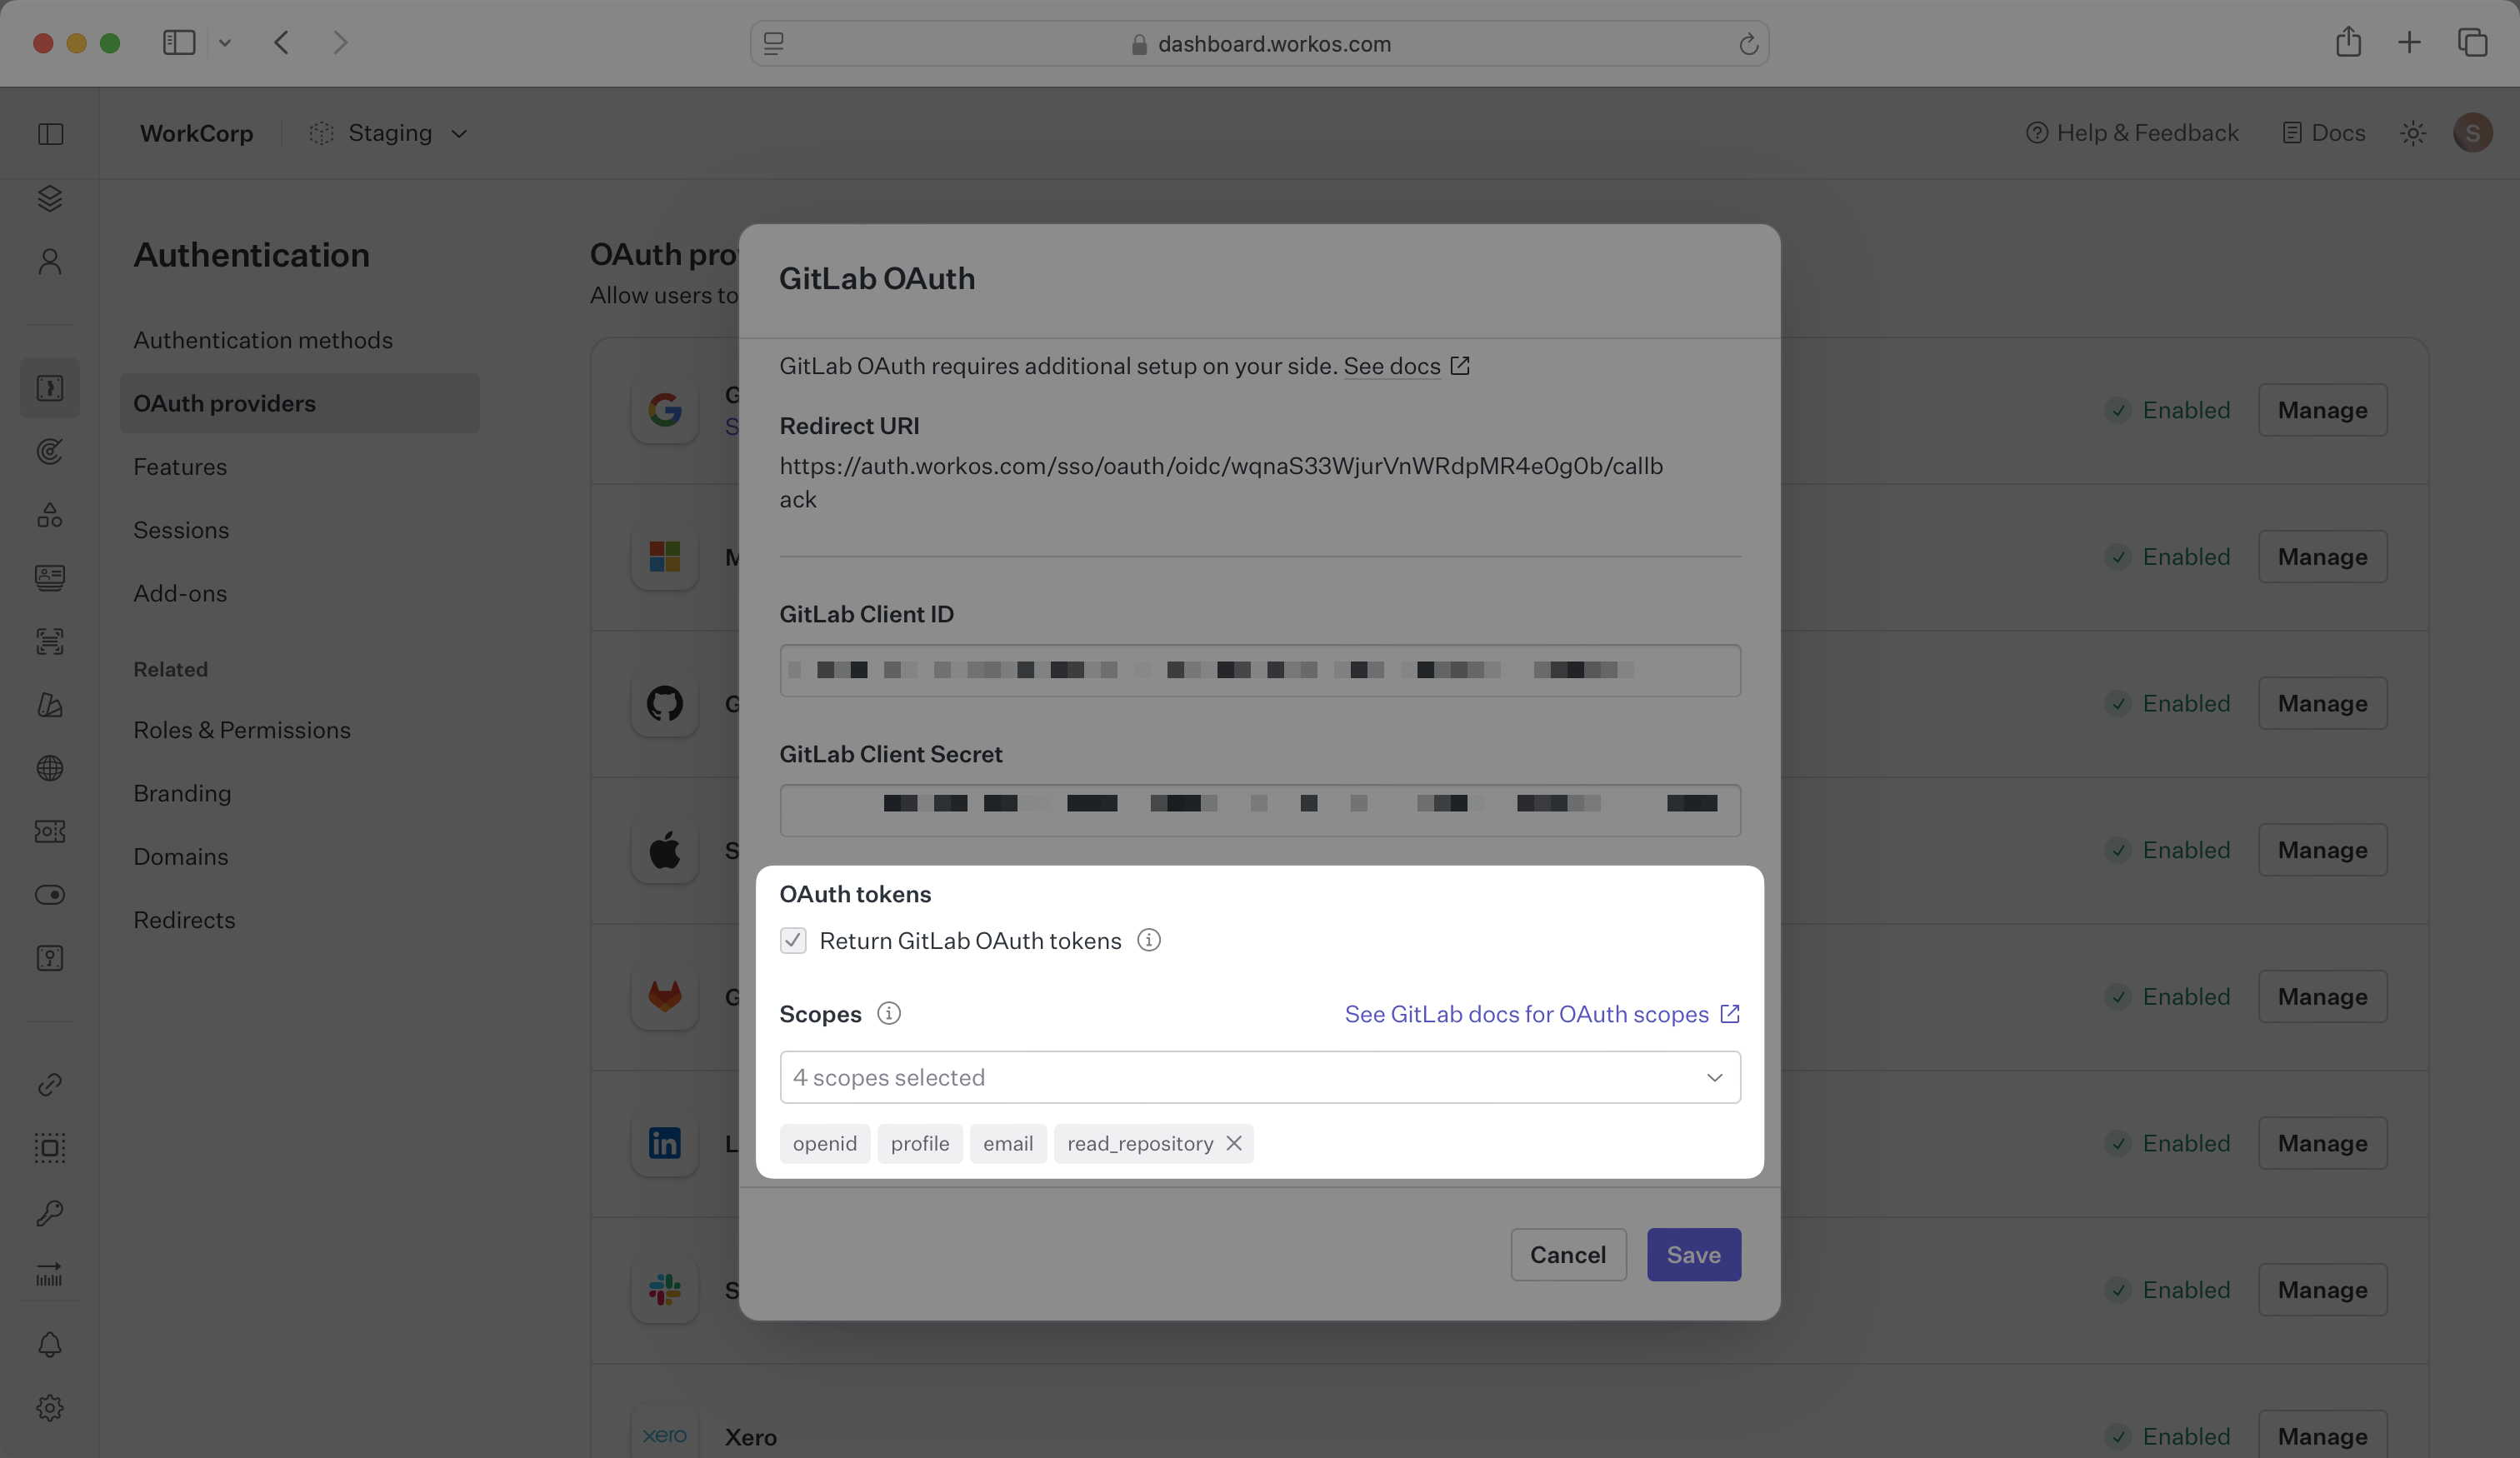
Any scopes configured here will be included on every GitLab OAuth request. To specify additional scopes dynamically, use the provider_scopes query parameter on the Get Authorization URL API endpoint.
Any additional scopes that you plan to request must also be configured on the Application settings page in GitLab. For more information, see GitLab’s OAuth scopes documentation.
How is the WorkOS GitLab OAuth integration different from implementing regular GitLab OAuth flow?
It’s the same GitLab OAuth flow as you could build yourself, but it’s encapsulated within WorkOS SSO. This means you don’t need to build it yourself. In addition to GitLab OAuth, you can use WorkOS SSO to support other identity providers, all with a single integration.
What is the provider query parameter and how is it used in the GitLab OAuth integration?
You can use the provider query parameter in the Get Authorization URL API endpoint to support global GitLab OAuth for any domain. The provider query parameter should be set to GitLabOAuth.
What scopes are required for GitLab OAuth?
The openid, profile, and email scopes are required to allow the application to read user profile information necessary for authentication. This scope provides access to the user’s basic profile data.
Can I register the GitLab OAuth application under a group or organization?
Yes, you can register a new application under a GitLab group, which may be more appropriate if it is maintained by a team of developers. You can also register it instance-wide if you have a dedicated GitLab instance. See the GitLab documentation for more details.
What is the difference between Confidential and non-Confidential applications in GitLab?
The Confidential flag should be used for applications that can securely store the client secret, typically backend servers. For native mobile apps, single-page applications, or other JavaScript applications that cannot securely store secrets, you should disable this flag.