Apple
Learn how to set up “Sign in with Apple”
The “Sign in with Apple” integration allows your users to authenticate using their Apple ID credentials.
The configuration process involves obtaining credentials from your Apple Developer account and configuring them in the WorkOS Dashboard. You may also set up Private Email Relay for users who choose to hide their email addresses.
WorkOS provides a default set of Apple credentials, which allow you to quickly enable and test Sign in with Apple. WorkOS will automatically use the default credentials until you add your own Apple Team ID, Apple Service ID, and Apple Private Key to the configuration in the WorkOS dashboard.
Please note that when you are using WorkOS default credentials, Apple’s authentication flow will display the WorkOS name, logo, and other information to users. Once you register your own application and use its credentials for the authentication flow, you will have the opportunity to customize the app.
When setting up “Sign in with Apple”, WorkOS provides two key pieces of information that need to be configured in your Apple Developer account:
- Redirect URI: The endpoint where Apple will send authentication responses after successful login
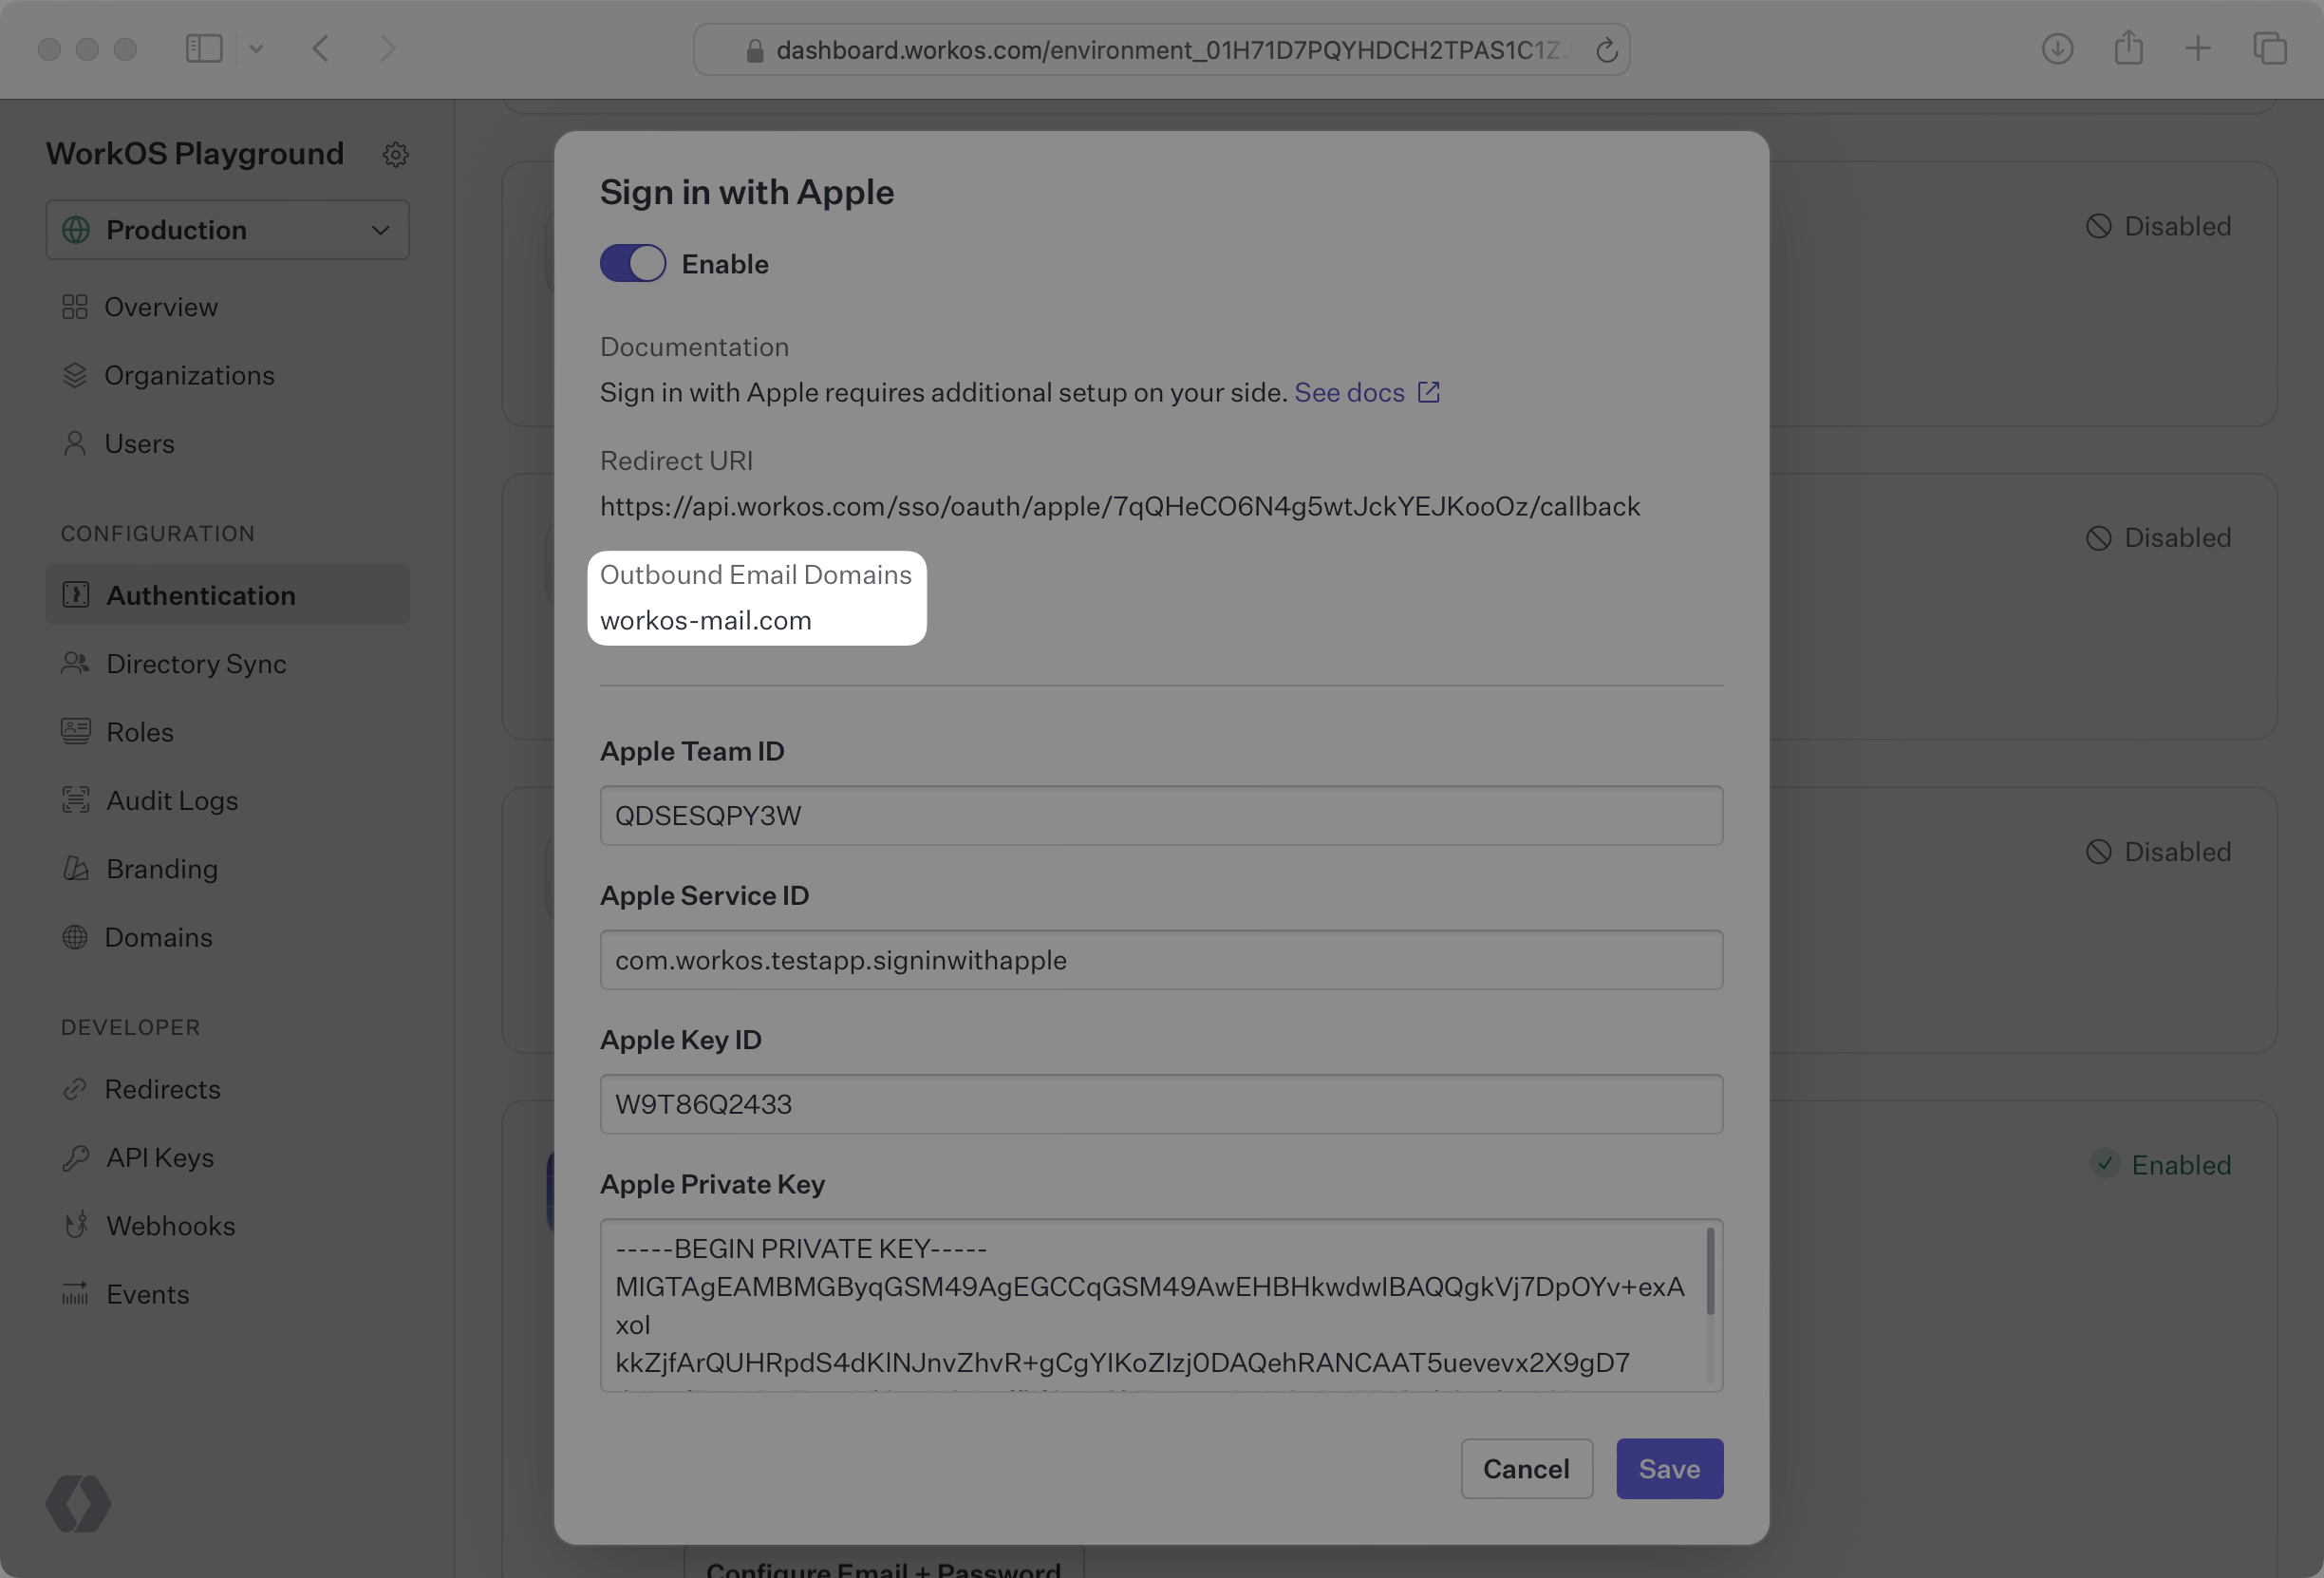
- Outbound Email Domains: Registered domains for Apple’s Private Relay email service
These are available in the WorkOS Dashboard. In the left navigation menu, select the Authentication tab and the OAuth providers sub-tab. Locate the Sign in with Apple section.
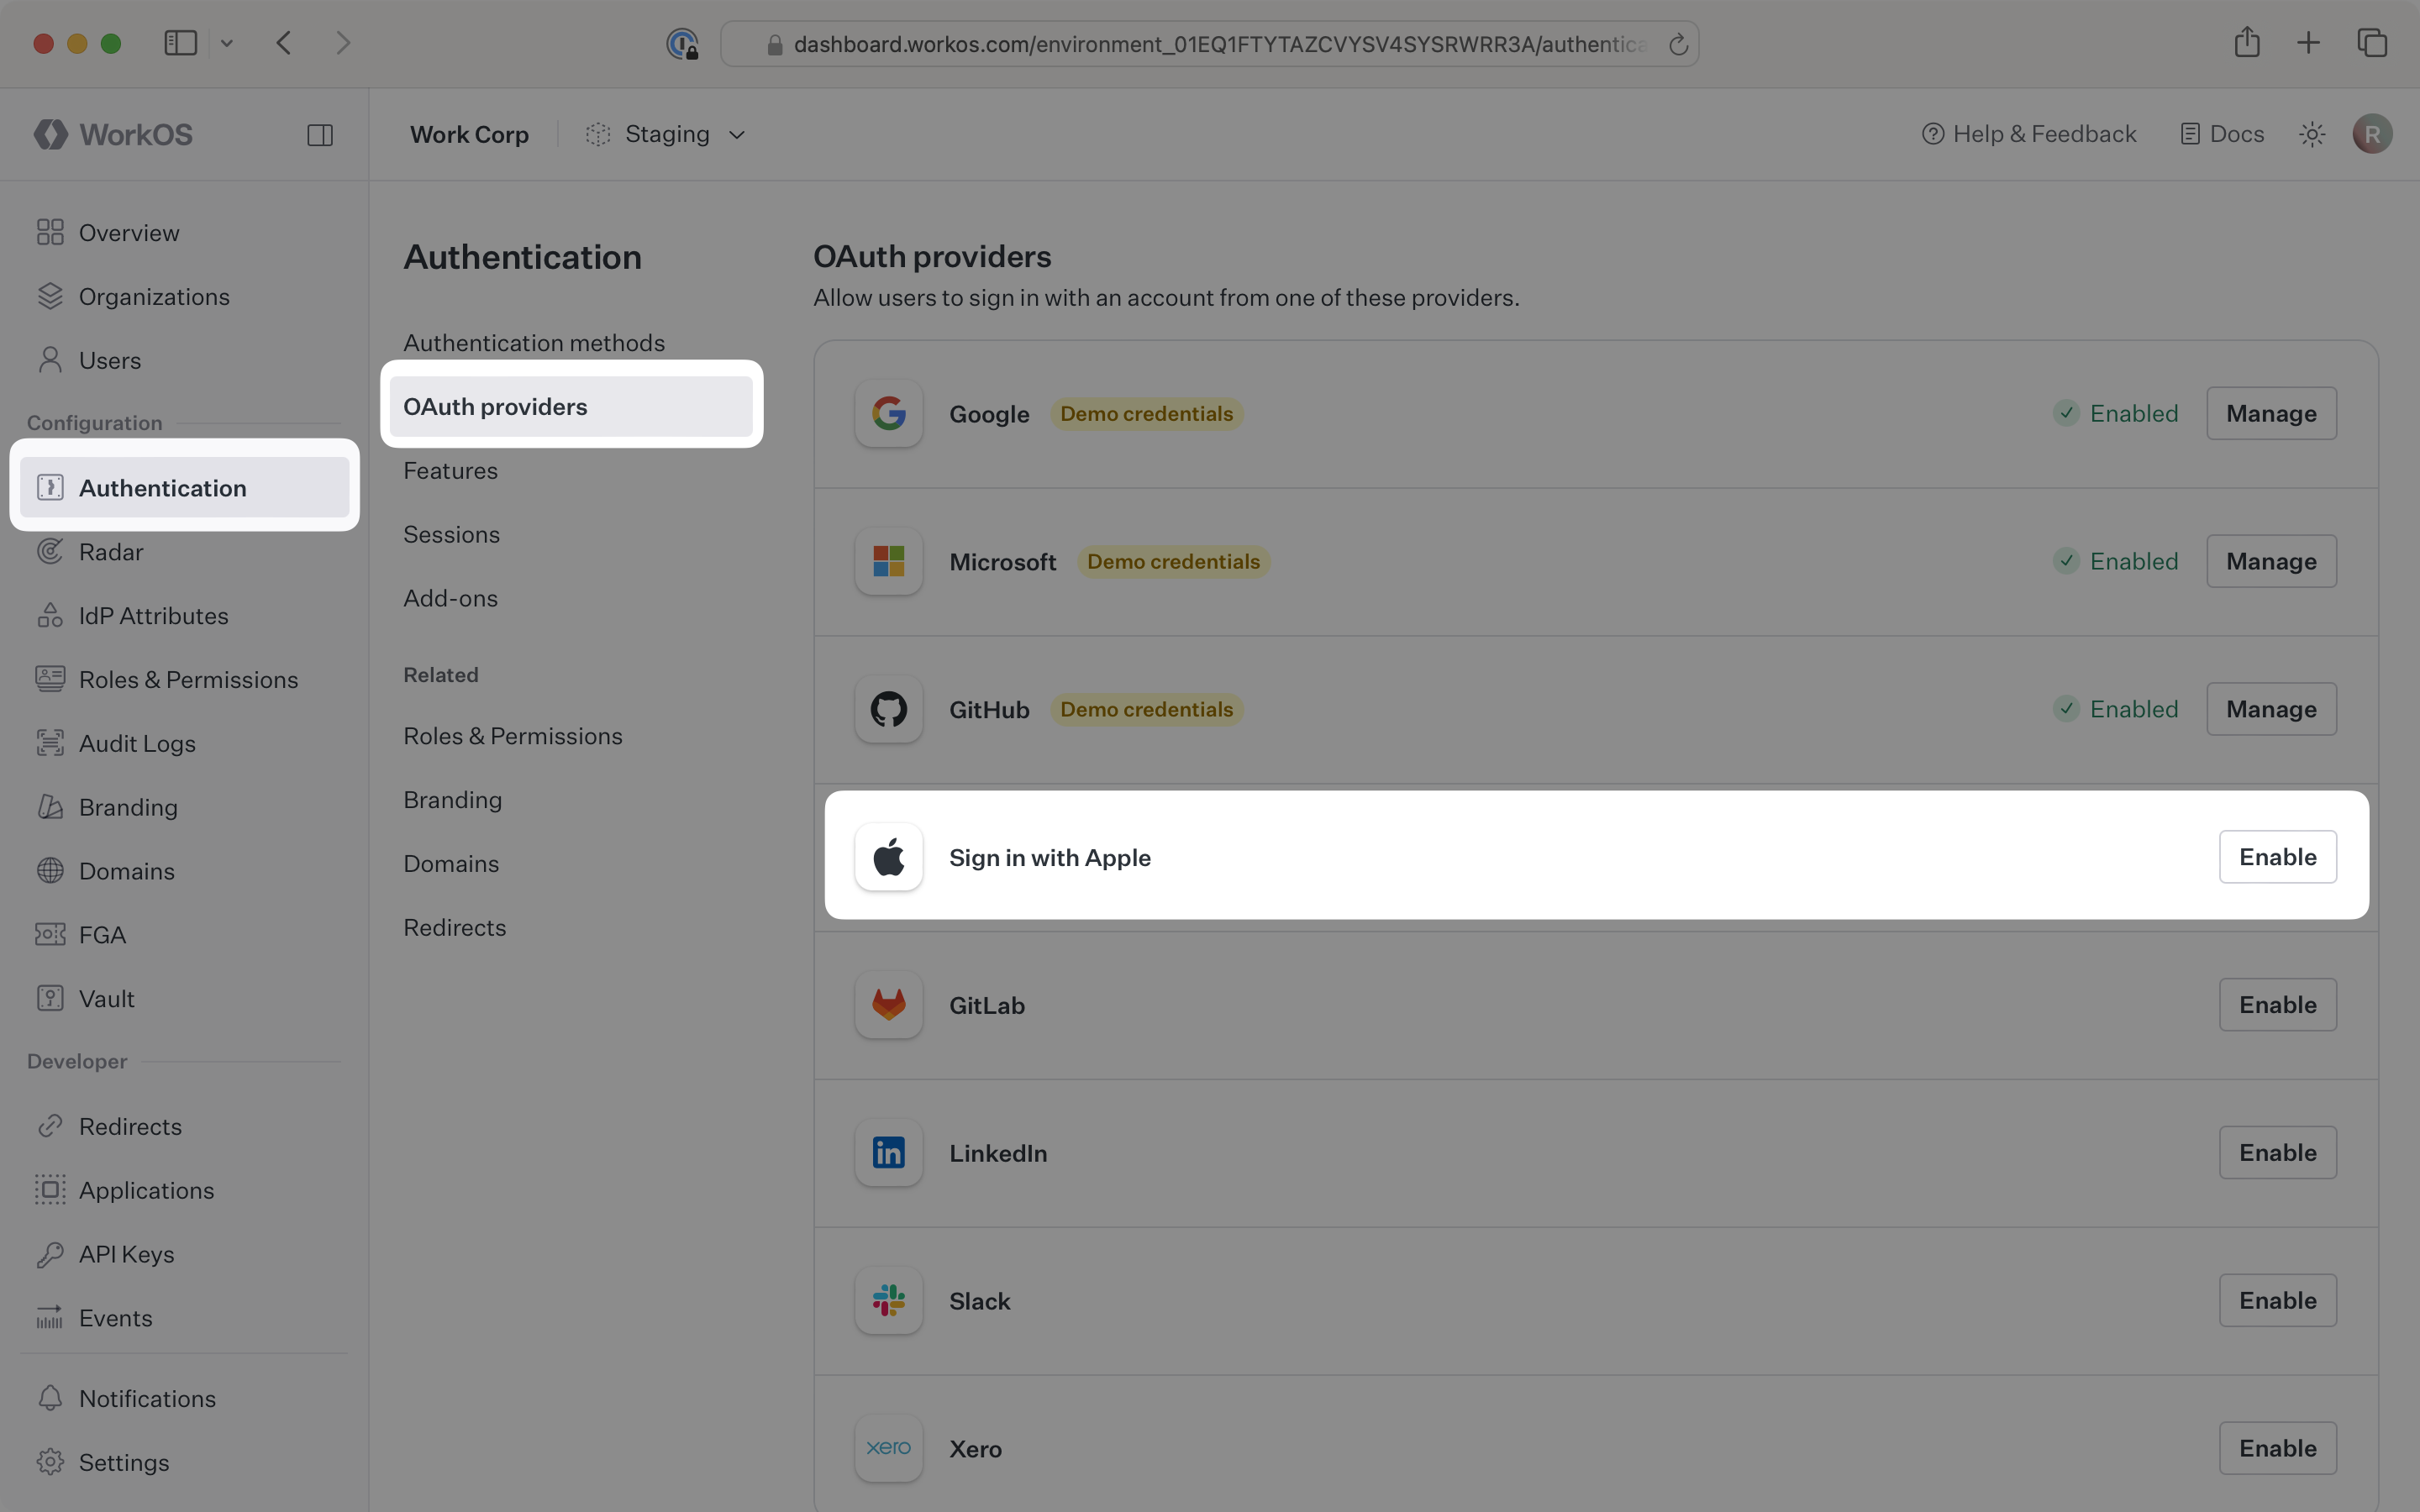
Click Enable. The Sign in with Apple configuration dialog will open. Locate the Redirect URI and Outbound email domains.

The Redirect URI serves as the destination for authentication responses and must be configured in your Apple Developer account. Outbound email domains are registered with Apple’s Private Relay email service to deliver email to users who choose to hide their email addresses.
You will need to obtain four pieces of information from your Apple Developer account:
- Apple Team ID: Your organization’s unique identifier in the Apple Developer program
- Apple Service ID: Application identifier for “Sign in with Apple”
- Apple Private Key: Authentication key file for secure communication
- Private Key ID: Identifier for the private key
The following sections will guide you through generating these credentials in your Apple Developer account.
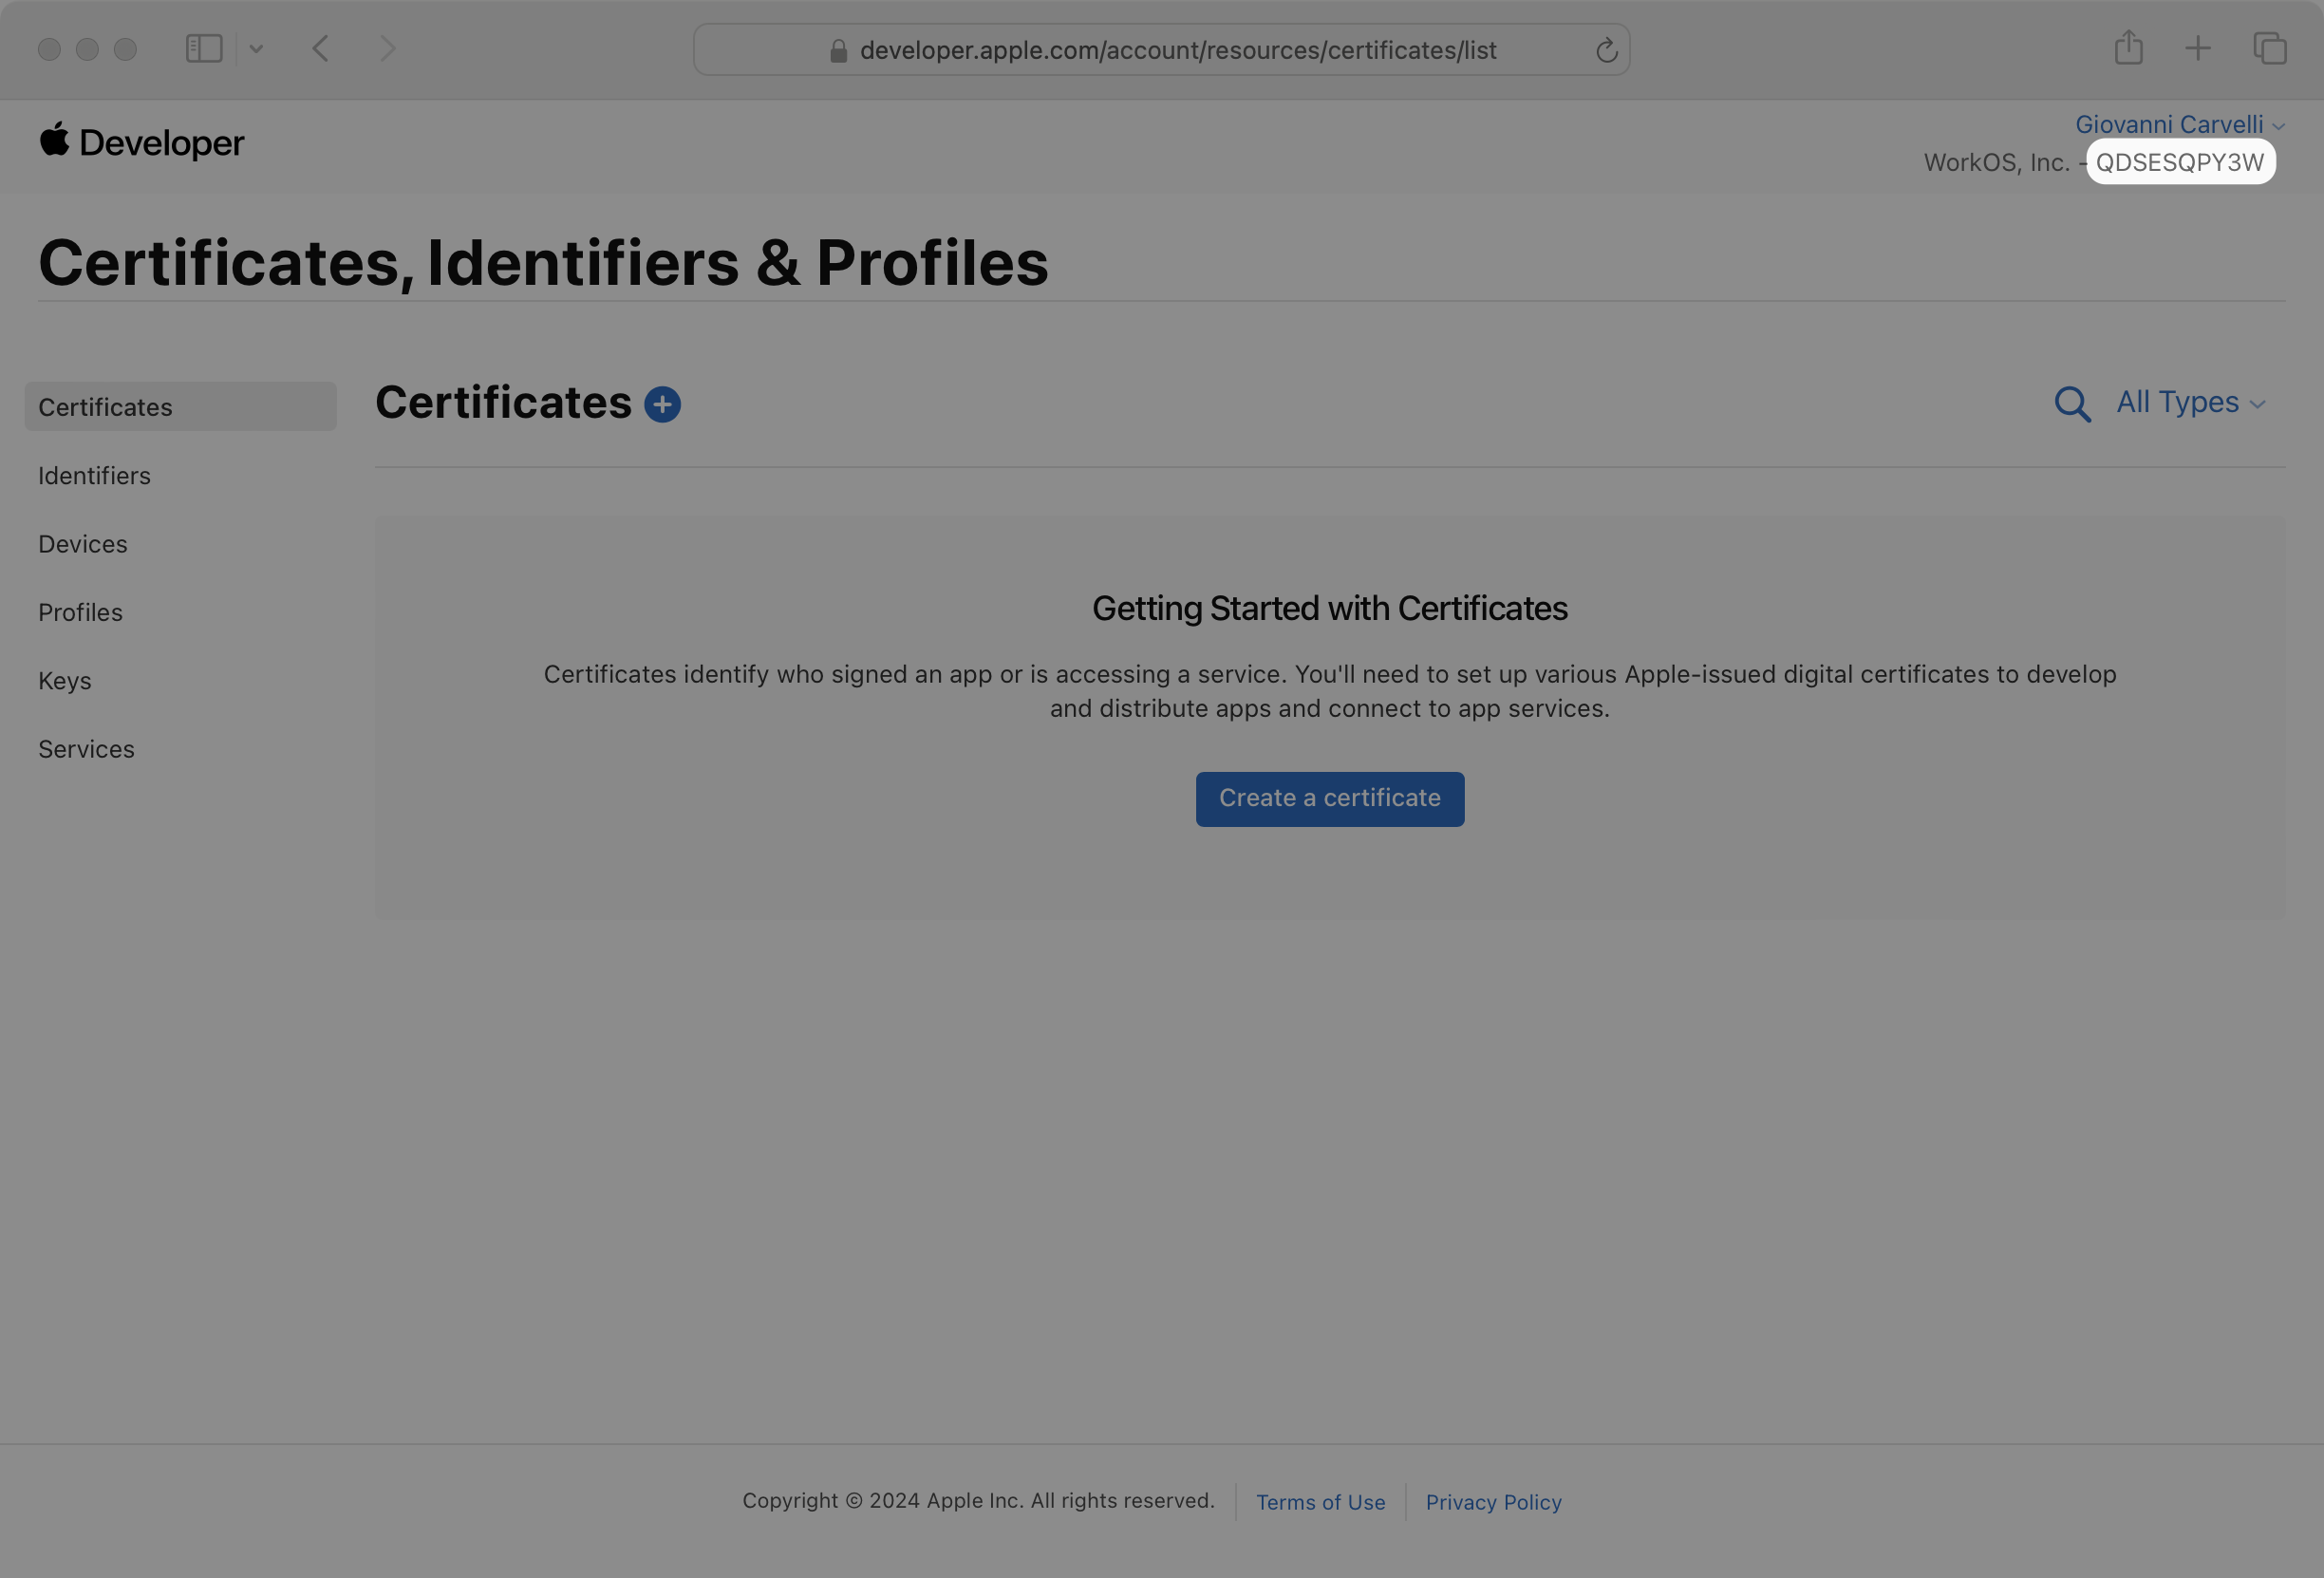
Sign in to the certificates, identifiers, and profiles section of your Apple Developer account.
The landing page will display your name, company name, and Team ID. Note the Team ID value as you’ll need it later.
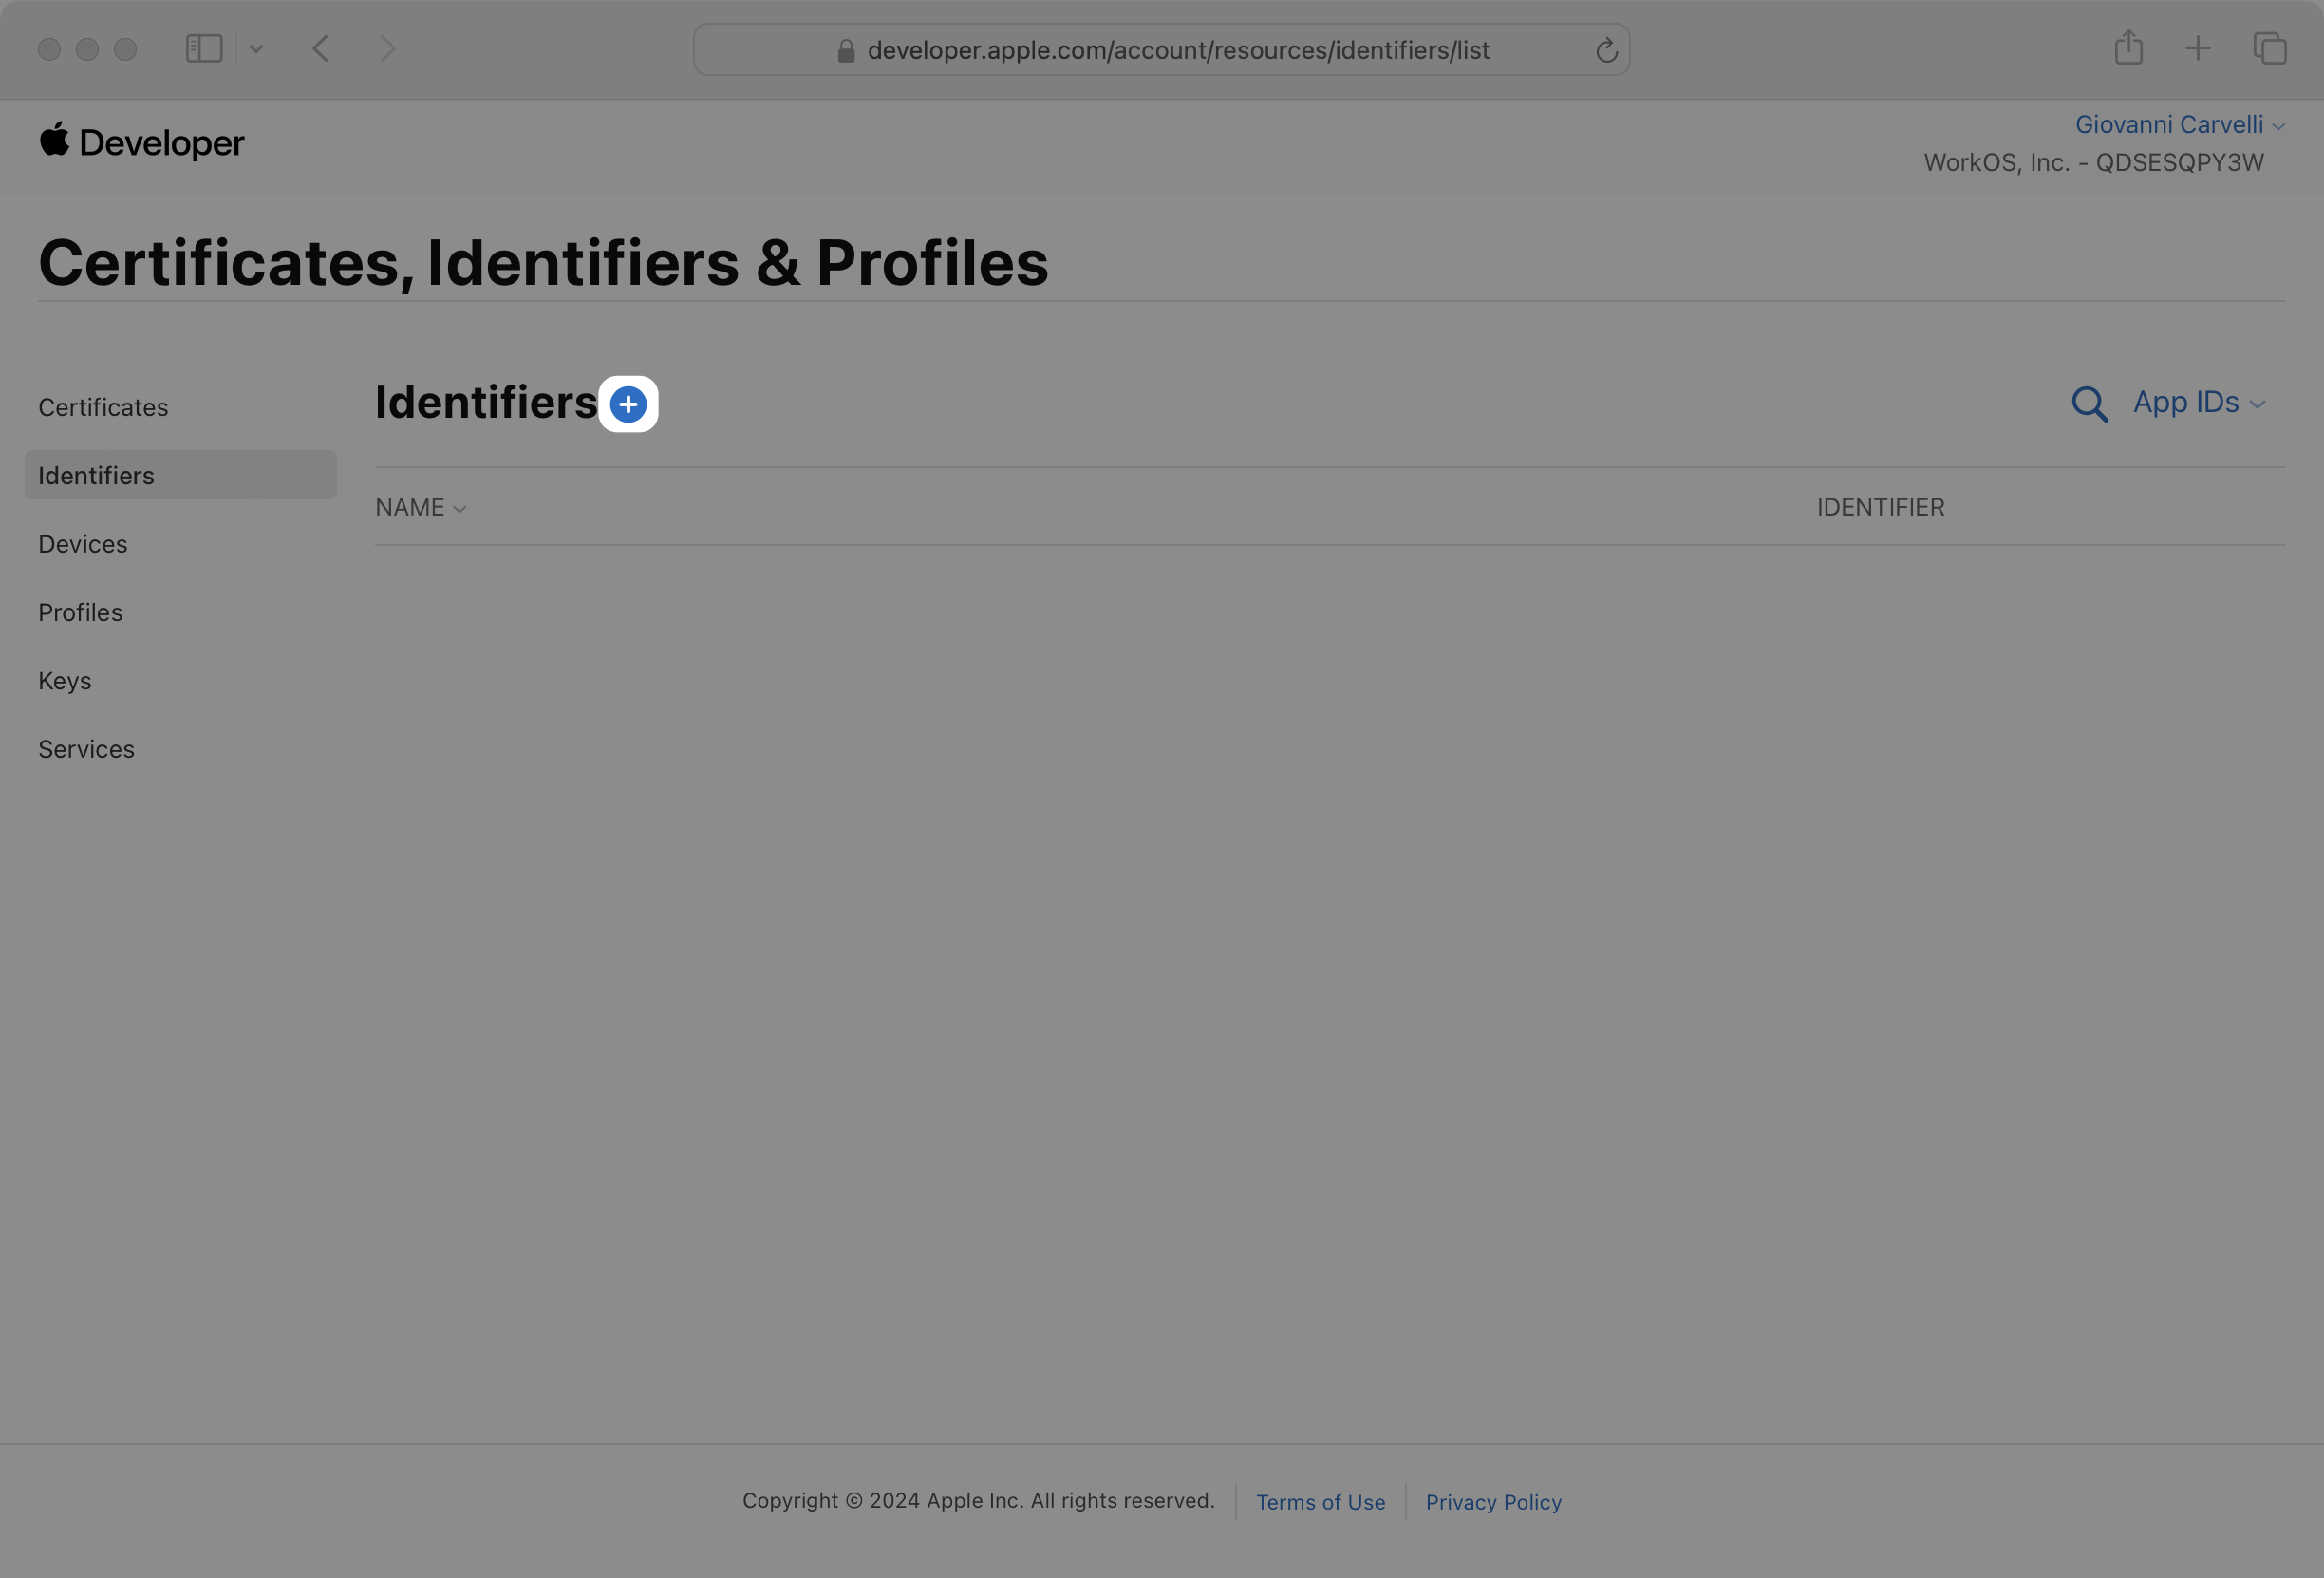
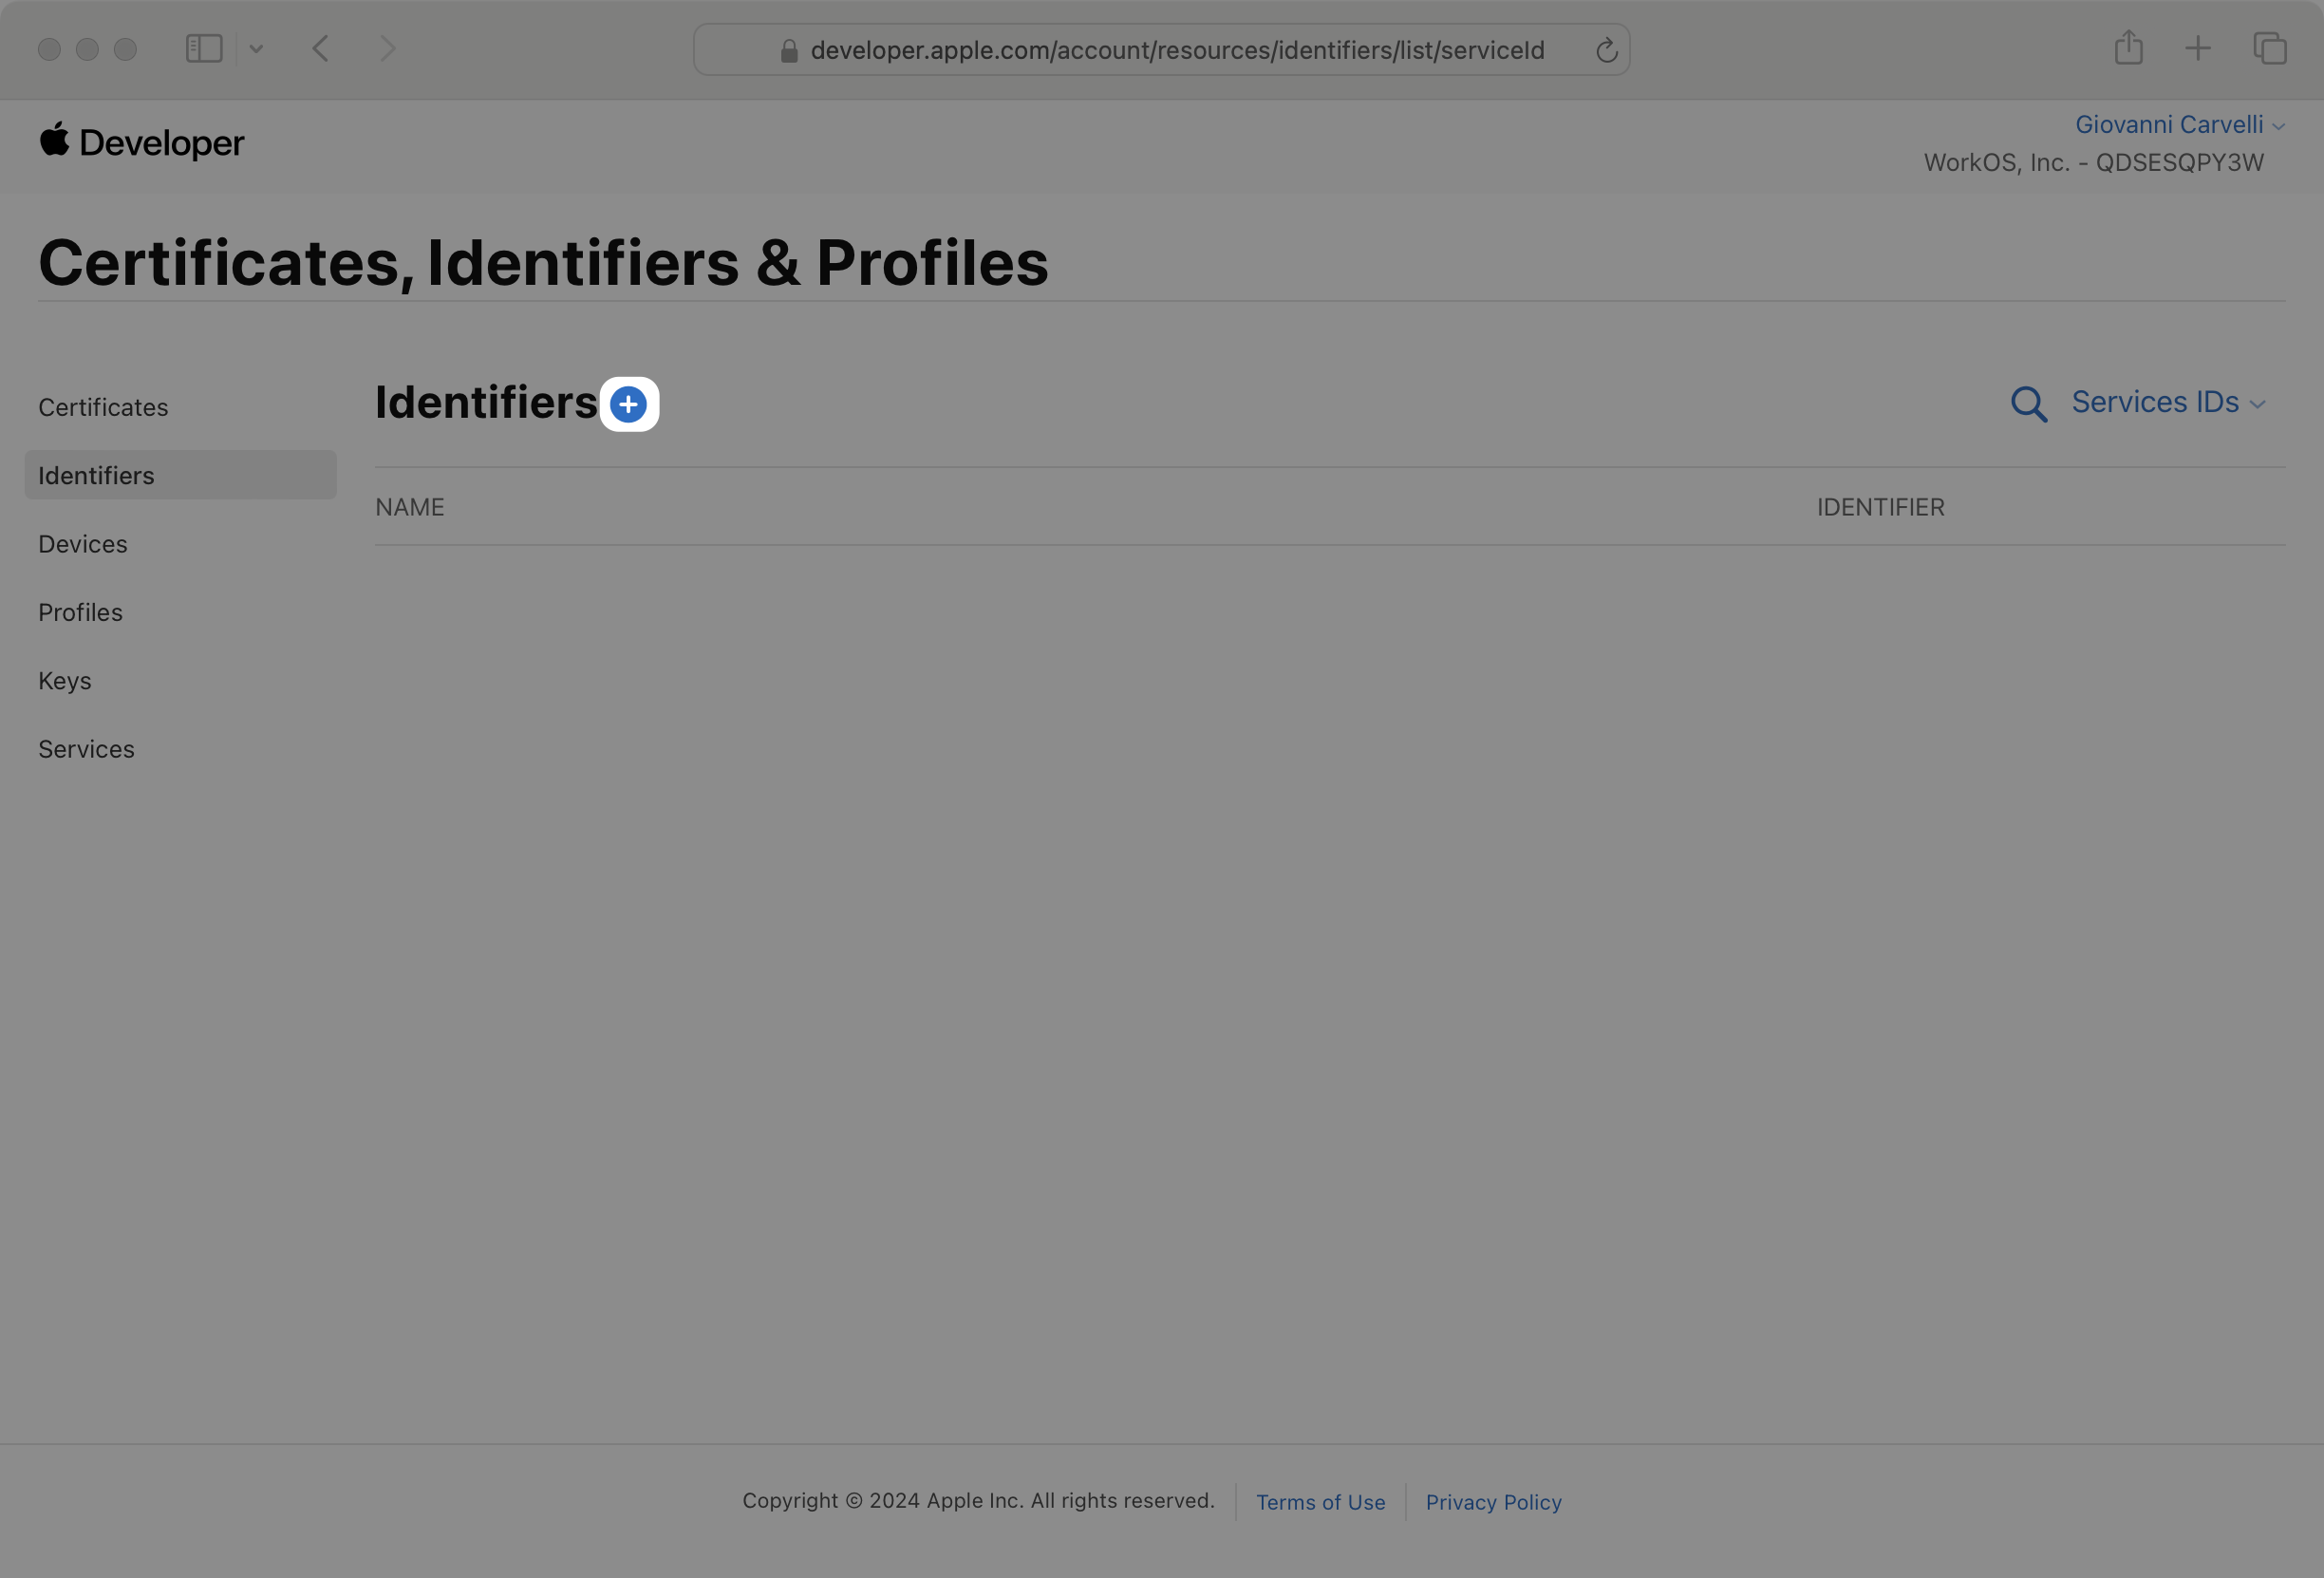
Click on Identifiers in the sidebar, then click the + button to create a new identifier.
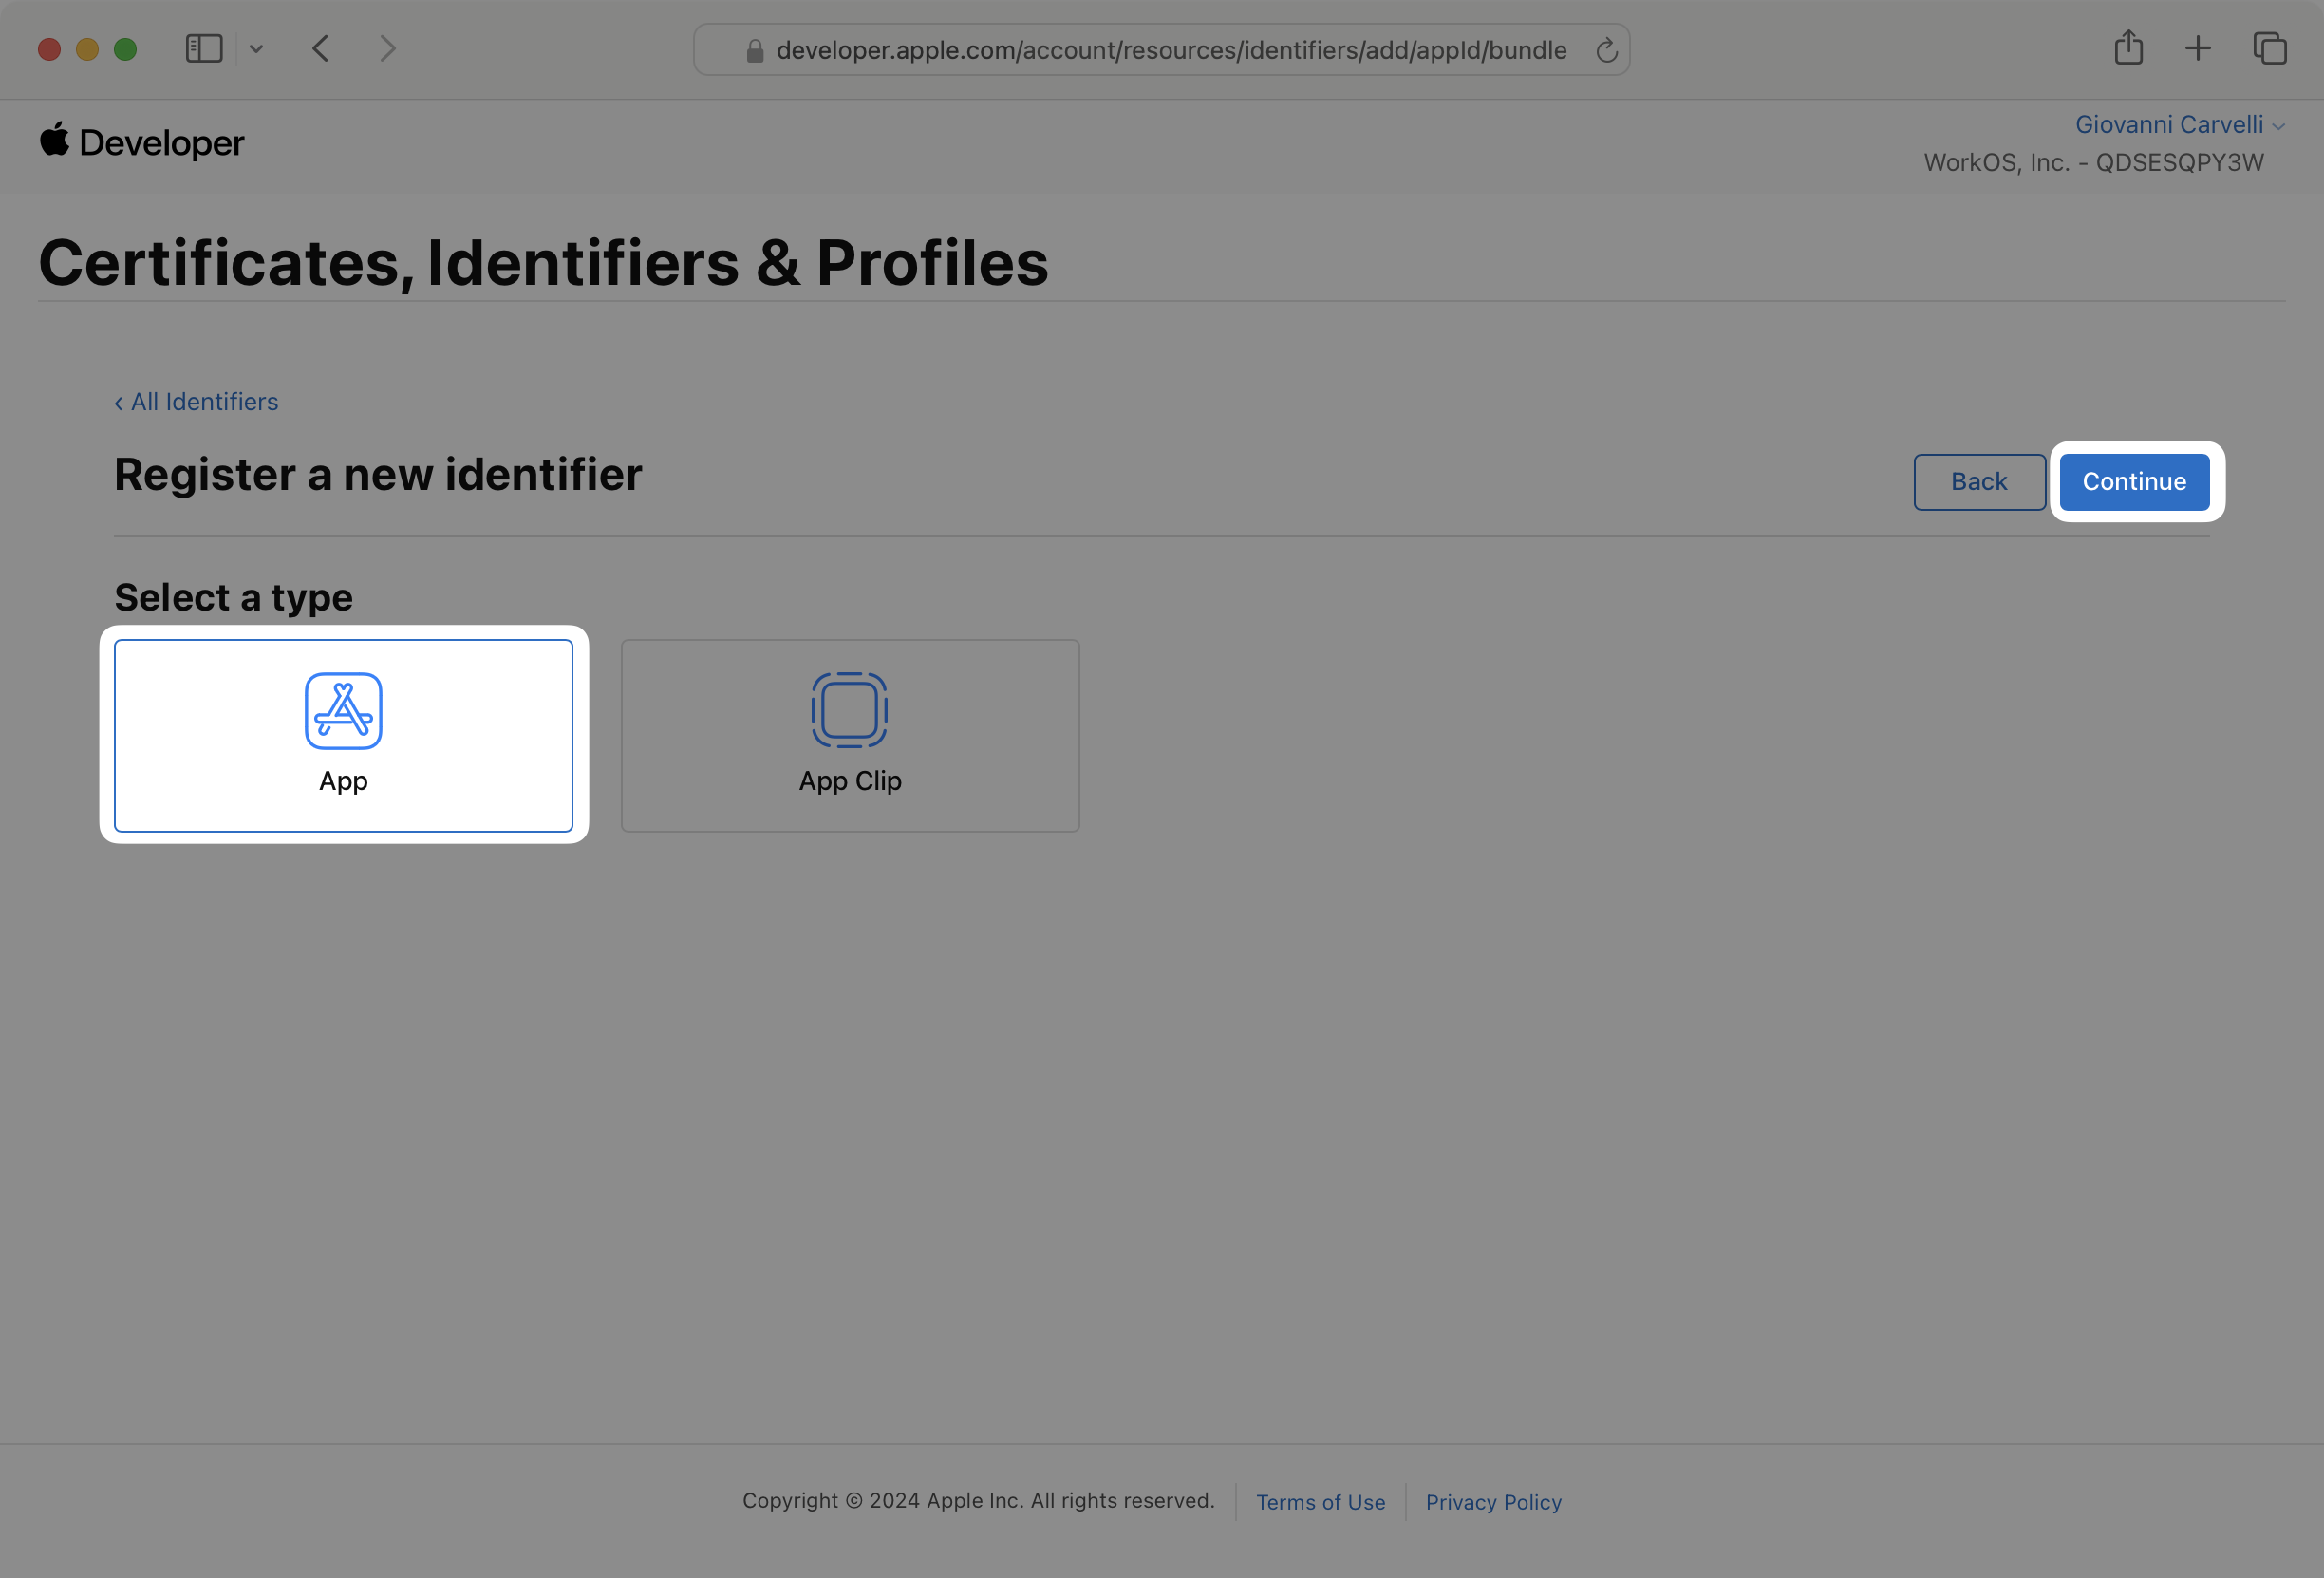
On the next page, select App IDs and click Continue.

Next, select App and click Continue.
On the next page, fill in a description and a bundle ID. The bundle ID should be unique and in reverse domain notation, e.g., com.example.myapp.
Also check the Sign in with Apple box in the Capabilities section. There is no need to update anything in the Edit modal.


Then click Continue. Review your selections and click Register.
Next you need to create a linked Service ID. Click on Identifiers in the sidebar, then click the + button.
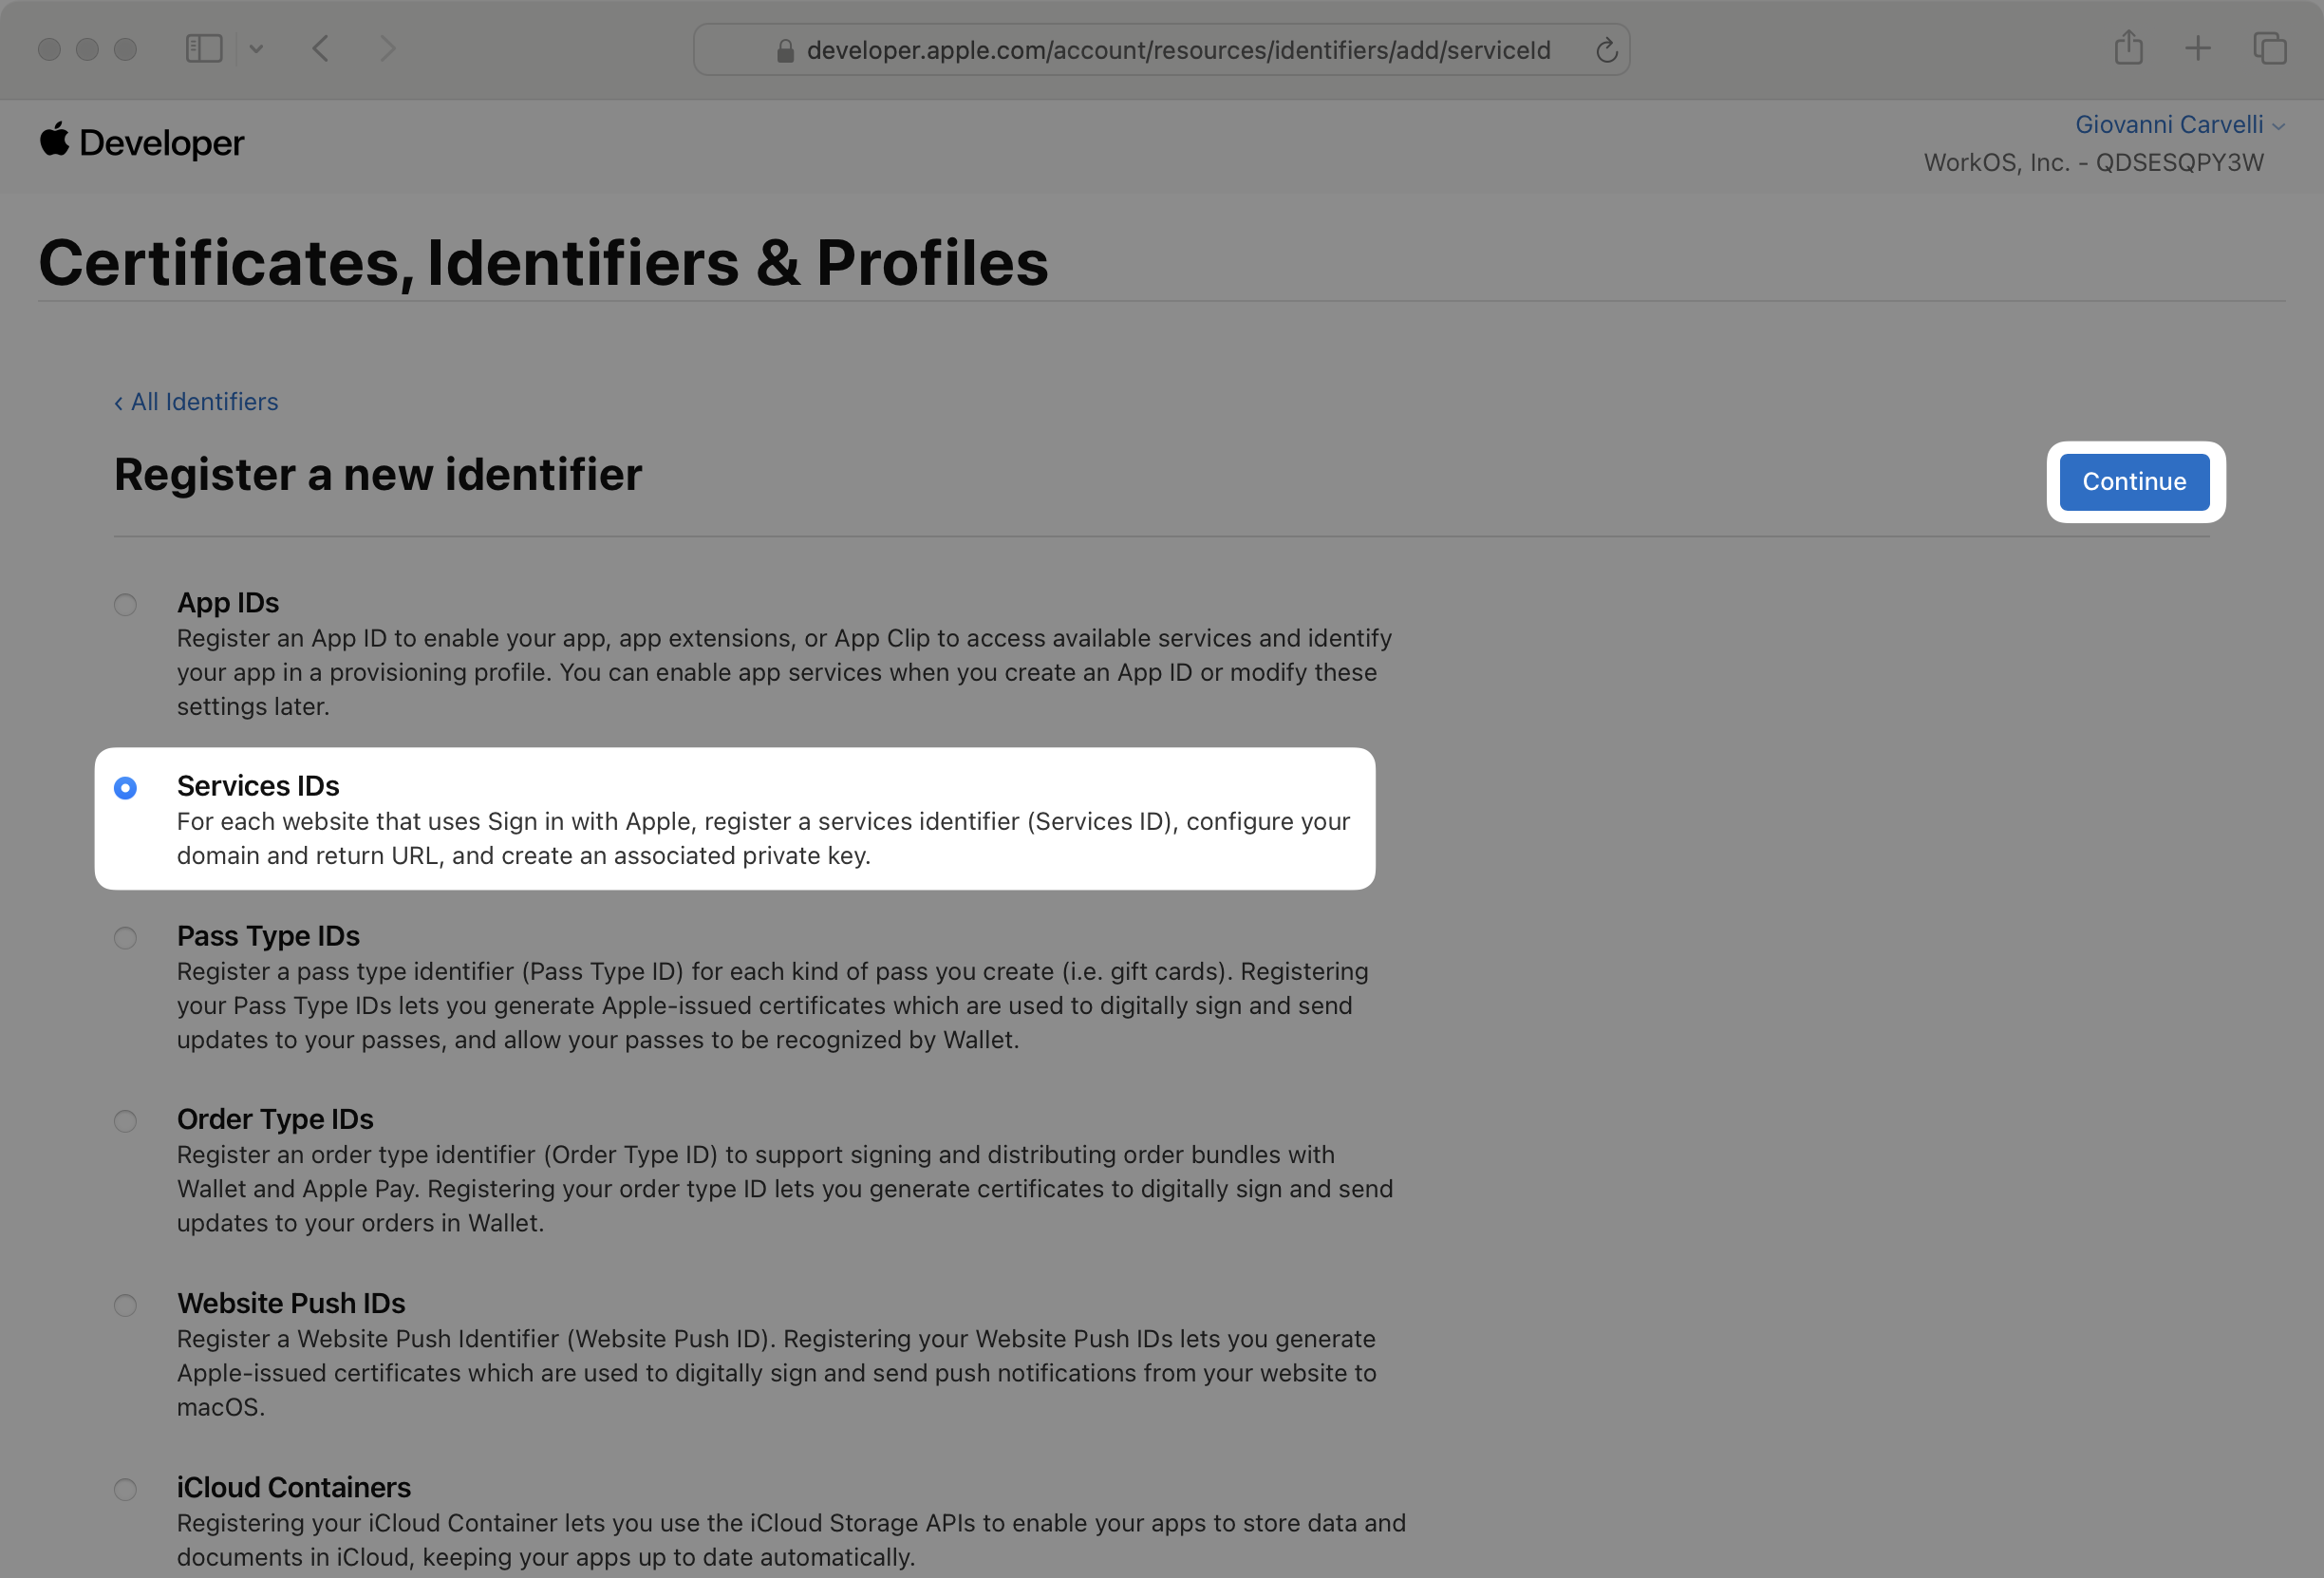
On the next page, select Services IDs and click Continue.
Enter a description and a Service ID. The Service ID should be unique and in reverse domain notation, e.g. com.example.myapp.
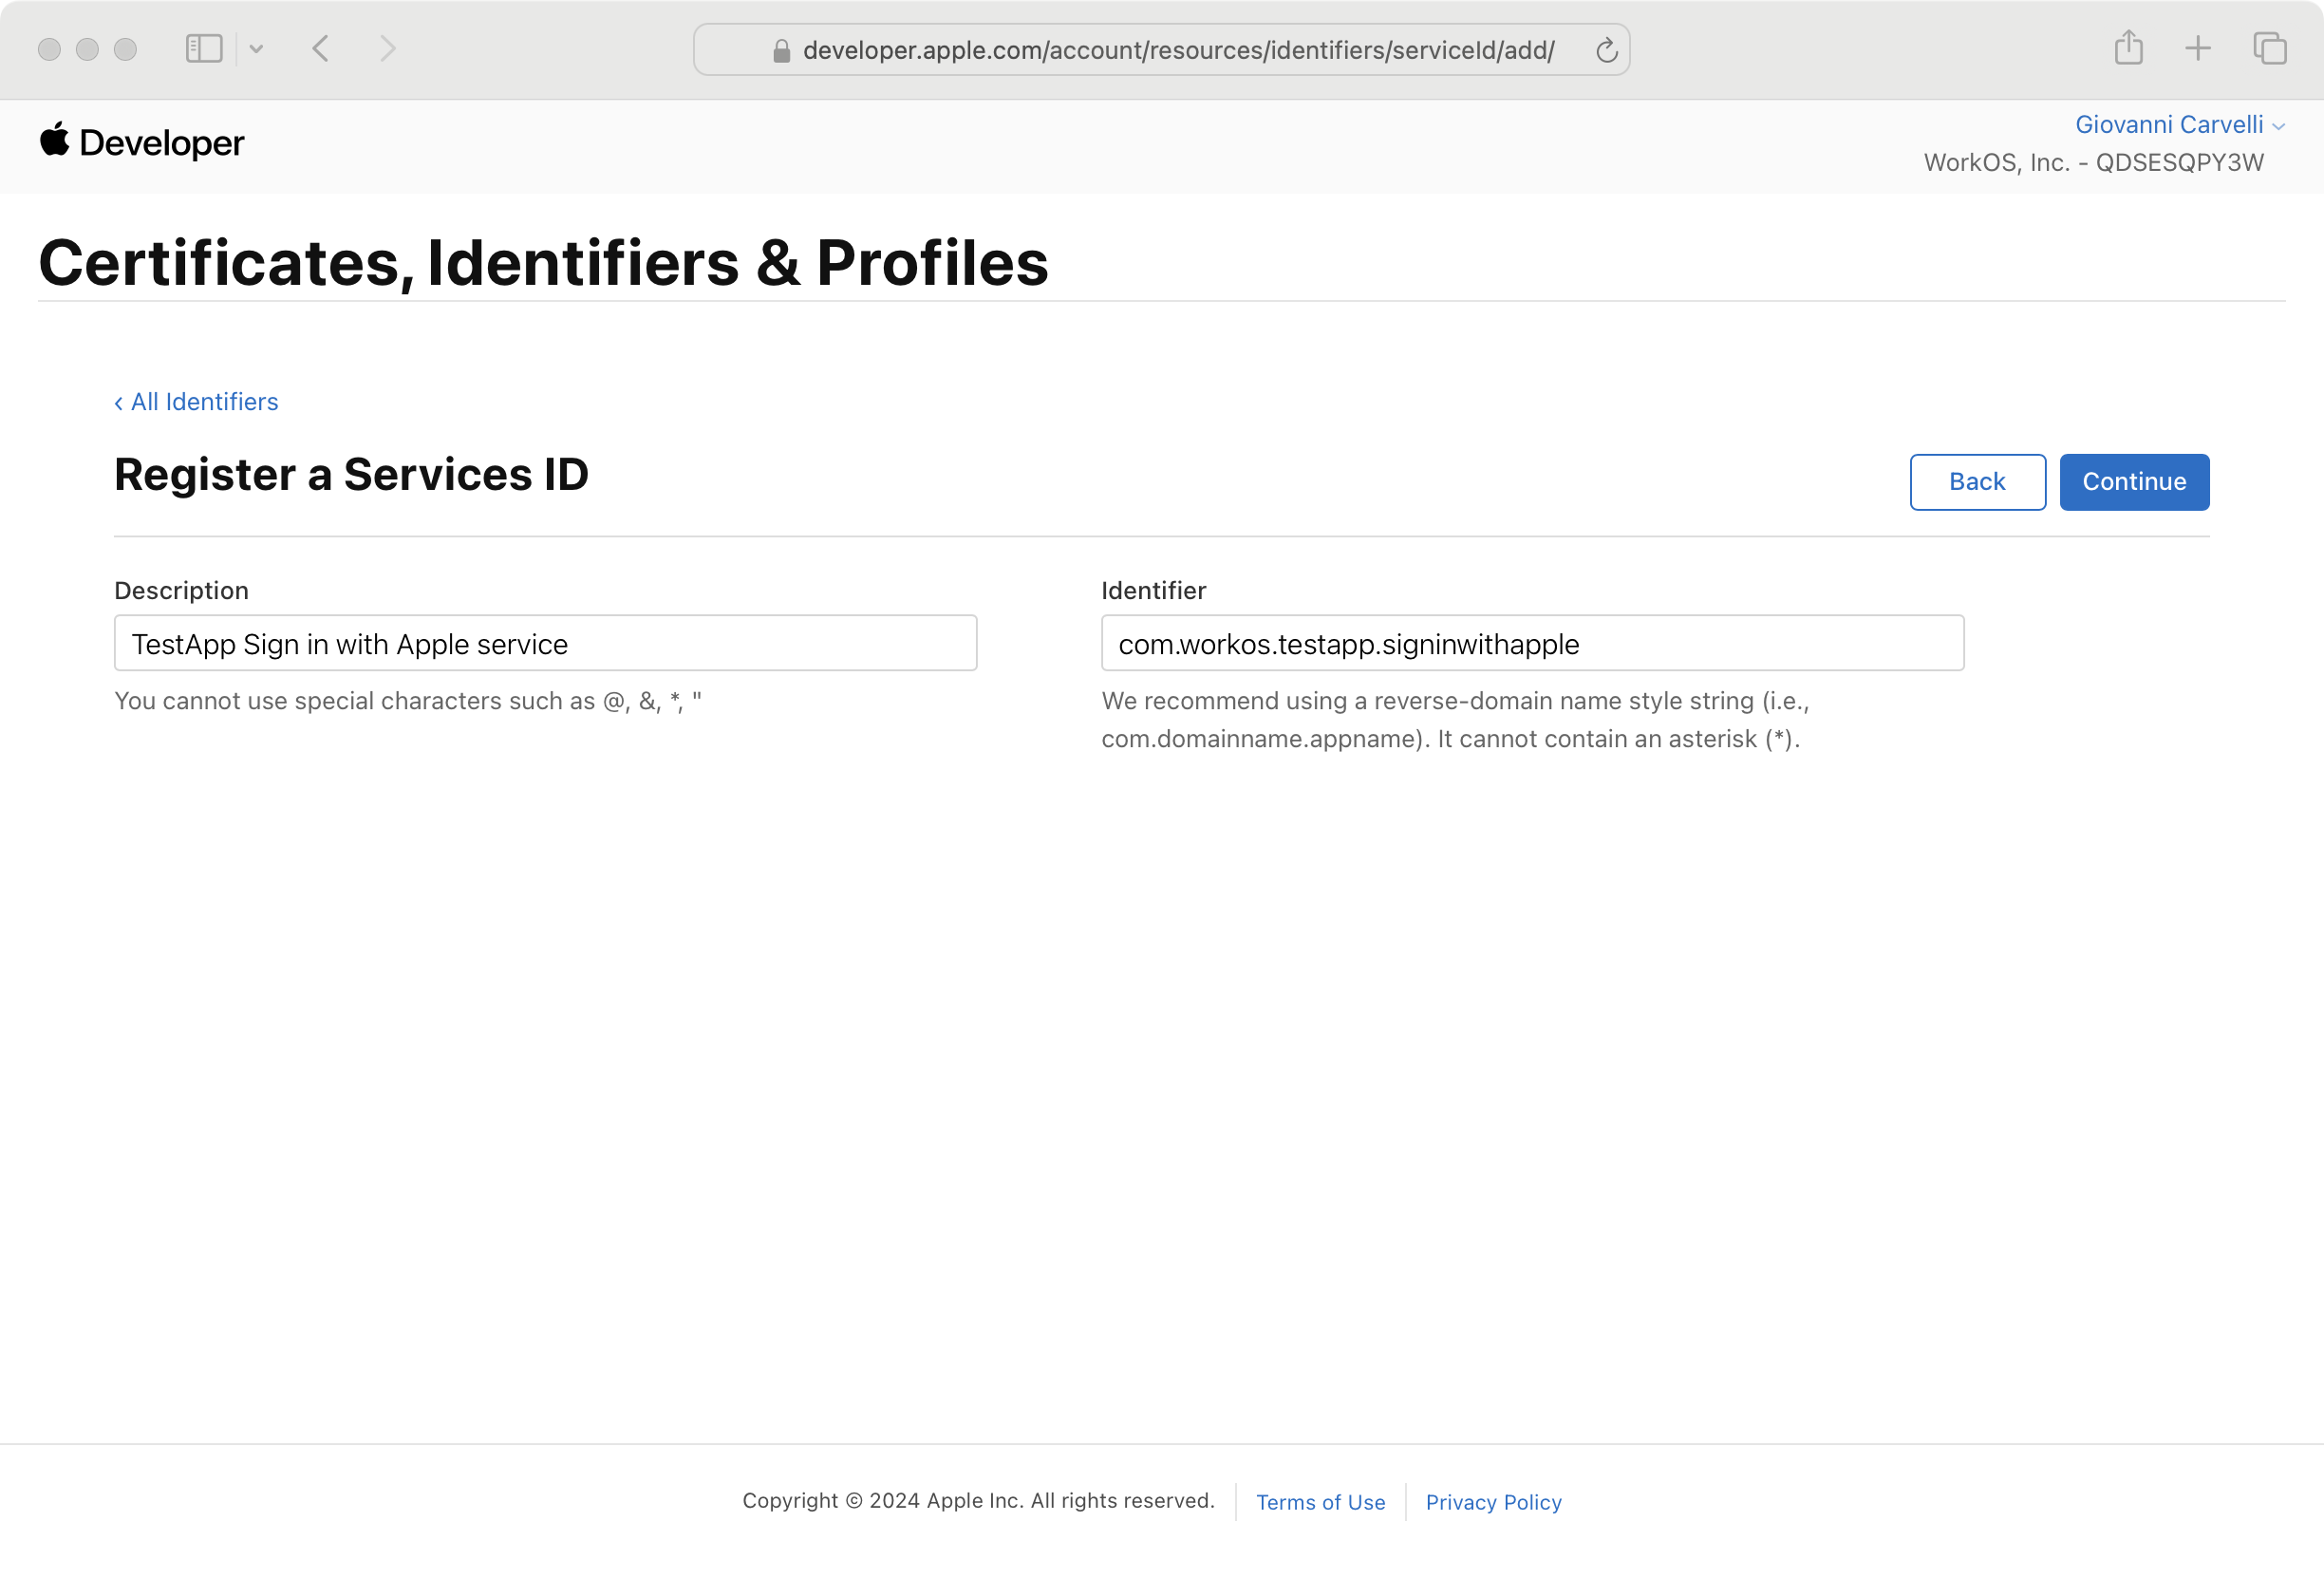
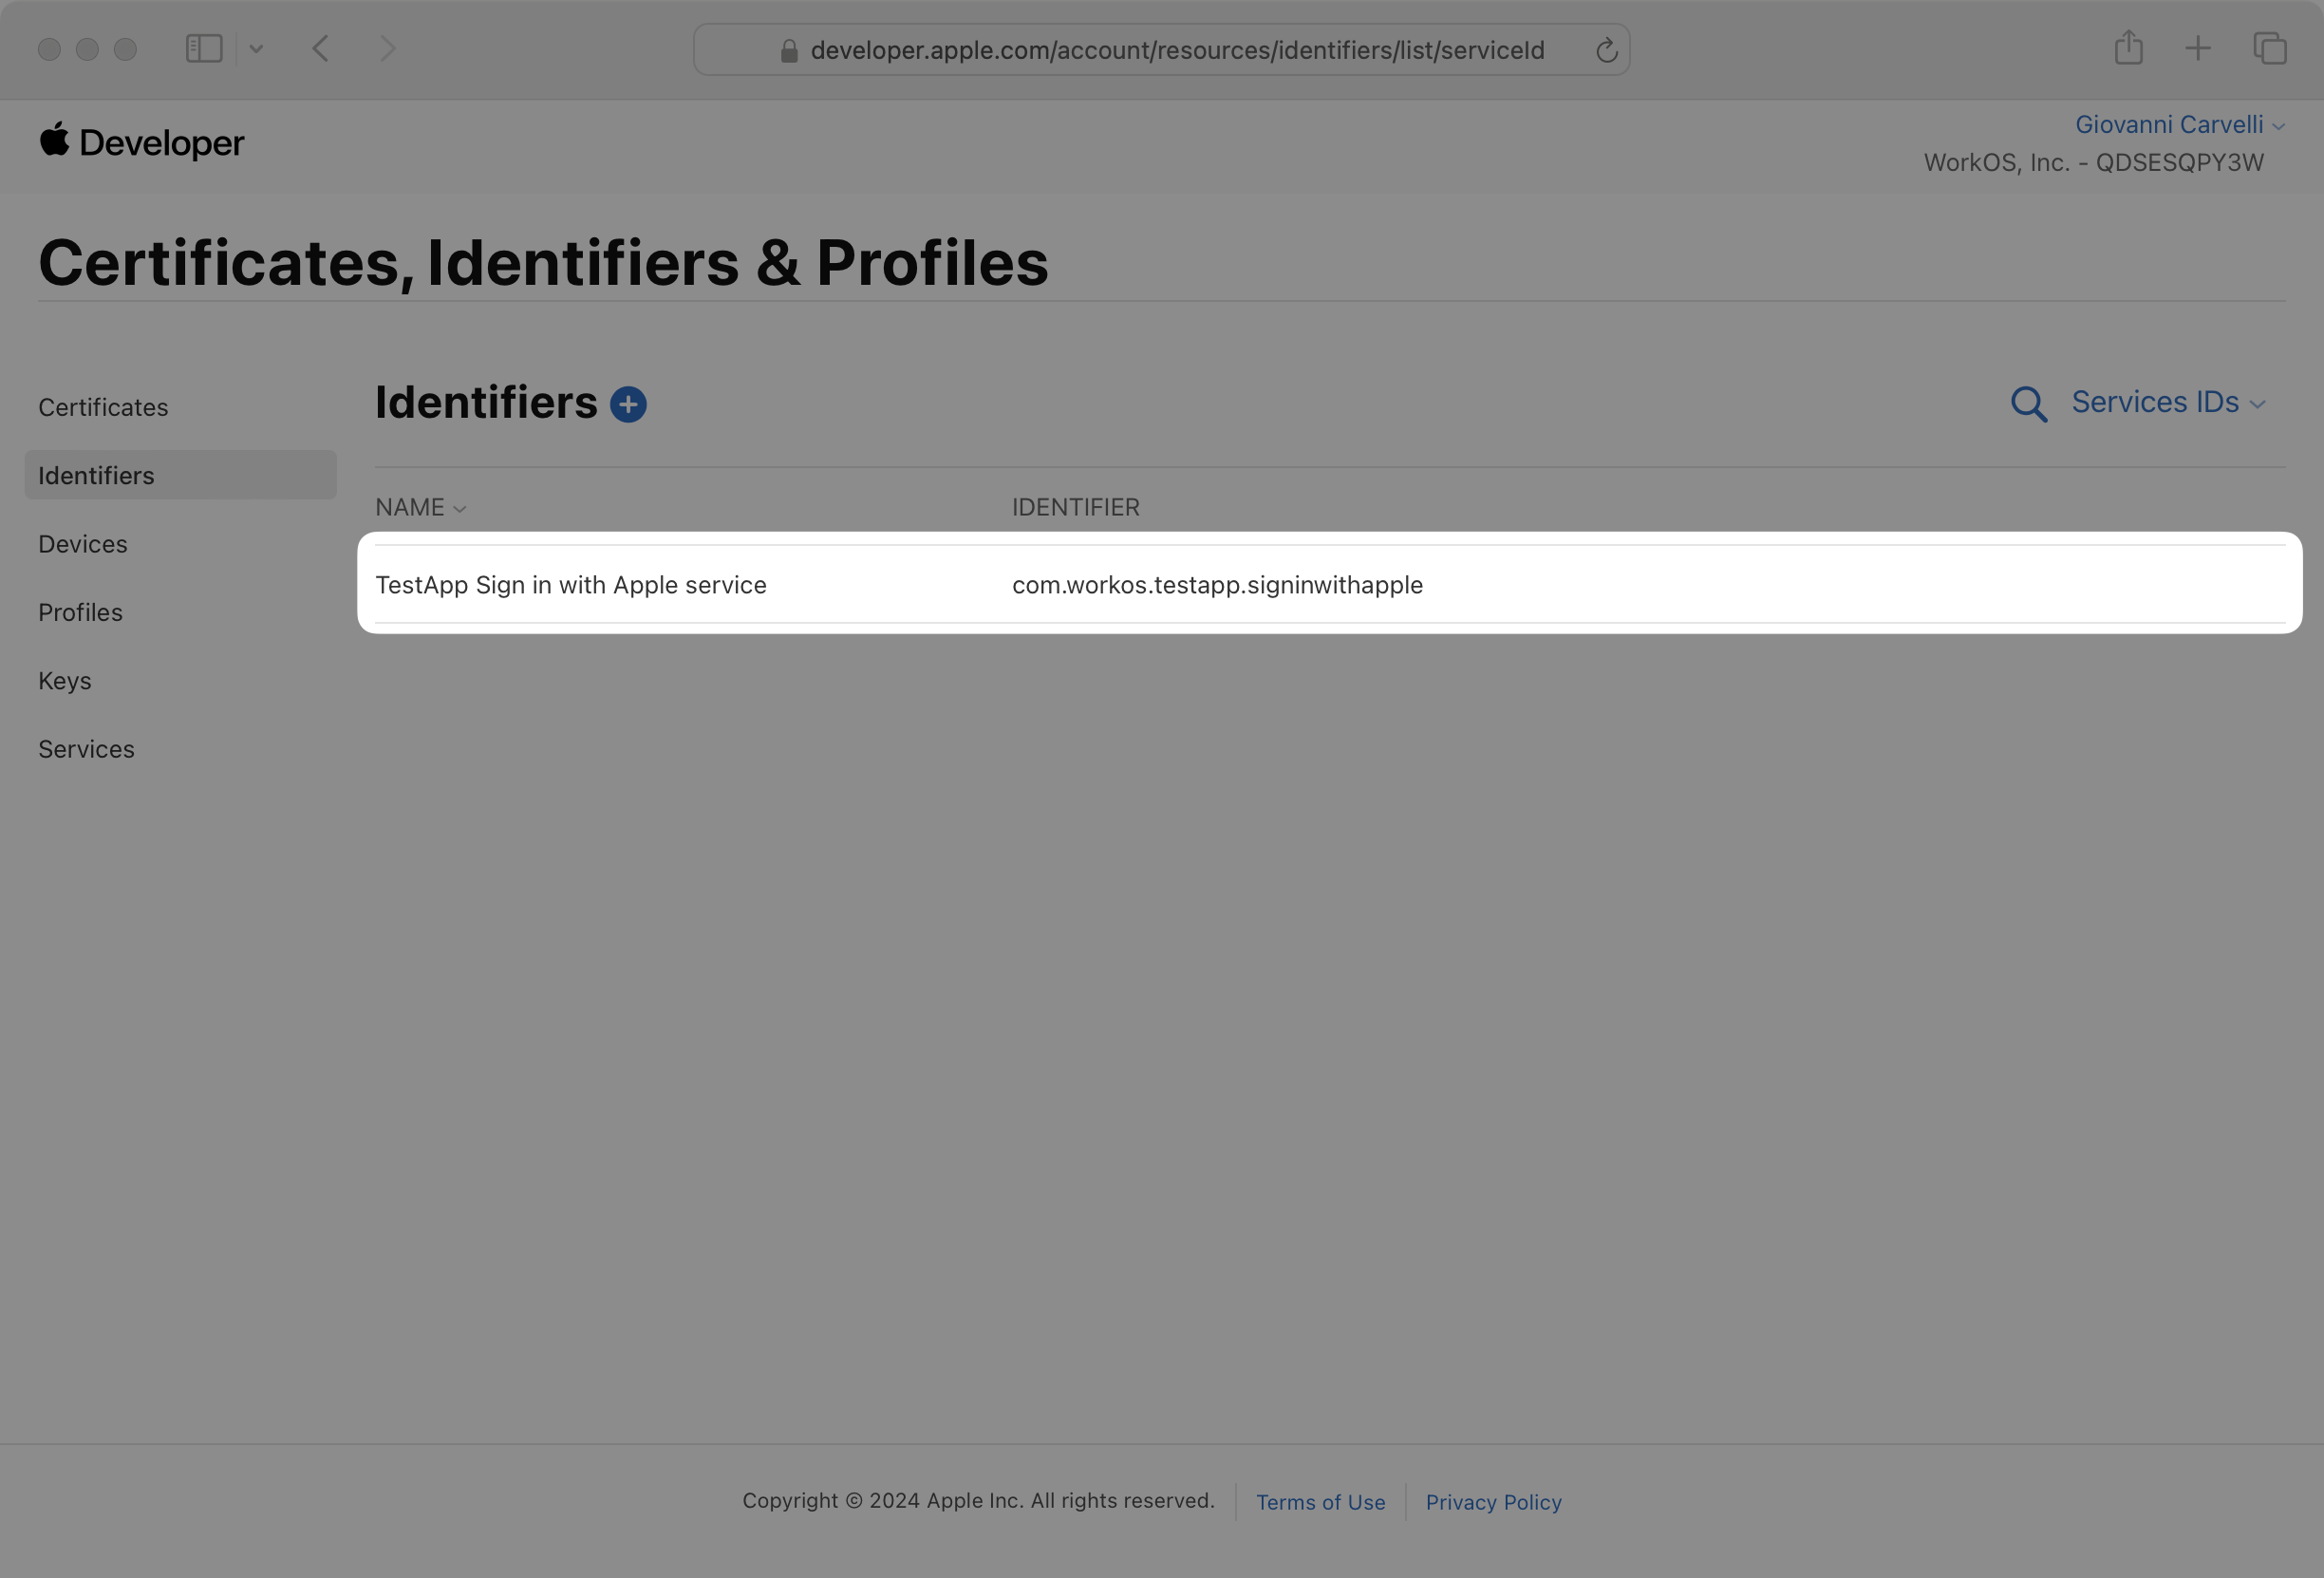
Click Continue. Note the Service ID as you’ll need it later, then click Register to create the service.
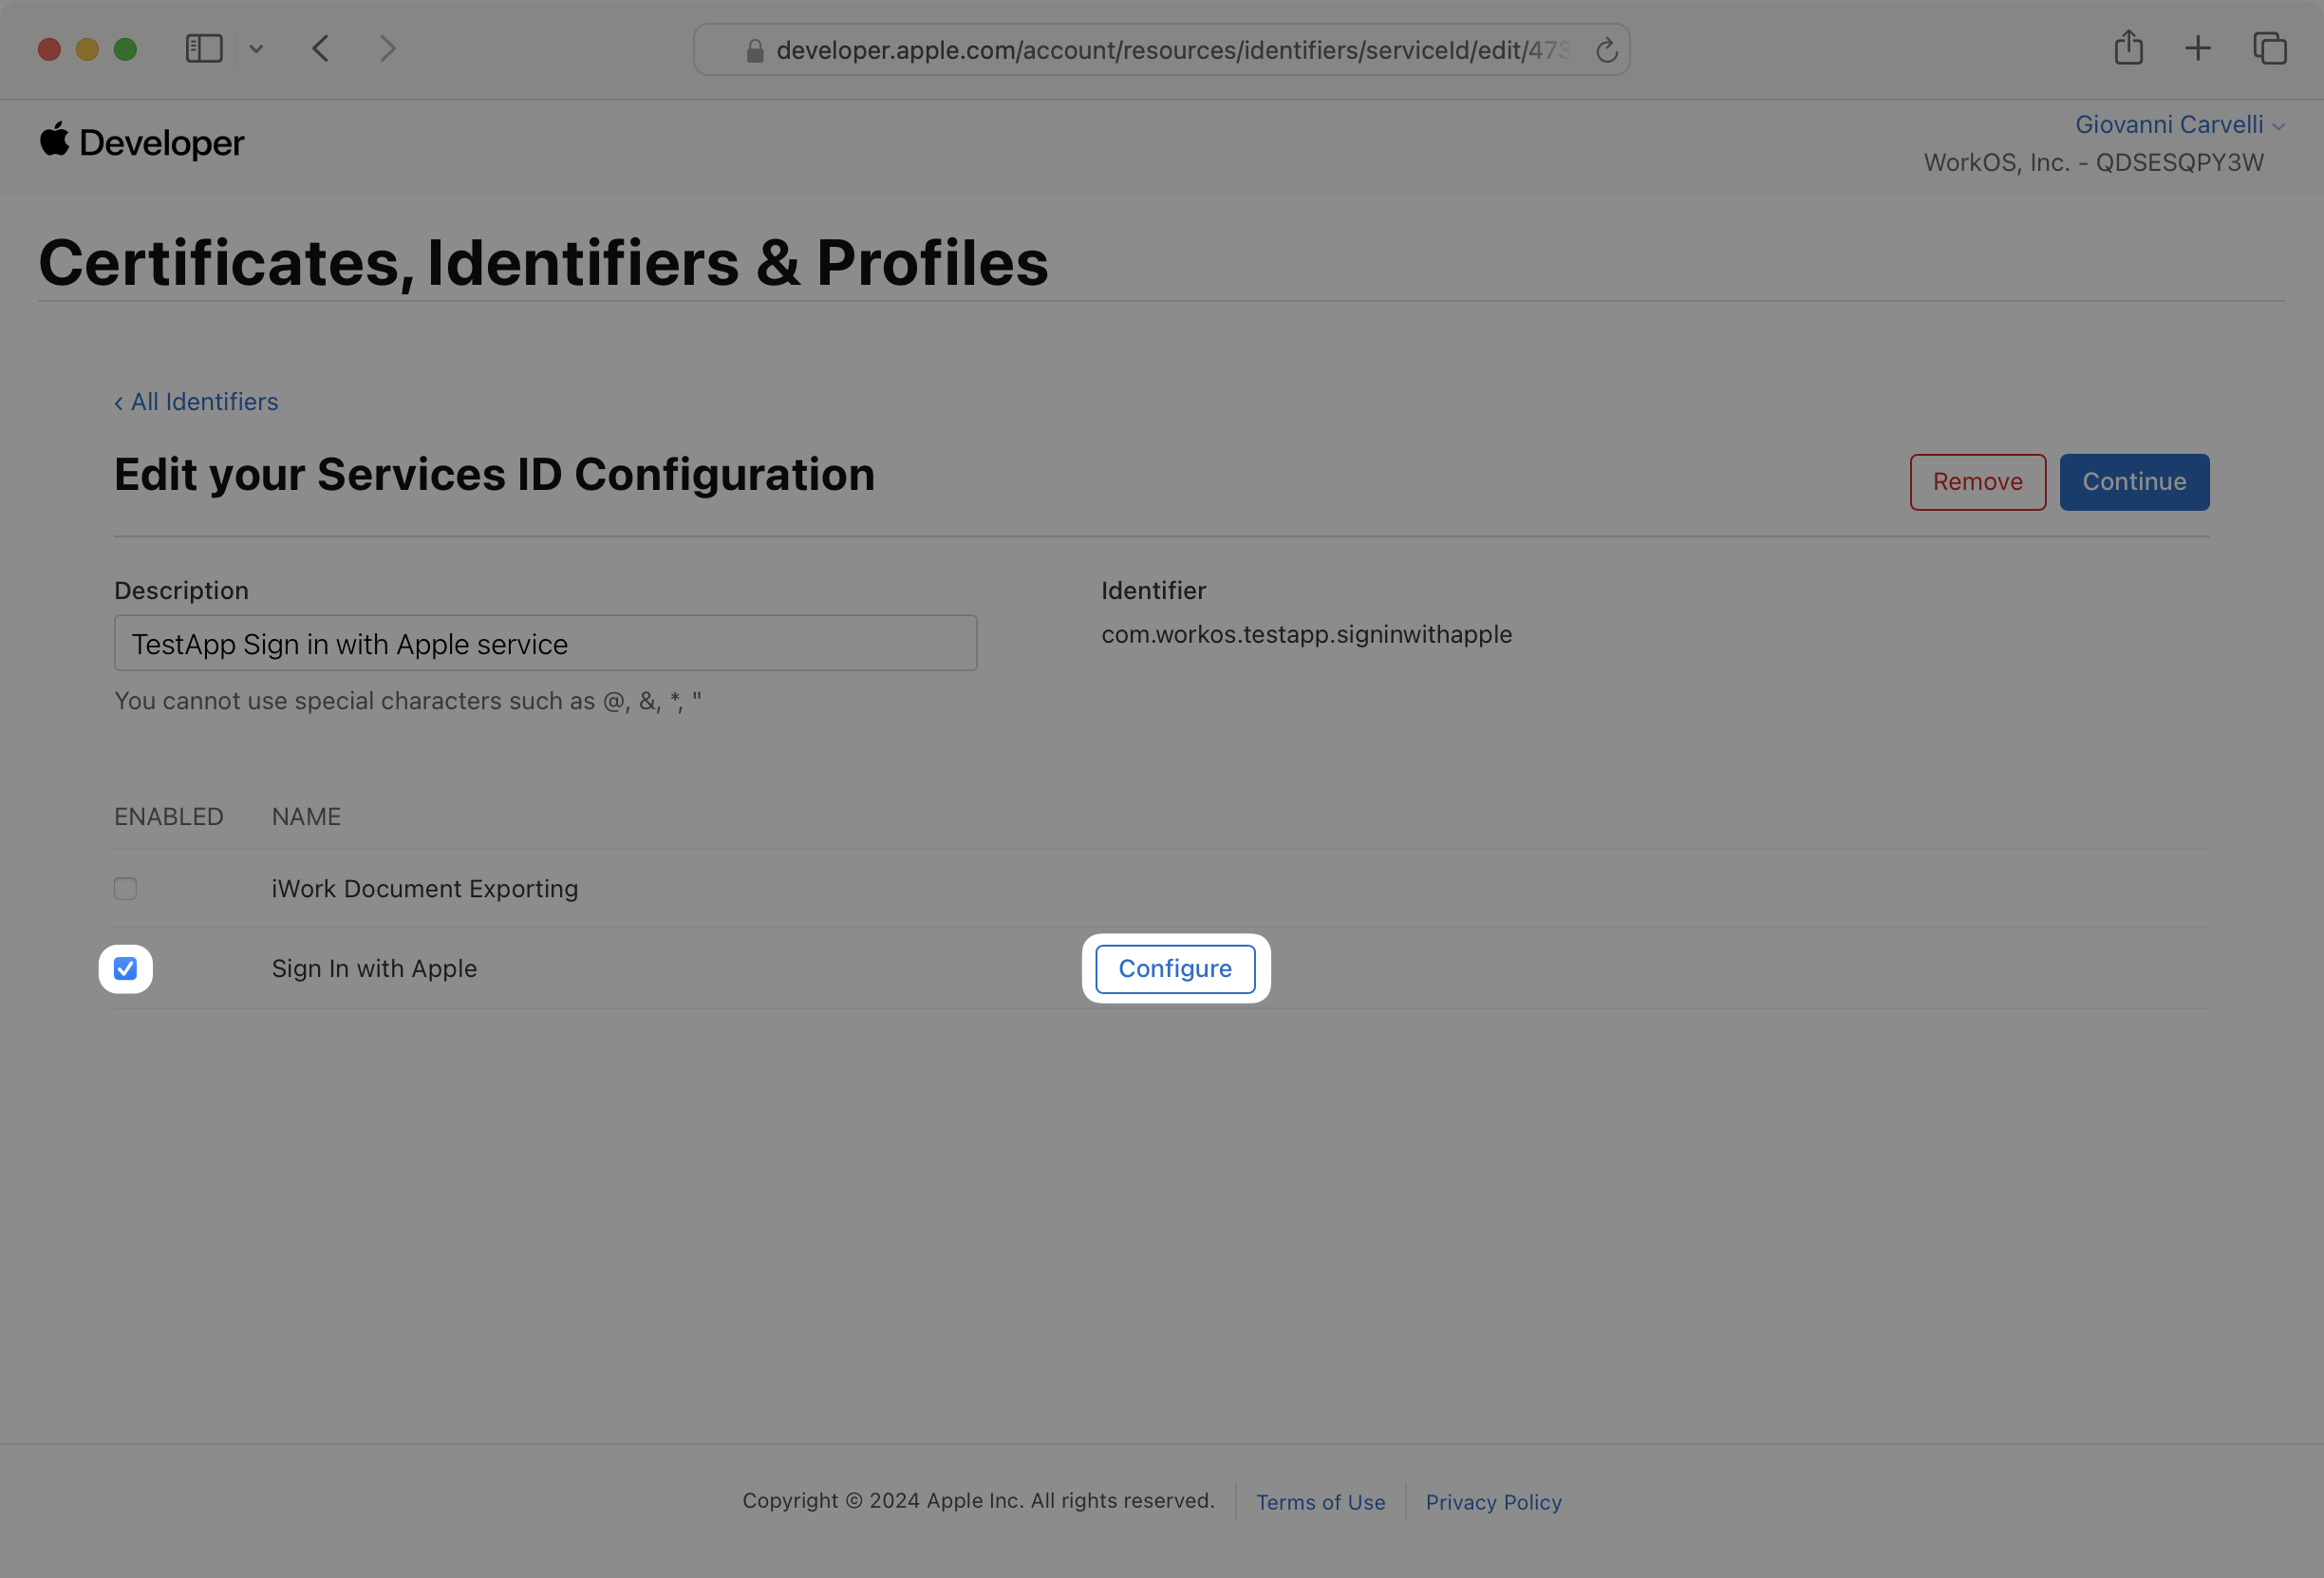
Now you’ll configure your new service for “Sign in with Apple”. First select the new service from the list of Service IDs.
Check the Sign in with Apple box and click Configure.
Ensure the App ID you created earlier is selected in the dropdown. Then enter api.workos.com in the Domains and Subdomains field and paste the Redirect URI from the WorkOS Dashboard in the Return URLs field.
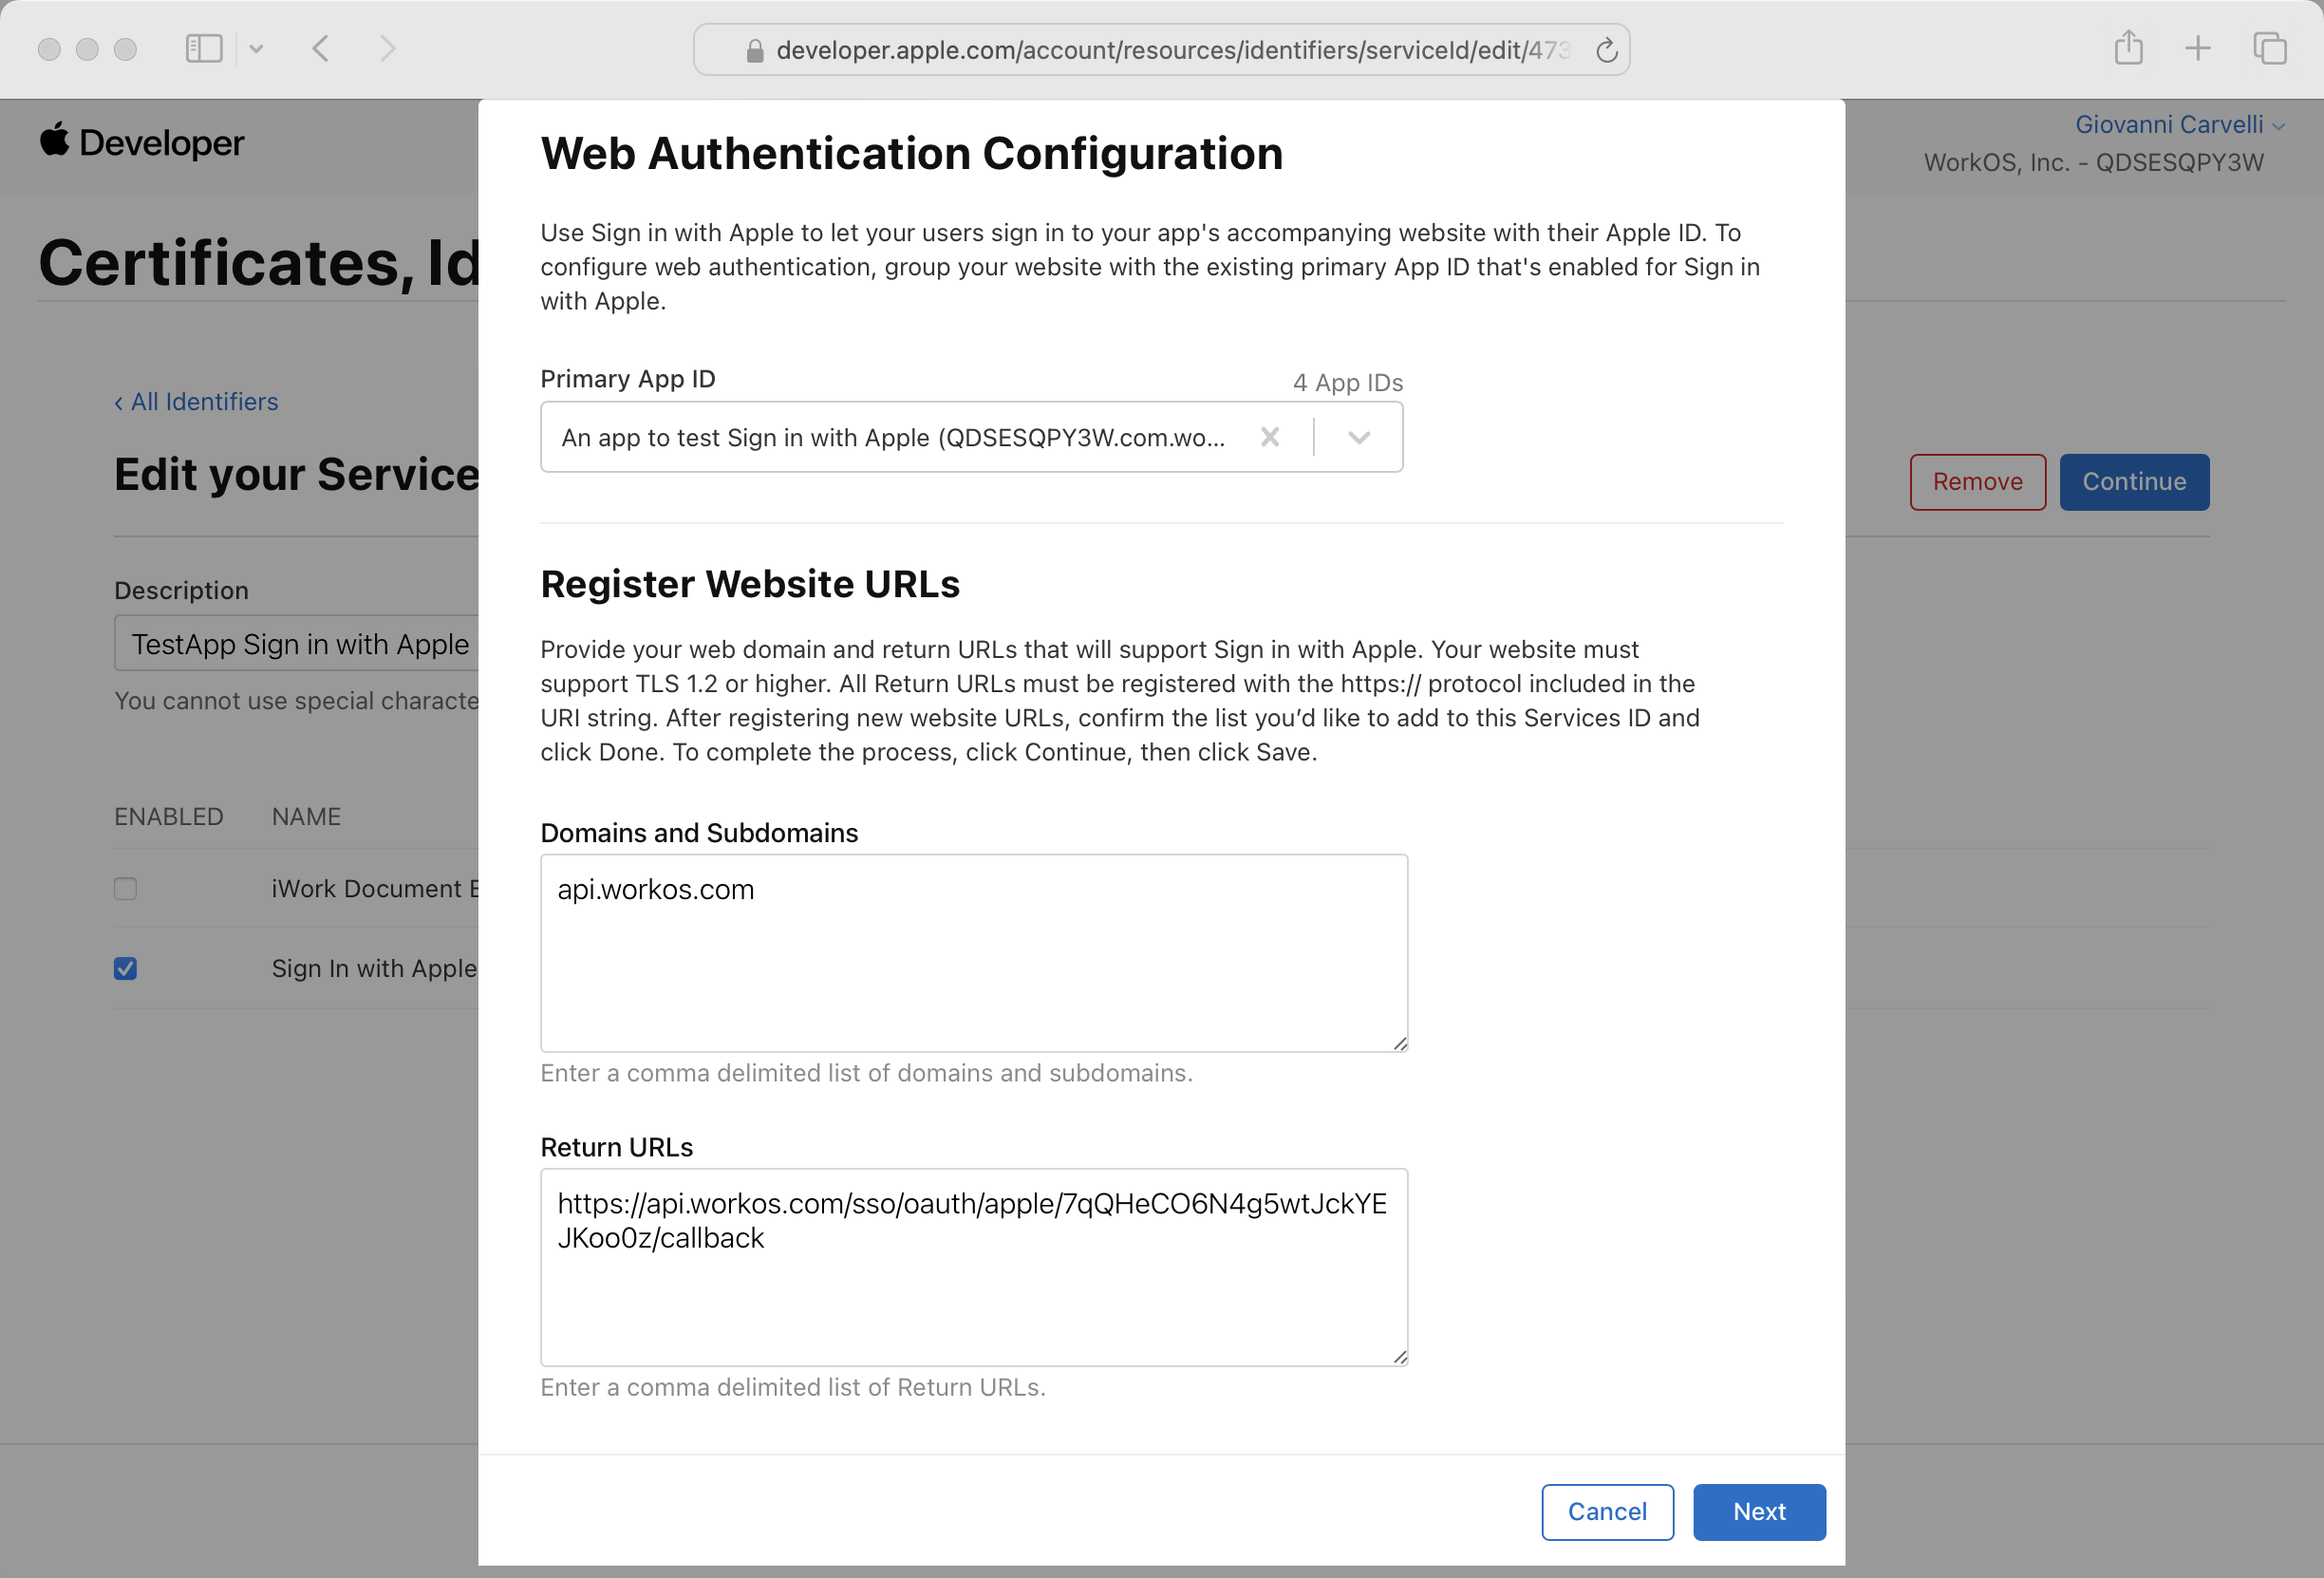
Click Done and then Continue. Review your changes and click Save.
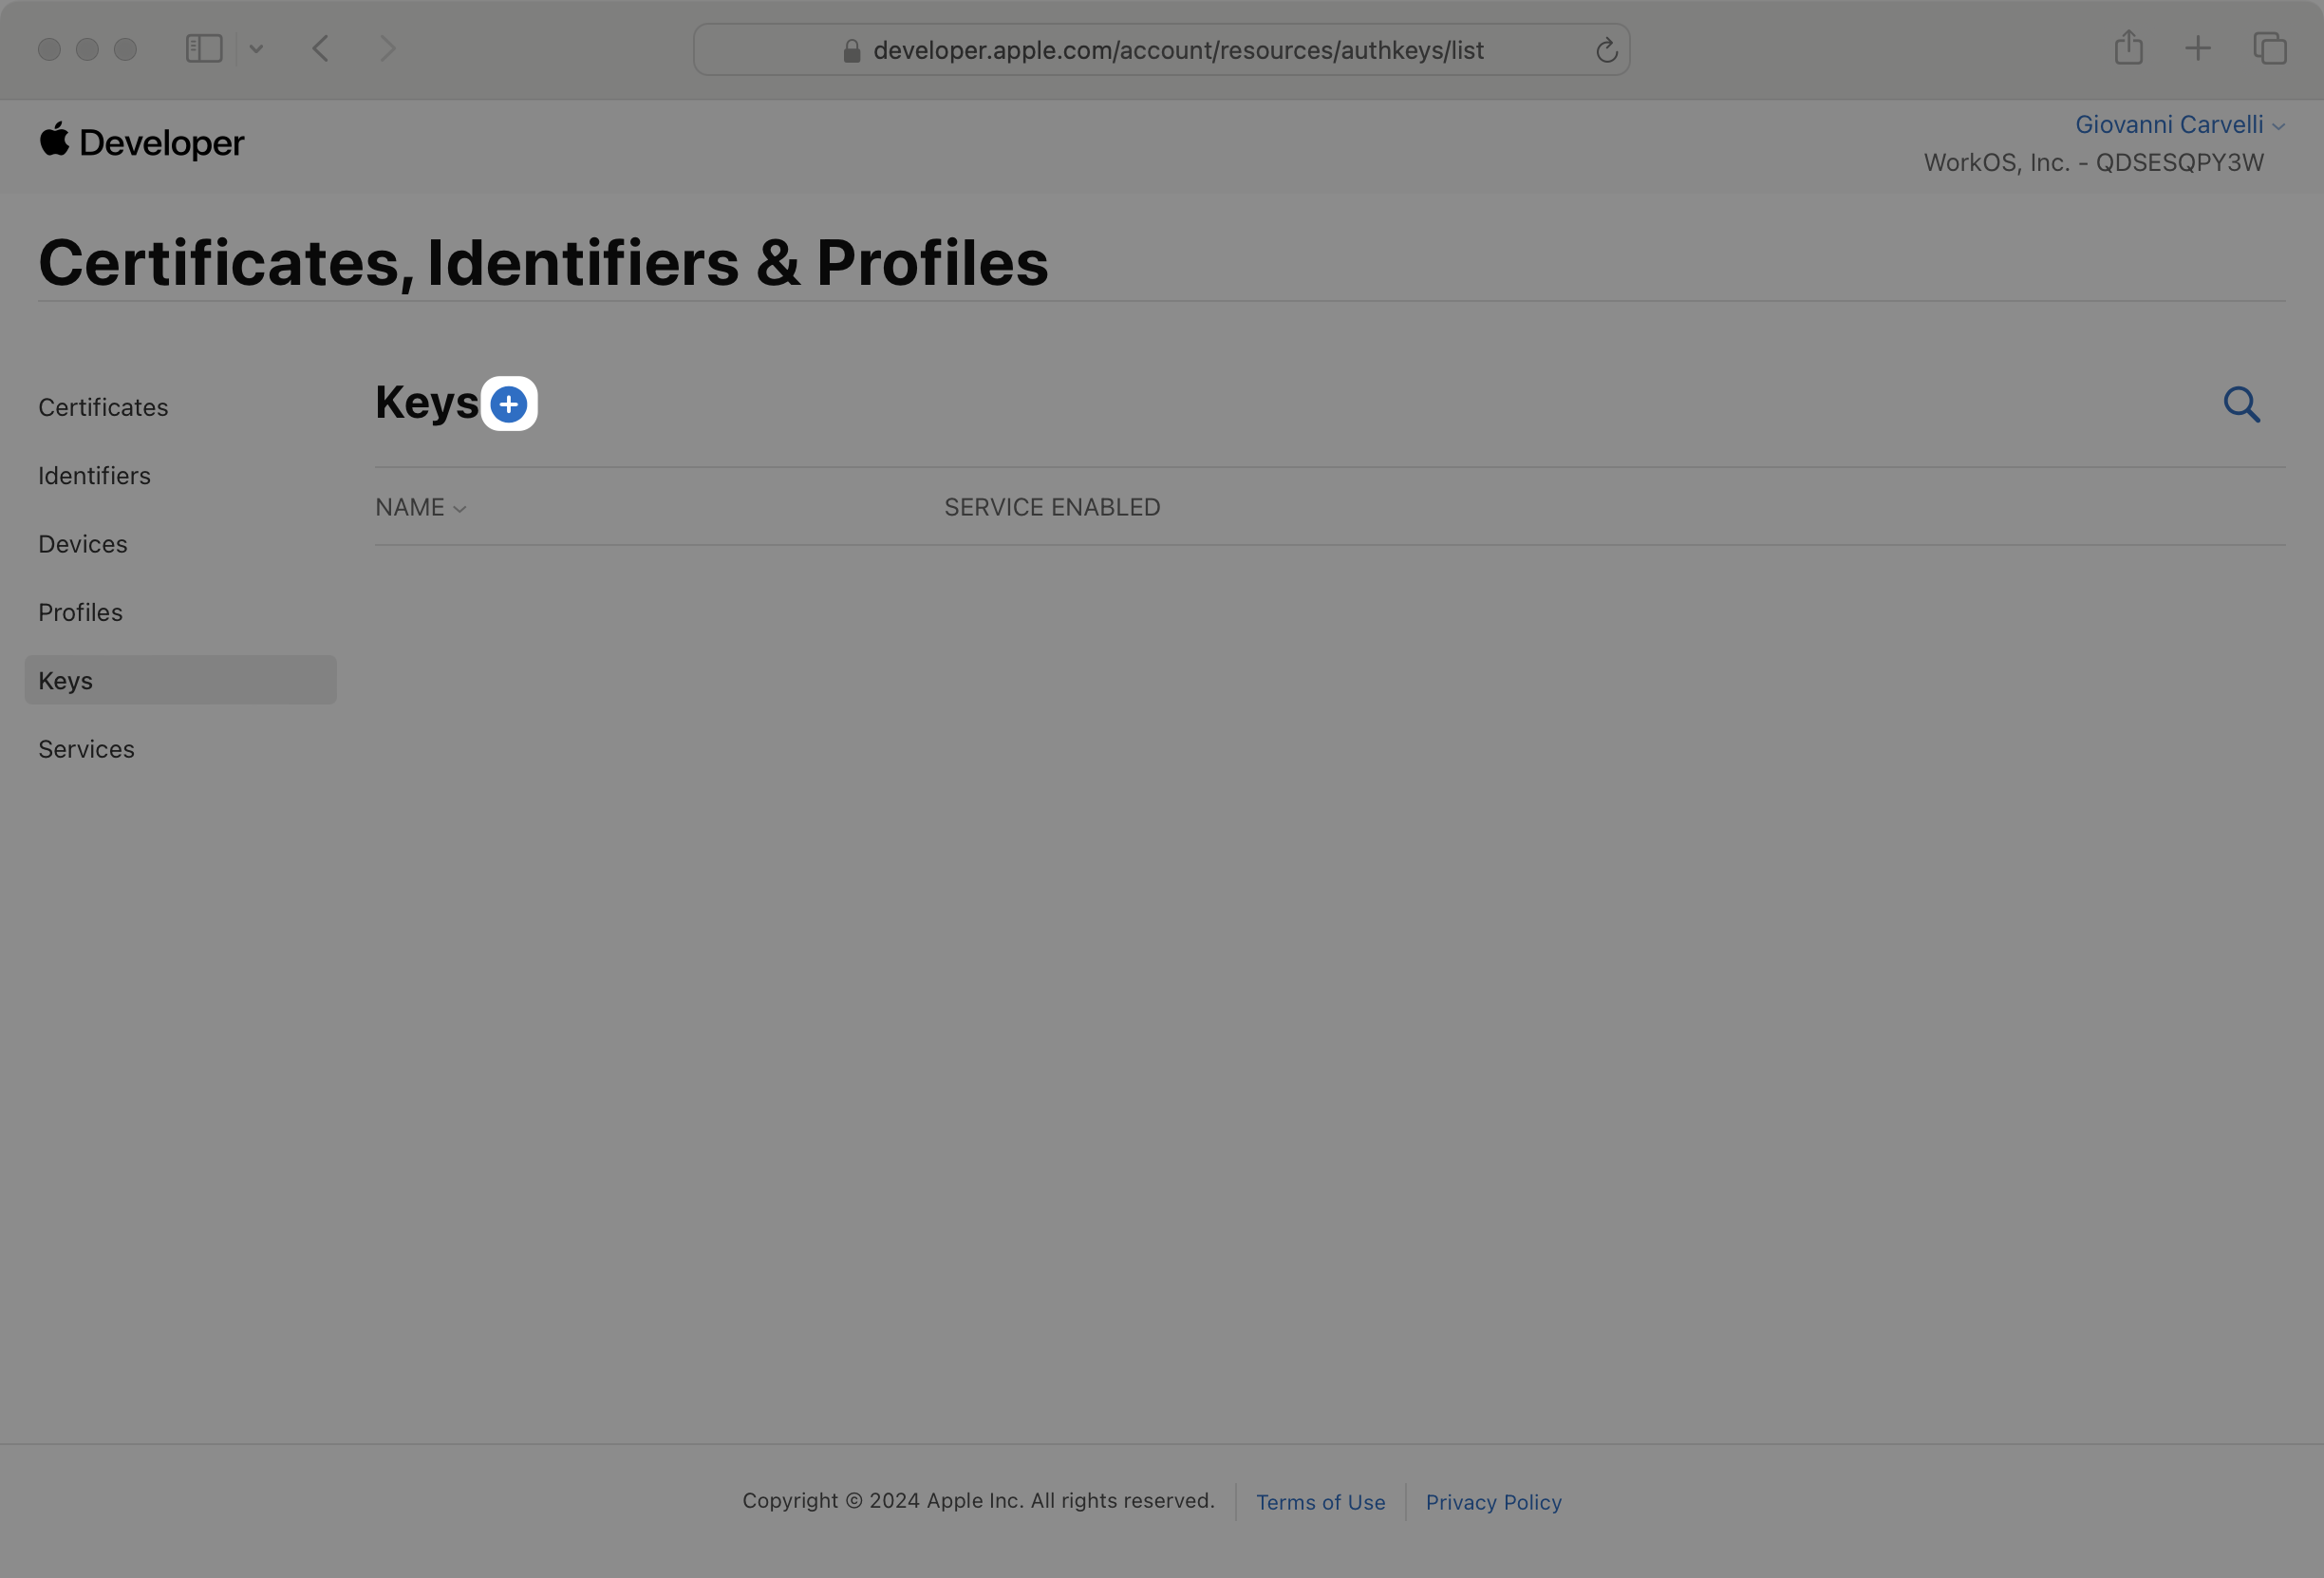
Click on Keys in the sidebar, then click the + button to create a new key.
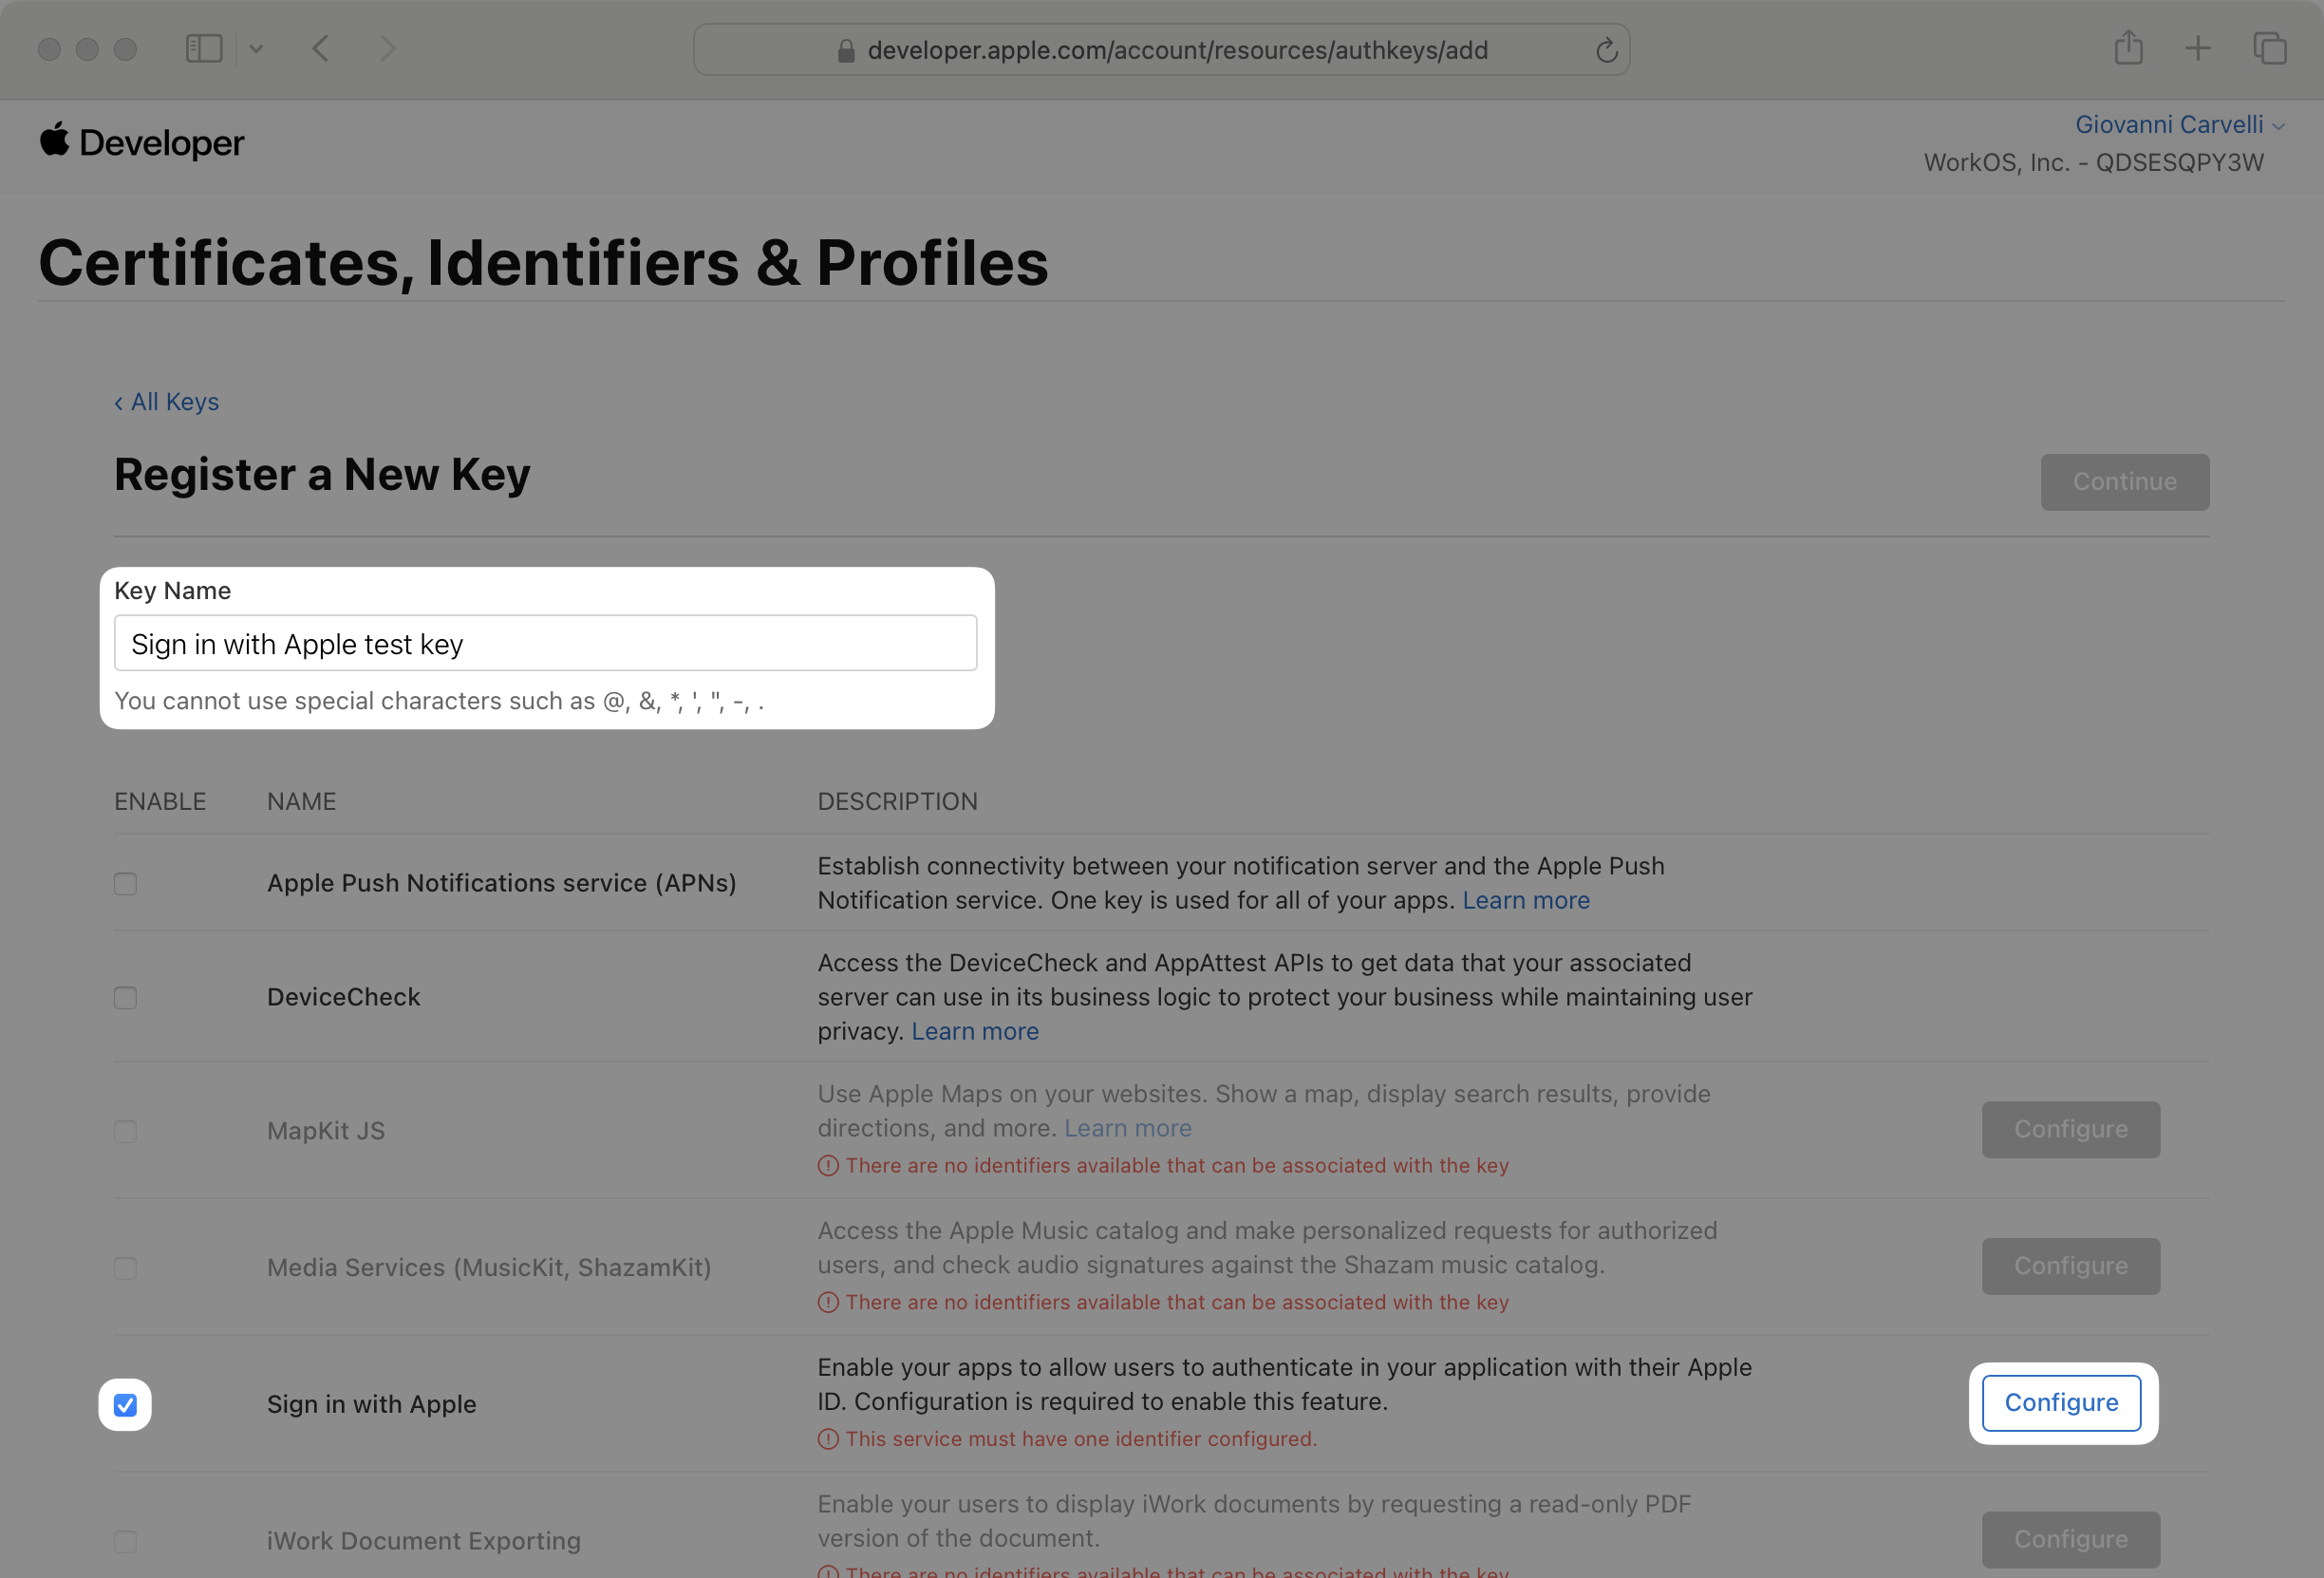
On the next page, enter a human-readable Key Name. Then check the Sign in with Apple box and click Configure.
In the Configure dialog, select the App ID you created earlier and click Save.
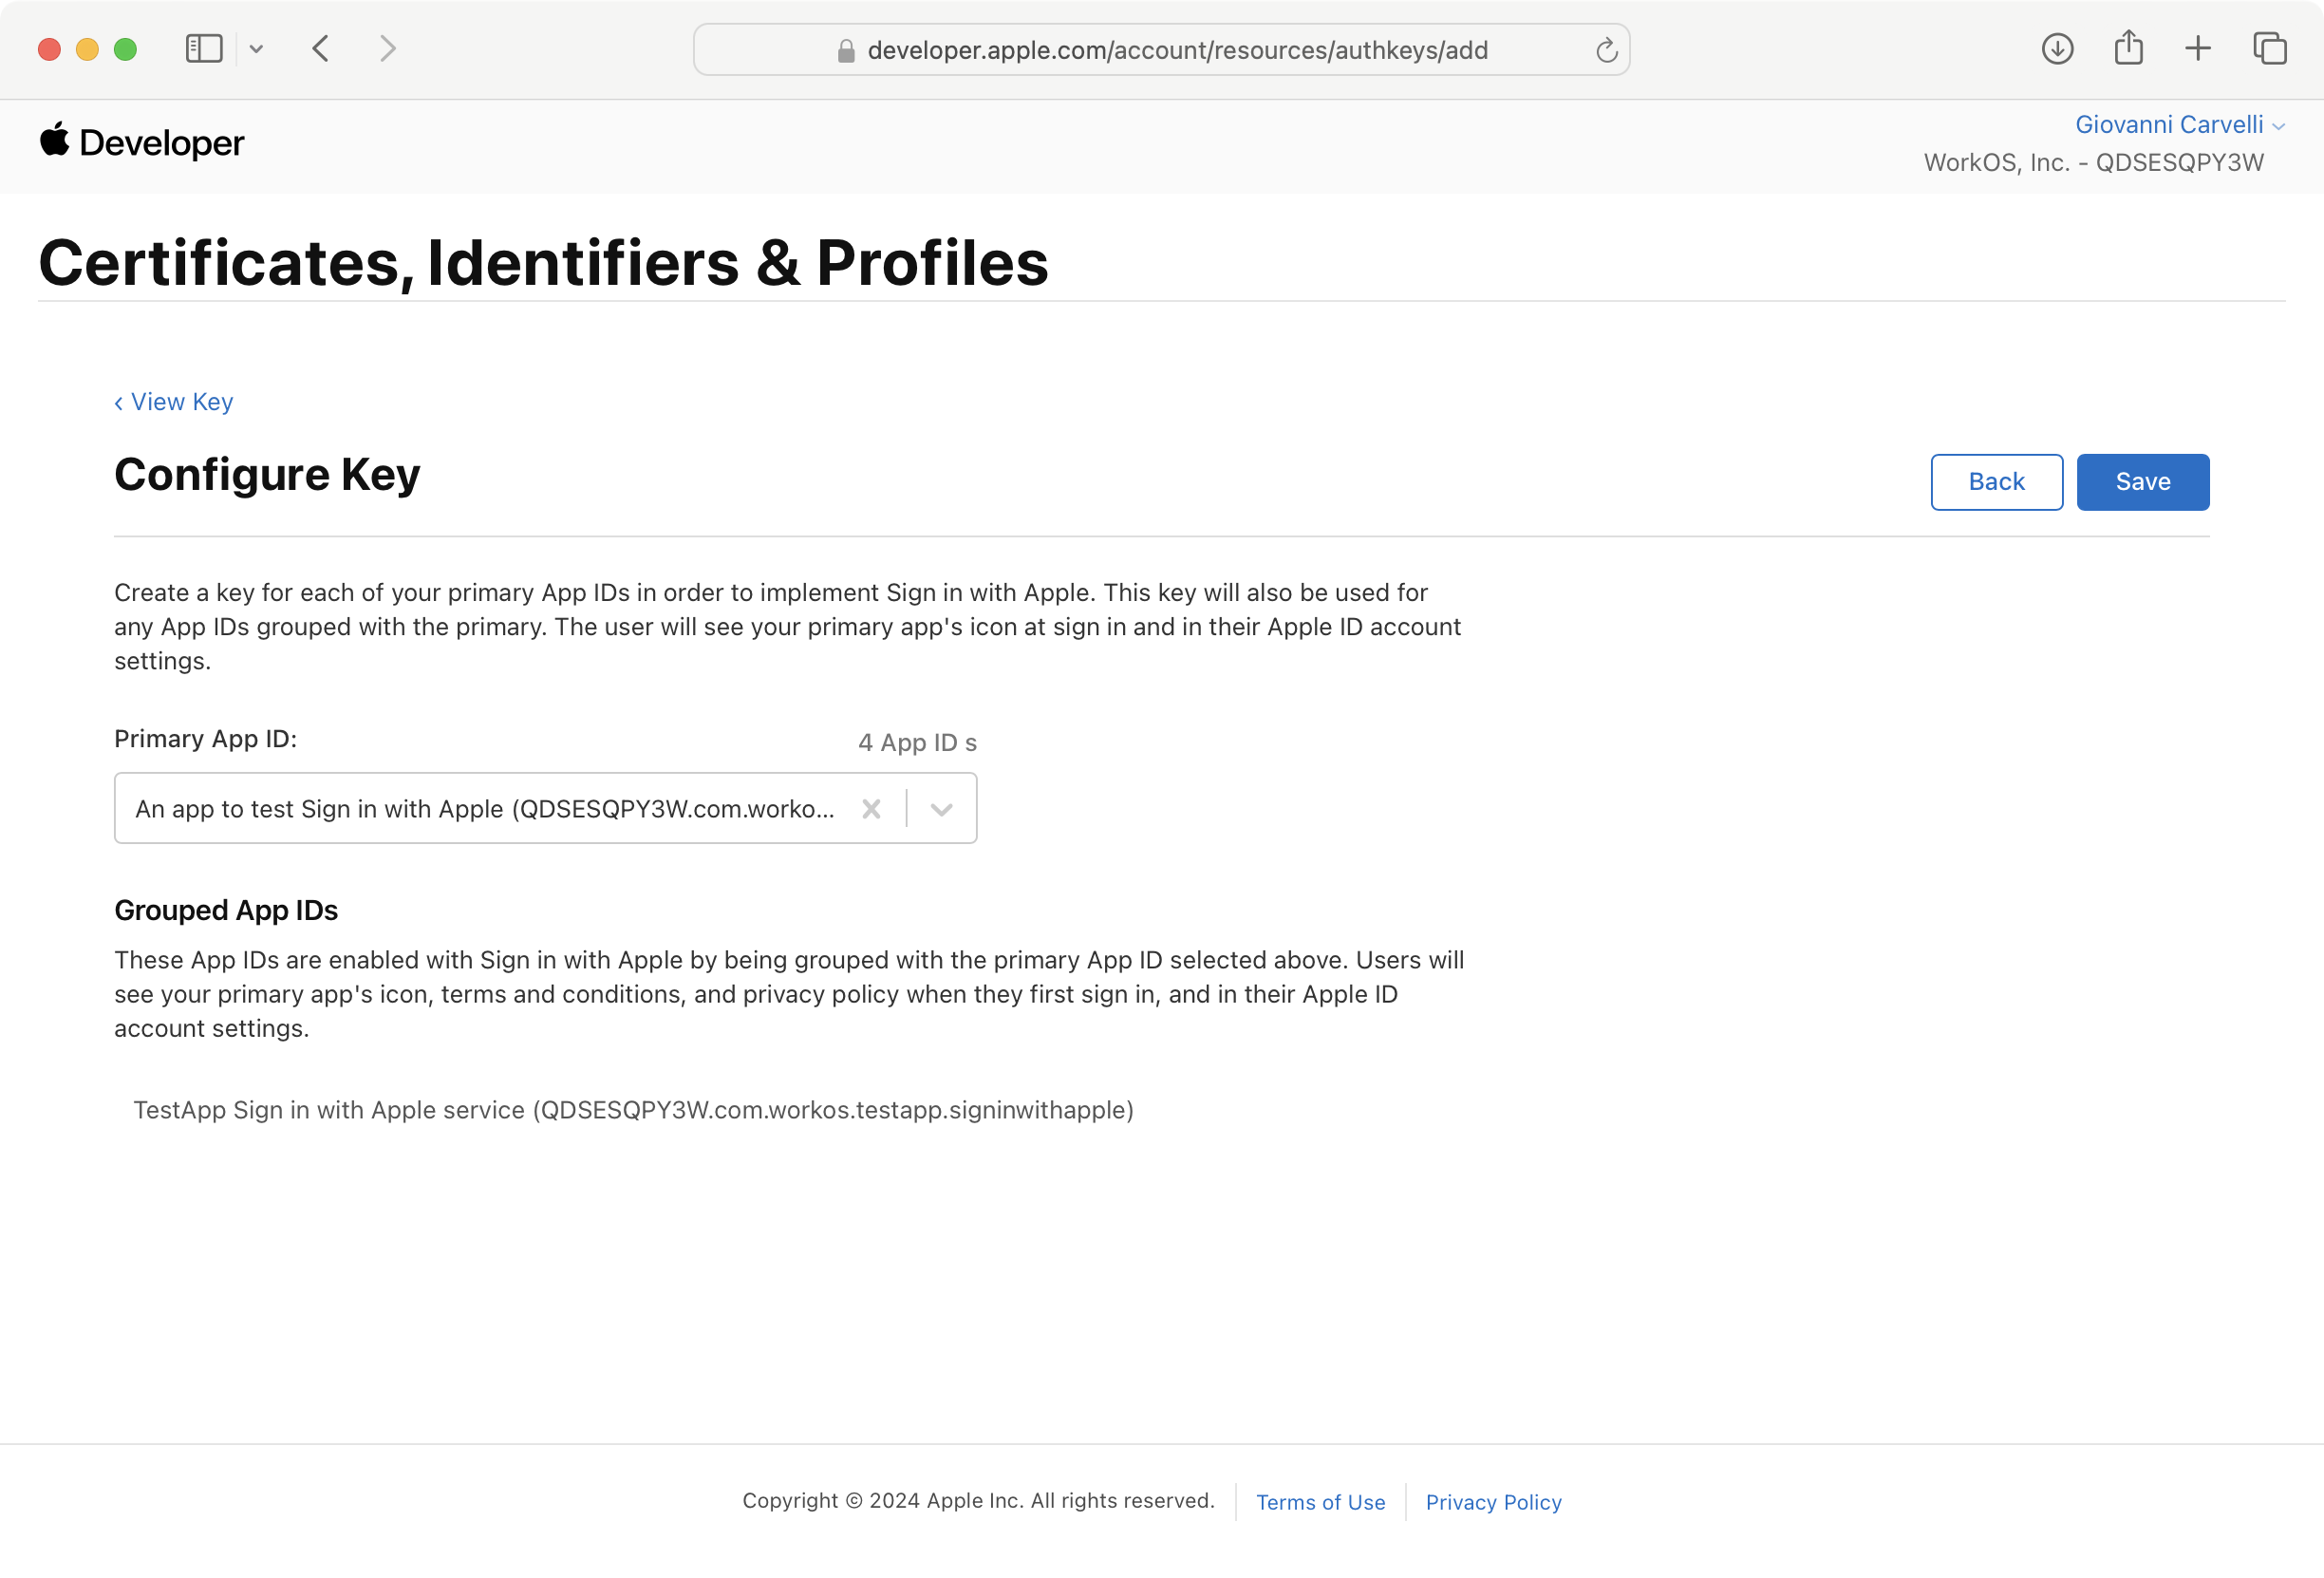
Click Continue. Review your changes and click Register to create your key.
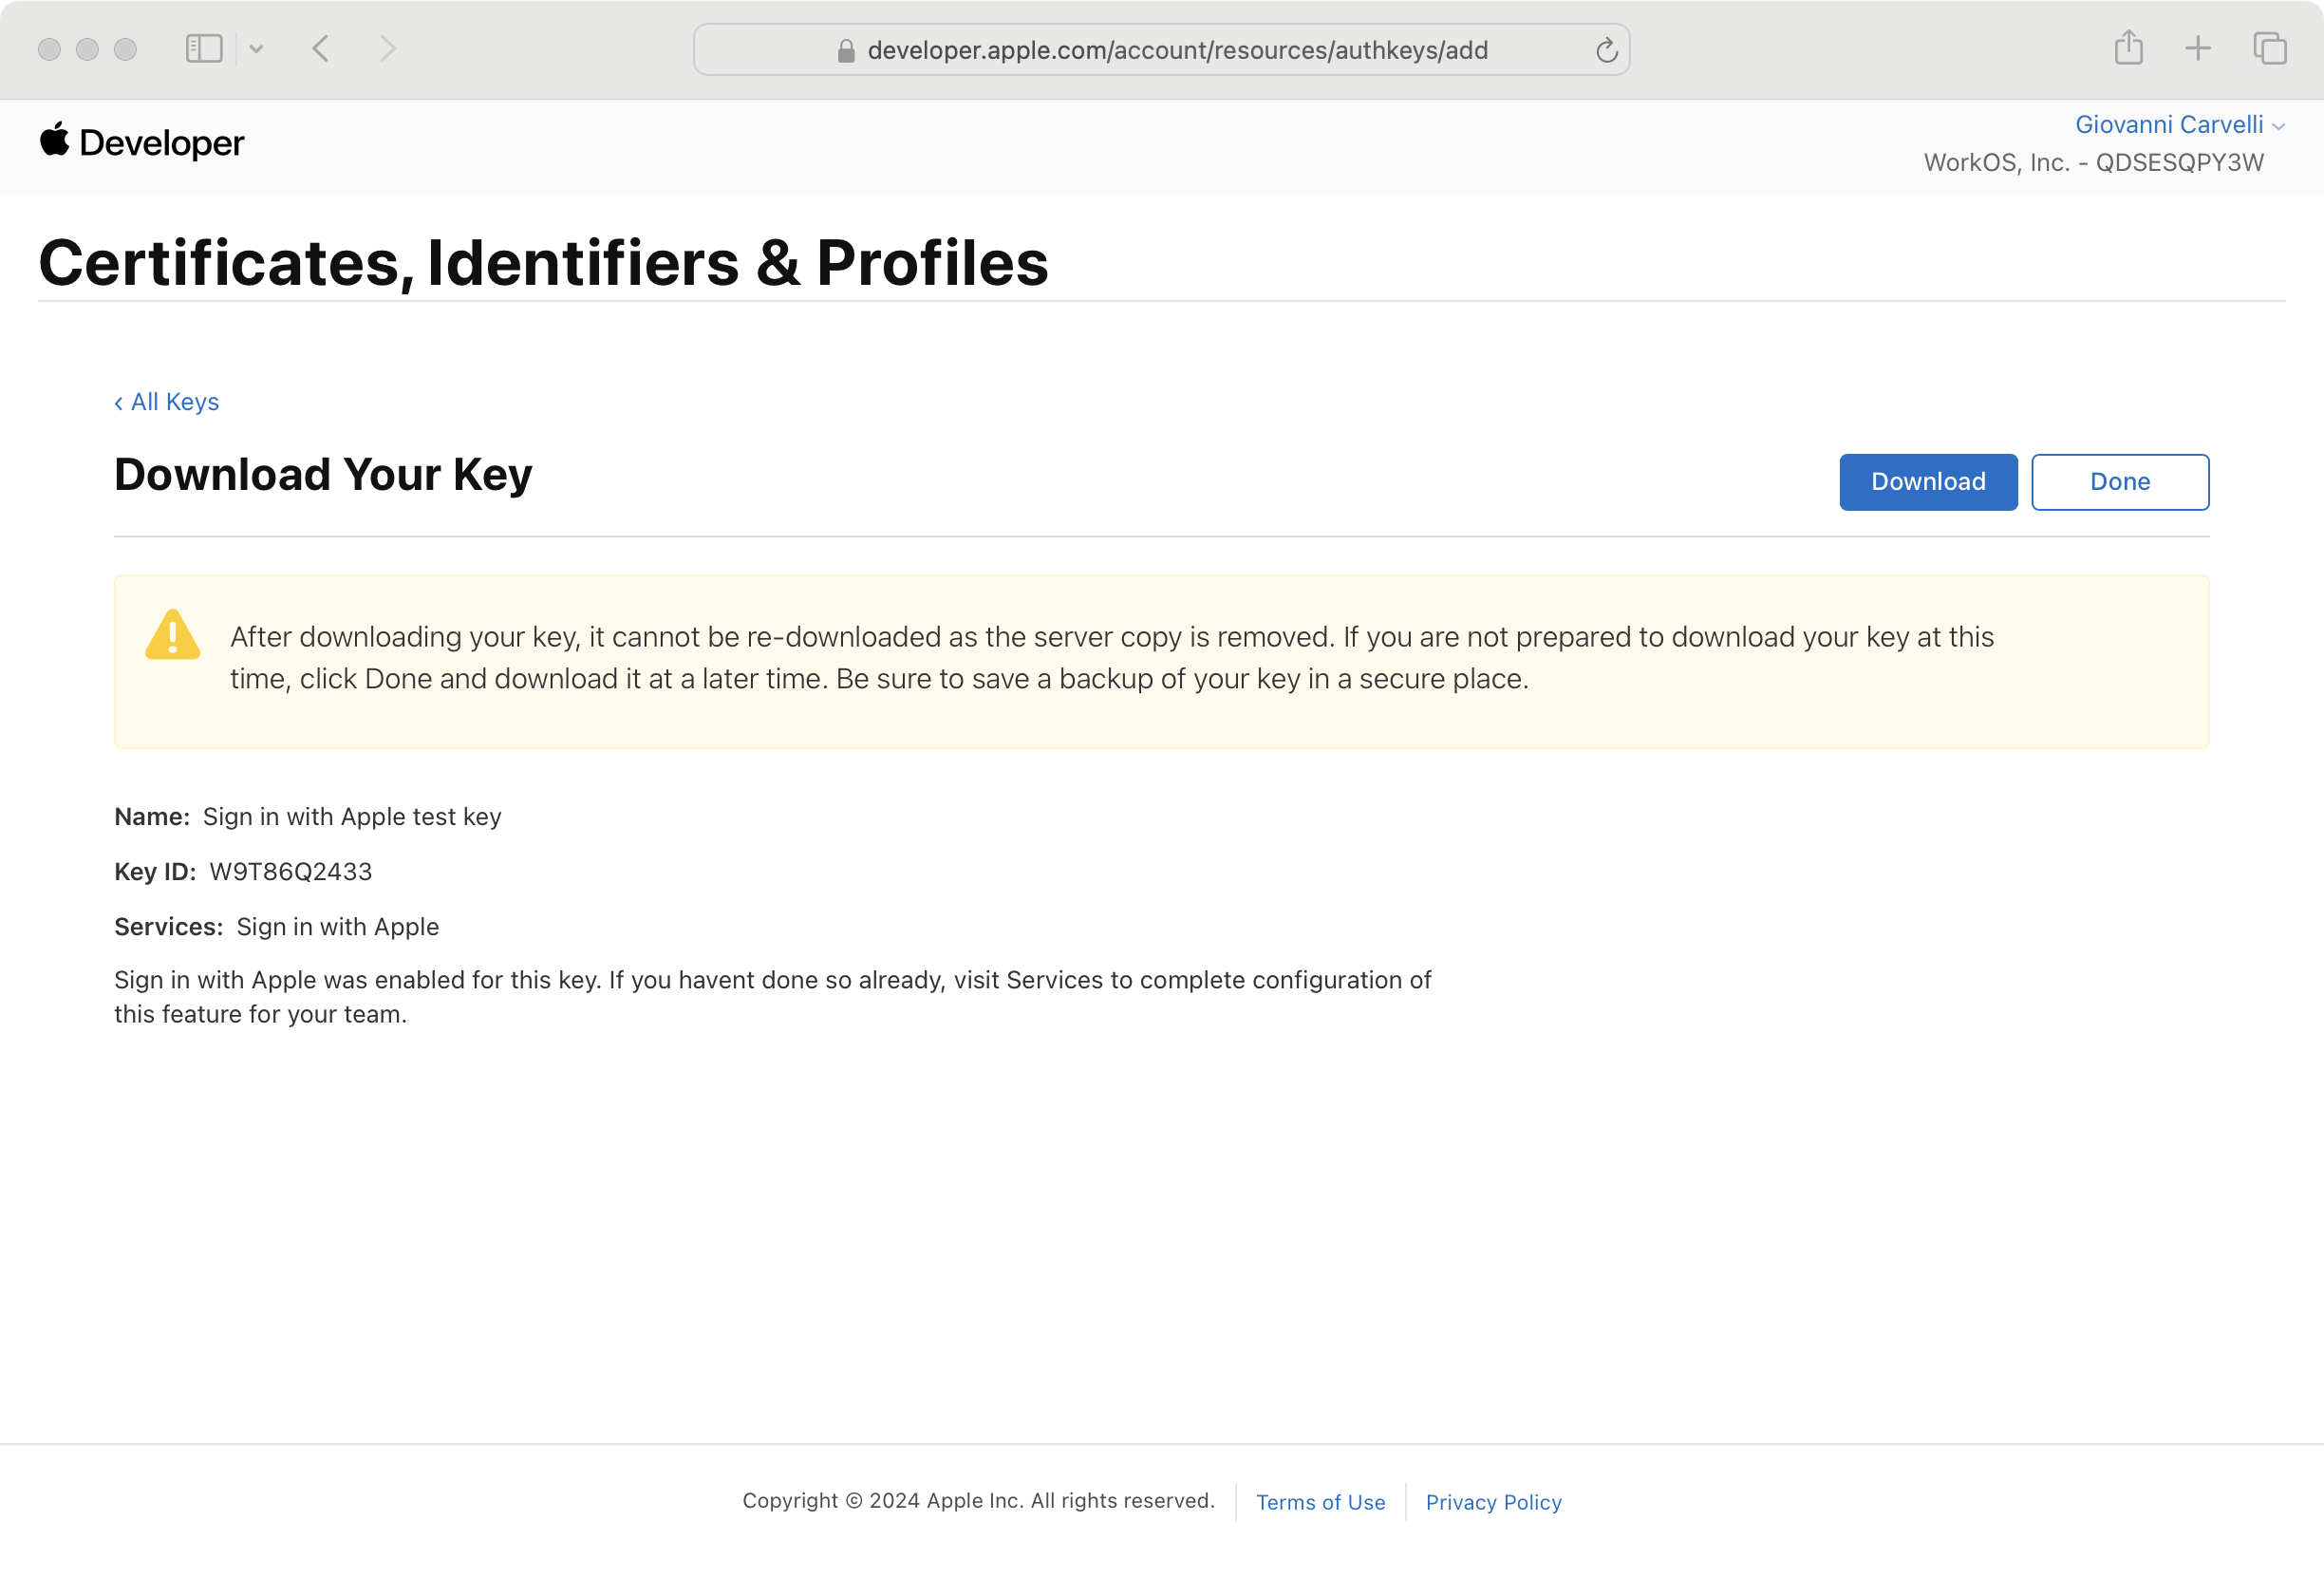
Make sure to download your new private key and note the Key ID as you’ll need both later.
Now you have all the required credentials:
- Apple Team ID
- Apple Service ID
- Private Key ID
- The downloaded private key file
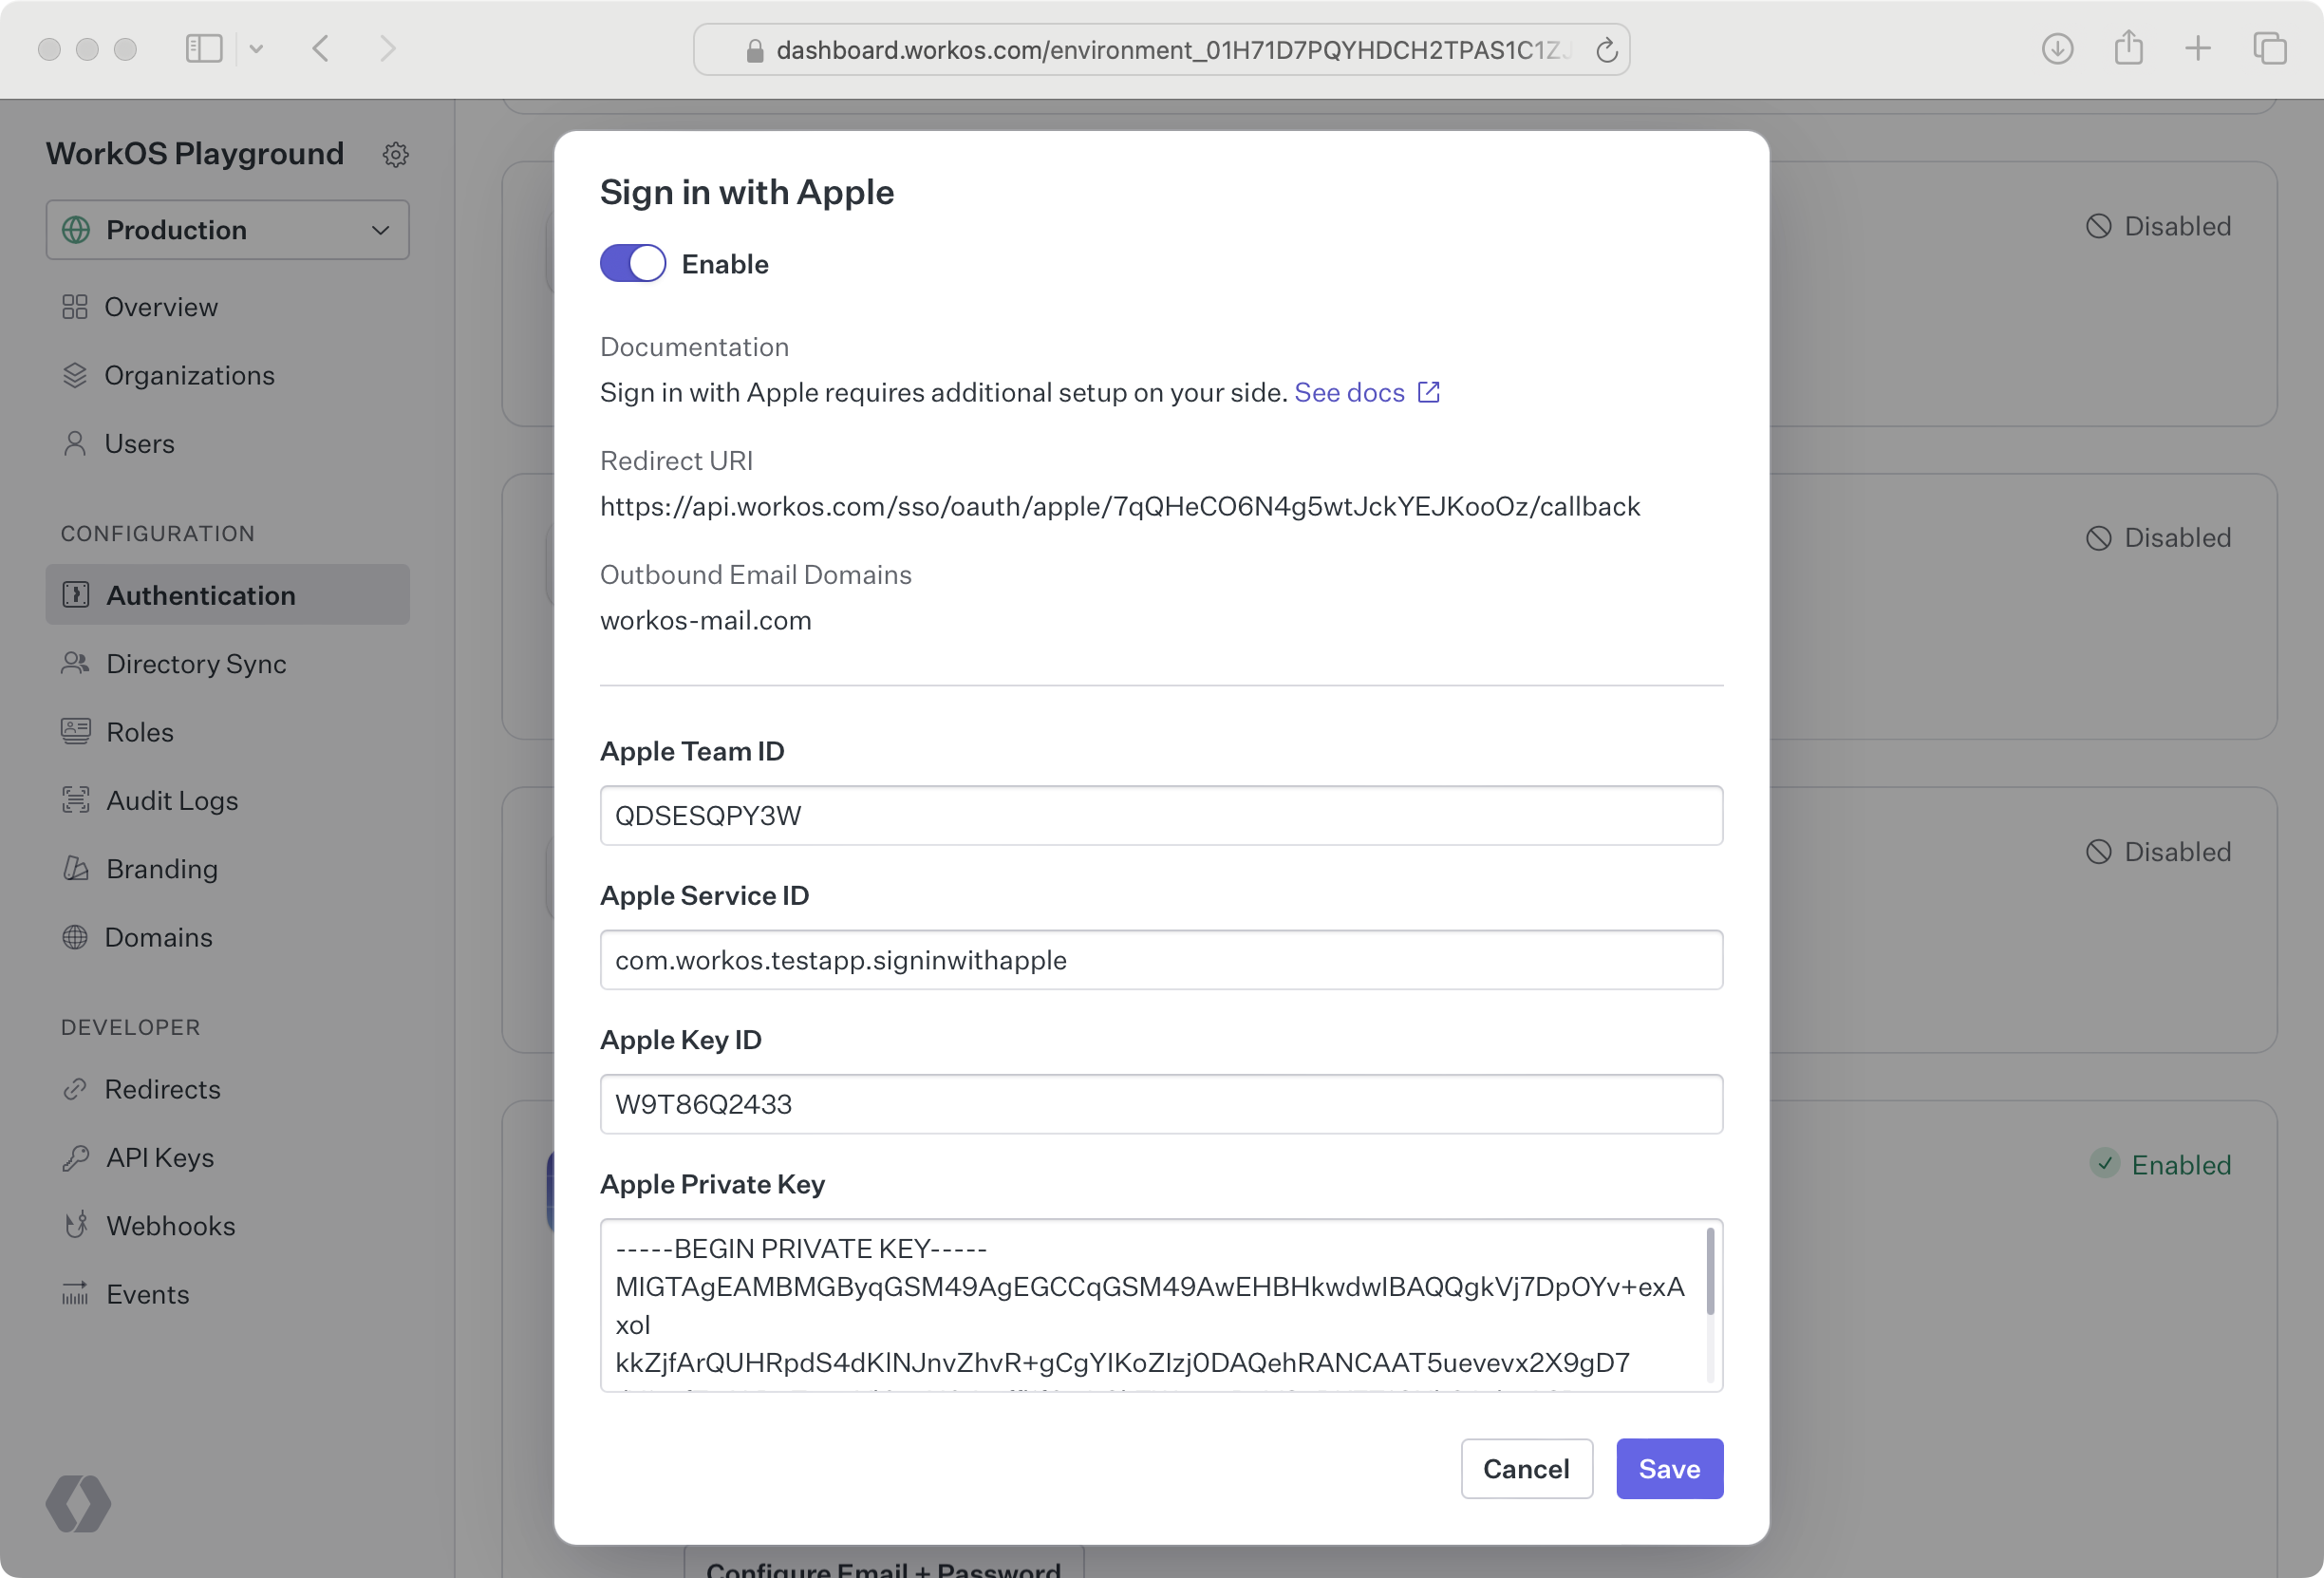
Return to the WorkOS Dashboard. In the Sign in with Apple configuration dialog, toggle Enable on. Select Your app’s credentials. Paste the credentials from Apple that you generated in the previous steps into their respective fields.
Sign in with Apple users can opt to hide their email address when signing in. In order for emails to be sent to those users, you need to configure Private Email Relay.
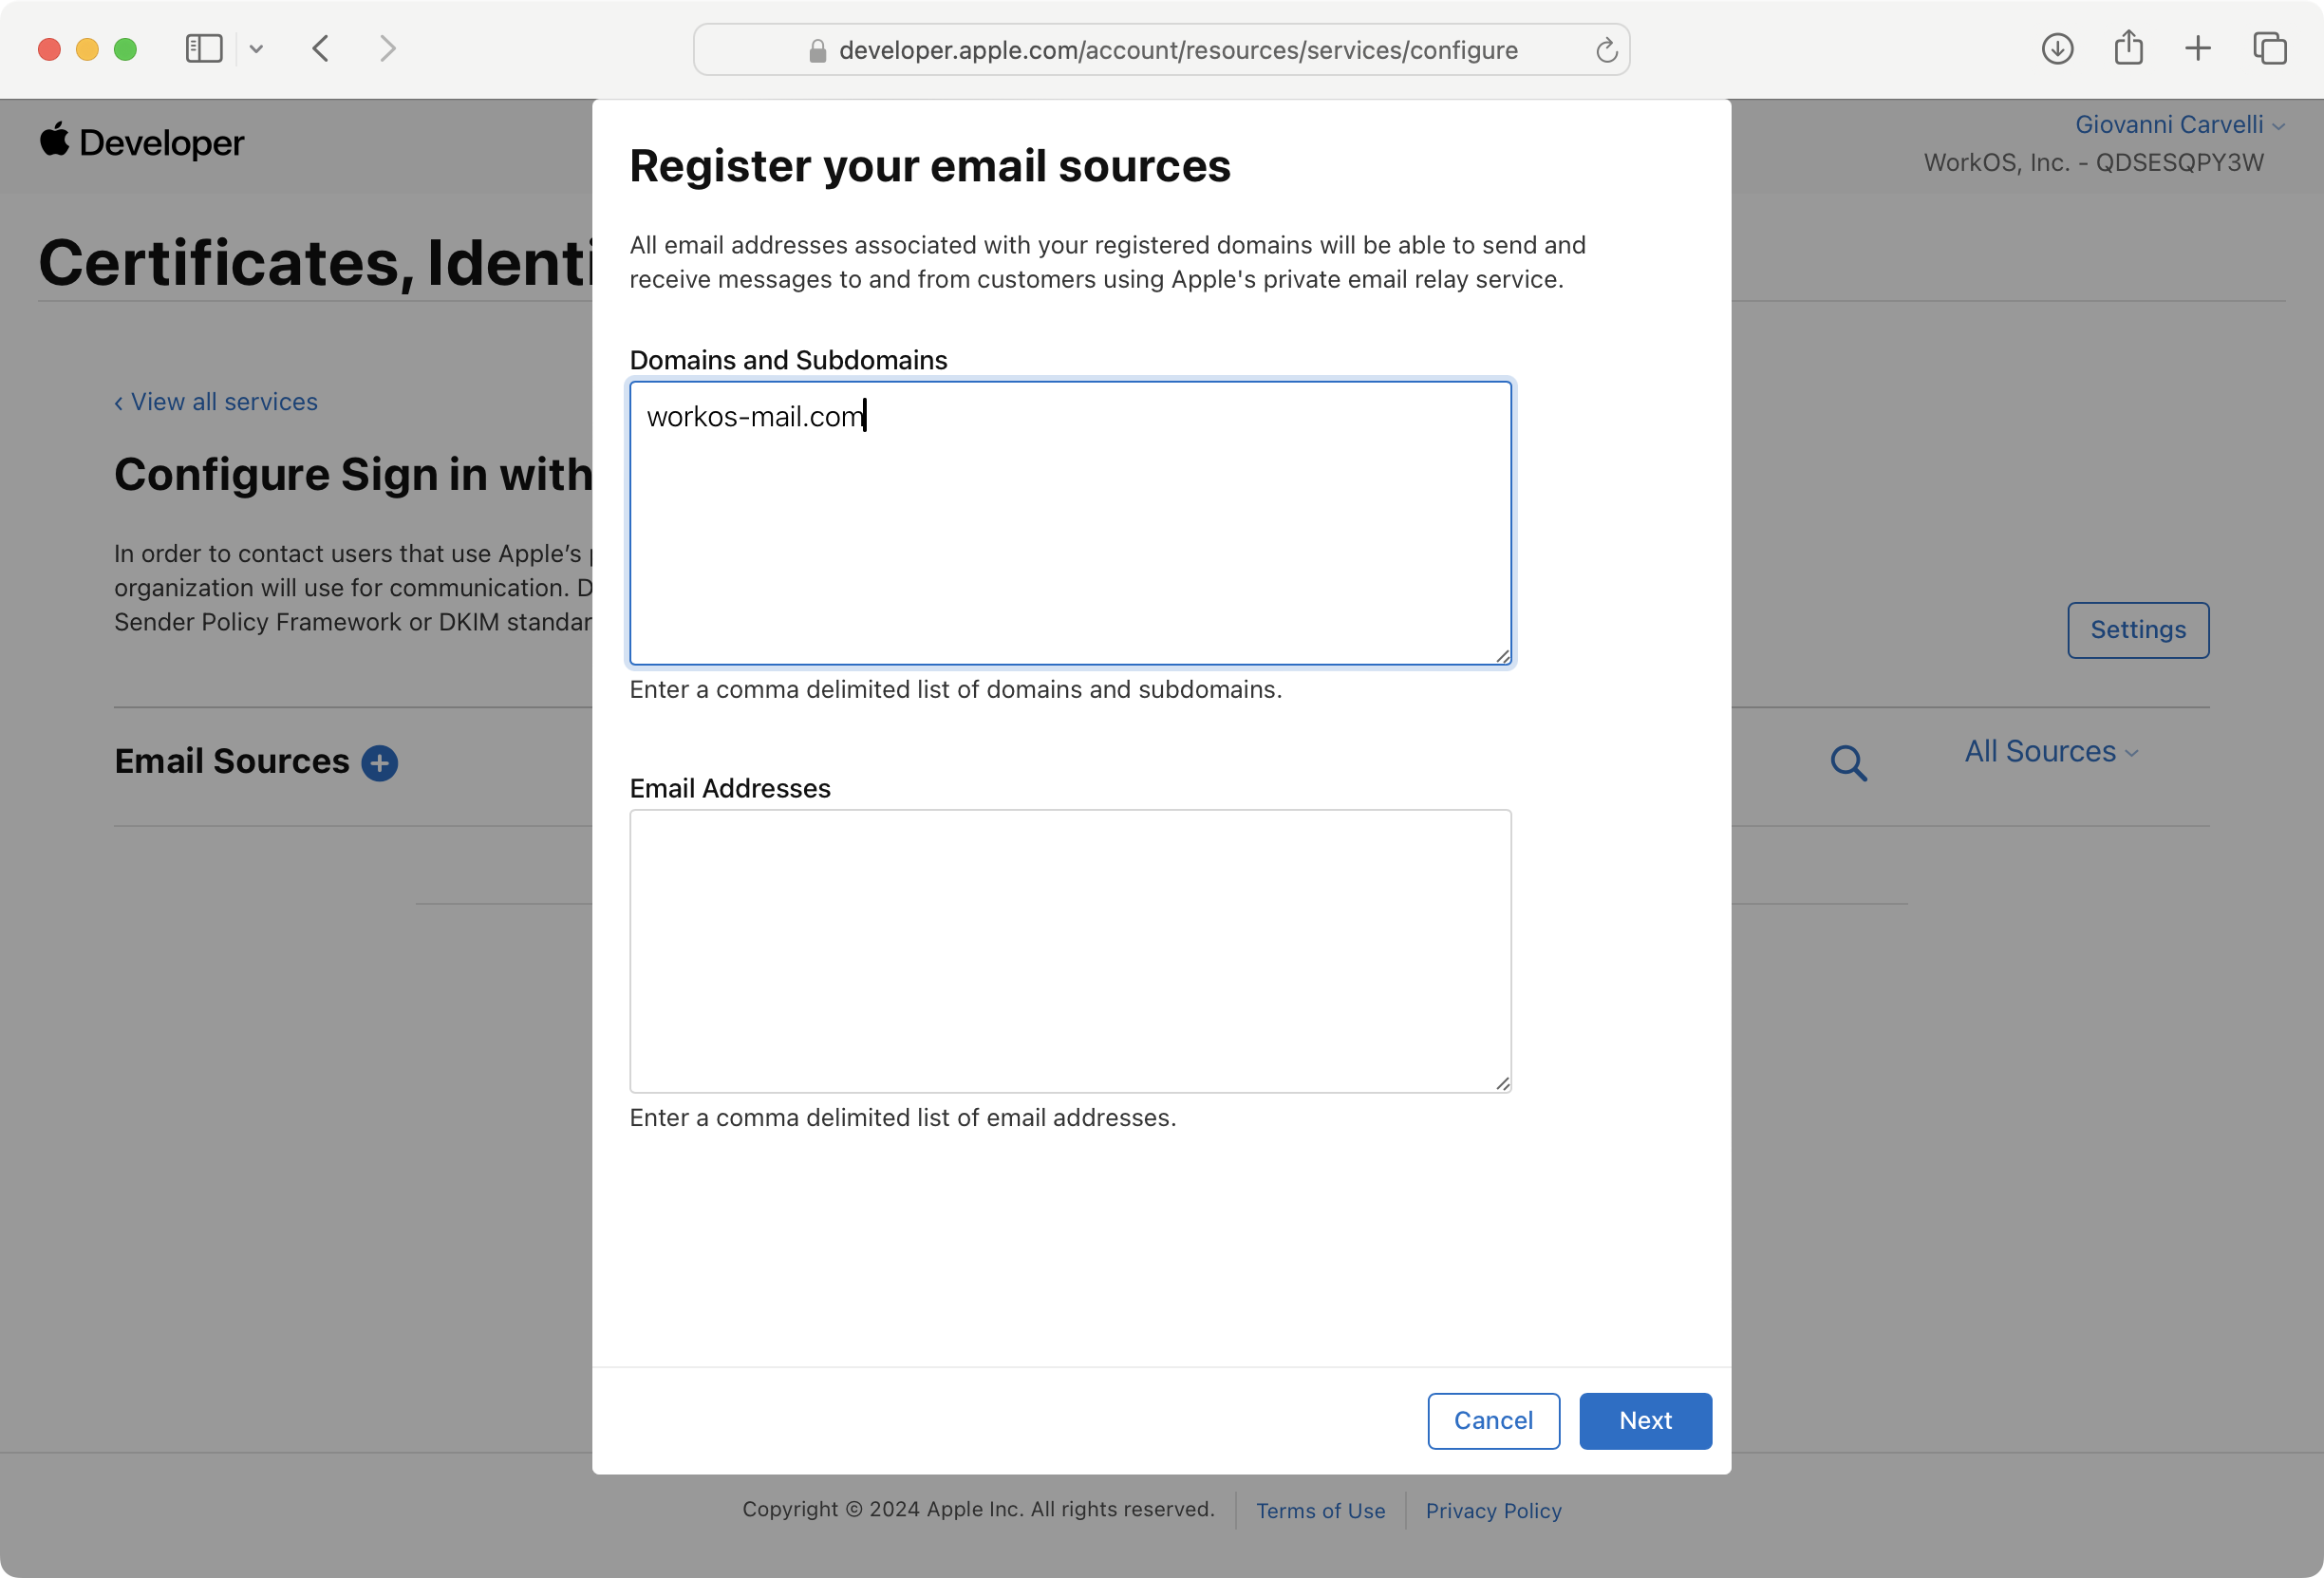
Copy the Outbound Email Domains from the Sign in with Apple configuration modal in the WorkOS Dashboard.
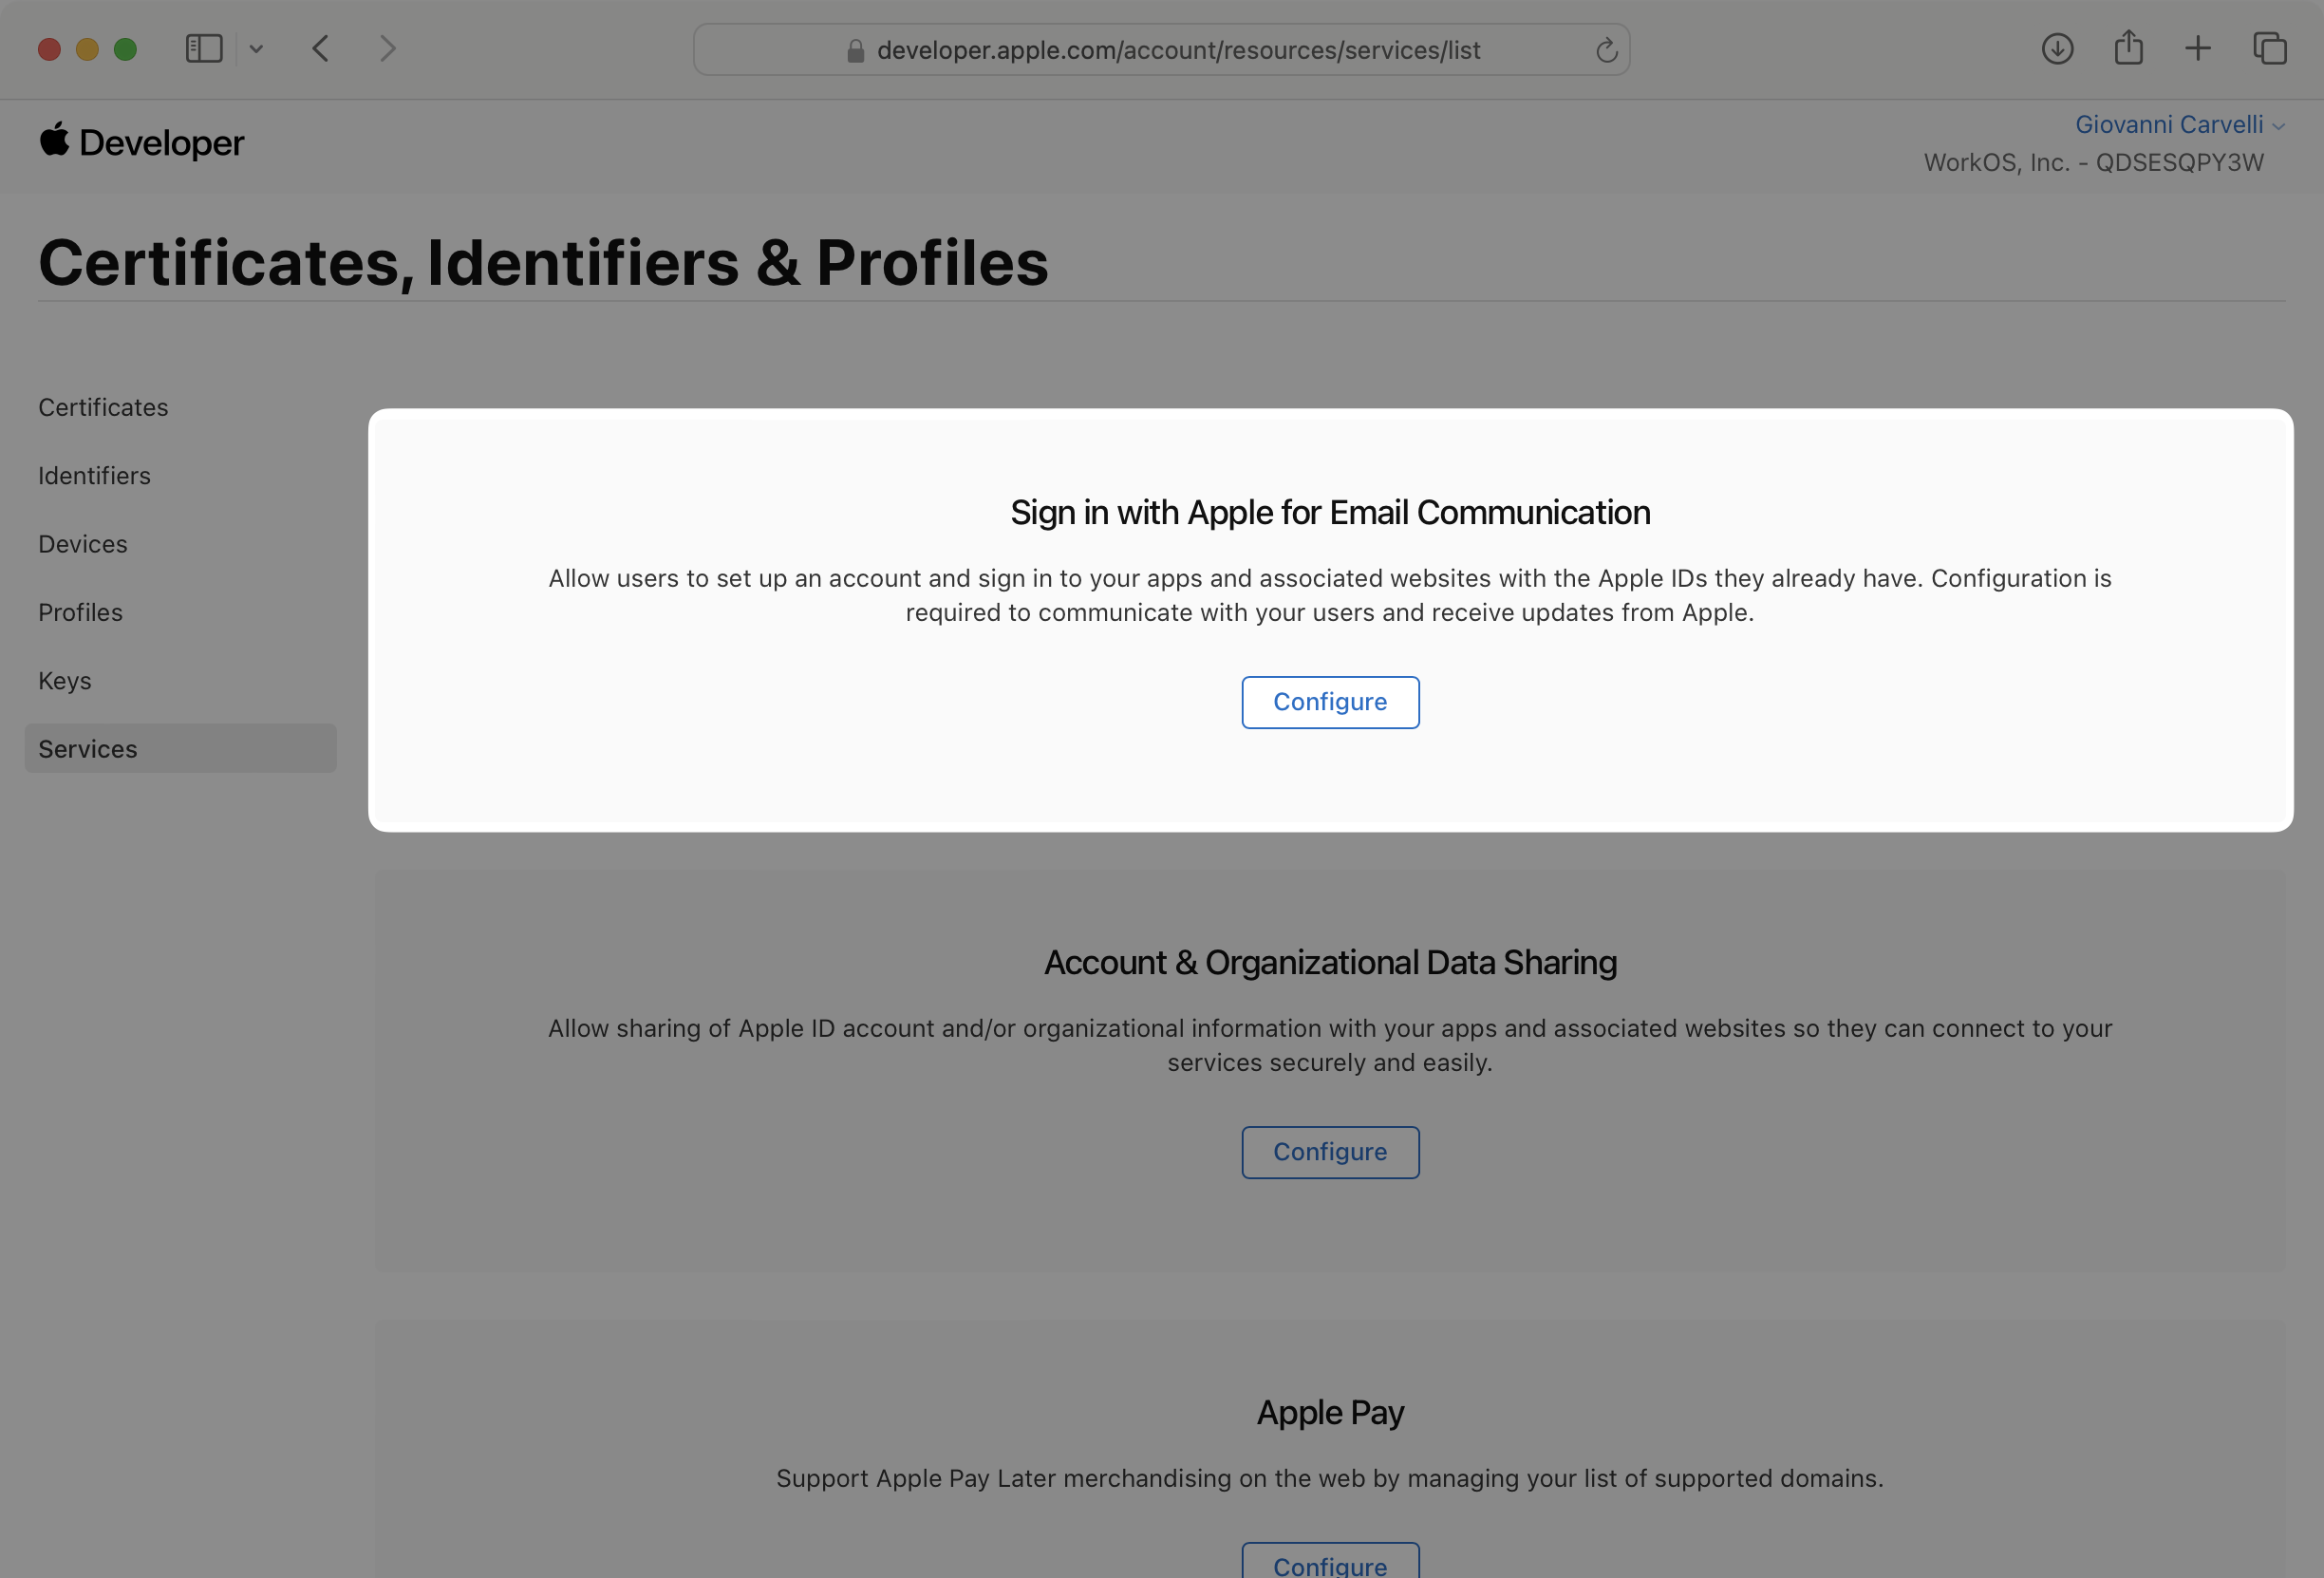
Open your Apple Developer account and click on Services in the sidebar. Then click on Configure under Sign in with Apple for Email Communication.
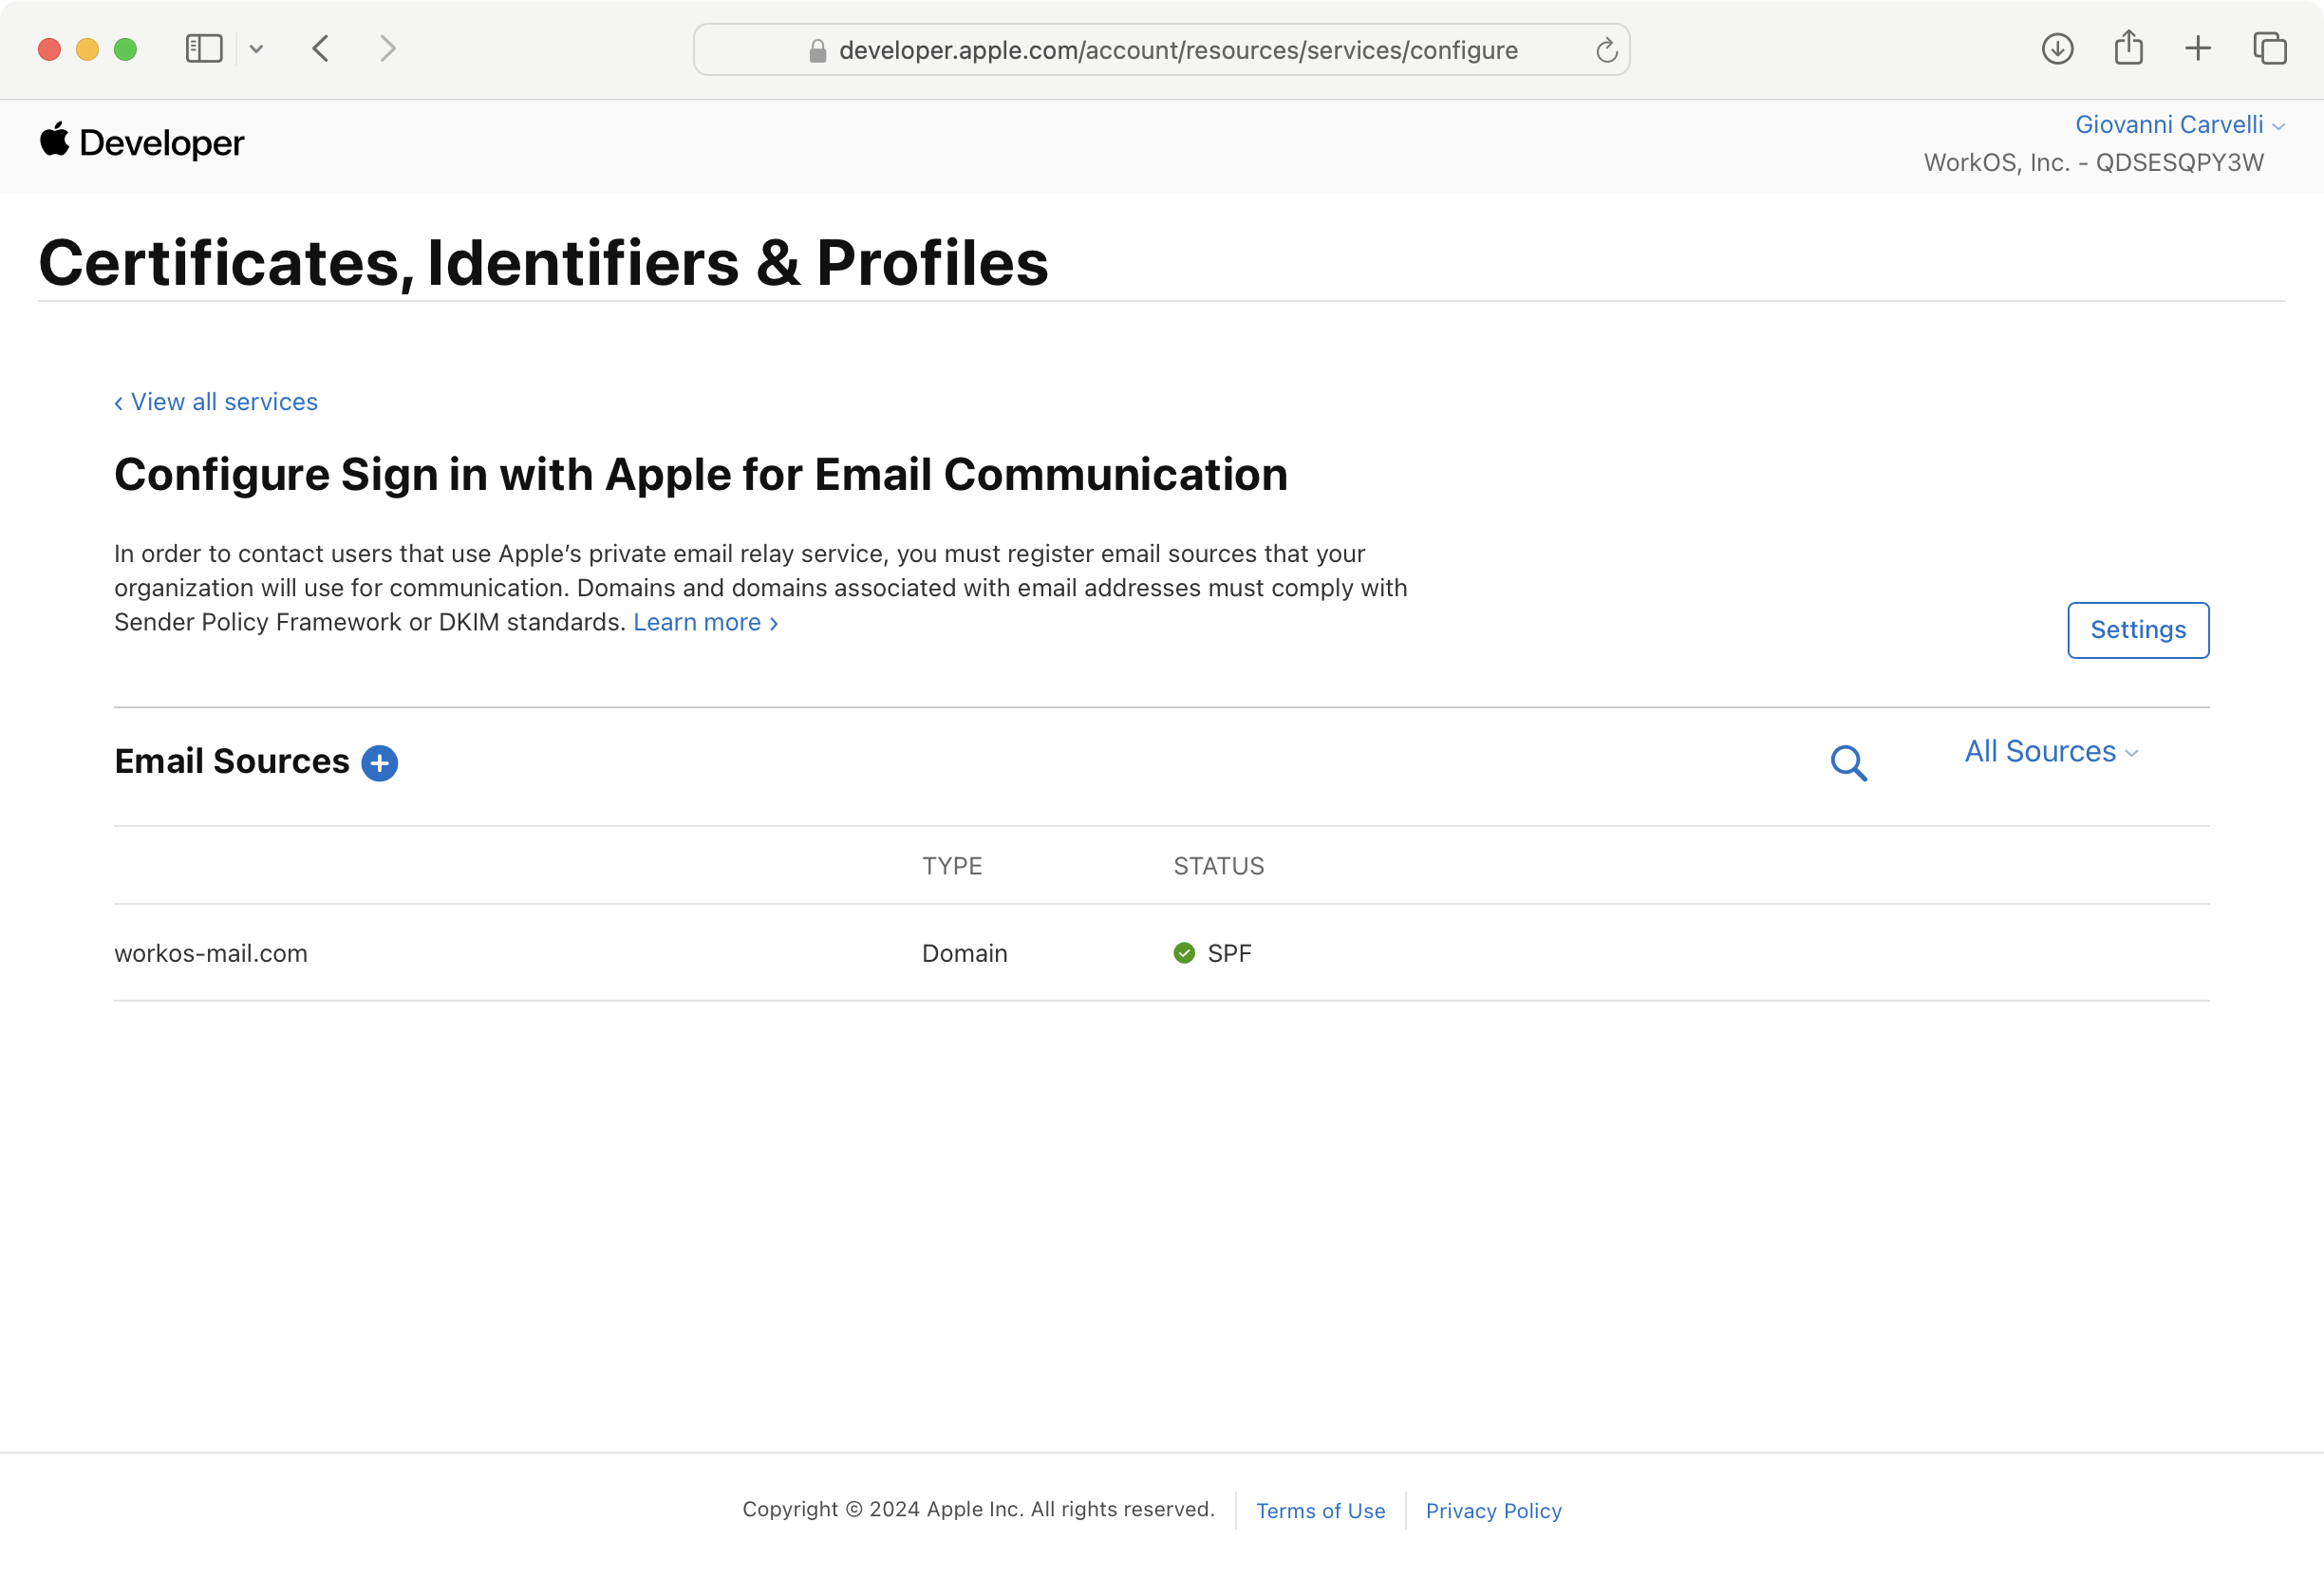
Click the + button next to Email Sources and enter the outbound email domains from the WorkOS Dashboard in the Domains and Subdomains text box. Then click Next and Register.
You are now ready to start authenticating with “Sign in with Apple”. Your users will see the option to “Sign in with Apple” when visiting your AuthKit domain. Alternatively if you’re using the standalone SSO API, you can initiate “Sign in with Apple” by passing AppleOAuth as the provider.
How is the WorkOS “Sign in with Apple” integration different from implementing regular Apple OAuth flow?
It’s the same Apple OAuth flow as you could build yourself, but it’s encapsulated within WorkOS SSO. This means you don’t need to build it yourself. In addition to “Sign in with Apple”, you can use WorkOS SSO to support other identity providers, all with a single integration.
What is the provider query parameter and how is it used in the Apple OAuth integration?
You can use the provider query parameter in the Get Authorization URL API endpoint to support global Apple OAuth for any domain. The provider query parameter should be set to AppleOAuth.
Why do I need to configure Private Email Relay?
“Sign in with Apple” allows users to hide their real email address from your app. When a user chooses this option, Apple generates a unique, random email address that forwards to their real email. To send emails to these users, you need to register your sending domains with Apple’s Private Email Relay service.
What happens if I don’t set up Private Email Relay?
If you don’t configure Private Email Relay, you won’t be able to send emails to users who choose to hide their email address. Those users will still be able to sign in, but any emails you attempt to send to their relay address will not be delivered.
Can I use the same App ID for multiple services?
Yes, you can use the same App ID for multiple Services IDs. This is useful if you have multiple applications or environments that need to use “Sign in with Apple”.