Auth0 Directory Sync
Learn how to use Directory Sync with your Auth0 applications.
This guide will walk you through the steps to enable WorkOS Directory Sync for your Auth0 applications. If you are new to automated user provisioning and deprovisioning, the Directory Sync introduction is a good place to learn the basics.
WorkOS uses Auth0 credentials you provide to automatically create and manage an Auth0 database connection. The first step is to authorize an application in Auth0 to access the Management API.
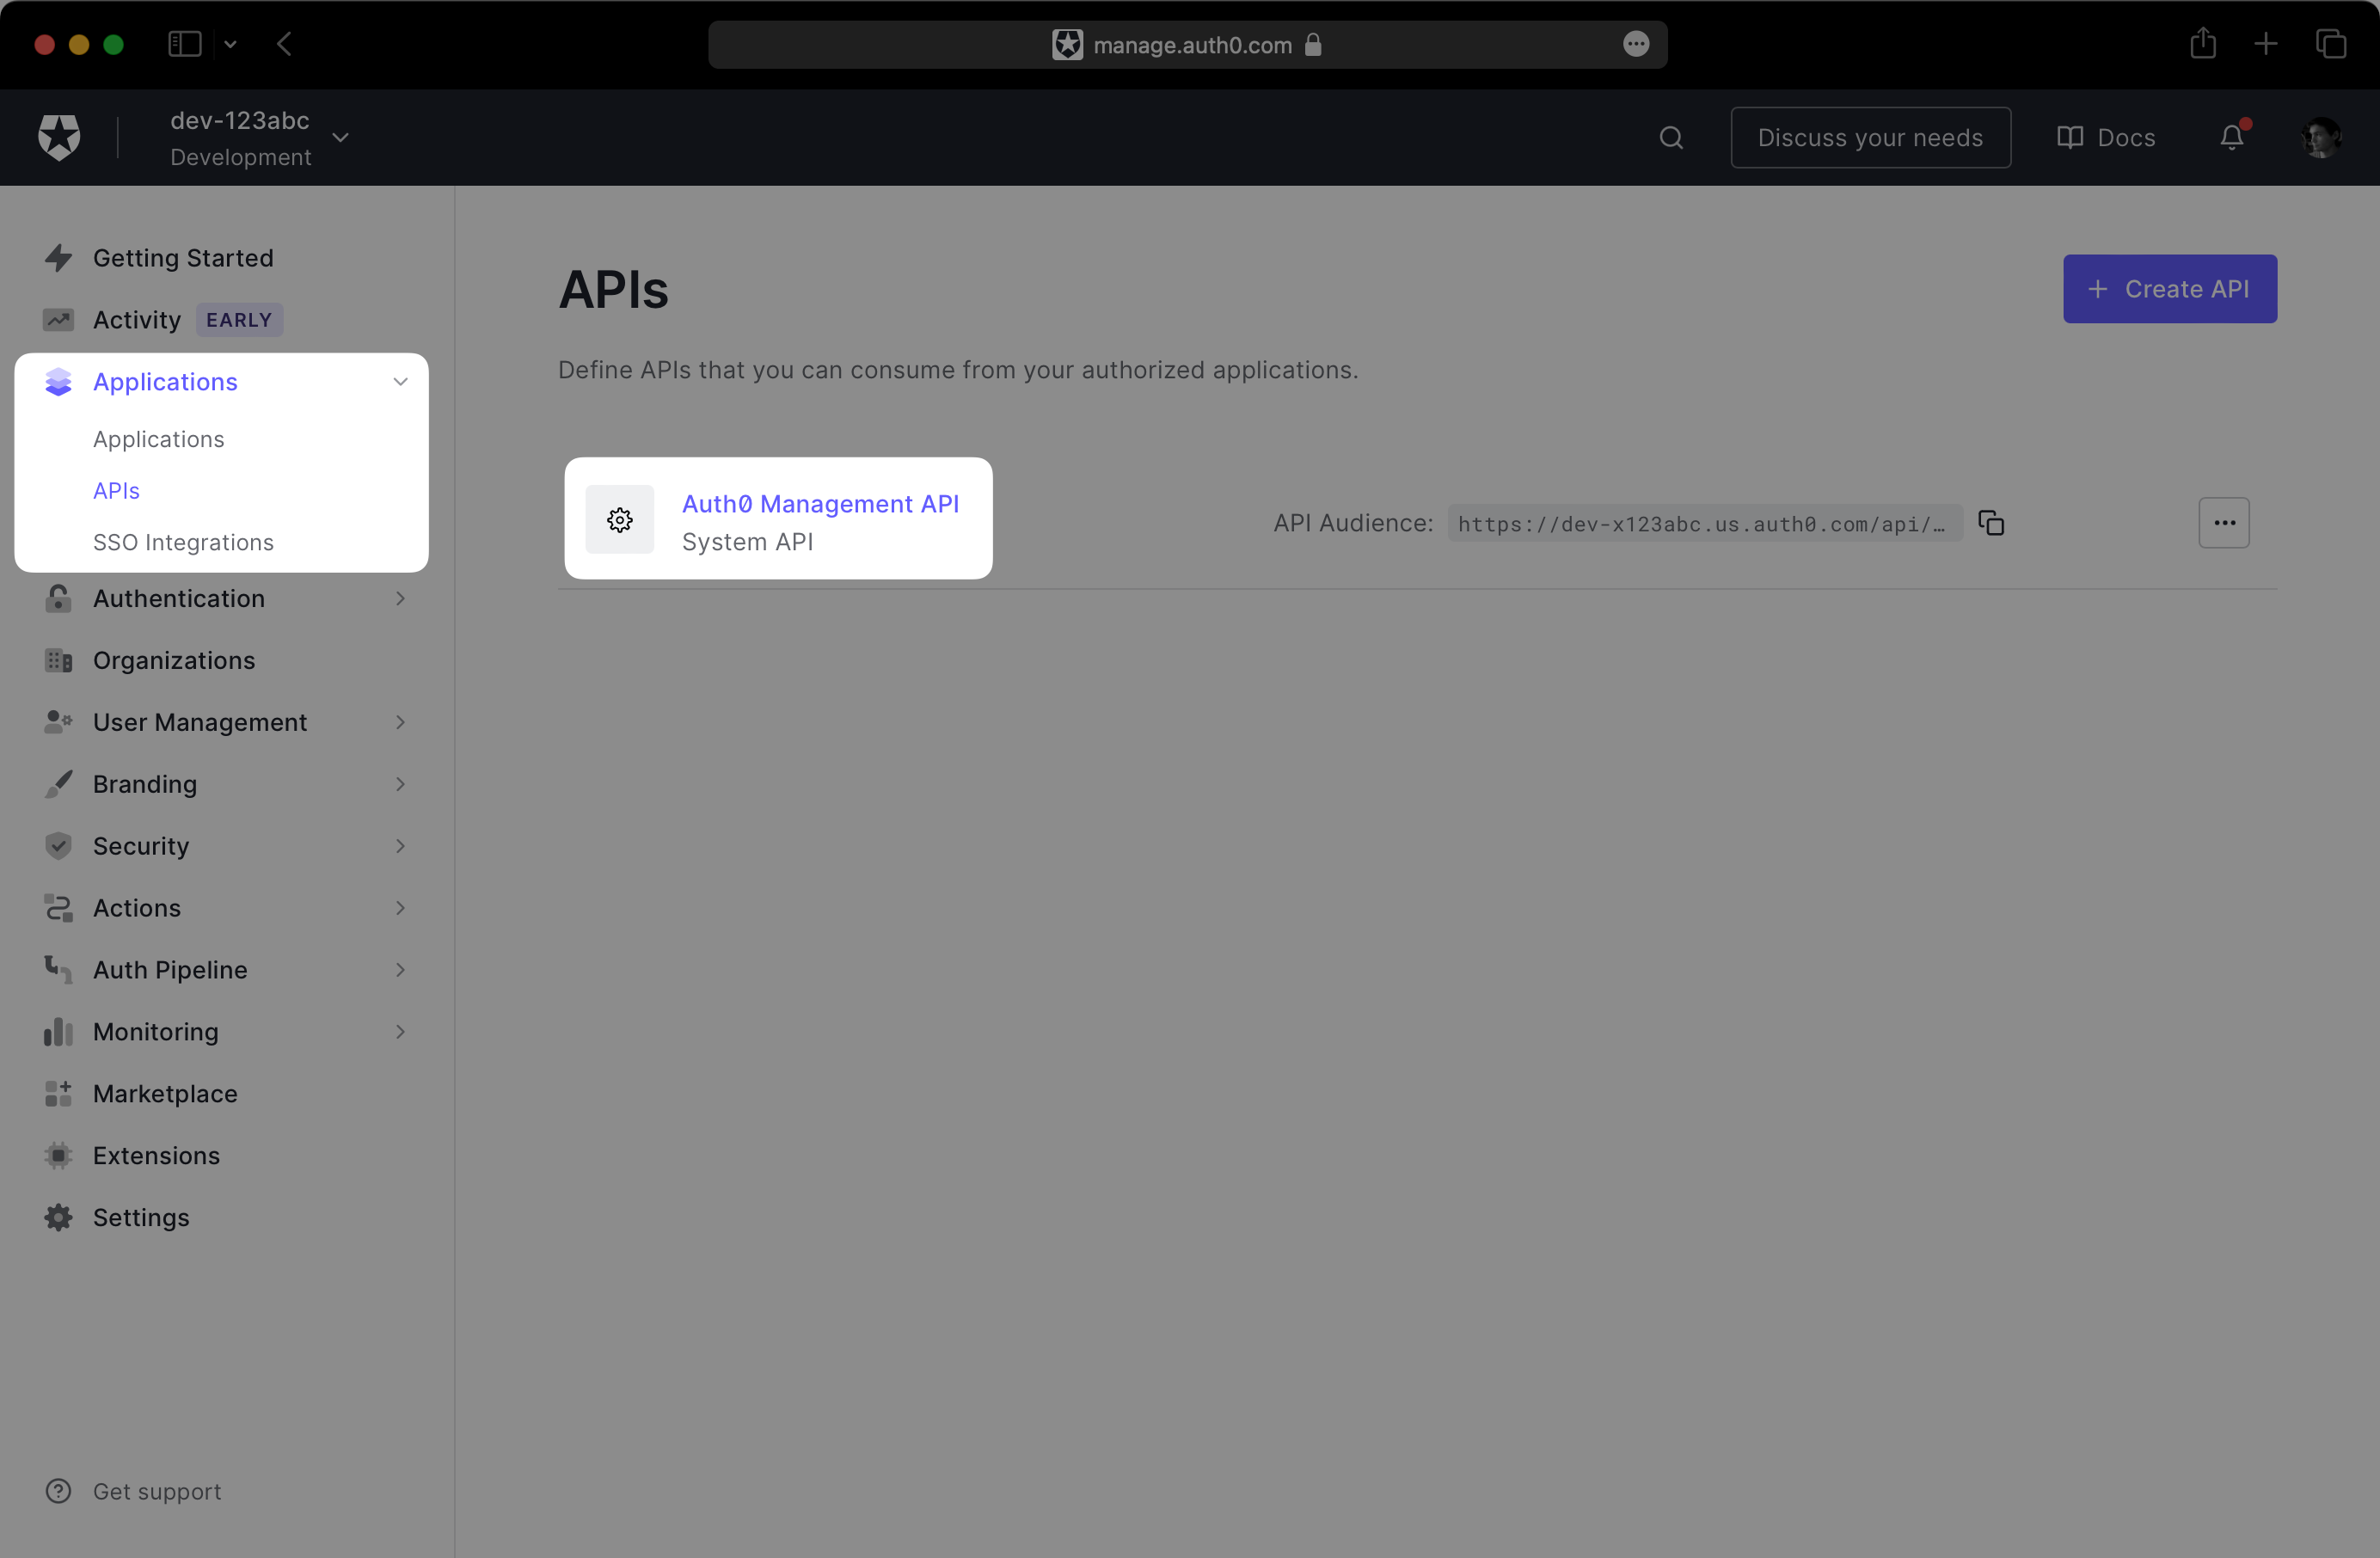
In the Auth0 dashboard, navigate to Applications → APIs → Auth0 Management API:
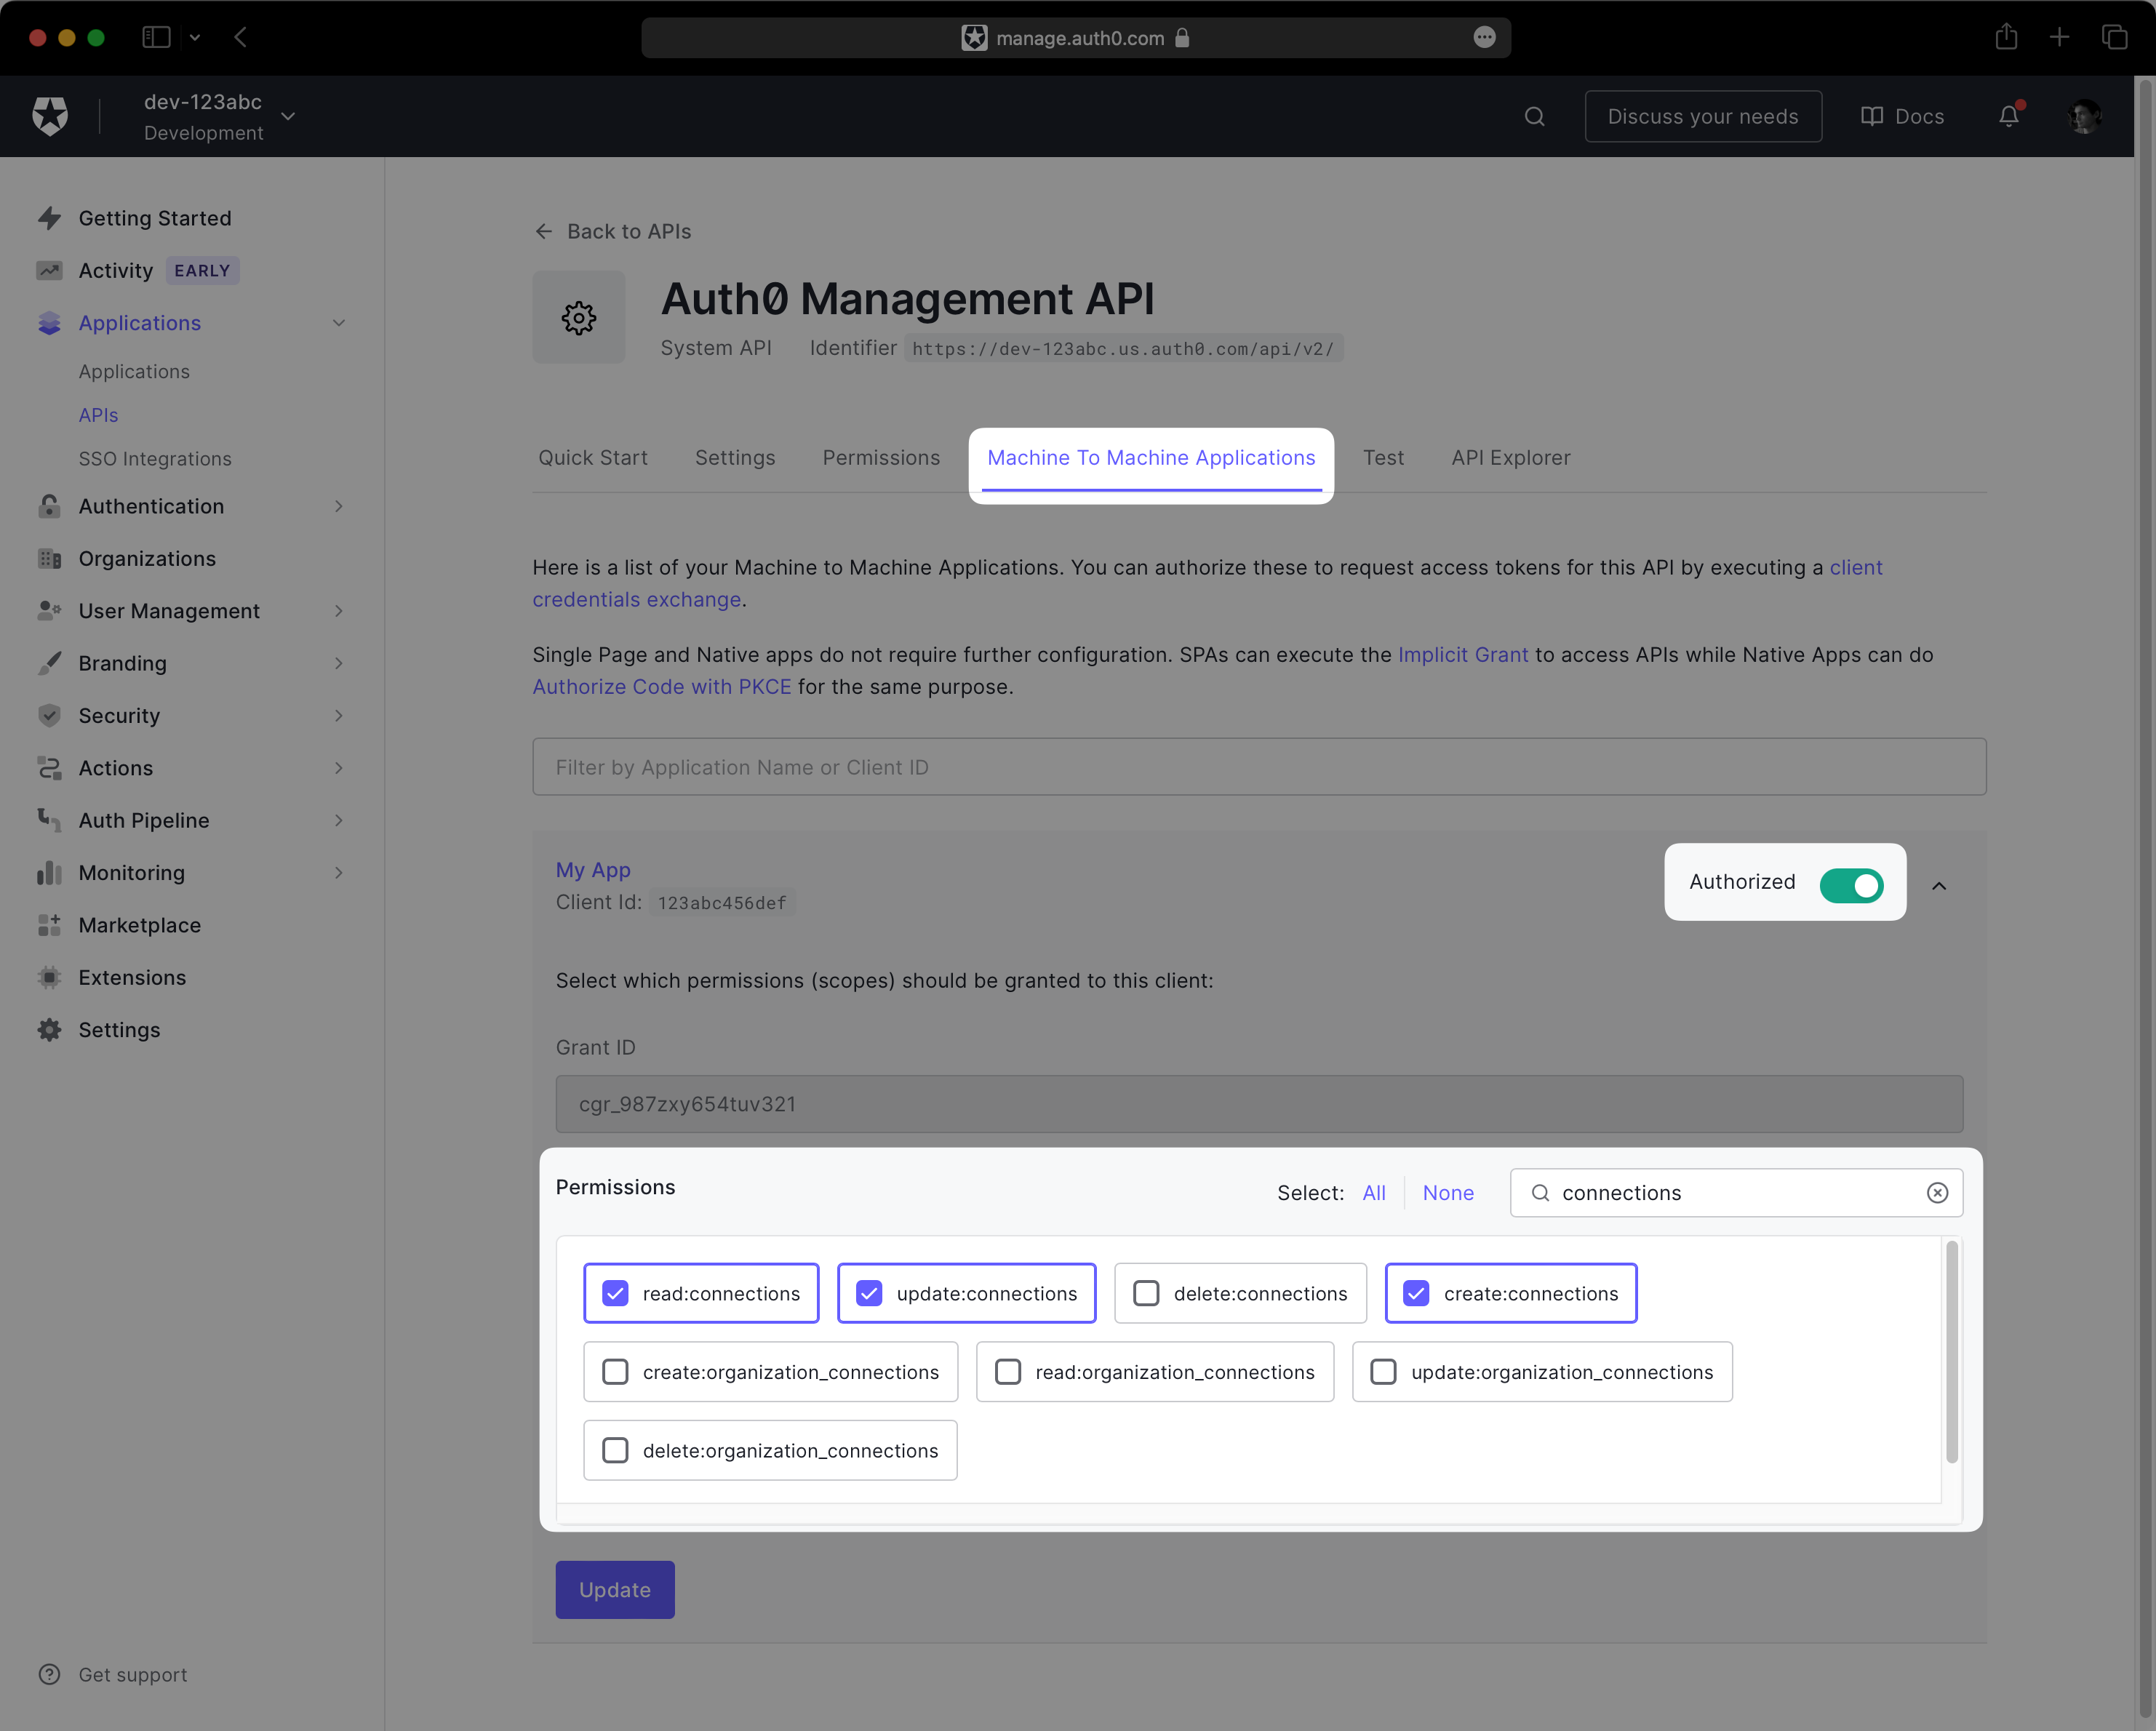
Click on the Machine To Machine Applications tab and expand the section for your Auth0 application. Then, toggle the Authorized switch to enable the API.
Under Permissions, ensure the following scopes are granted to the application:
create:connectionscreate:usersread:connectionsread:usersupdate:connectionsupdate:users
Your permissions configuration should match the following screenshot:
Next, navigate to Applications → Your App → Settings. You should see three fields under Basic Information: “Domain”, “Client ID”, and “Client Secret”.
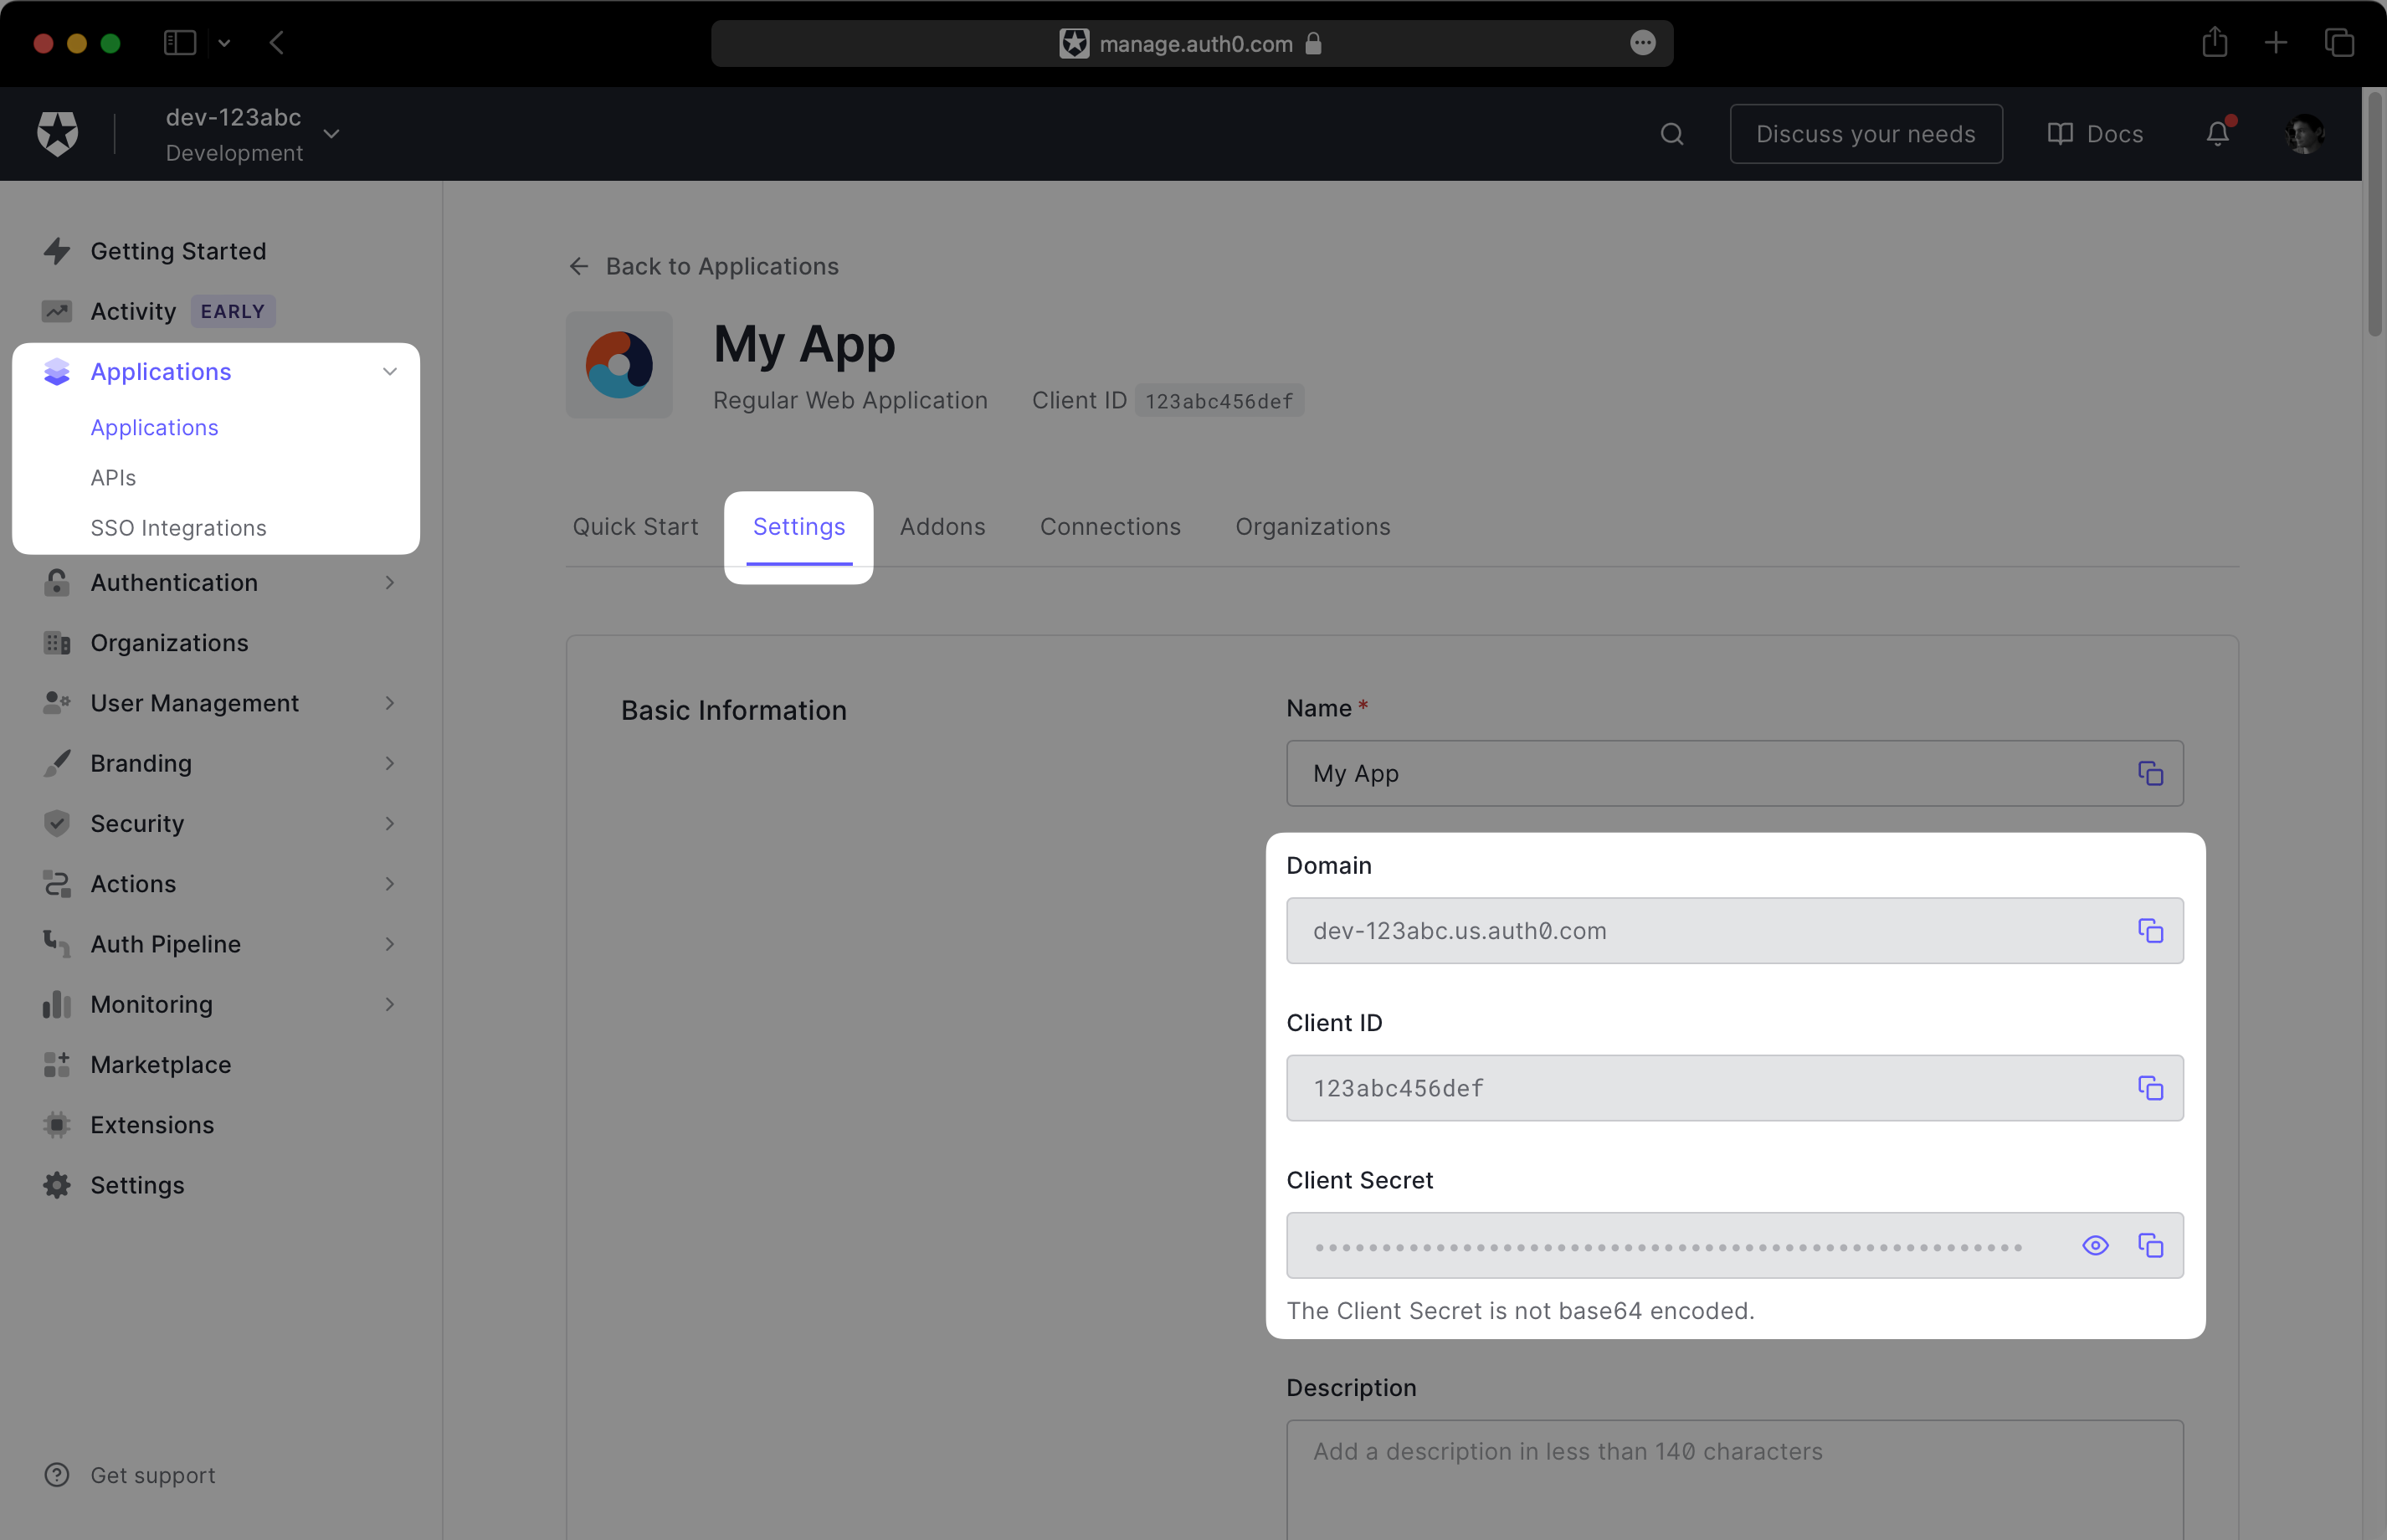
Record this information in a safe place, as you will provide it to the WorkOS dashboard in the next step.
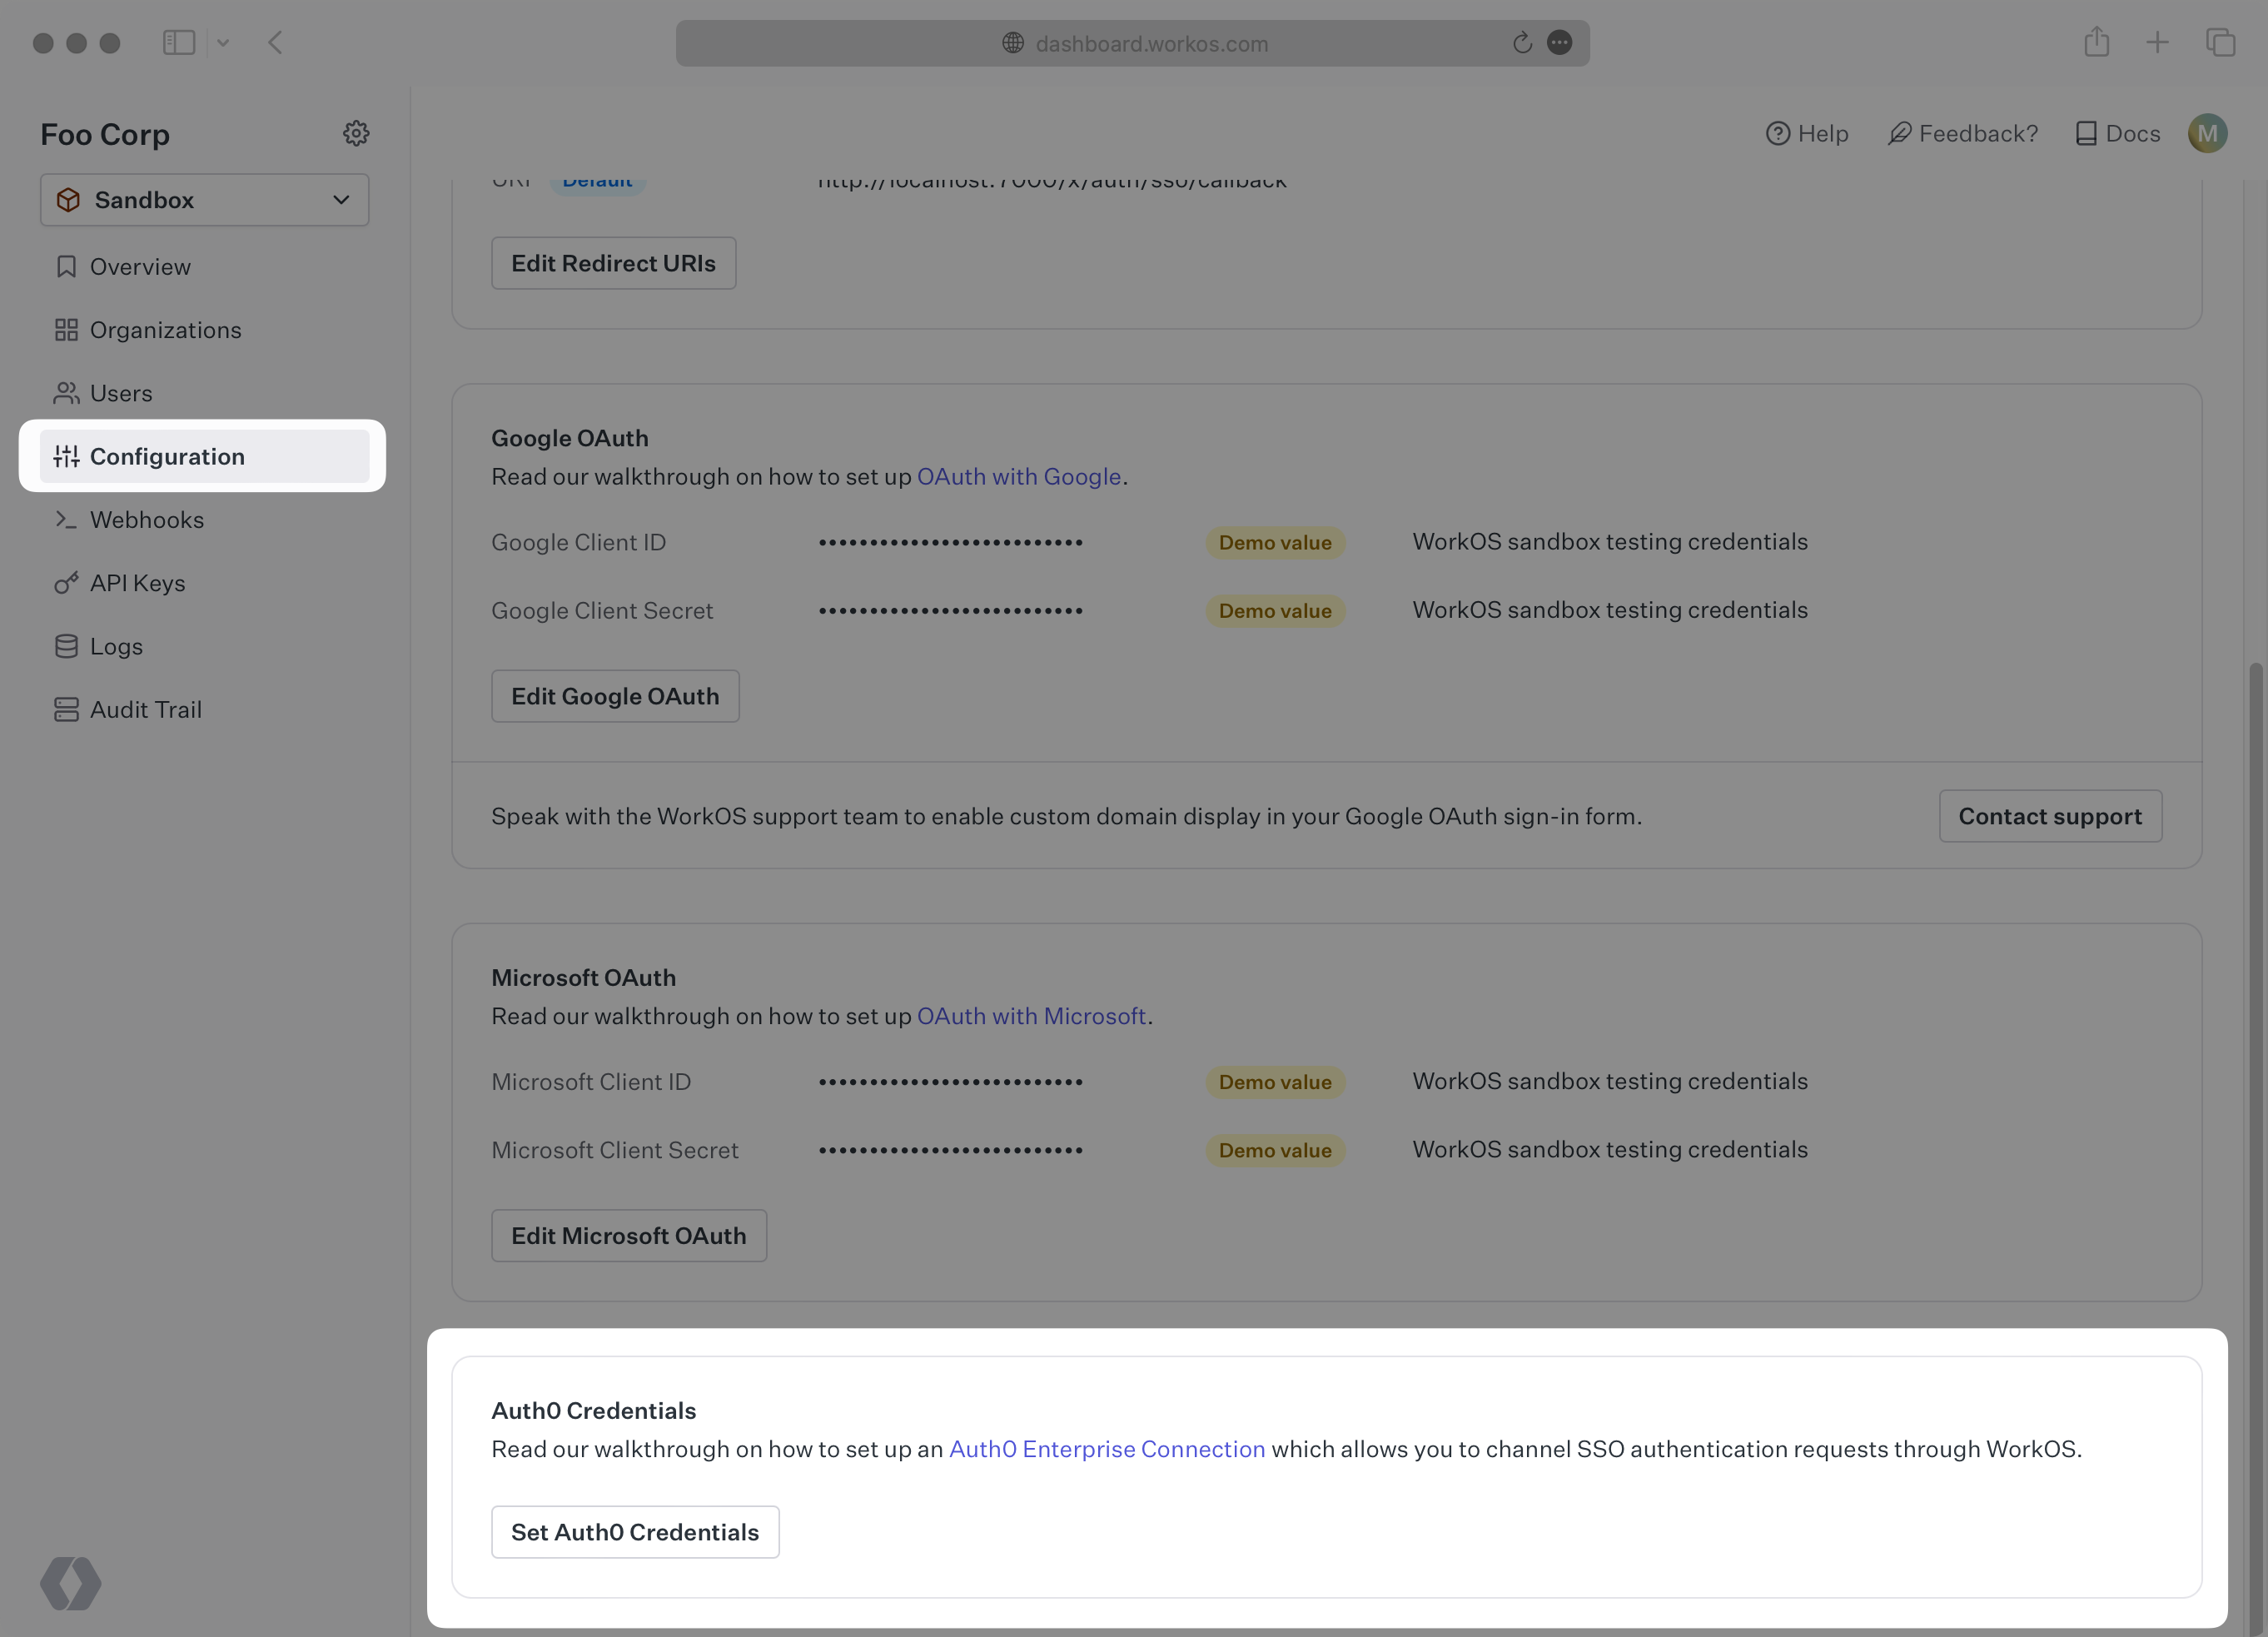
In the WorkOS dashboard, navigate to Configuration → Settings and scroll to the Auth0 Credentials section. Click Set Auth0 Credentials:
In the modal, enter the credentials you obtained in the previous step: “API Domain”, “Client ID”, and “Client Secret”.
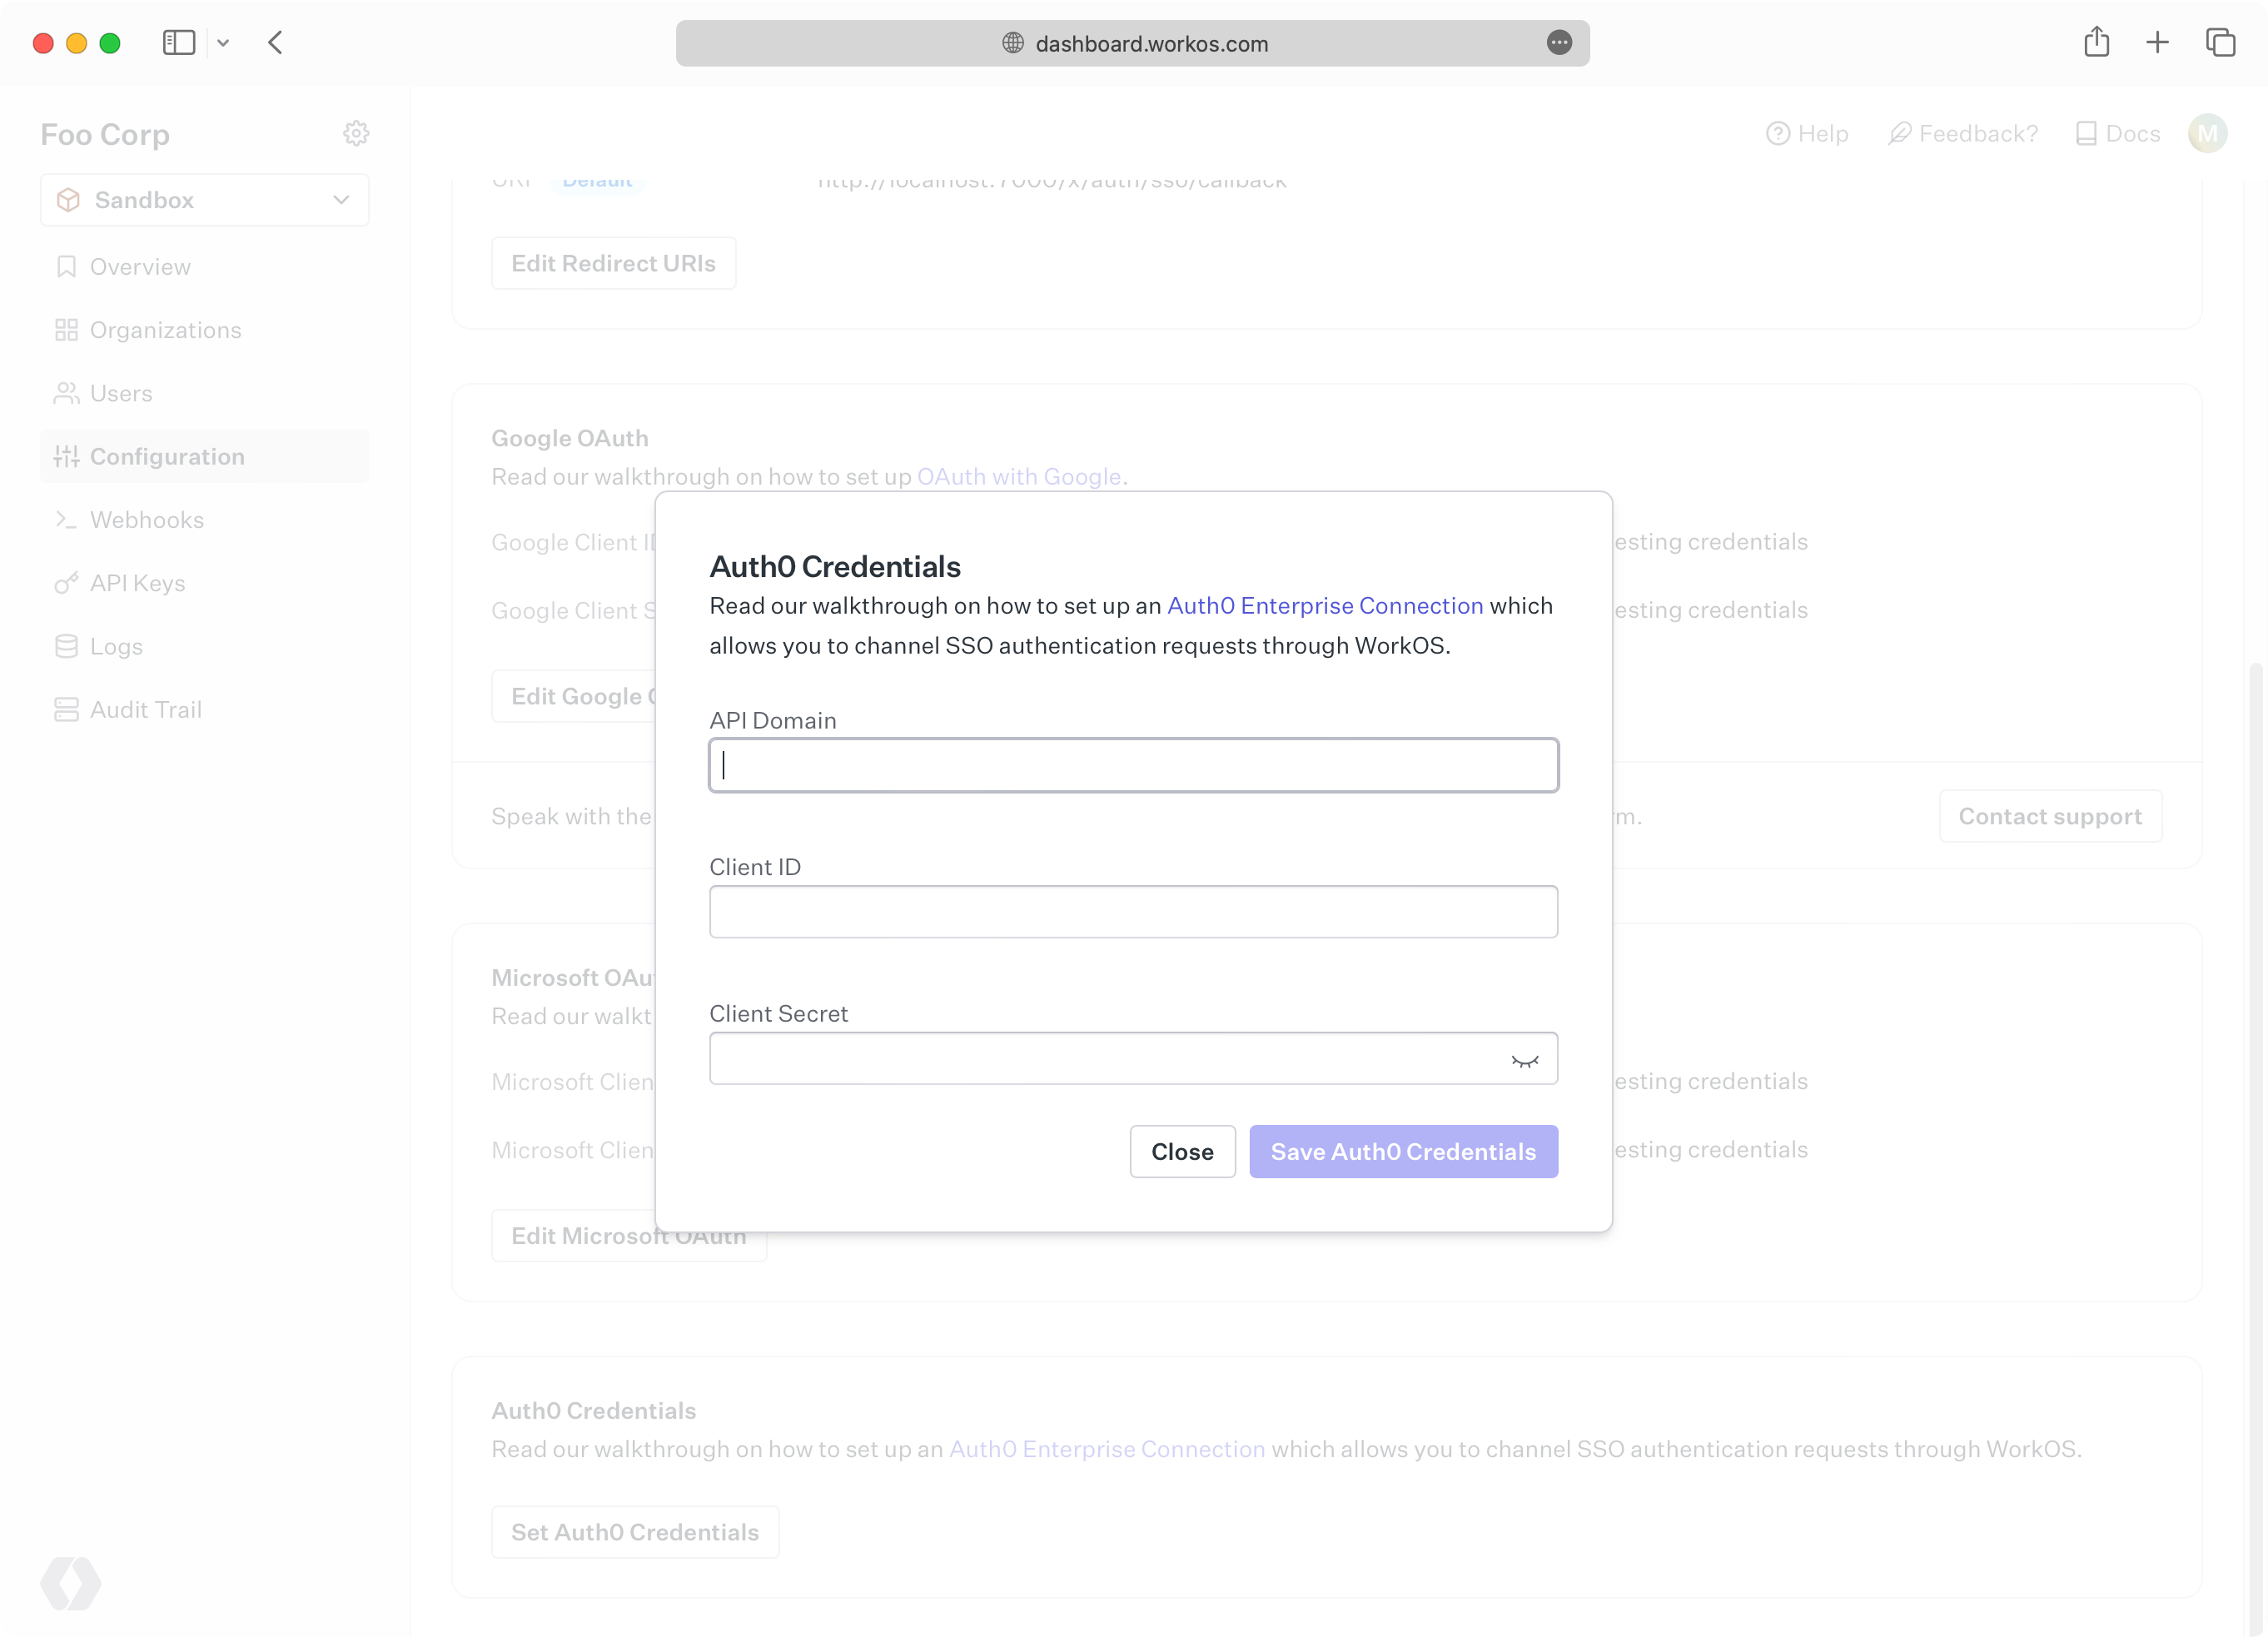
Click Save. In the final step, you will head back to the Auth0 dashboard one last time to complete the configuration.
After saving your credentials, WorkOS will create a database connection in your Auth0 environment. This connection will contain the users from directories in your WorkOS organizations. The next step is to enable the connection for your Auth0 application.
In the Auth0 dashboard, navigate to Applications → Your App → Connections. You should see a connection with a workos-dsync- prefix in its name. Enable it for your application.

Your WorkOS directories will now be synchronized with your new Auth0 database connection! You are ready to use WorkOS features like Admin Portal, allowing IT contacts to configure their directory provider for your application directly.
New users provisioned into Auth0 are given a randomly generated password. They will need to reset their password before they can sign in. You can also use WorkOS directory sync webhooks to be notified when new users are provisioned, allowing you to tailor the onboarding experience for these new users, like sending a welcome email.
Deprovisioned users will be deleted from the Auth0 database connection. If you need to perform additional cleanup in your application, you can receive WorkOS directory sync webhooks for delete events as well.