Getting Started with the WorkOS Multi-Factor Authentication API
Learn how to get started with the WorkOS Multi-Factor Authentication (MFA) API to add Time-based one-time passwords (TOTP) and SMS verification to secure your application.
We’ve recently launched our new Multi-Factor Authentication (MFA) API in preview. It will enable you to add support for the following authentication factors:
- Time-based one-time passwords (TOTP)
- SMS verification codes
In this article, you’ll learn what MFA is and how to add it to your app using the WorkOS MFA API.
You can also watch the demo we made during our Winter Release event or check out the docs.
Multi-Factor Authentication: what it is and how it works
Authentication is the act of verifying if the user is who they say they are. This is done by asking the user for something only known by them (i.e a password).
While this approach works, it only acts as a weak security layer in applications. There are a couple of reasons why:
- Passwords are often re-used by users across many applications out of convenience
- Users don’t frequently update their passwords
- Passwords that are easy to memorize are often easy to guess and can be cracked
- Since passwords are often easy to guess, they can be inferred through social engineering tactics
Using password managers addresses some of these issues since they generate long and random passwords. However, they still suffer from the same security risk if they’re only protected by a password.
Even if the app you’re building enforces a strict password policy, requires users to frequently change their password, and checks against the most common passwords, you’ll still have a single point of failure.
That’s why more and more companies are introducing another security layer to their authentication flow.
Introducing an additional authentication factor
Instead of identifying a user using only something they know, you also require them to use something they have. This can be a:
- Phone or another device
- Physical security key
- Time-based one-time password
- Passcode out of a set of single-use passcodes
- Biometrics (i.e fingerprint or facial recognition)
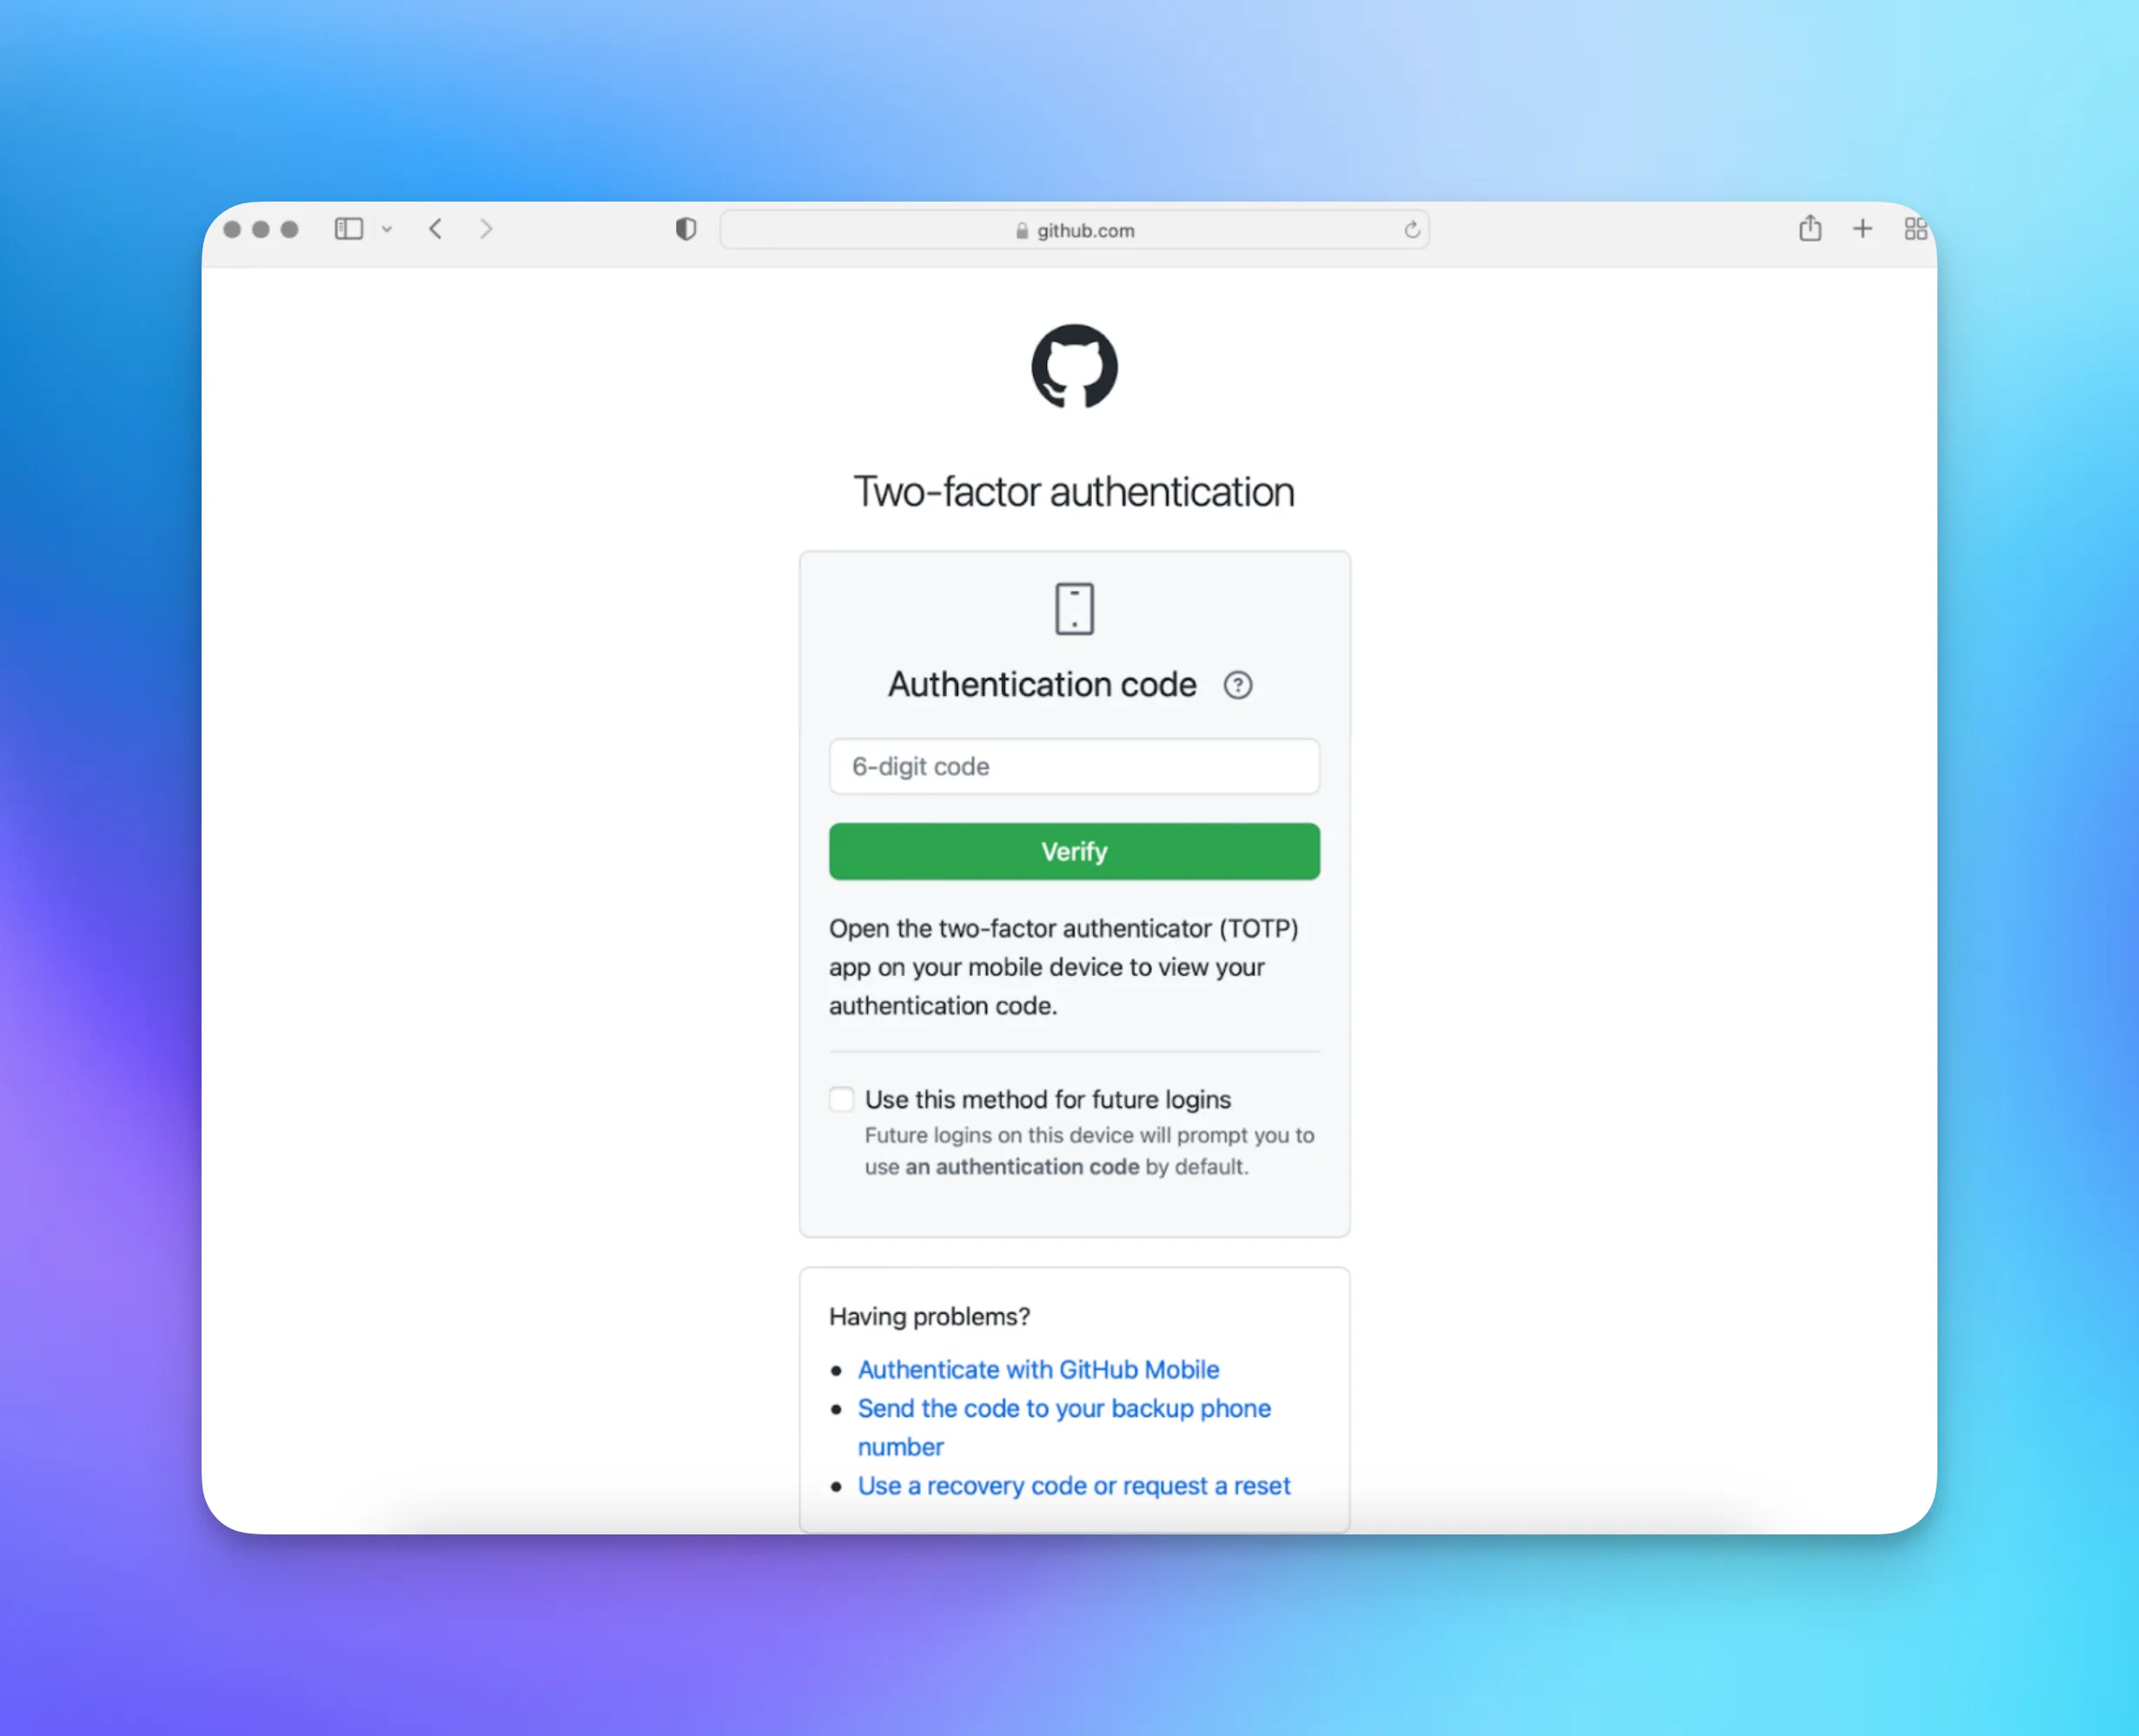
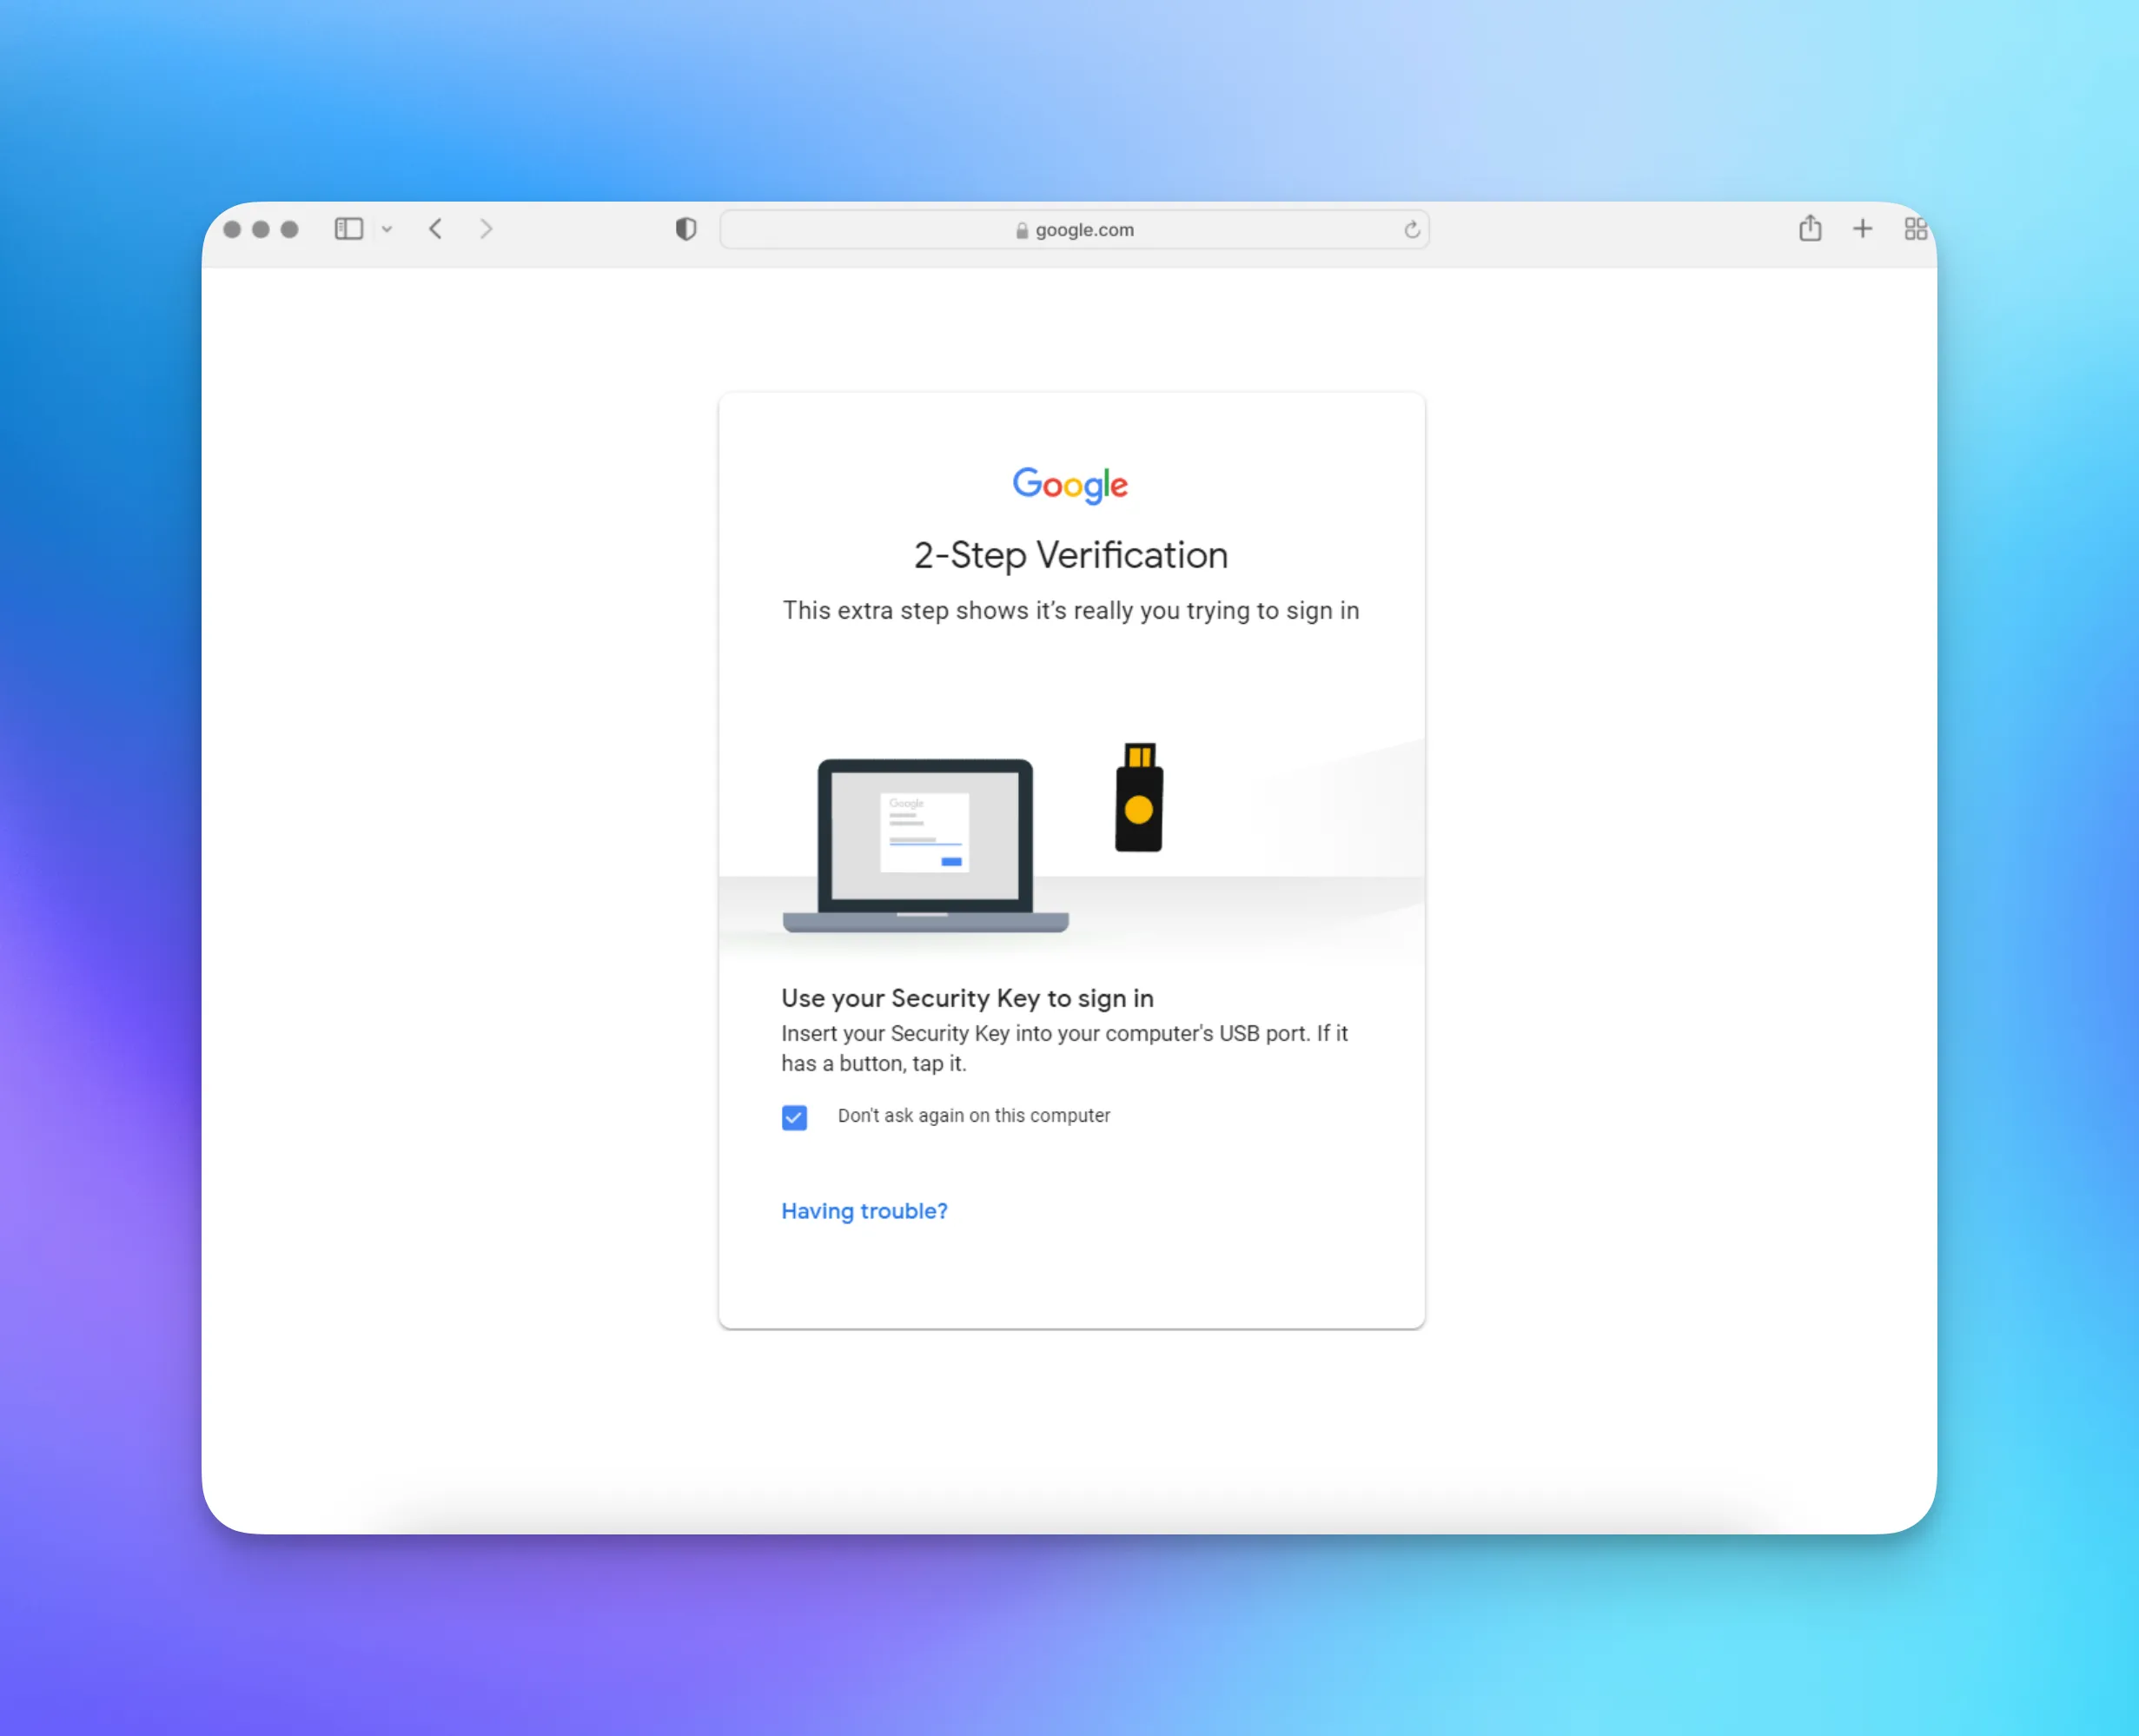
You can see Multi-Factor Authentication across many apps, here are a few examples:
Introducing MFA significantly increases your app’s security since there isn’t a single point of failure anymore. You can easily get started by using the WorkOS MFA API.
Getting started using the Node.js SDK
The API is currently in a preview state. This means it’s production-ready, however there might be changes before it moves to general availability. We currently have SDKs for the following languages: Node.js, Ruby, PHP, Laravel, Java, Go, .Net, and Python.
The API is composable and unopinionated by design. It's compatible with any authentication and session management strategy. Here’s how it works:
The MFA flow
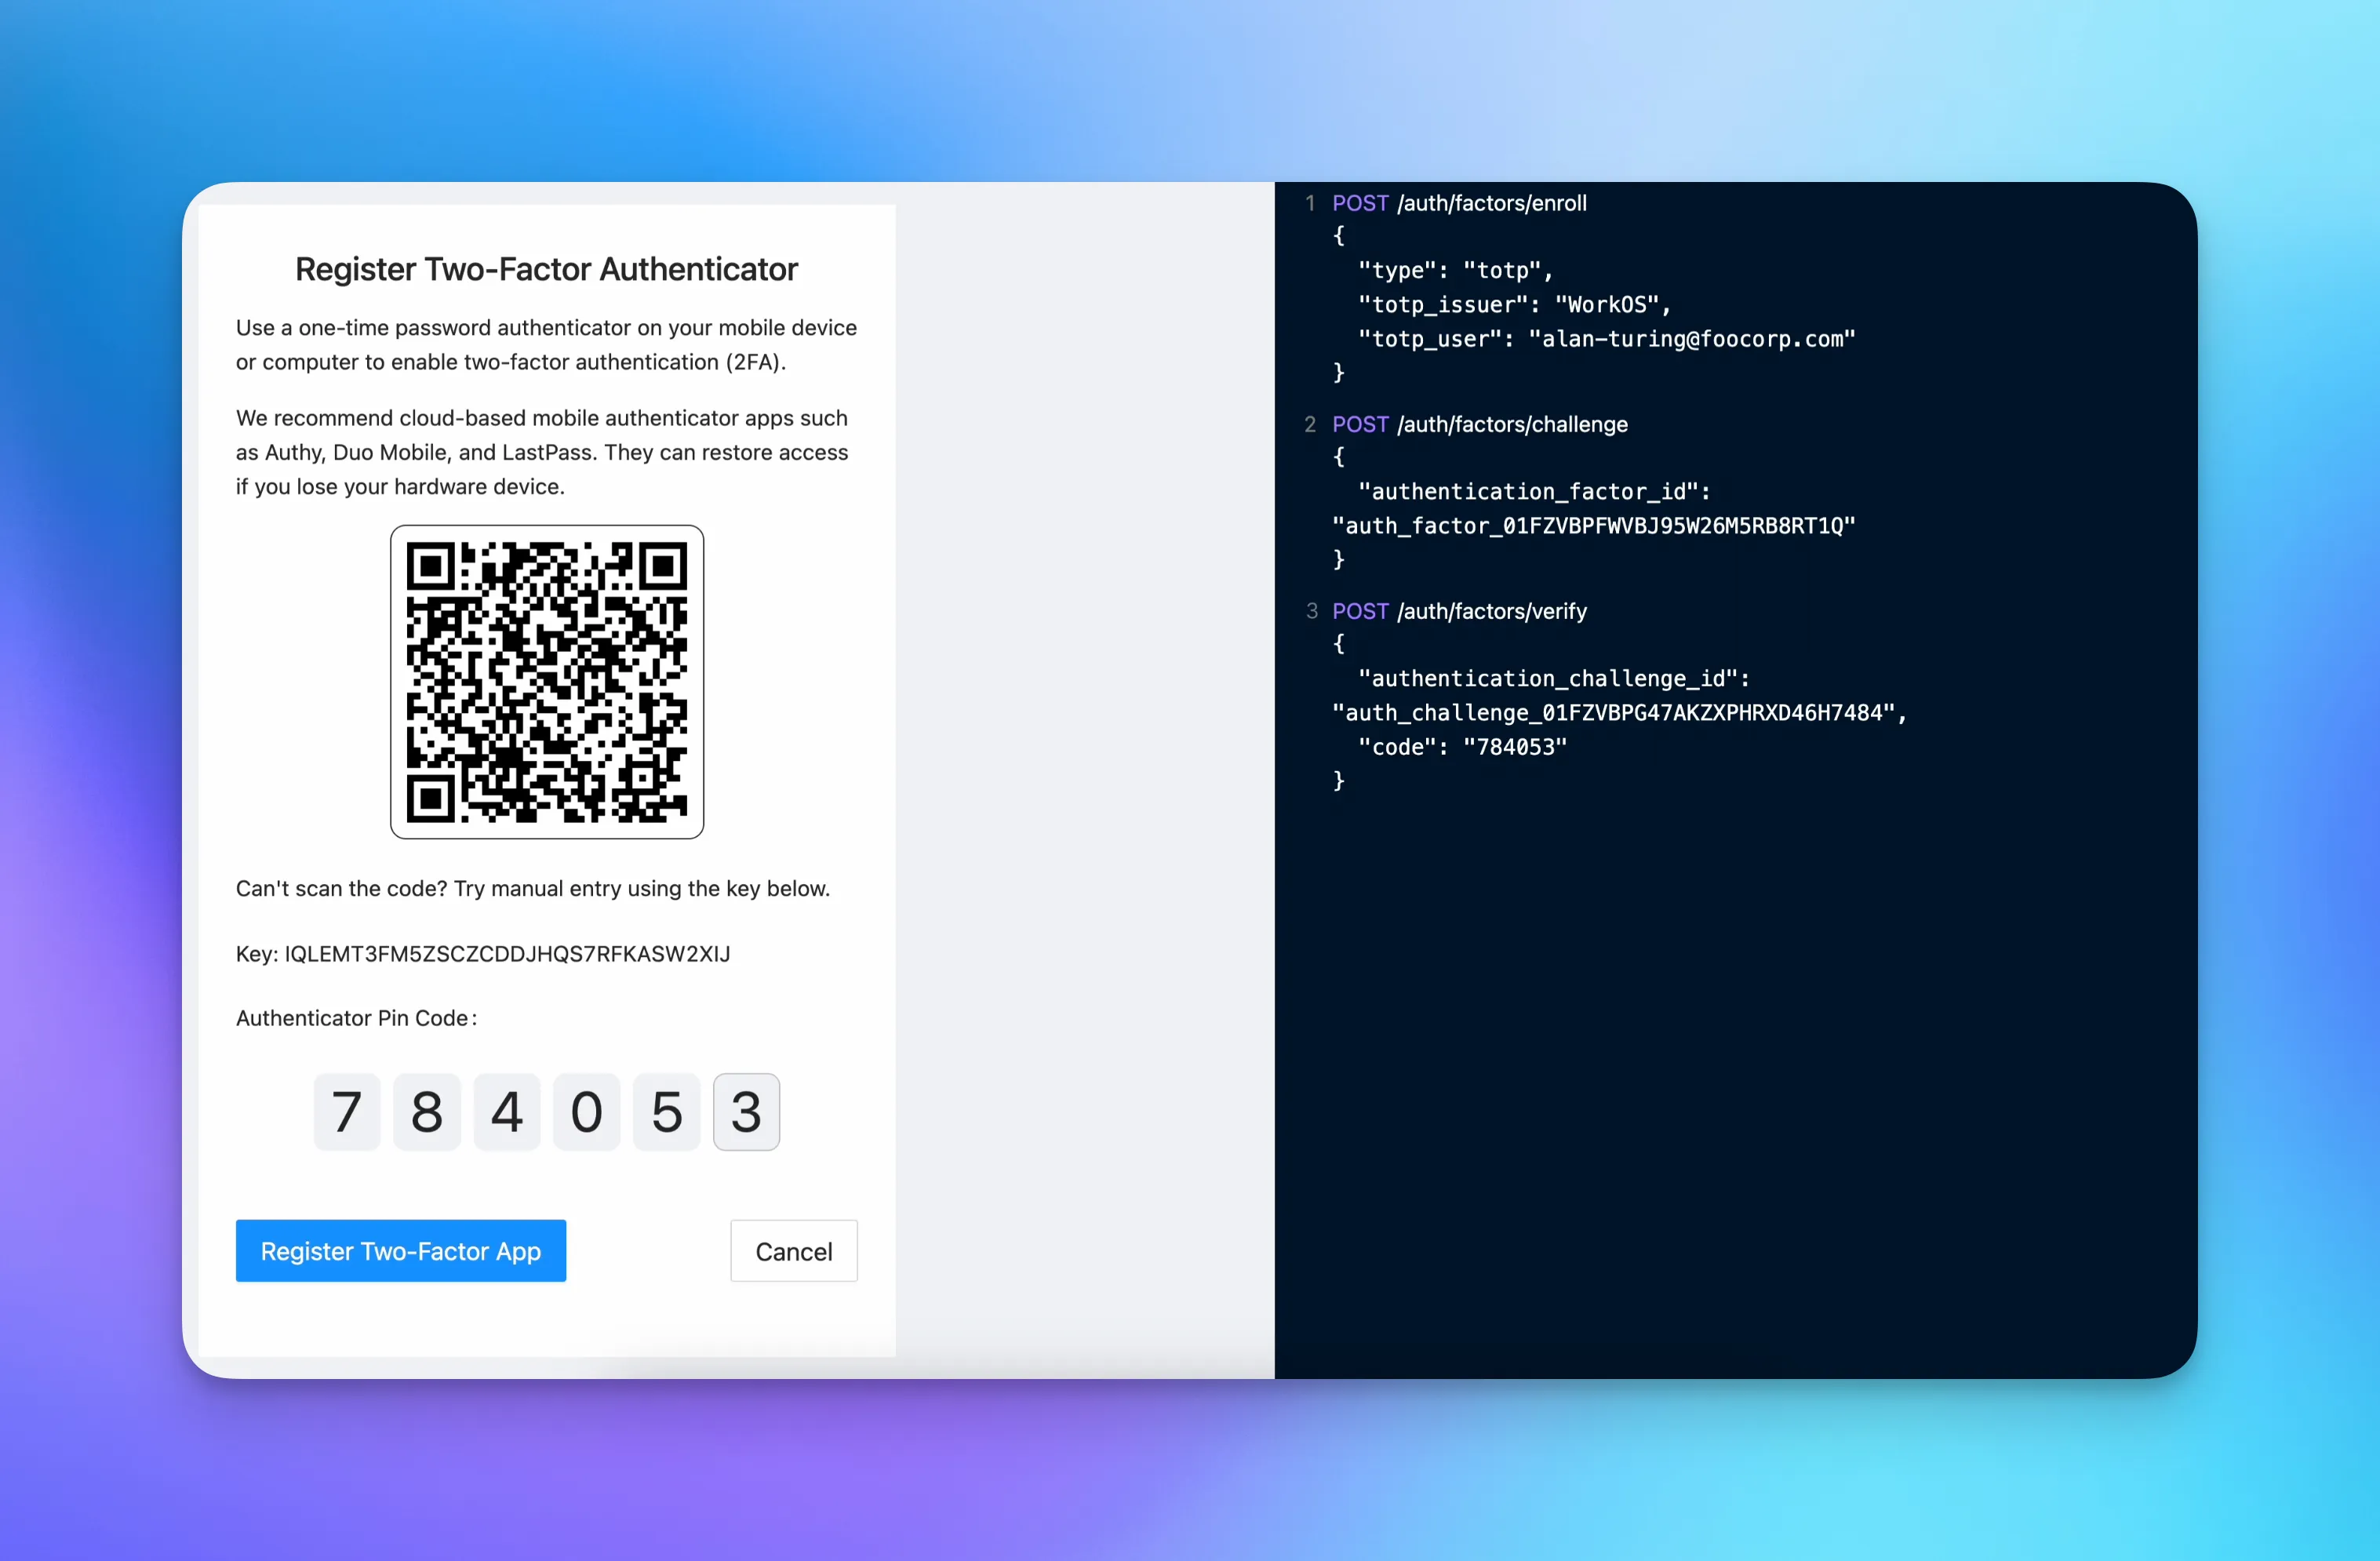
The following diagram summarizes the flow of adding TOTP as an authentication factor to an application. If you would like to add support for SMS verification codes, you’ll follow a similar flow.
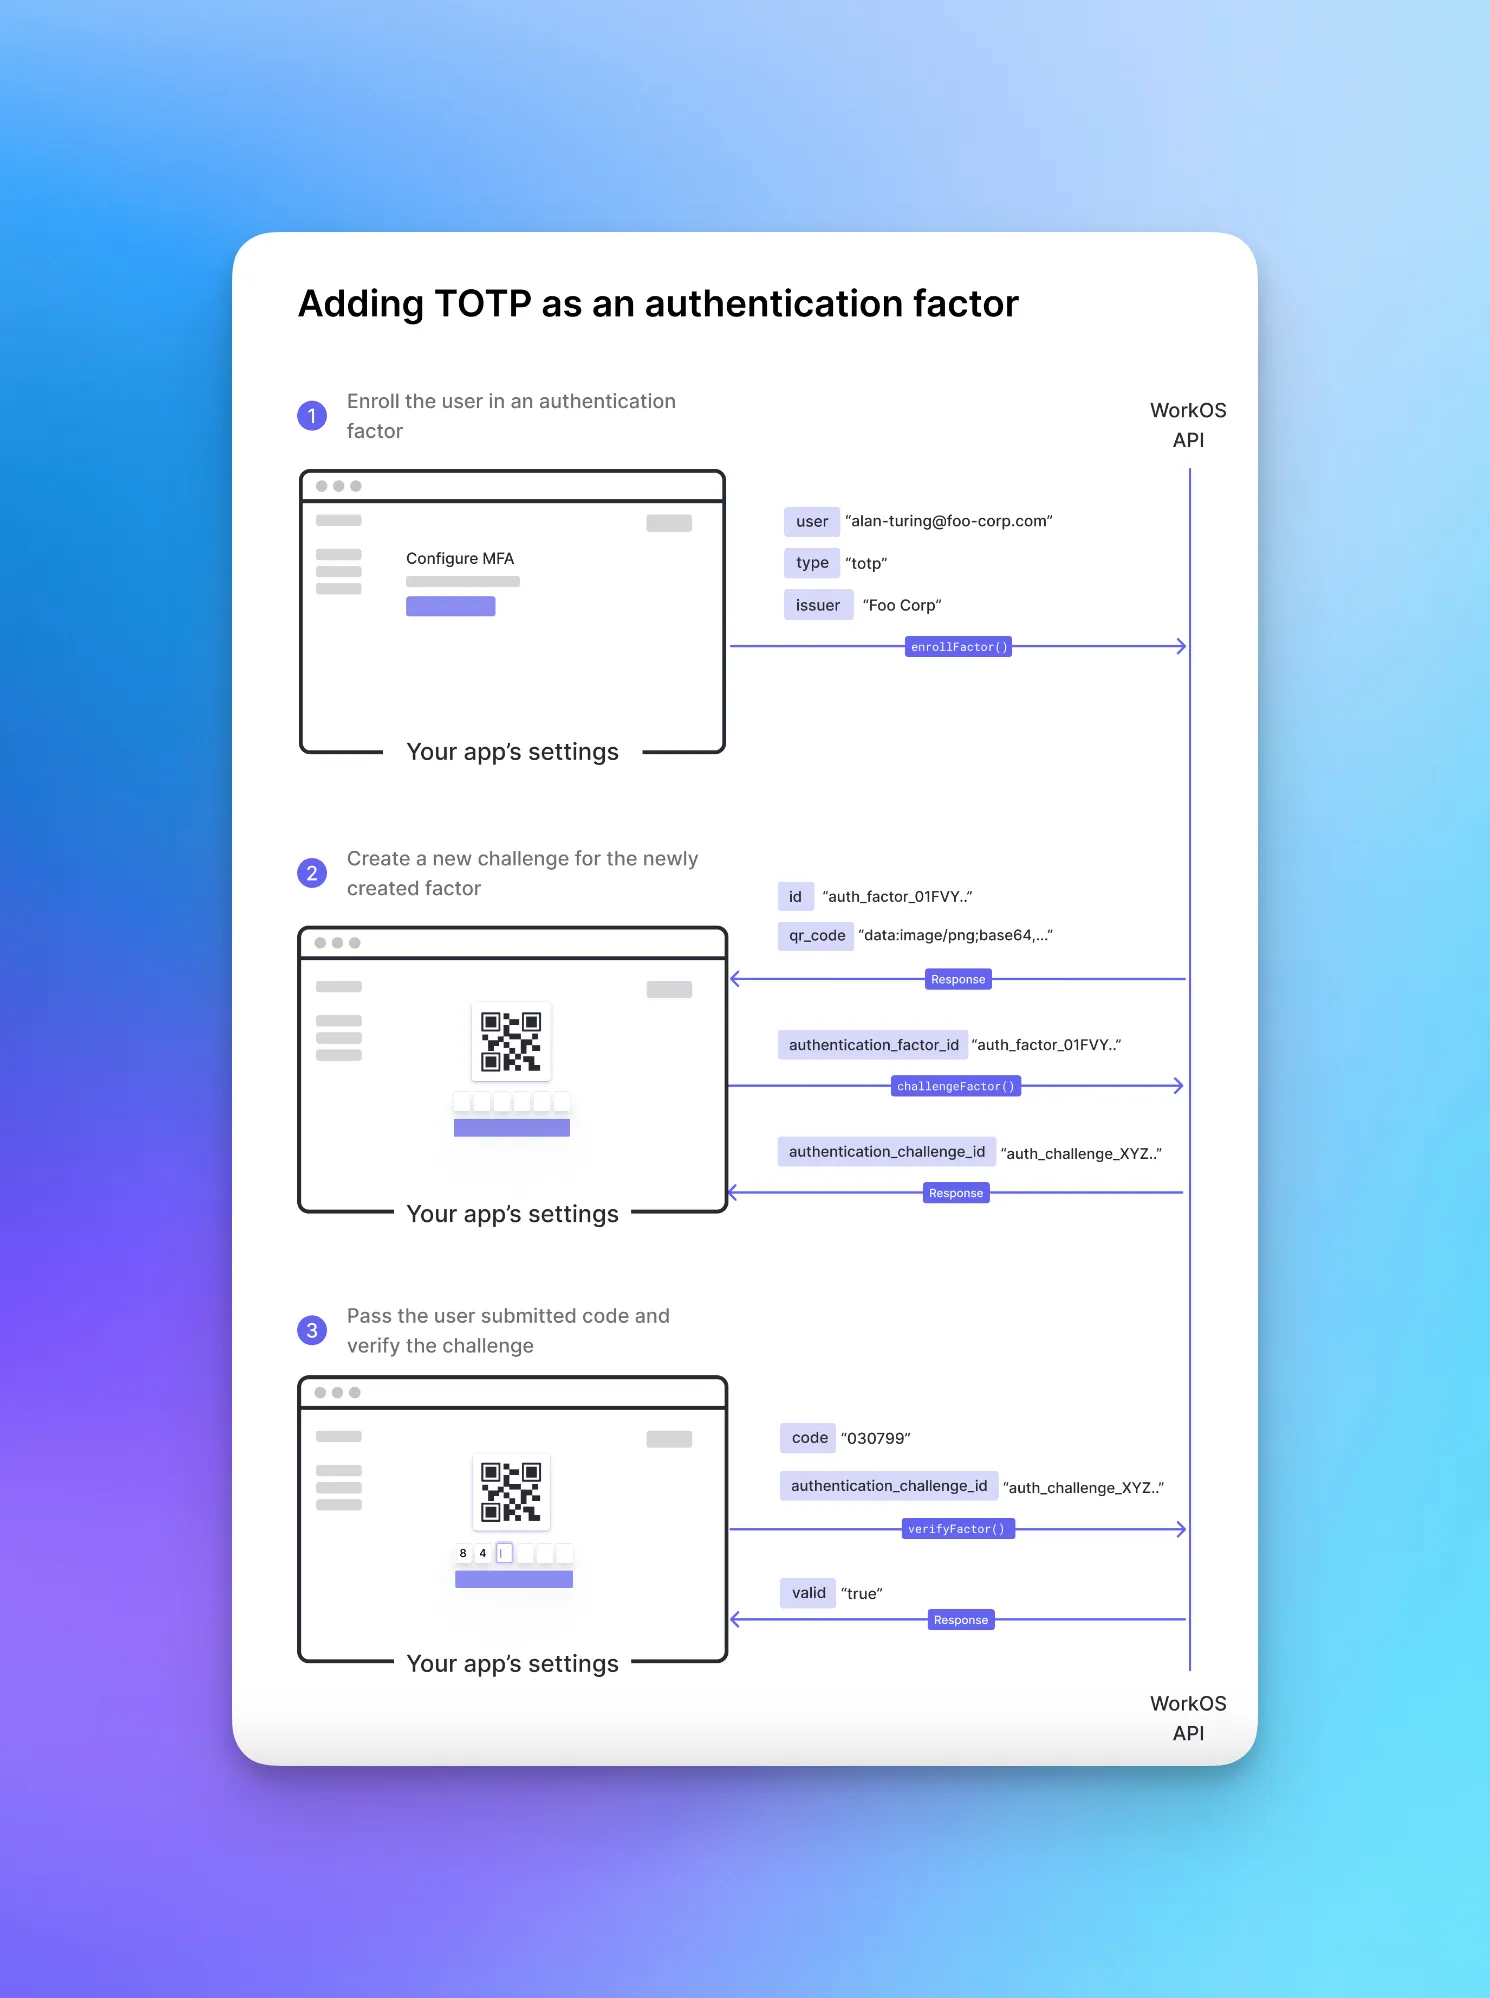
1. Enrolling a user in an authentication factor
The first step is enrolling your users in an authentication factor. You can do this during the signup flow if you would like to enforce MFA, or make it opt-in from your app’s settings.
You’re calling the `enrollFactor()` function and are passing the following arguments:
- `type`: the type of the authentication factor. Can either be `totp` or `sms`
- `issuer`: an identifier for the organization issuing the challenge. Should be the name of your application or company
- `user`: an identifier for the user
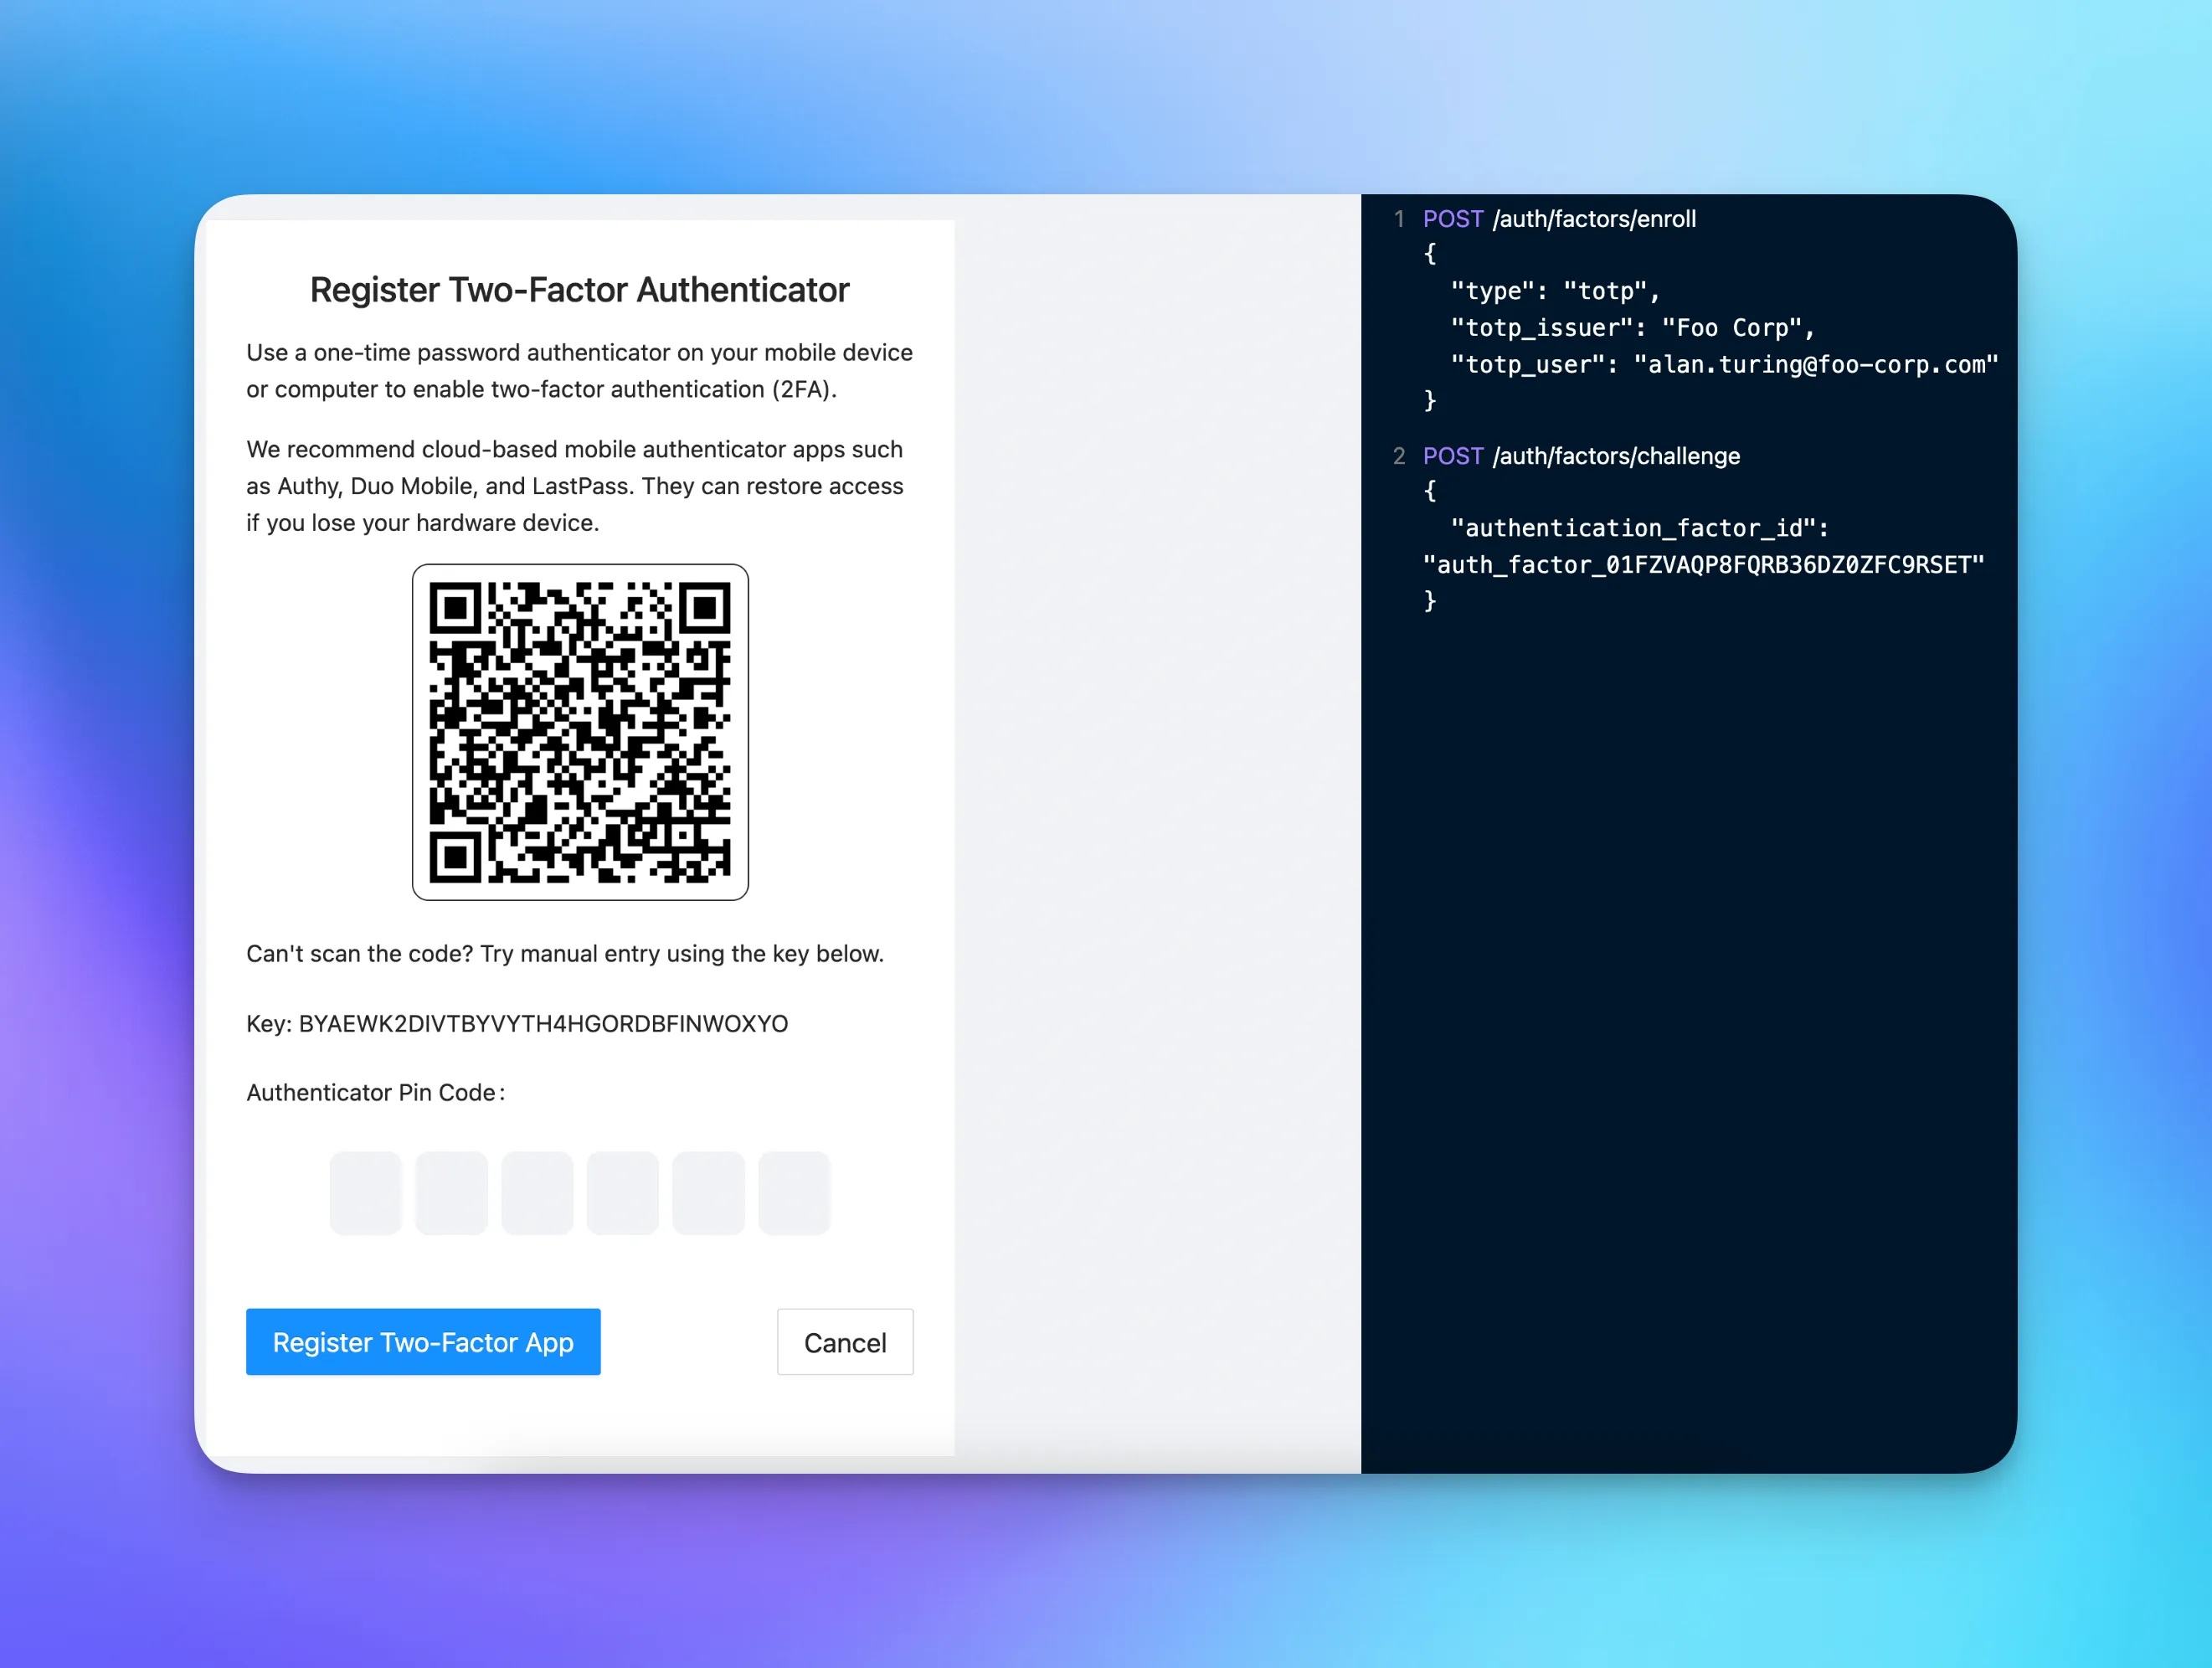
This function creates a new authentication factor and returns the following response object:
Inside the `totp` object, you’ll find the following fields:
- `qr_code`: base64 encoded image containing scannable QR code. You can use the value of this field to display a QR code
- `secret`: a secret that can be manually entered into some authenticator apps in place of scanning the QR code
- `uri`: The URI format of the QR code
You’ll need to persist the id field in your app’s database to be able to verify future login attempts from the user.
2. Creating an authentication challenge
To initiate the authentication process for the user, you’ll call the `challengeFactor()` function and pass the factor’s ID that you persisted earlier as an argument.
This function creates a new authentication challenge and returns the following response object:
You’ll need the `id` field’s value of the authentication challenge to verify the one-time password provided by the end-user.
3. Verifying the challenge to log in
The last step is to verify the login attempt made by the end-user. To do that you’ll need to pass the challenge ID and the one-time password submitted by the user.
Using SMS verification as a second authentication factor
The MFA API enables you to add SMS verification as an additional authentication factor along with TOTP. To set it up you’ll pass `sms` as the factor type when enrolling a user via the API
Customizing the message
You can customize the SMS message that will be sent to your users by passing an optional `sms_template`. Use the `{{code}}` token to inject the one-time password into the message.
If your users configure both TOTP and SMS verification as additional authentication factors, you can allow them to choose one of them during the login flow.
What’s next?
That’s it! That’s all you need to add Multi-Factor Authentication to your application. The API is still evolving and we’re planning on adding more authentication factors in the future depending on user feedback. If you have any questions feel free to reach out to our WorkOS support team.