JumpCloud SCIM
Learn about syncing your user list with JumpCloud SCIM.
This guide outlines how to synchronize your application’s JumpCloud directories using SCIM.
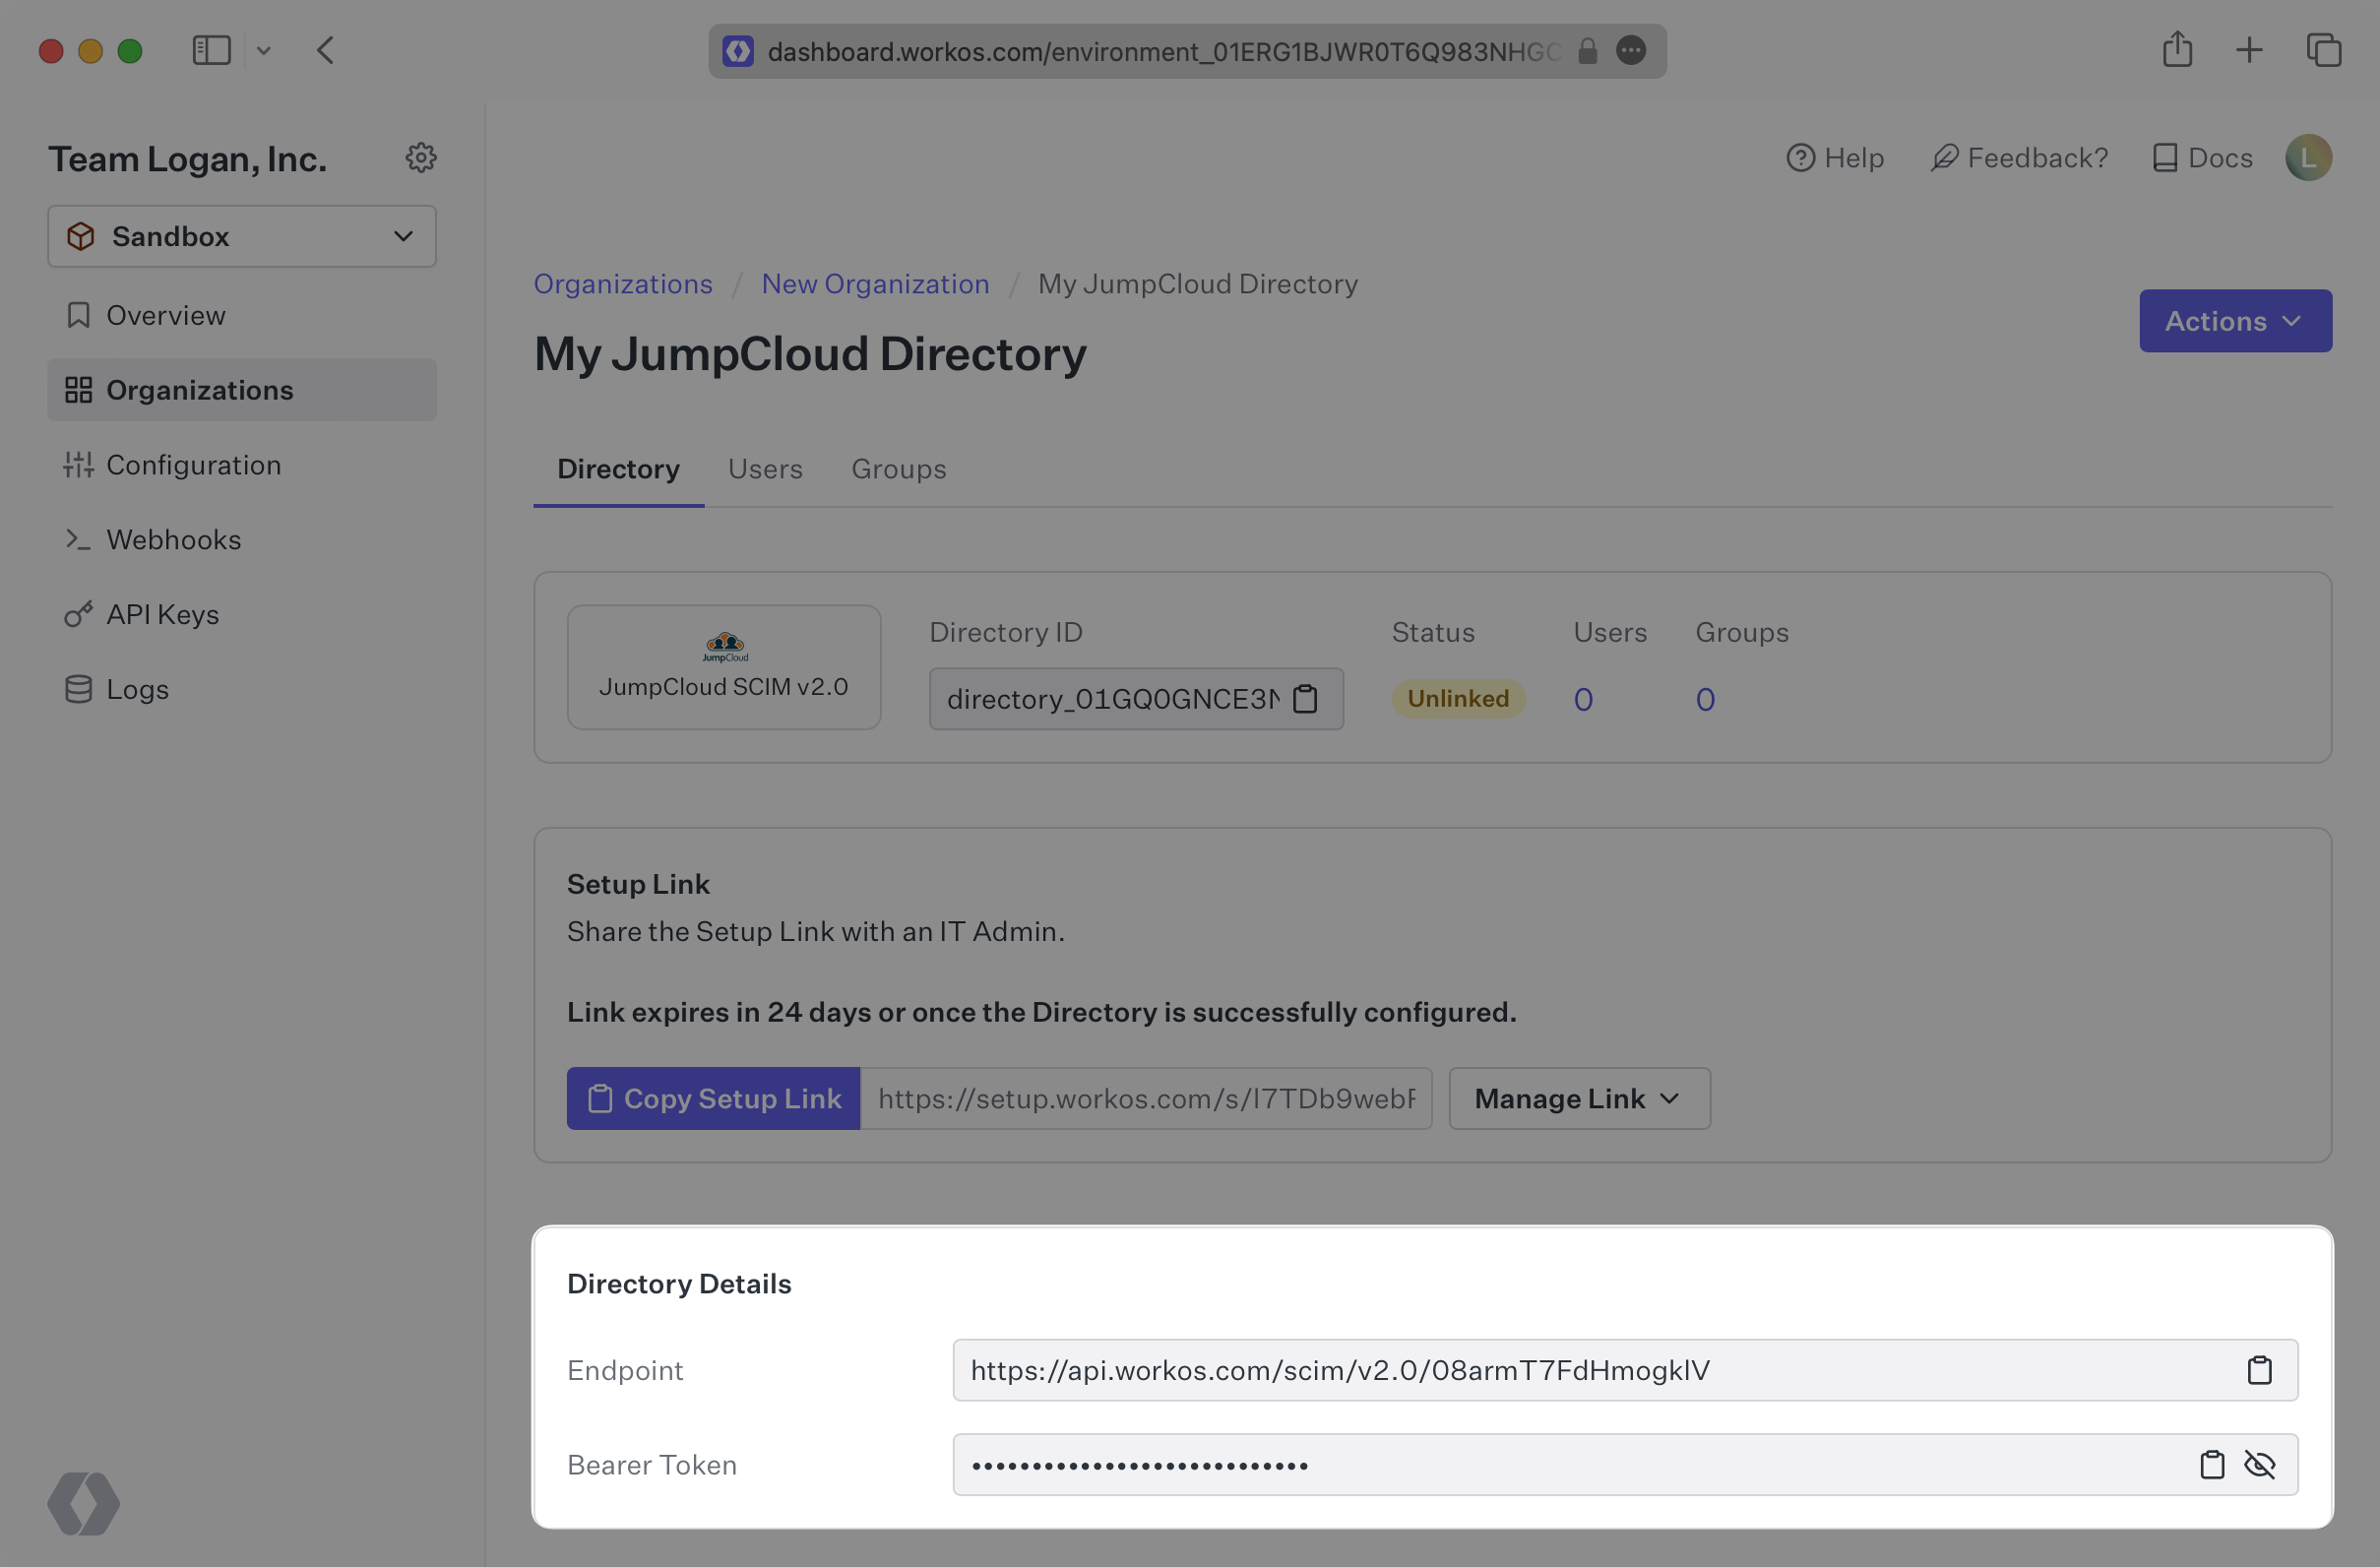
To synchronize an organization’s users and groups provisioned for your application, you’ll need to provide the organization with two pieces of information:
- An Endpoint that JumpCloud will make requests to.
- A Bearer Token for JumpCloud to authenticate its endpoint requests.
Both of these are available in your Endpoint’s Settings in the WorkOS Dashboard.
Steps 2, 3, and 4 below will need to be carried out by the organization when configuring your application in their JumpCloud instance.
Login to your WorkOS Dashboard and select “Organizations” from the left hand navigation bar.
Select the organization you’ll be configuring a new Directory Sync for.
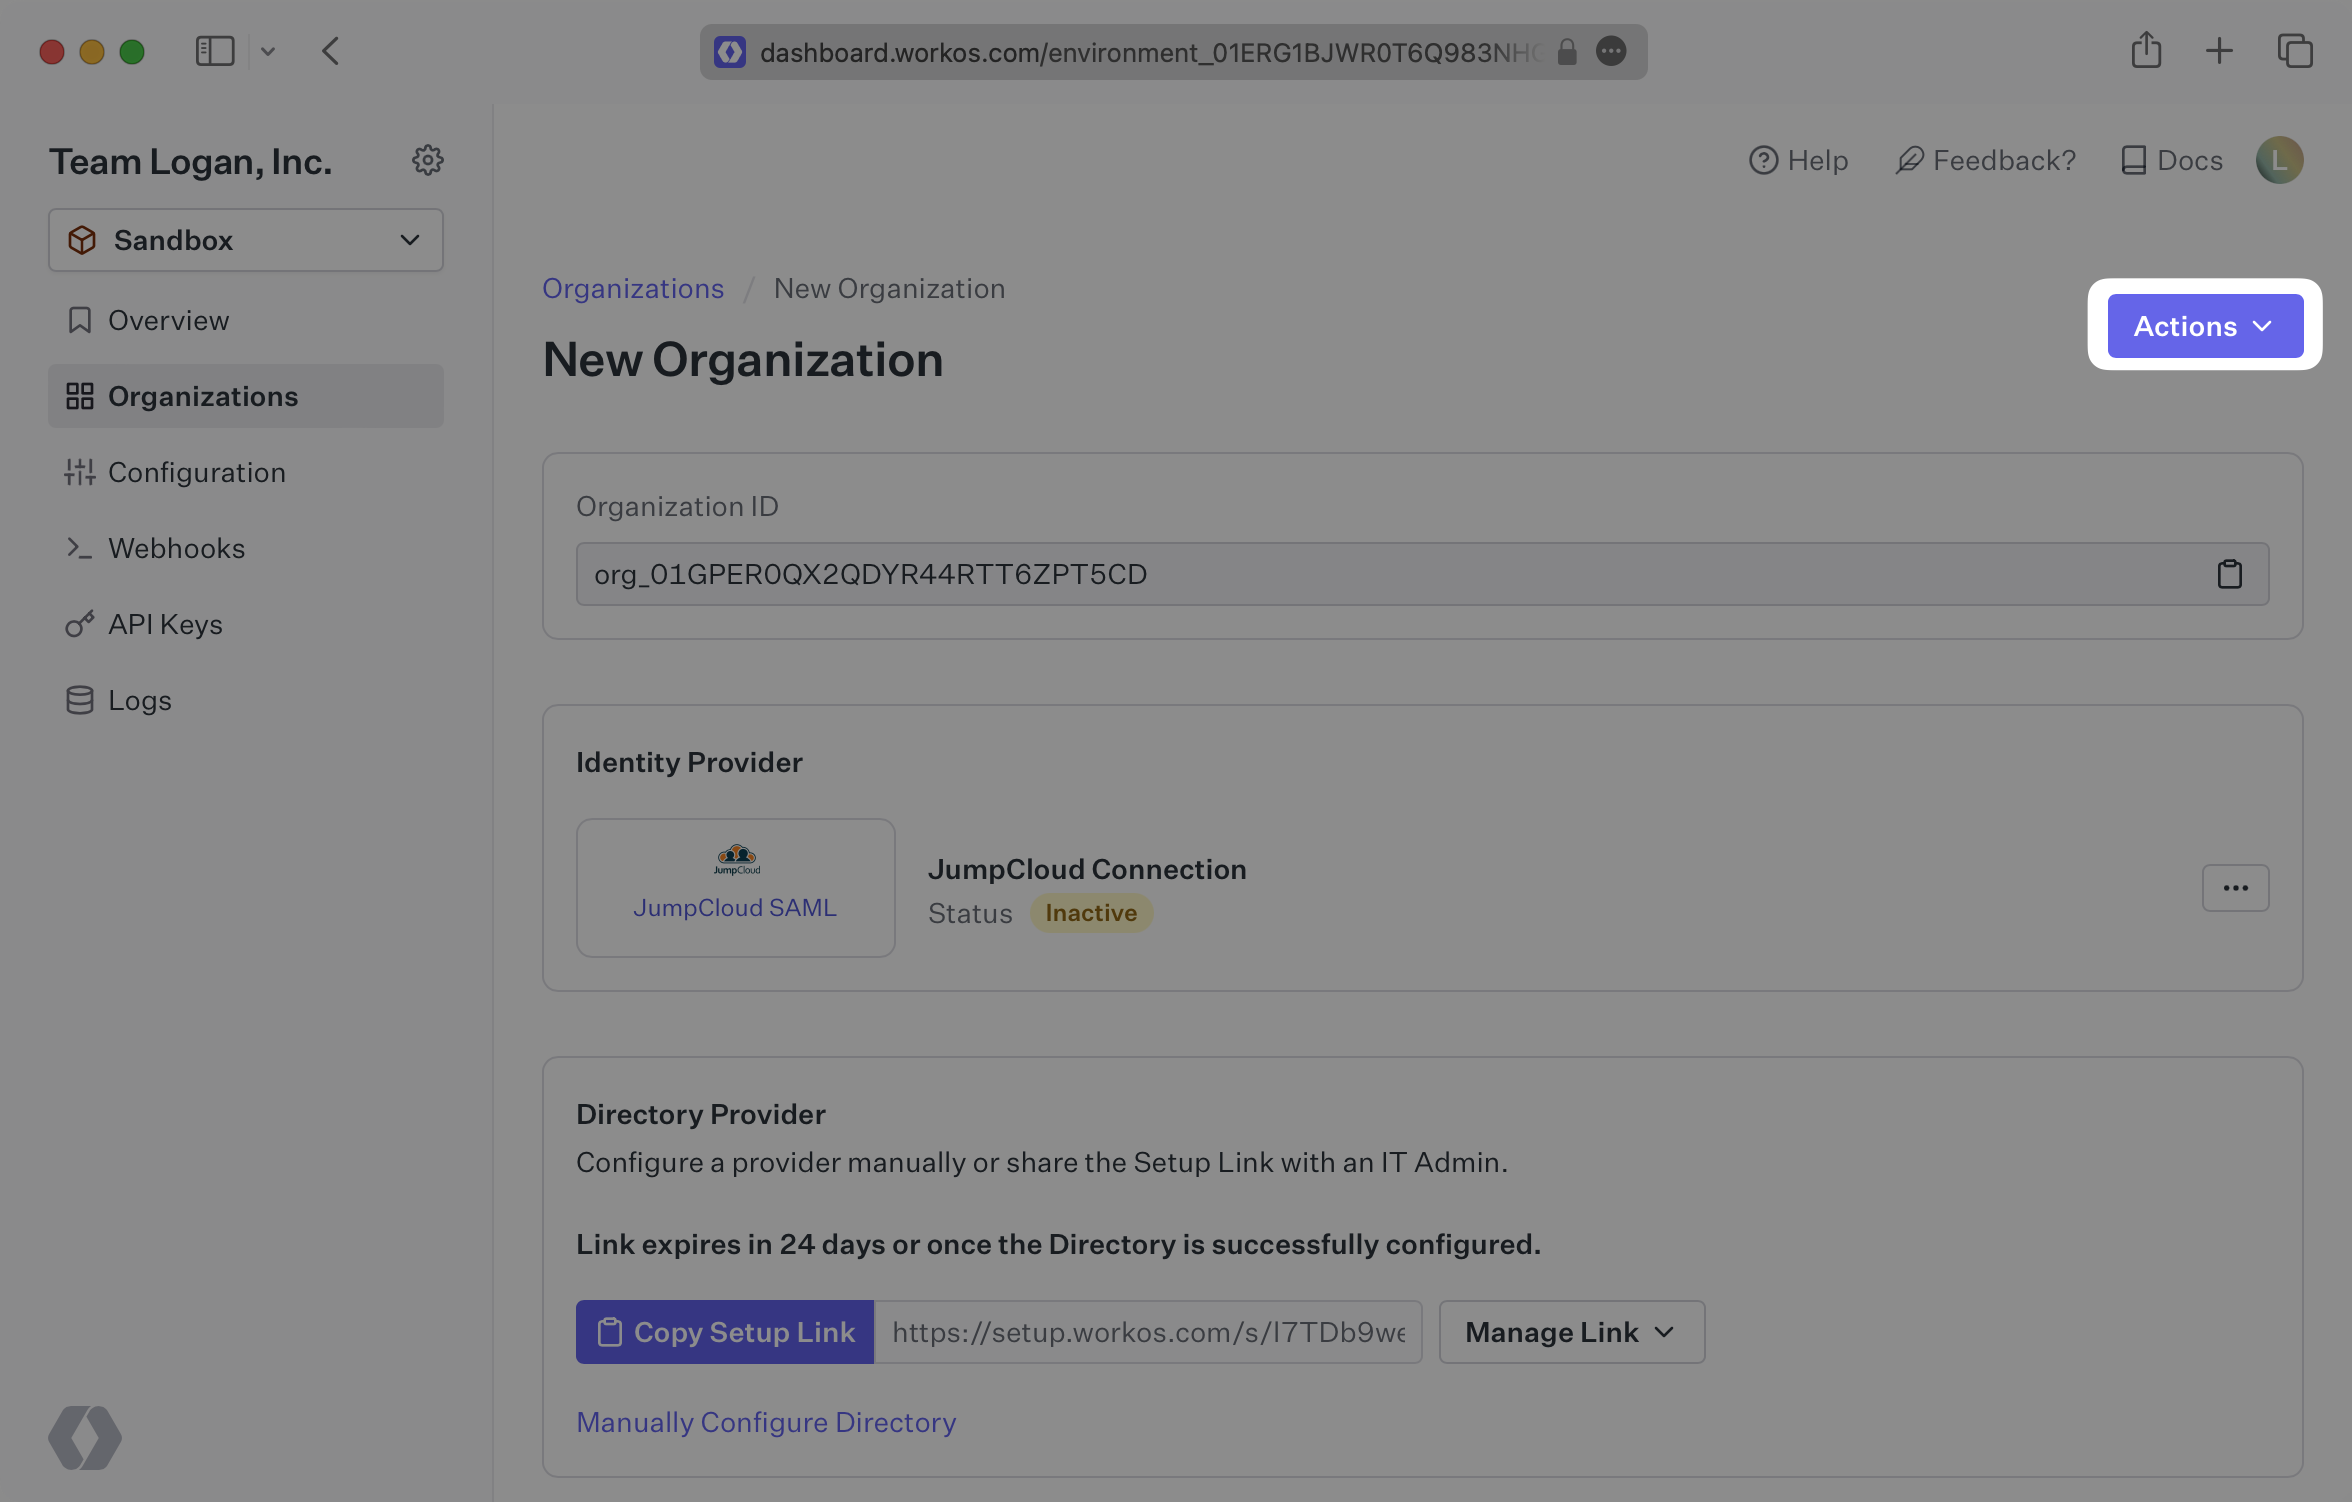
Under “Actions” click “Add Directory”.
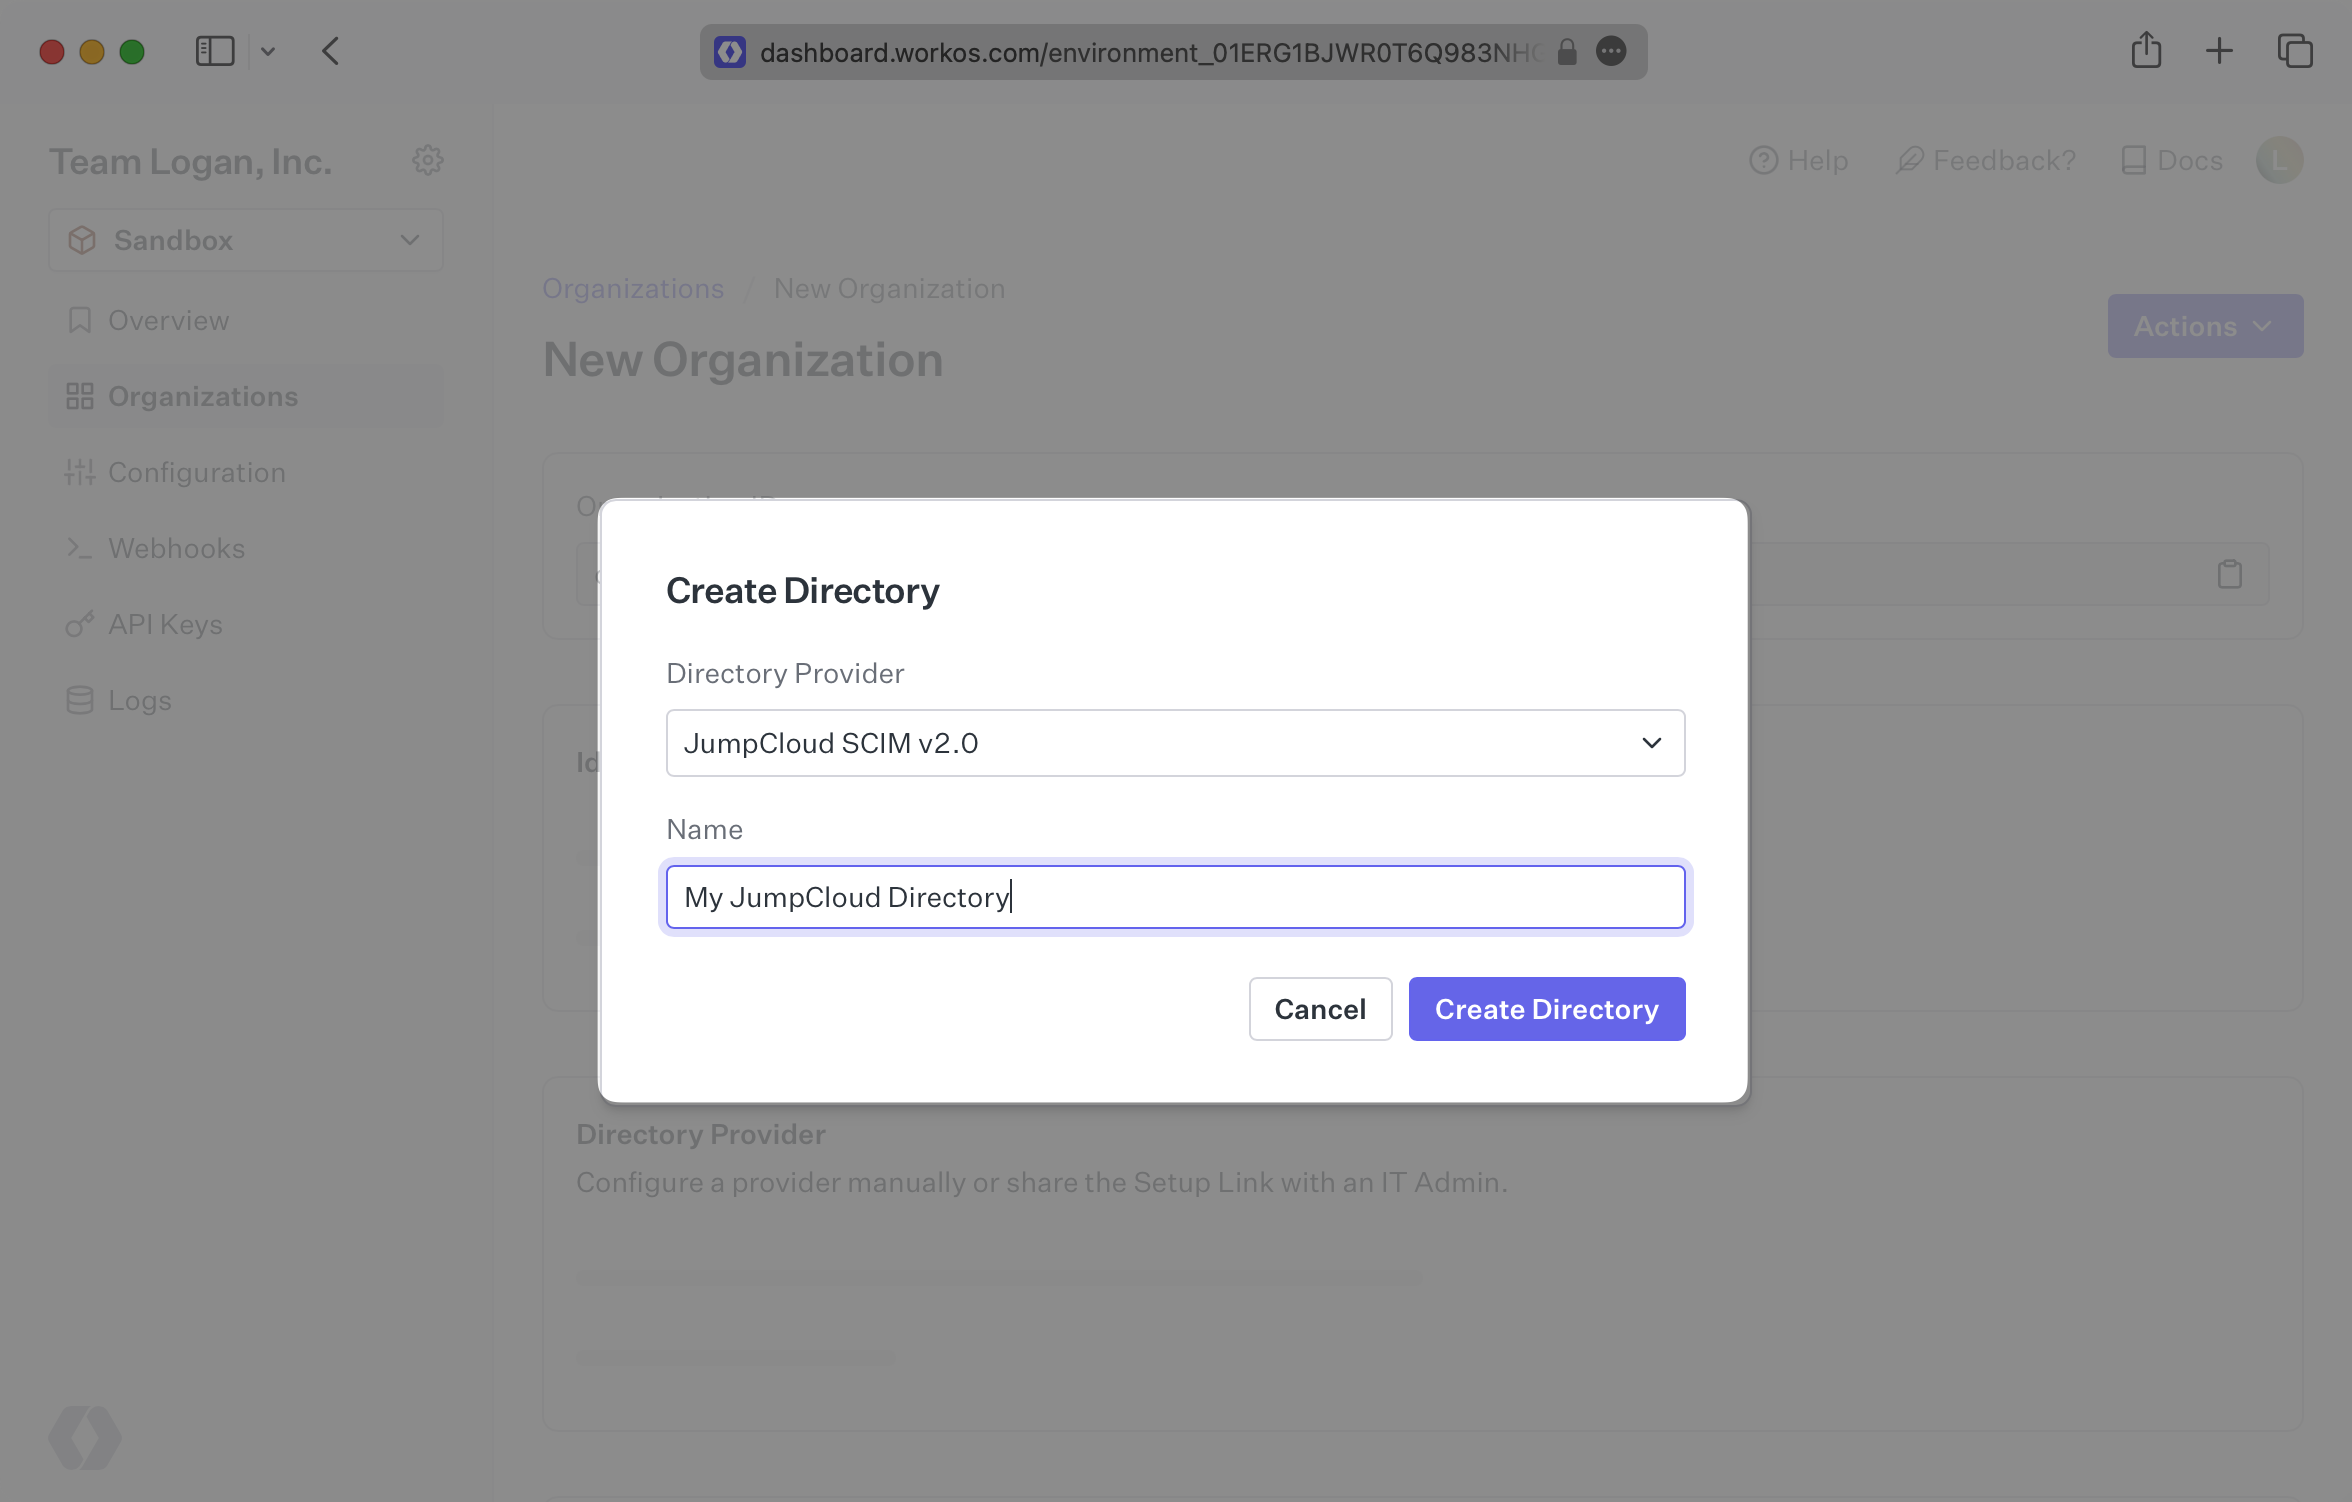
Select “JumpCloud” from the dropdown, and enter the organization name.
Then, click “Create Directory.”
Your JumpCloud directory sync has now been created successfully with an Endpoint and Bearer Token.
We have support for custom labeled URLs for Directory Sync endpoints. Contact us for more info!
Log in to the JumpCloud admin dashboard, select “SSO” on the left and select your Application.
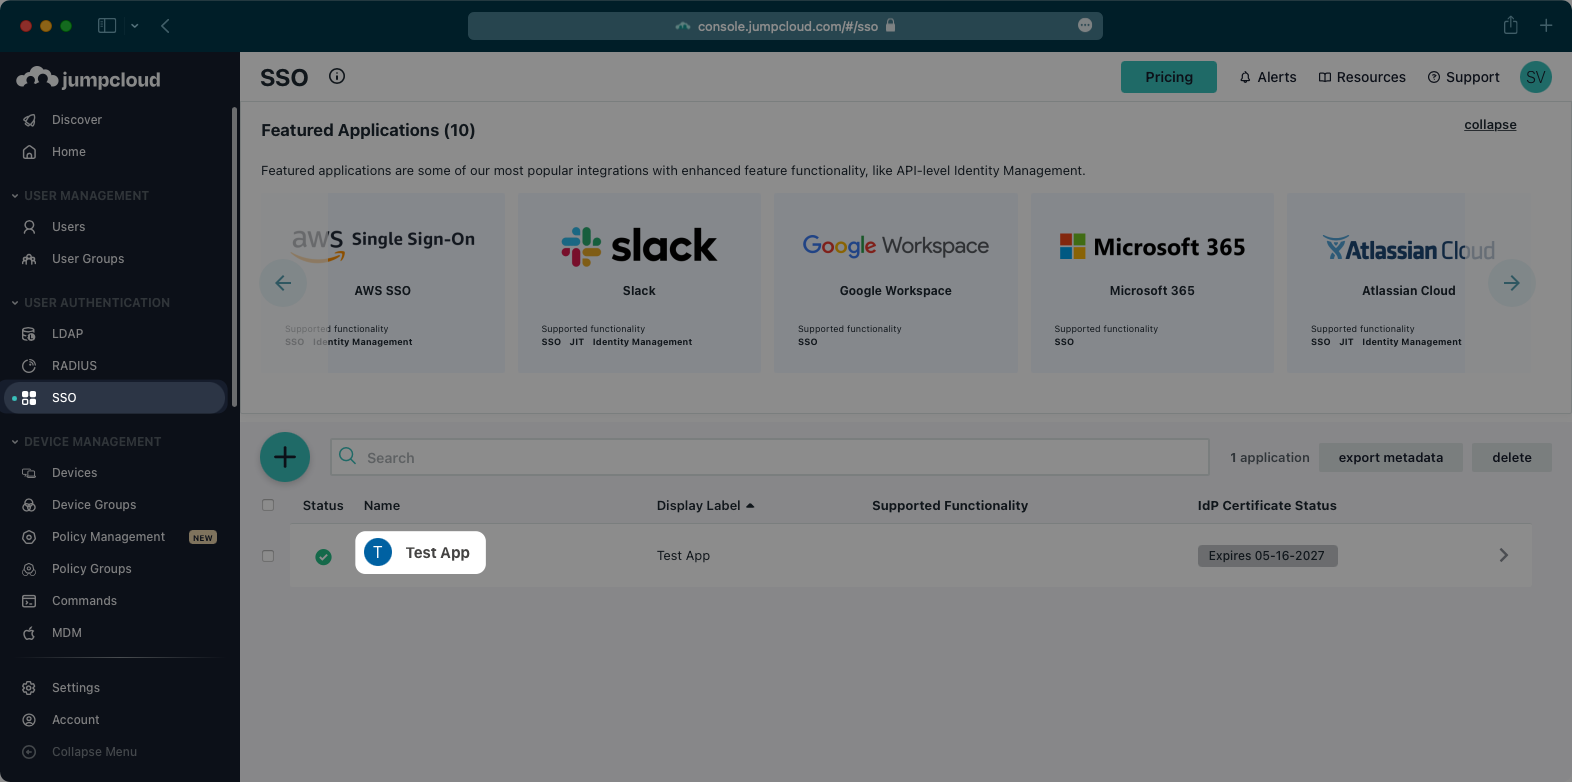
If you haven’t created an application, you’ll need to first create a custom SAML application in JumpCloud. JumpCloud only supports configuring SCIM provisioning in an existing SAML application. You can use our JumpCloud SAML documentation to configure your SAML application before moving on to SCIM provisioning.
Select “Identity Management” from the top navigation menu.
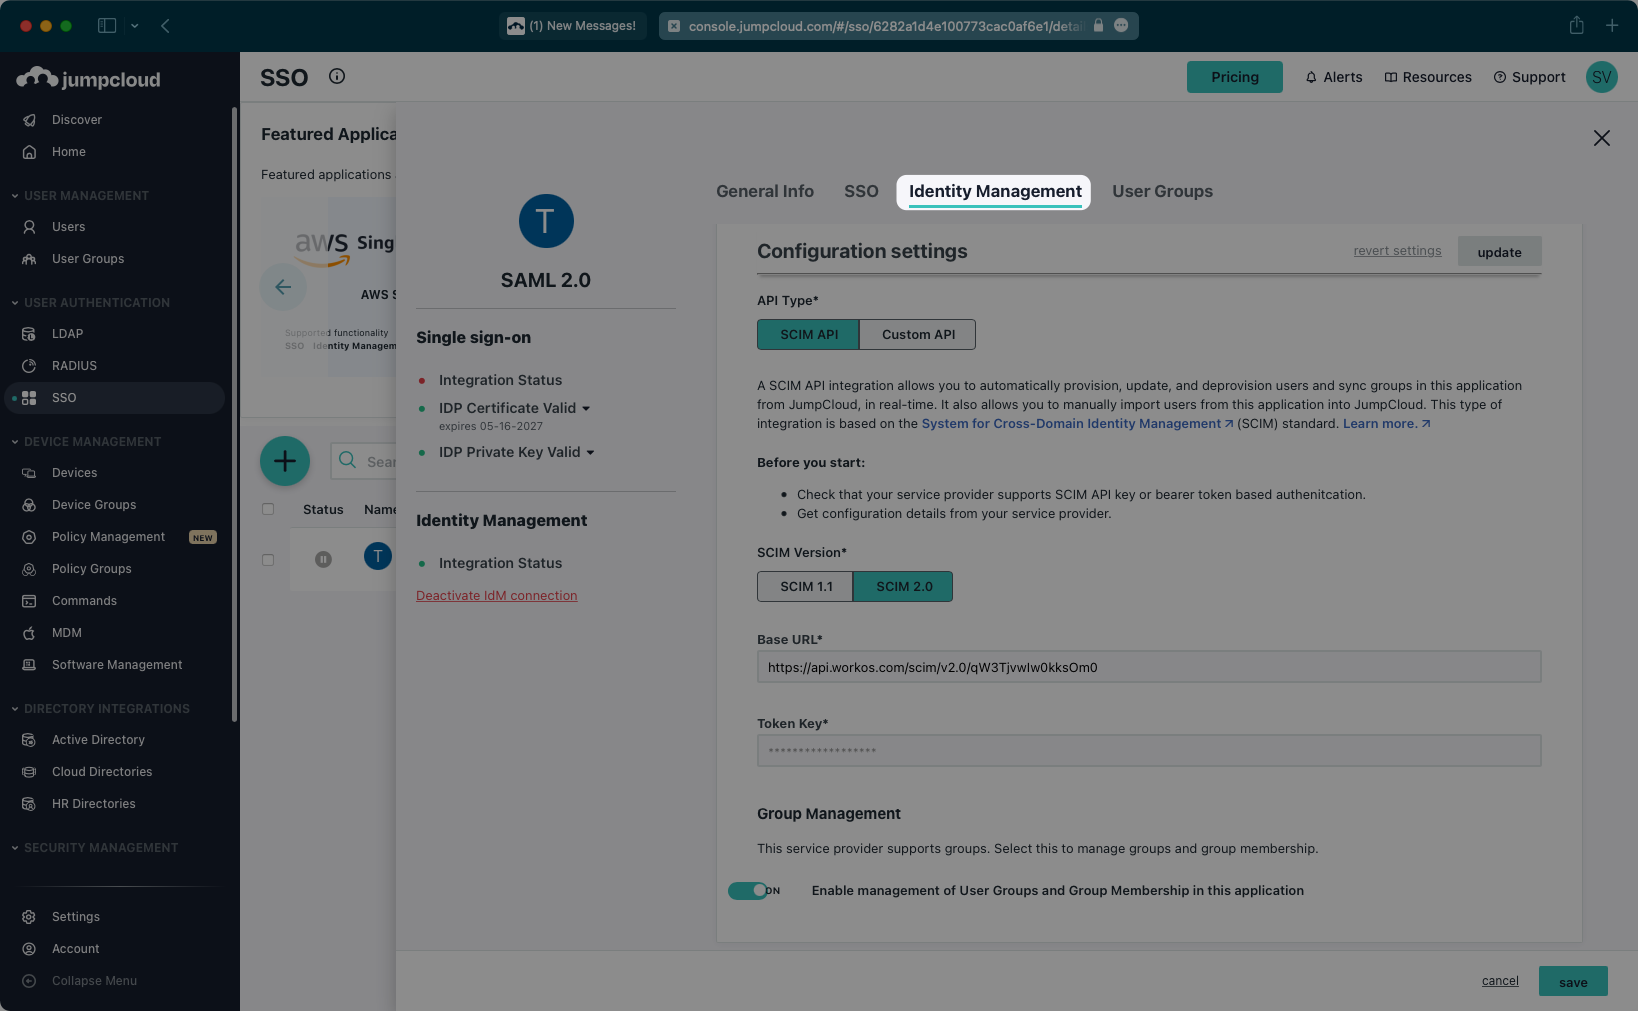
Scroll down to the “Configuration settings” section. Make sure SCIM 2.0 is selected as the SCIM version.
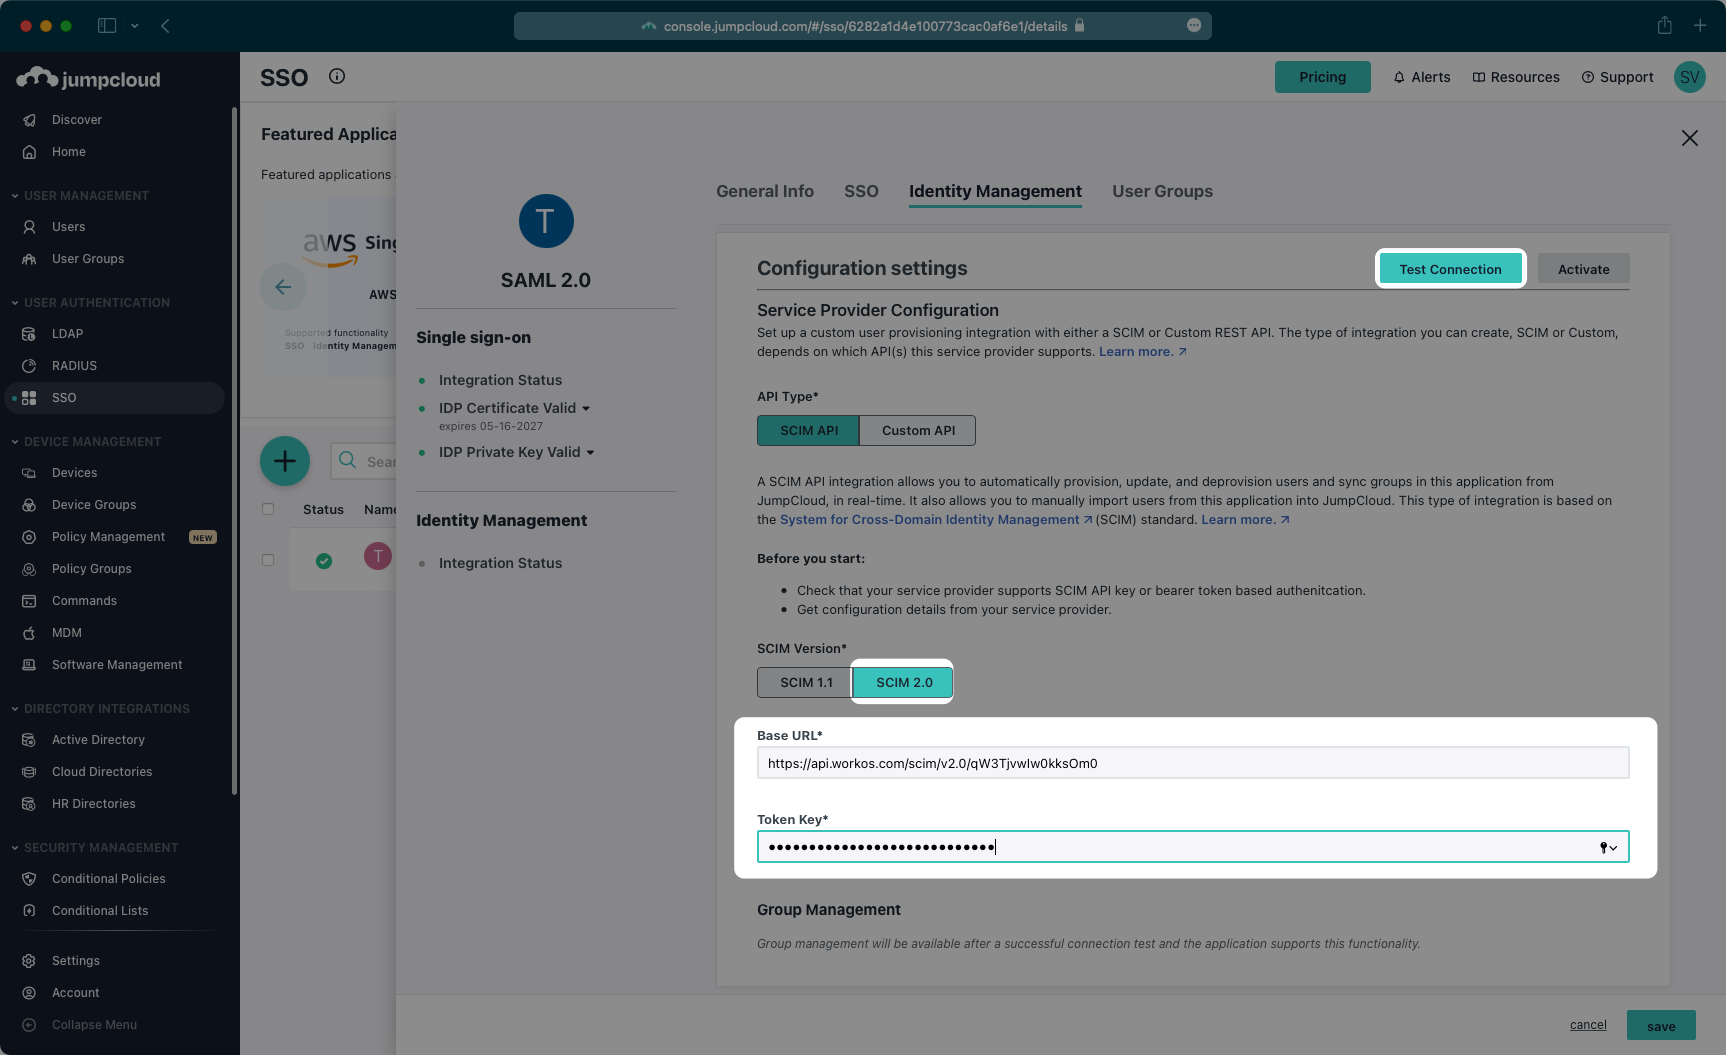
Copy and paste the Endpoint from your WorkOS Dashboard in the “Base URL” field.
Then, copy and paste the Bearer Token from your WorkOS Dashboard into the “Token Key” field.
Next, test the connection to confirm the configuration settings.
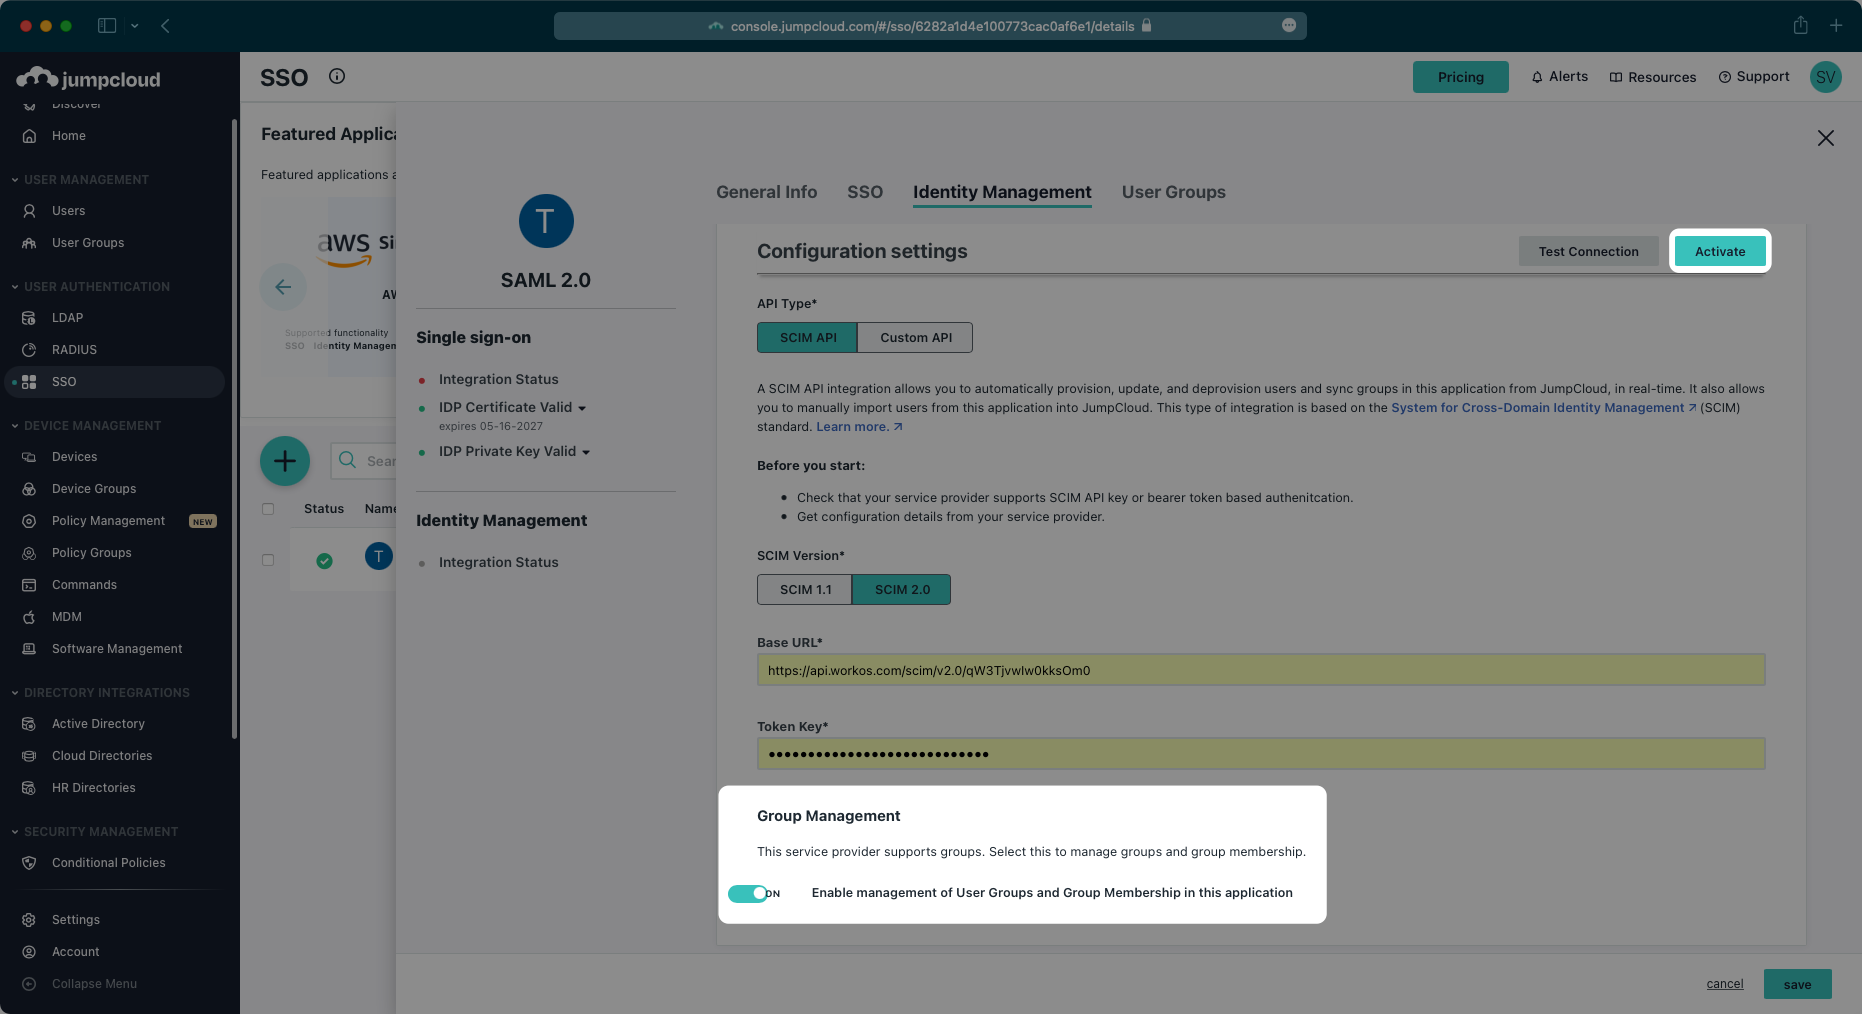
After you receive a success message for the configuration, make sure the Group Management toggle is “On”, and then activate the settings.
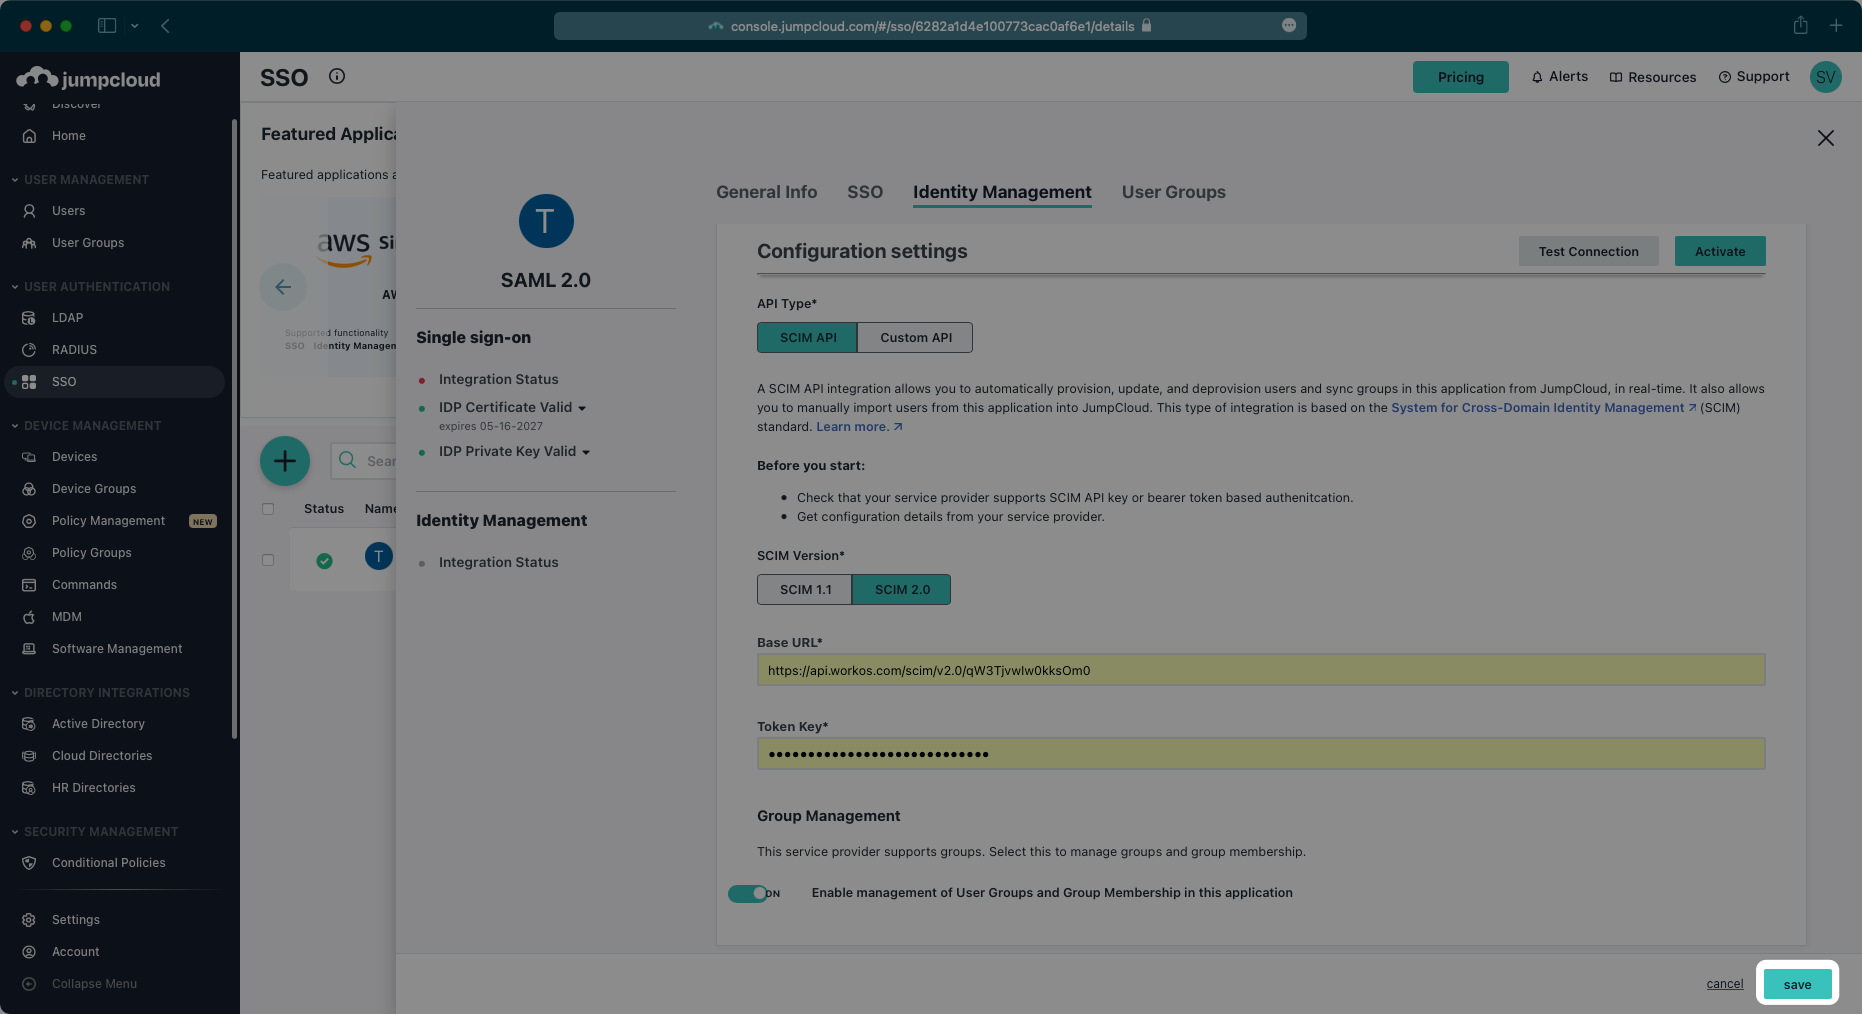
After the activation step is successful, save the configuration.
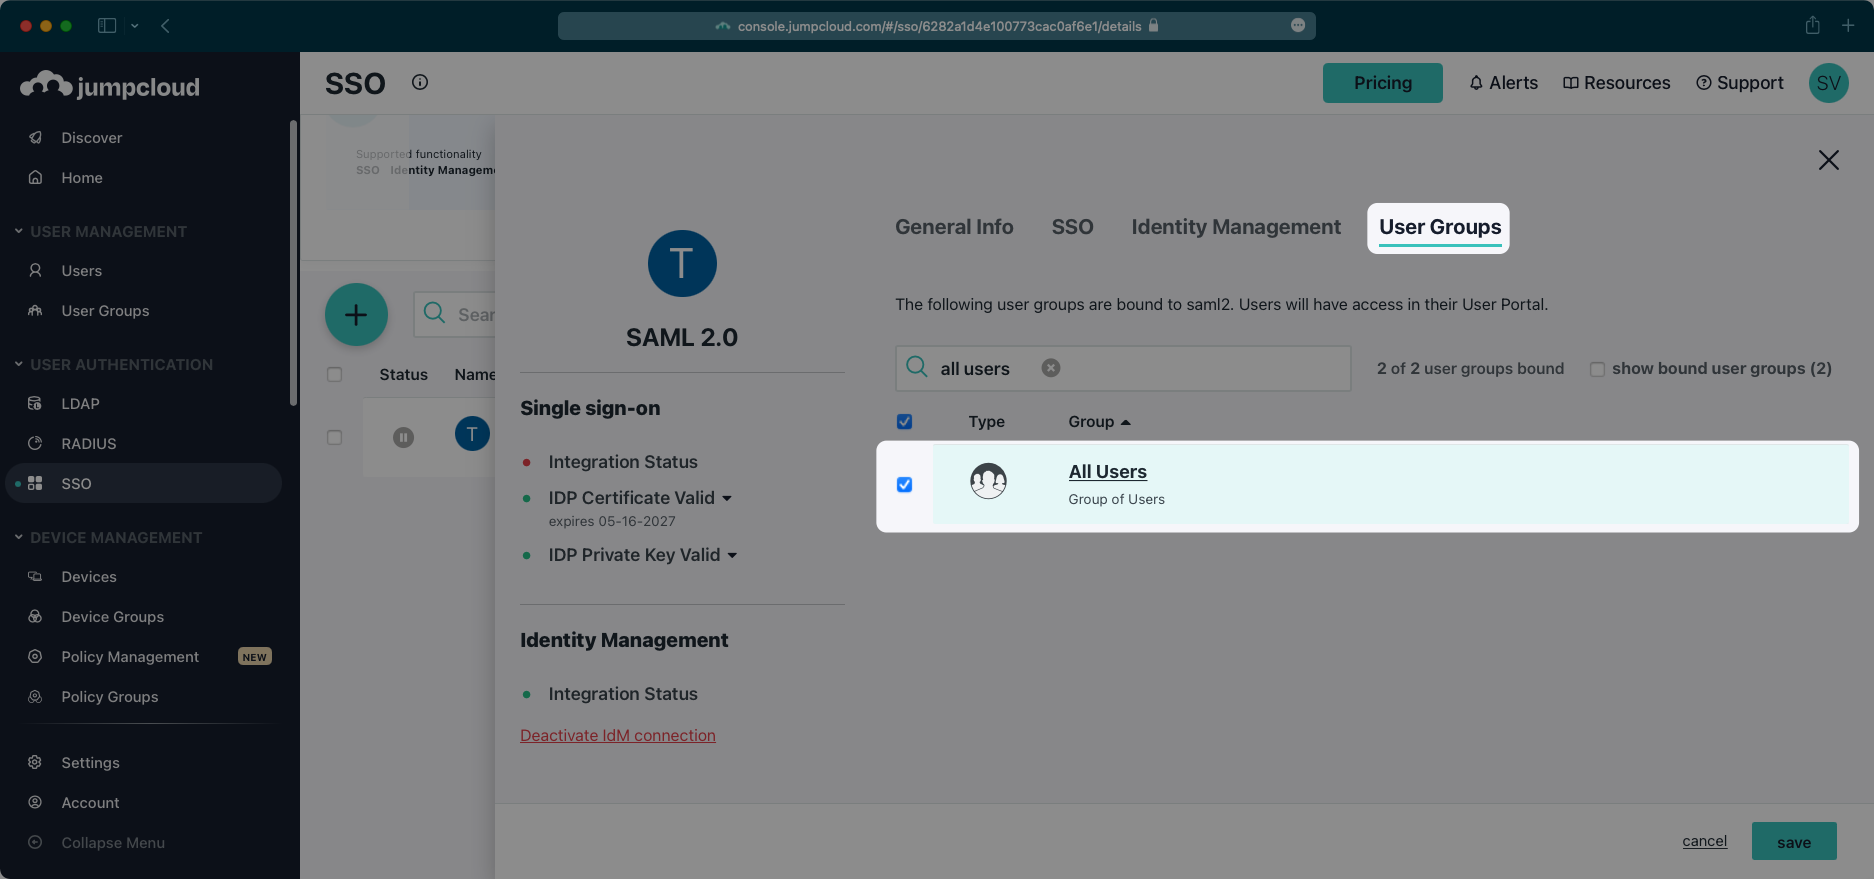
In order for your users and groups to be synced, you will need to assign them to your JumpCloud Application. Select “User Groups” from the top navigation menu.
Select the groups of users you would like to sync and save your changes.
Begin provisioning users and groups and witness realtime changes in your WorkOS Dashboard.
A detailed guide to integrate the WorkOS API with your application can be found here
When a group is disconnected from the SCIM application in JumpCloud, I still see users that are a part of that disconnected group in WorkOS and my application – is this expected?
Instead of individually assigning users to a SCIM application, JumpCloud SCIM requires that users are assigned to the application through group membership.
To reflect valid user membership in your application, users should be removed from a group while the group is connected to the SCIM application rather than removing them directly from the application.
To remove an entire group, the group can be deleted from the JumpCloud User Management area while it is connected to the SCIM application.
What is the idp_id for directory groups from JumpCloud?
JumpCloud provides a unique identifier for each group through the SCIM externalId field. This is persisted as the idp_id for directory groups in WorkOS.