Login.gov OpenID Connect
Learn how to configure a connection to Login.gov via OIDC.
Each SSO Identity Provider requires specific information to create and configure a new Connection. Often, the information required to create a Connection will differ by Identity Provider.
To create a Login.gov OpenID Connect (OIDC) Connection, you’ll need four pieces of information: a Redirect URI, a Public Certificate, a Client ID, and a Discovery Endpoint.
Start by logging in to your WorkOS dashboard and browse to the “Organizations” tab on the left-hand navigation bar.
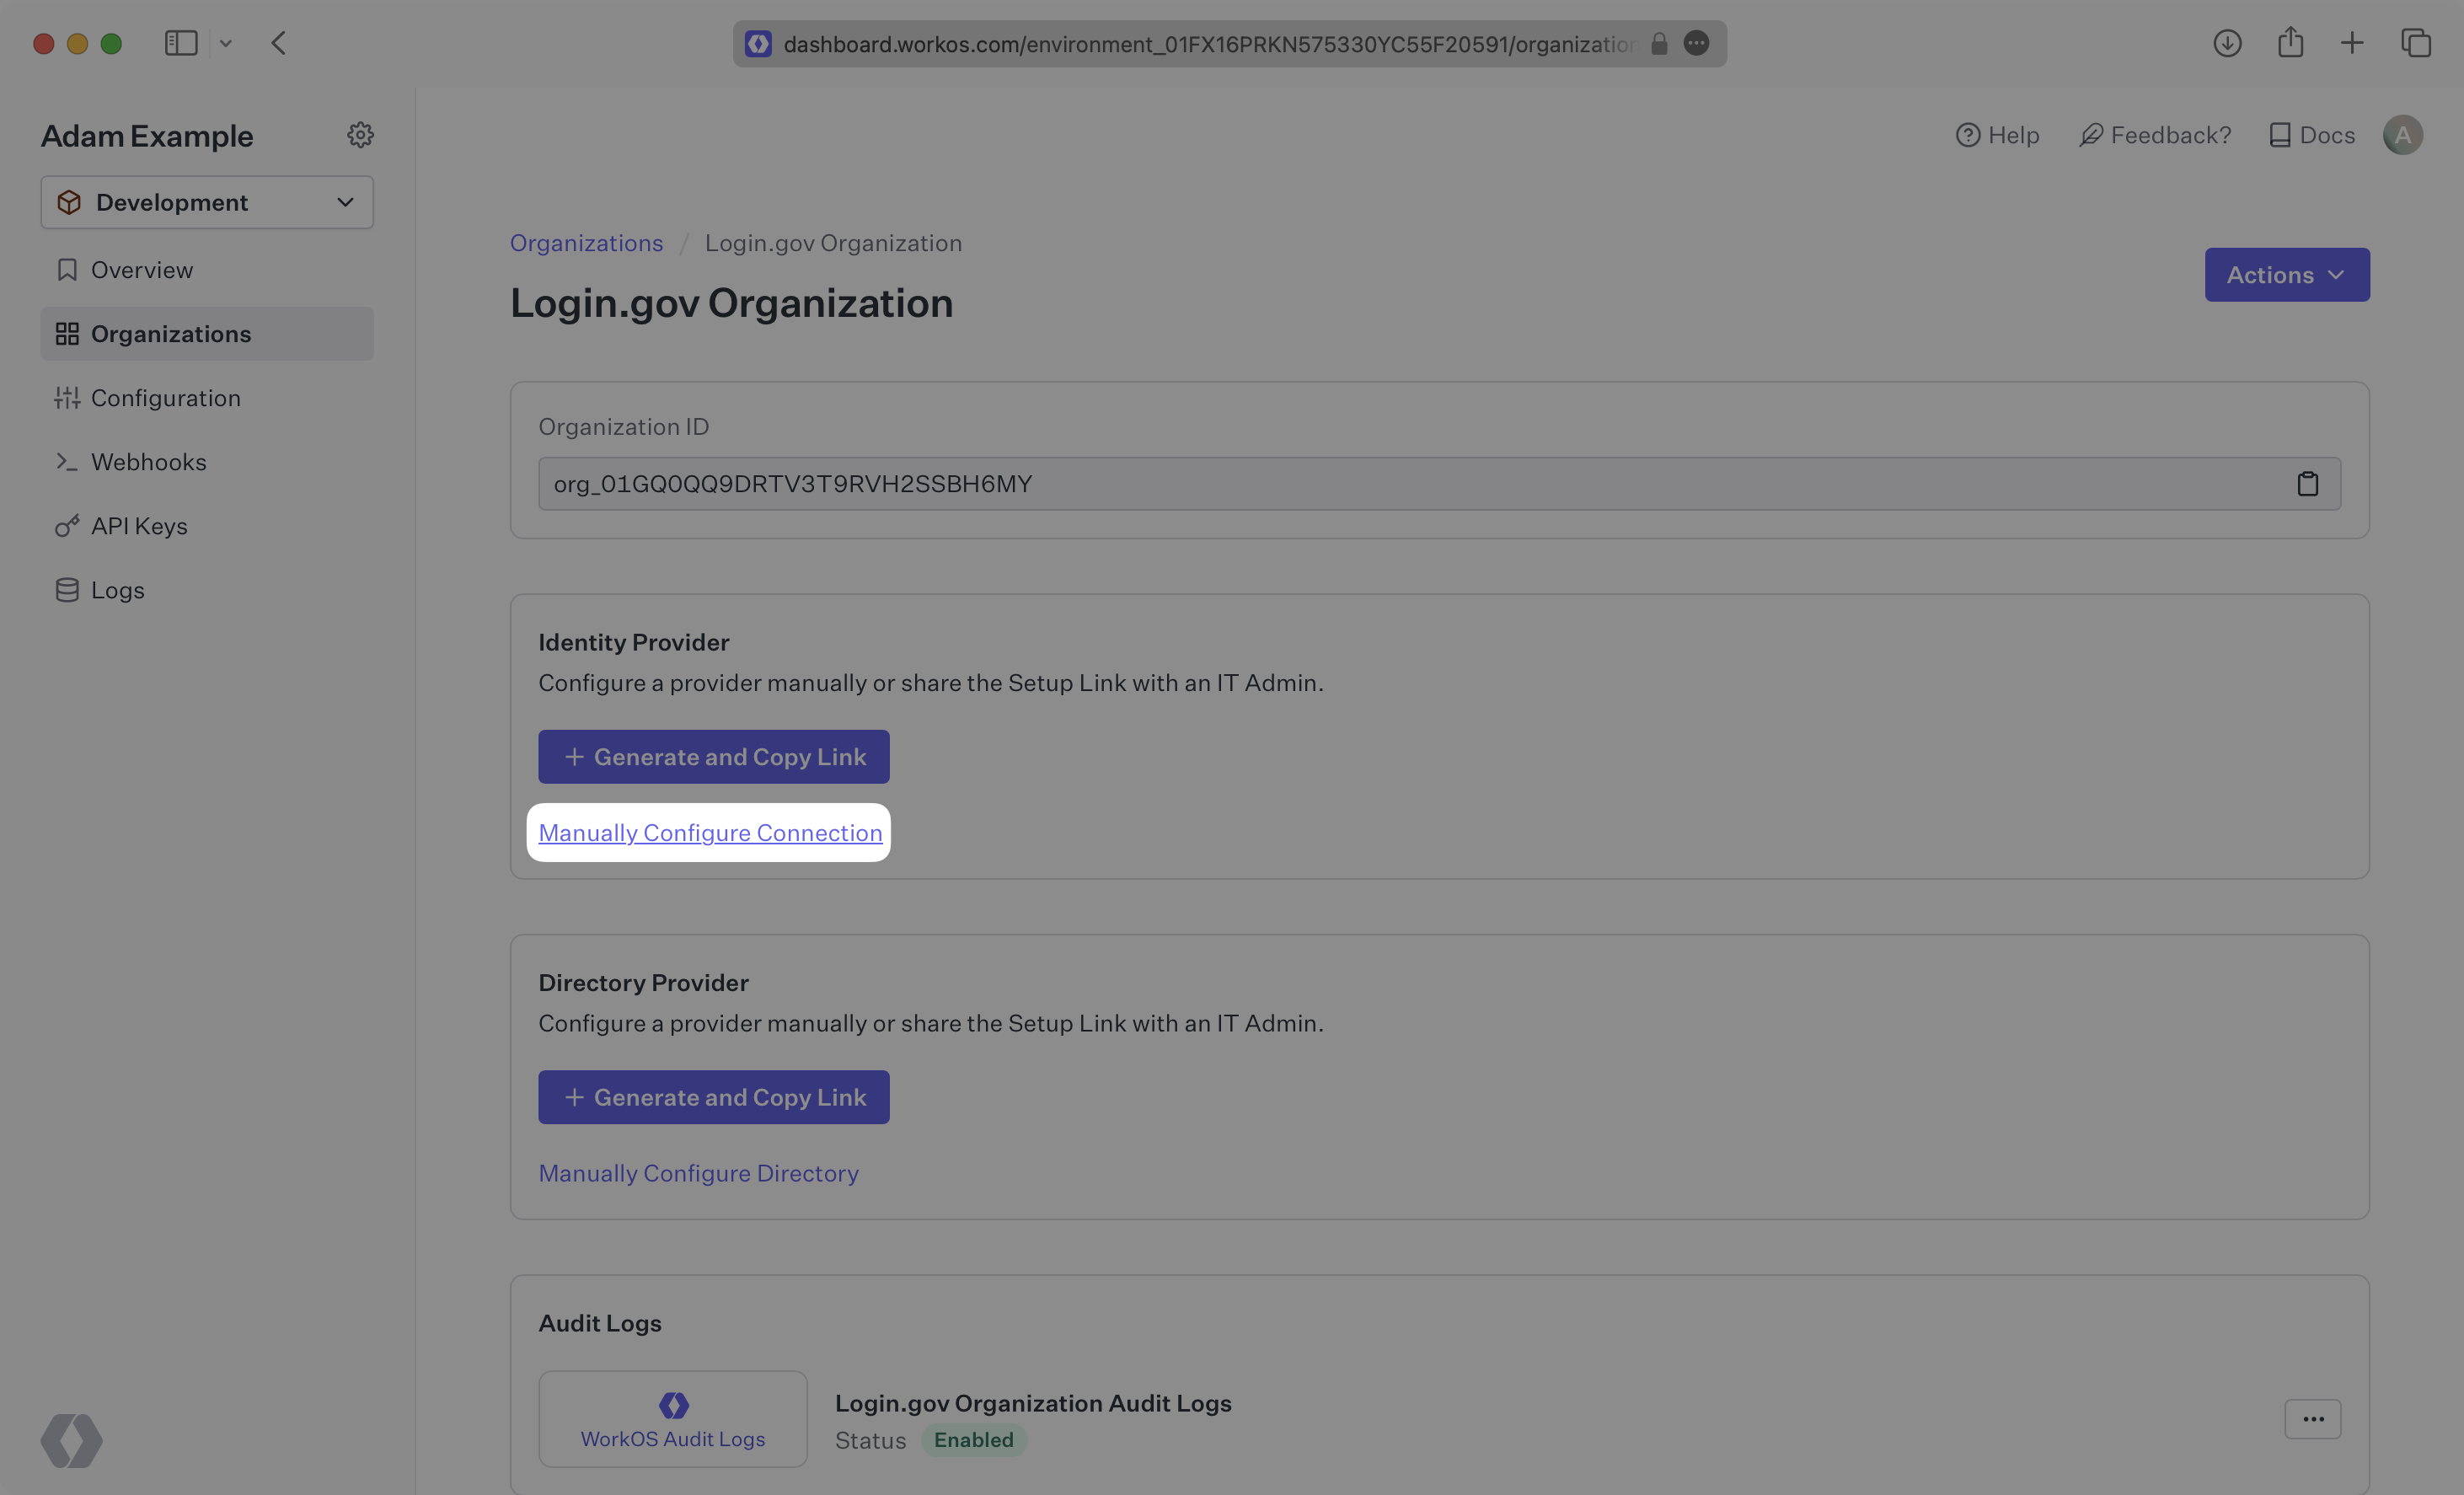
Select the organization you’d like to configure a Login.gov OIDC Connection for, and select “Manually Configure Connection” under “Identity Provider”.
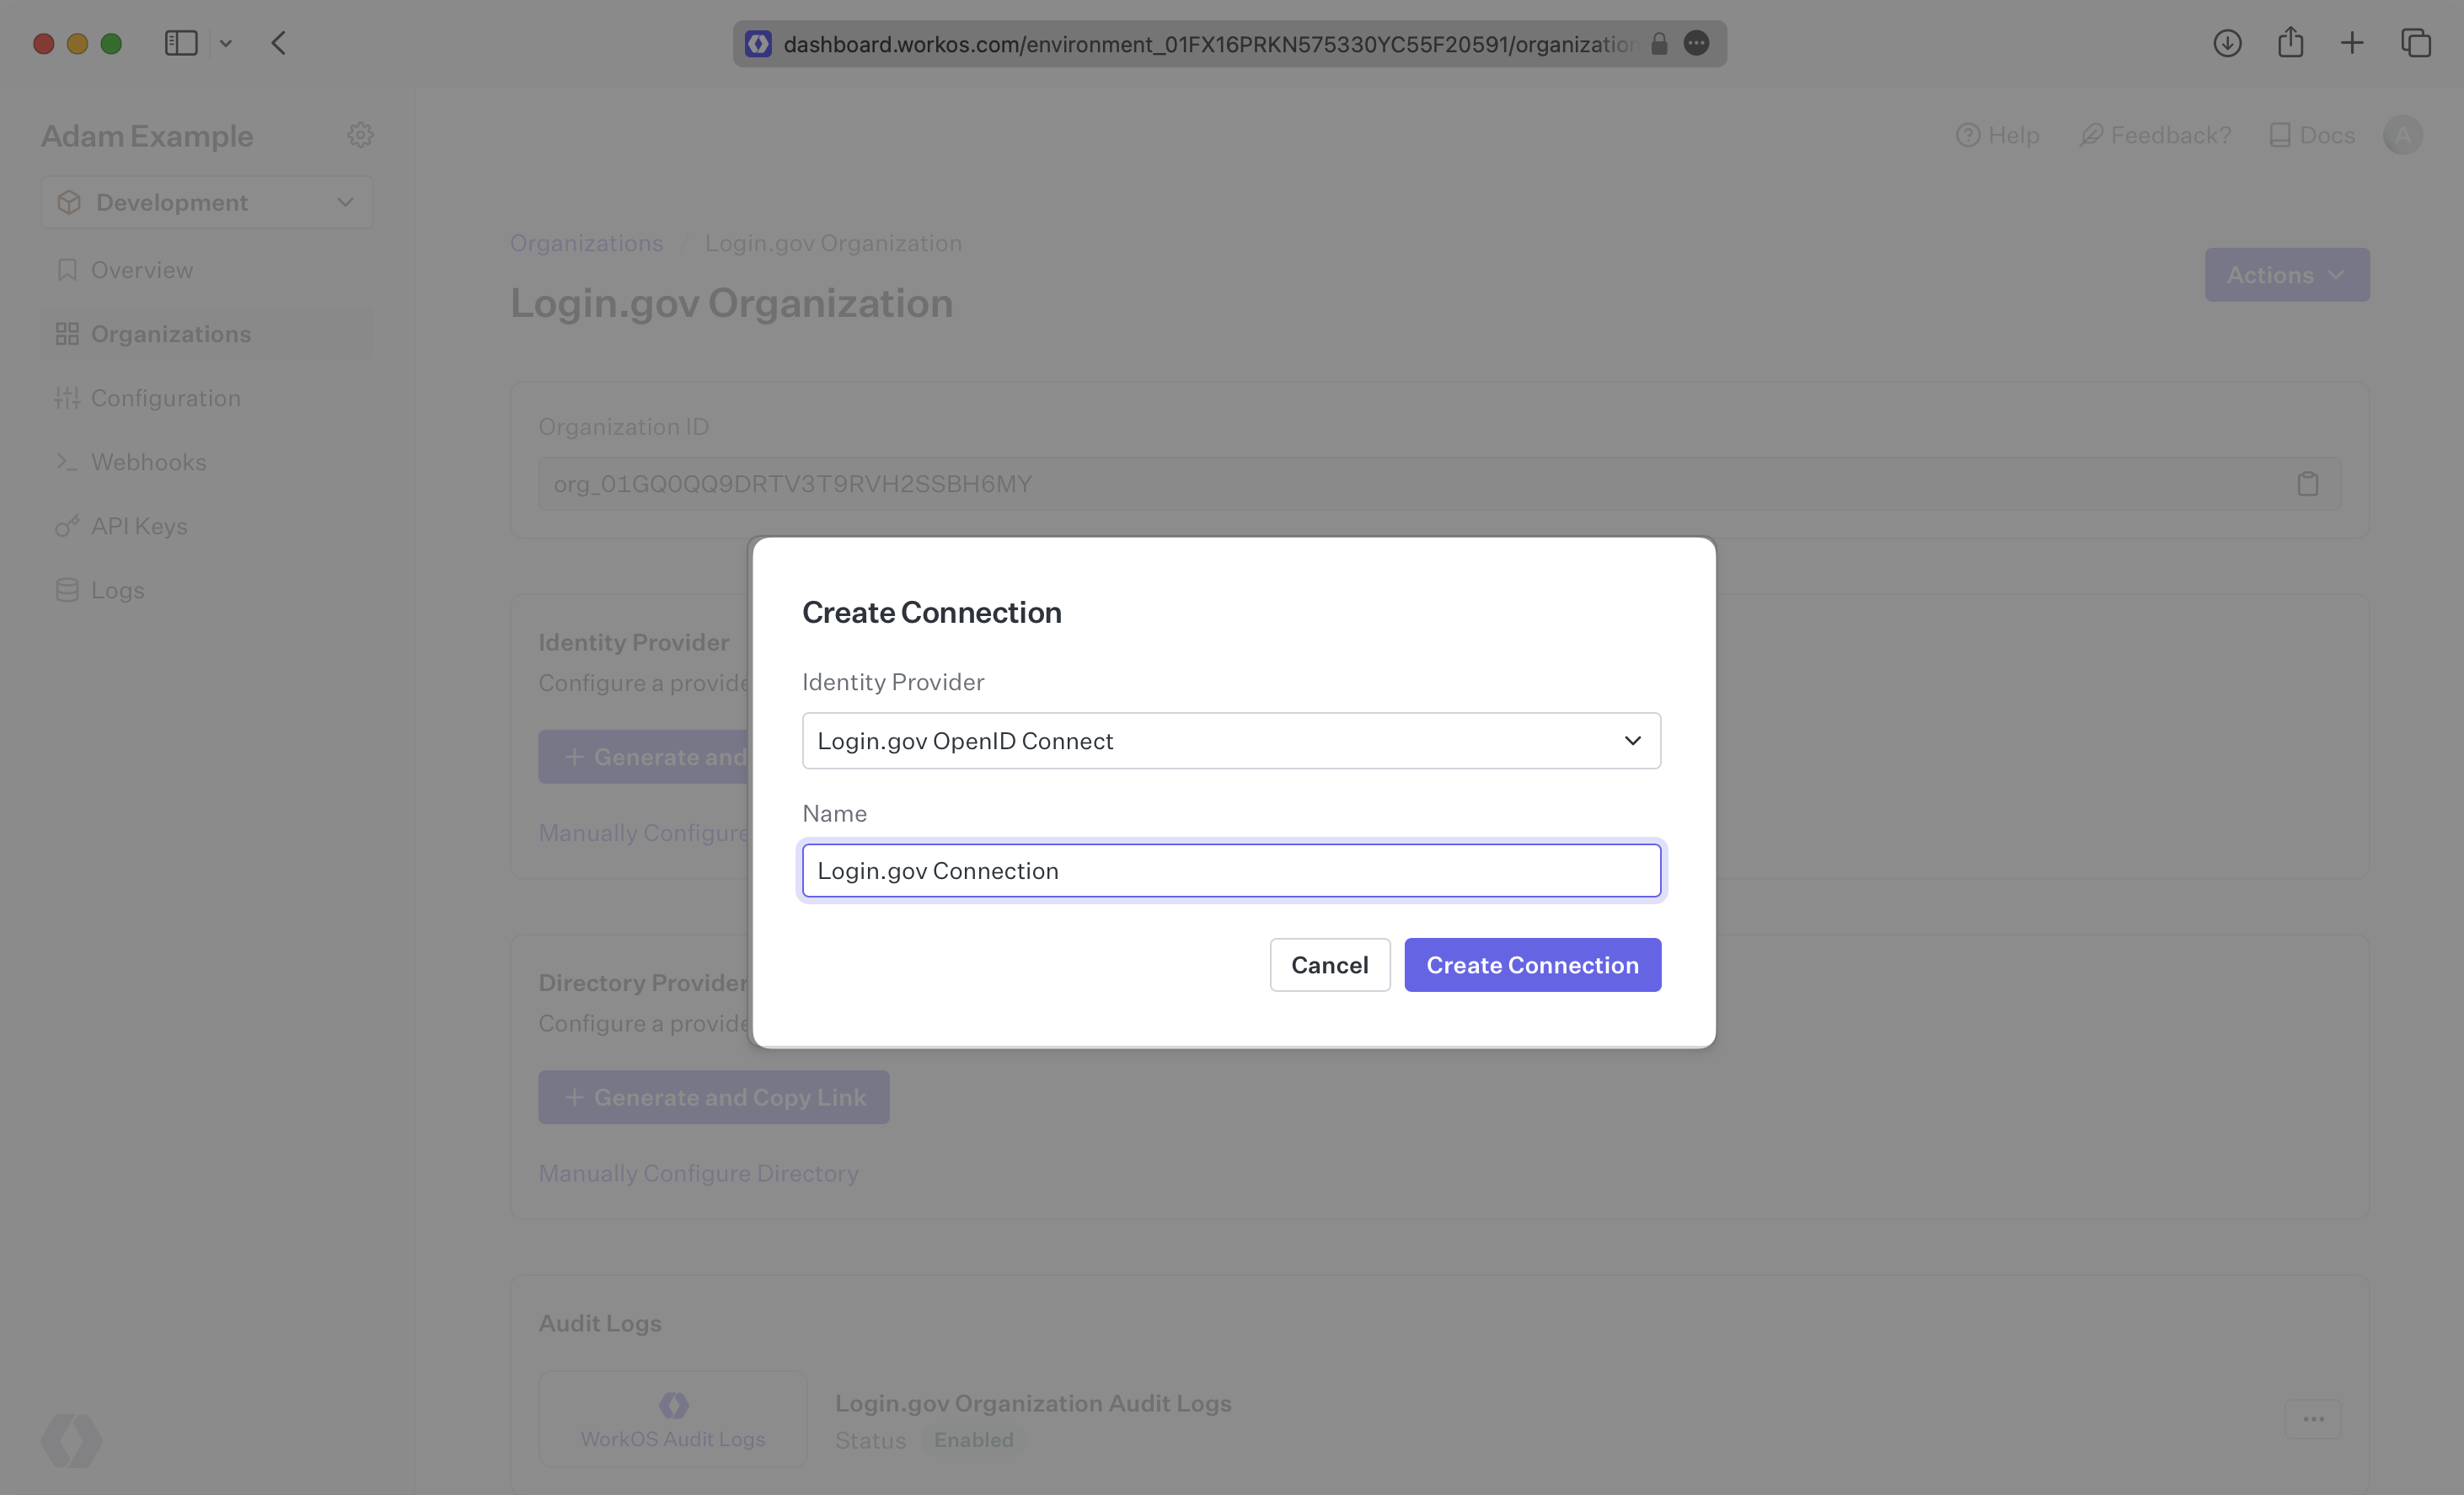
Select “Login.gov OpenID Connect” from the Identity Provider dropdown, enter a descriptive name for the connection, and then select the “Create Connection” button.
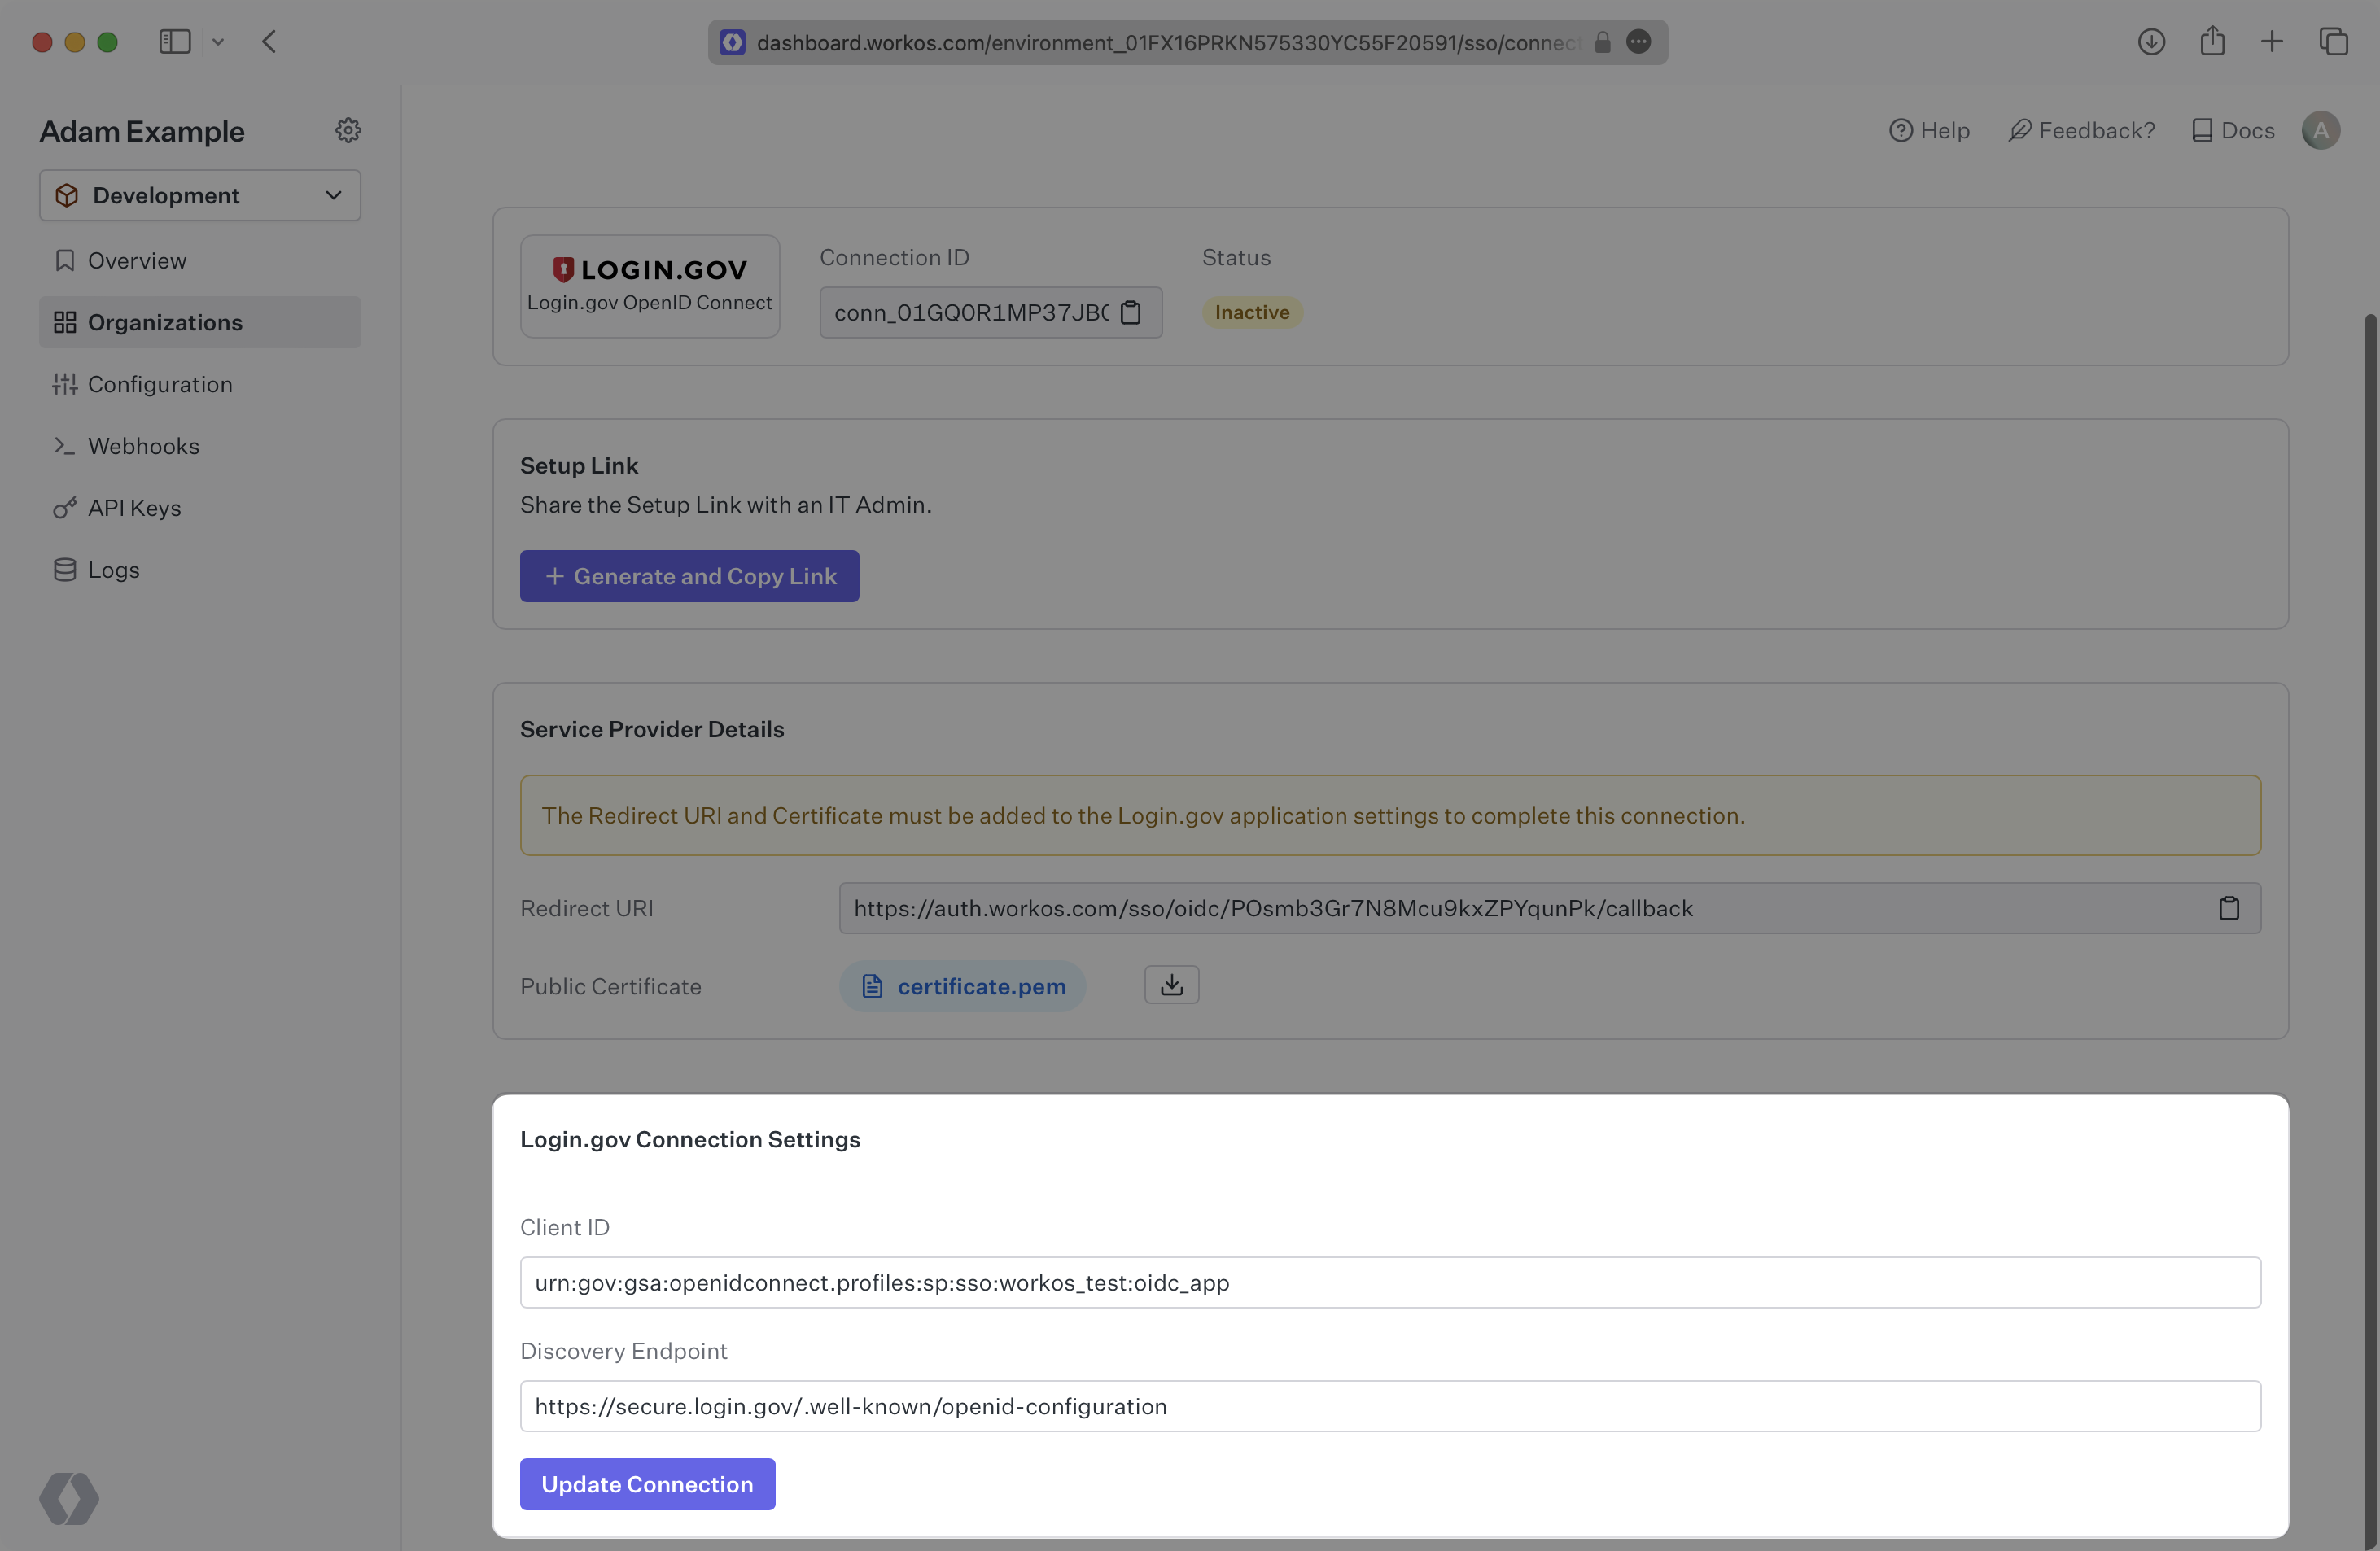
WorkOS provides the Redirect URI and the Public Certificate. They are readily available in your Connection Settings in the WorkOS Dashboard.
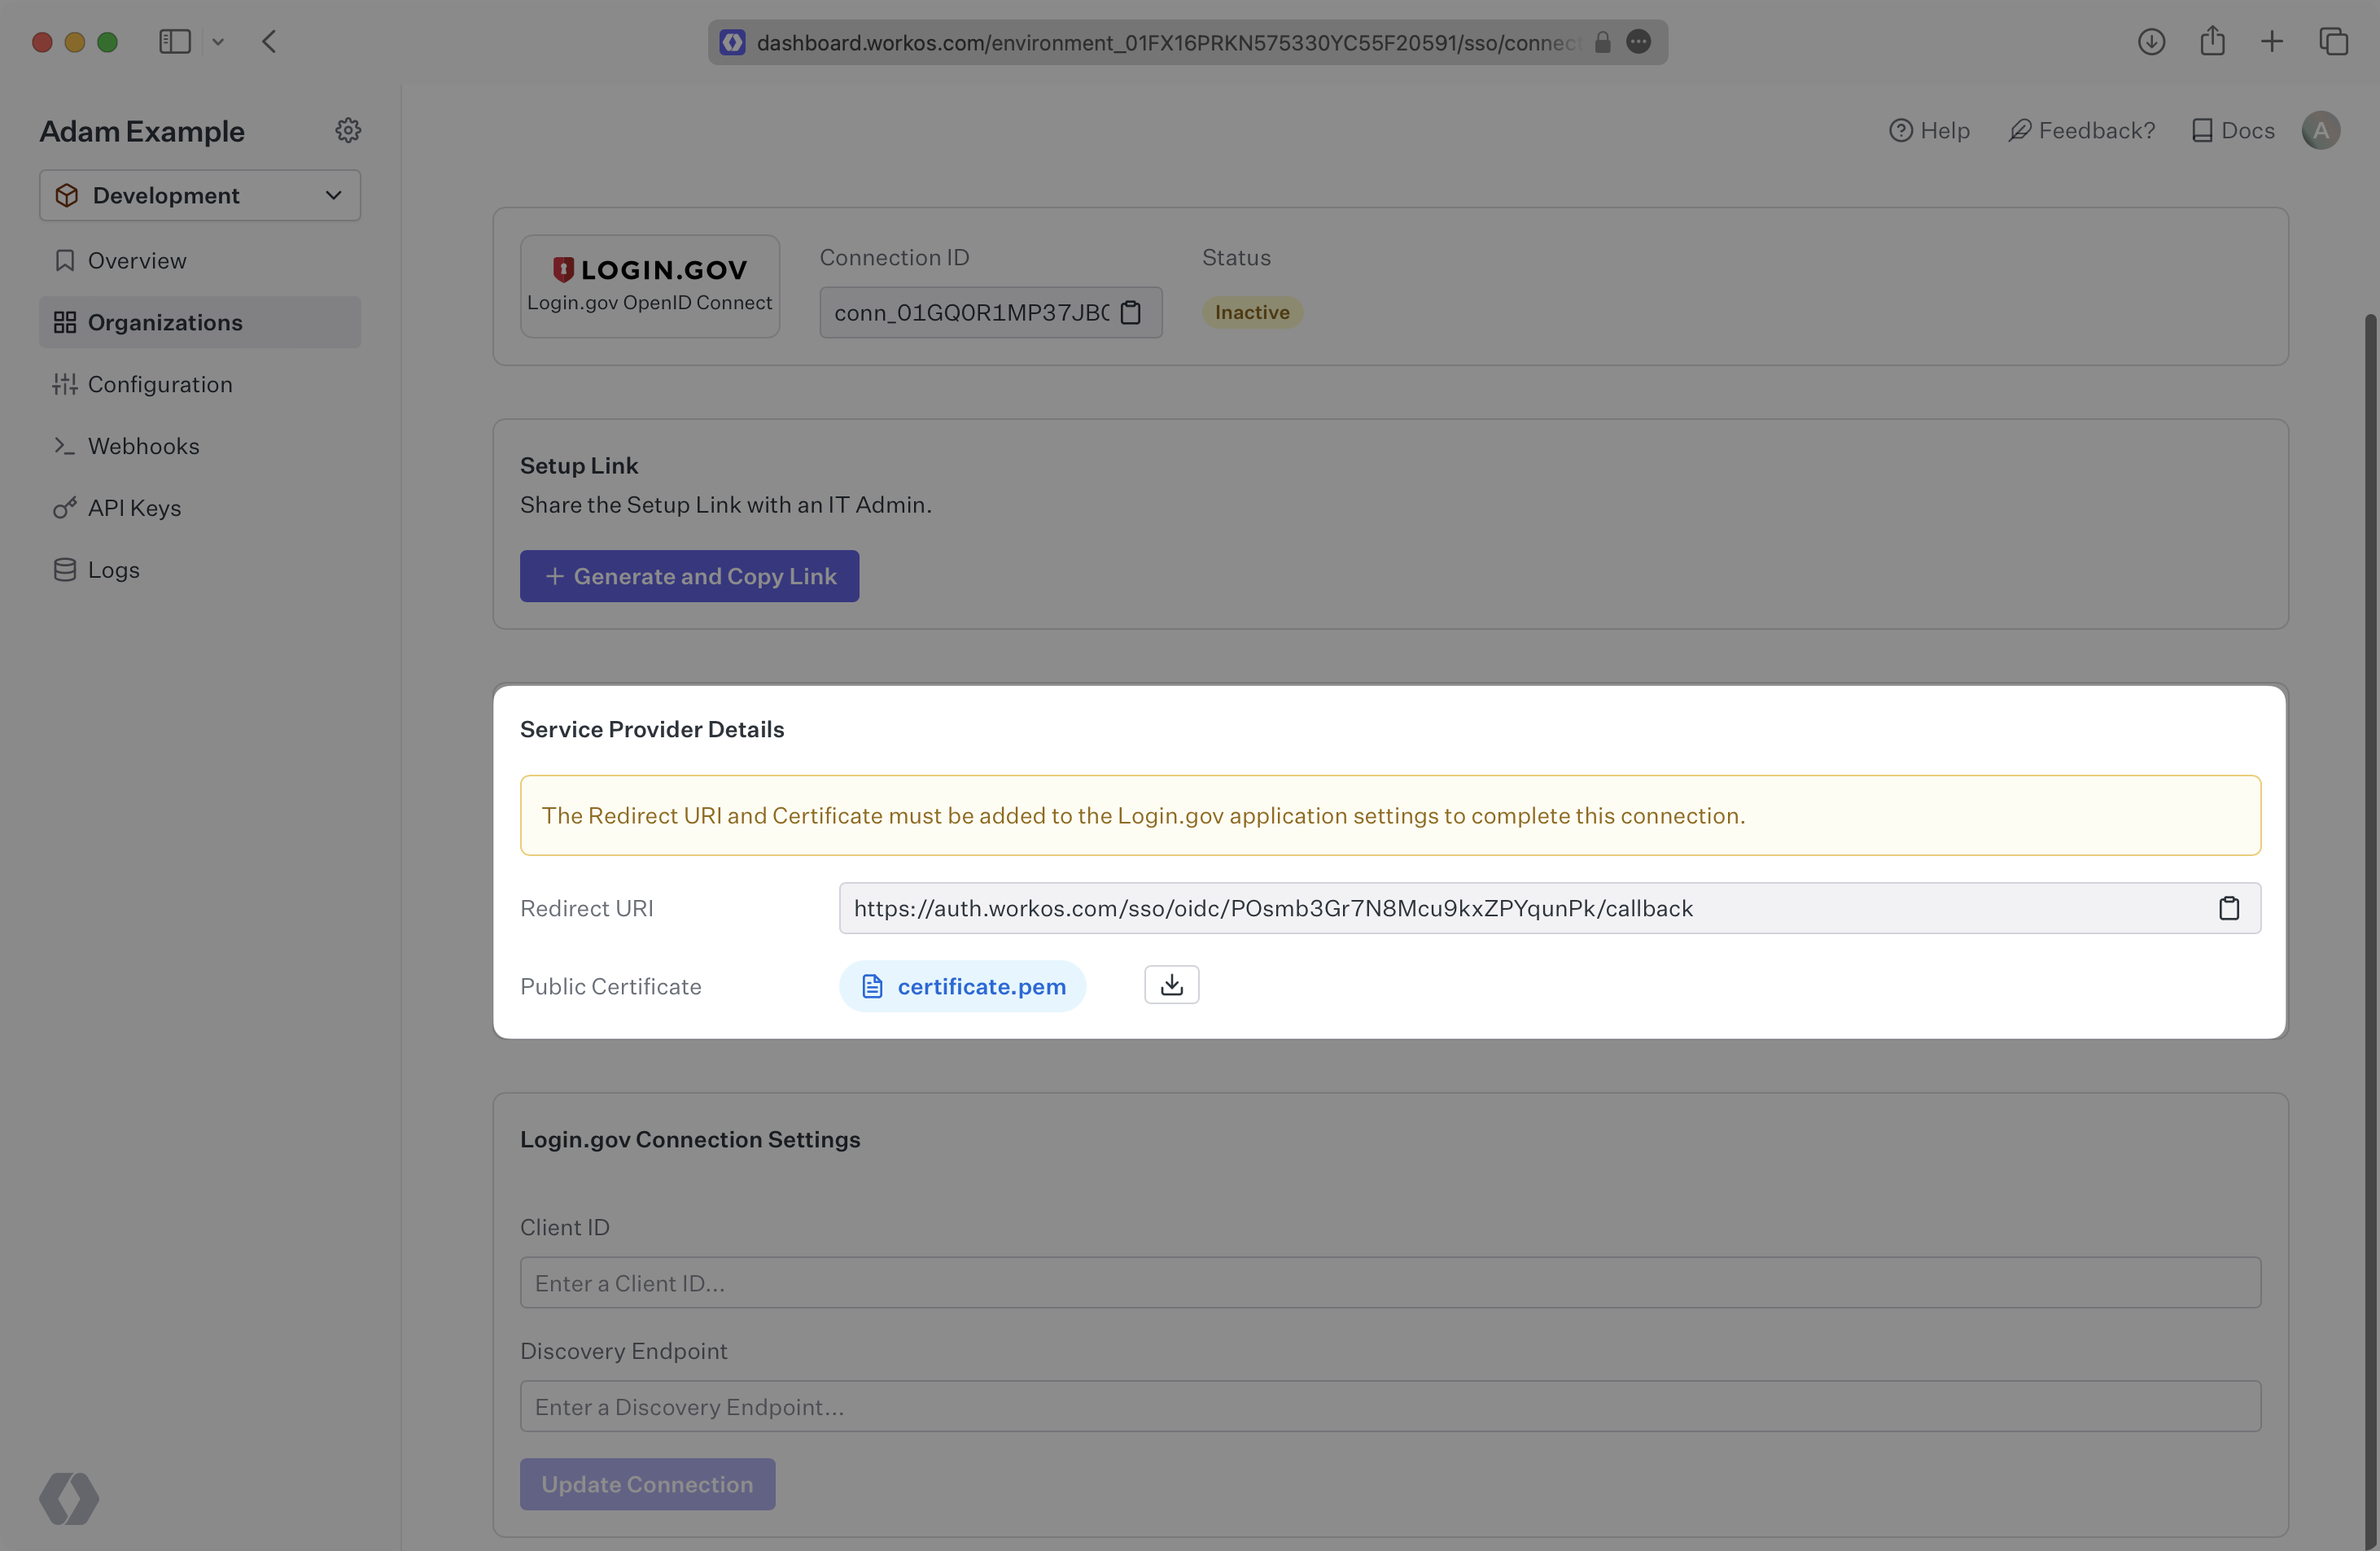
The Redirect URI is the location Login.gov redirects its authentication and token responses to, and the Public Certificate is used by Login.gov to verify the signed request from WorkOS.
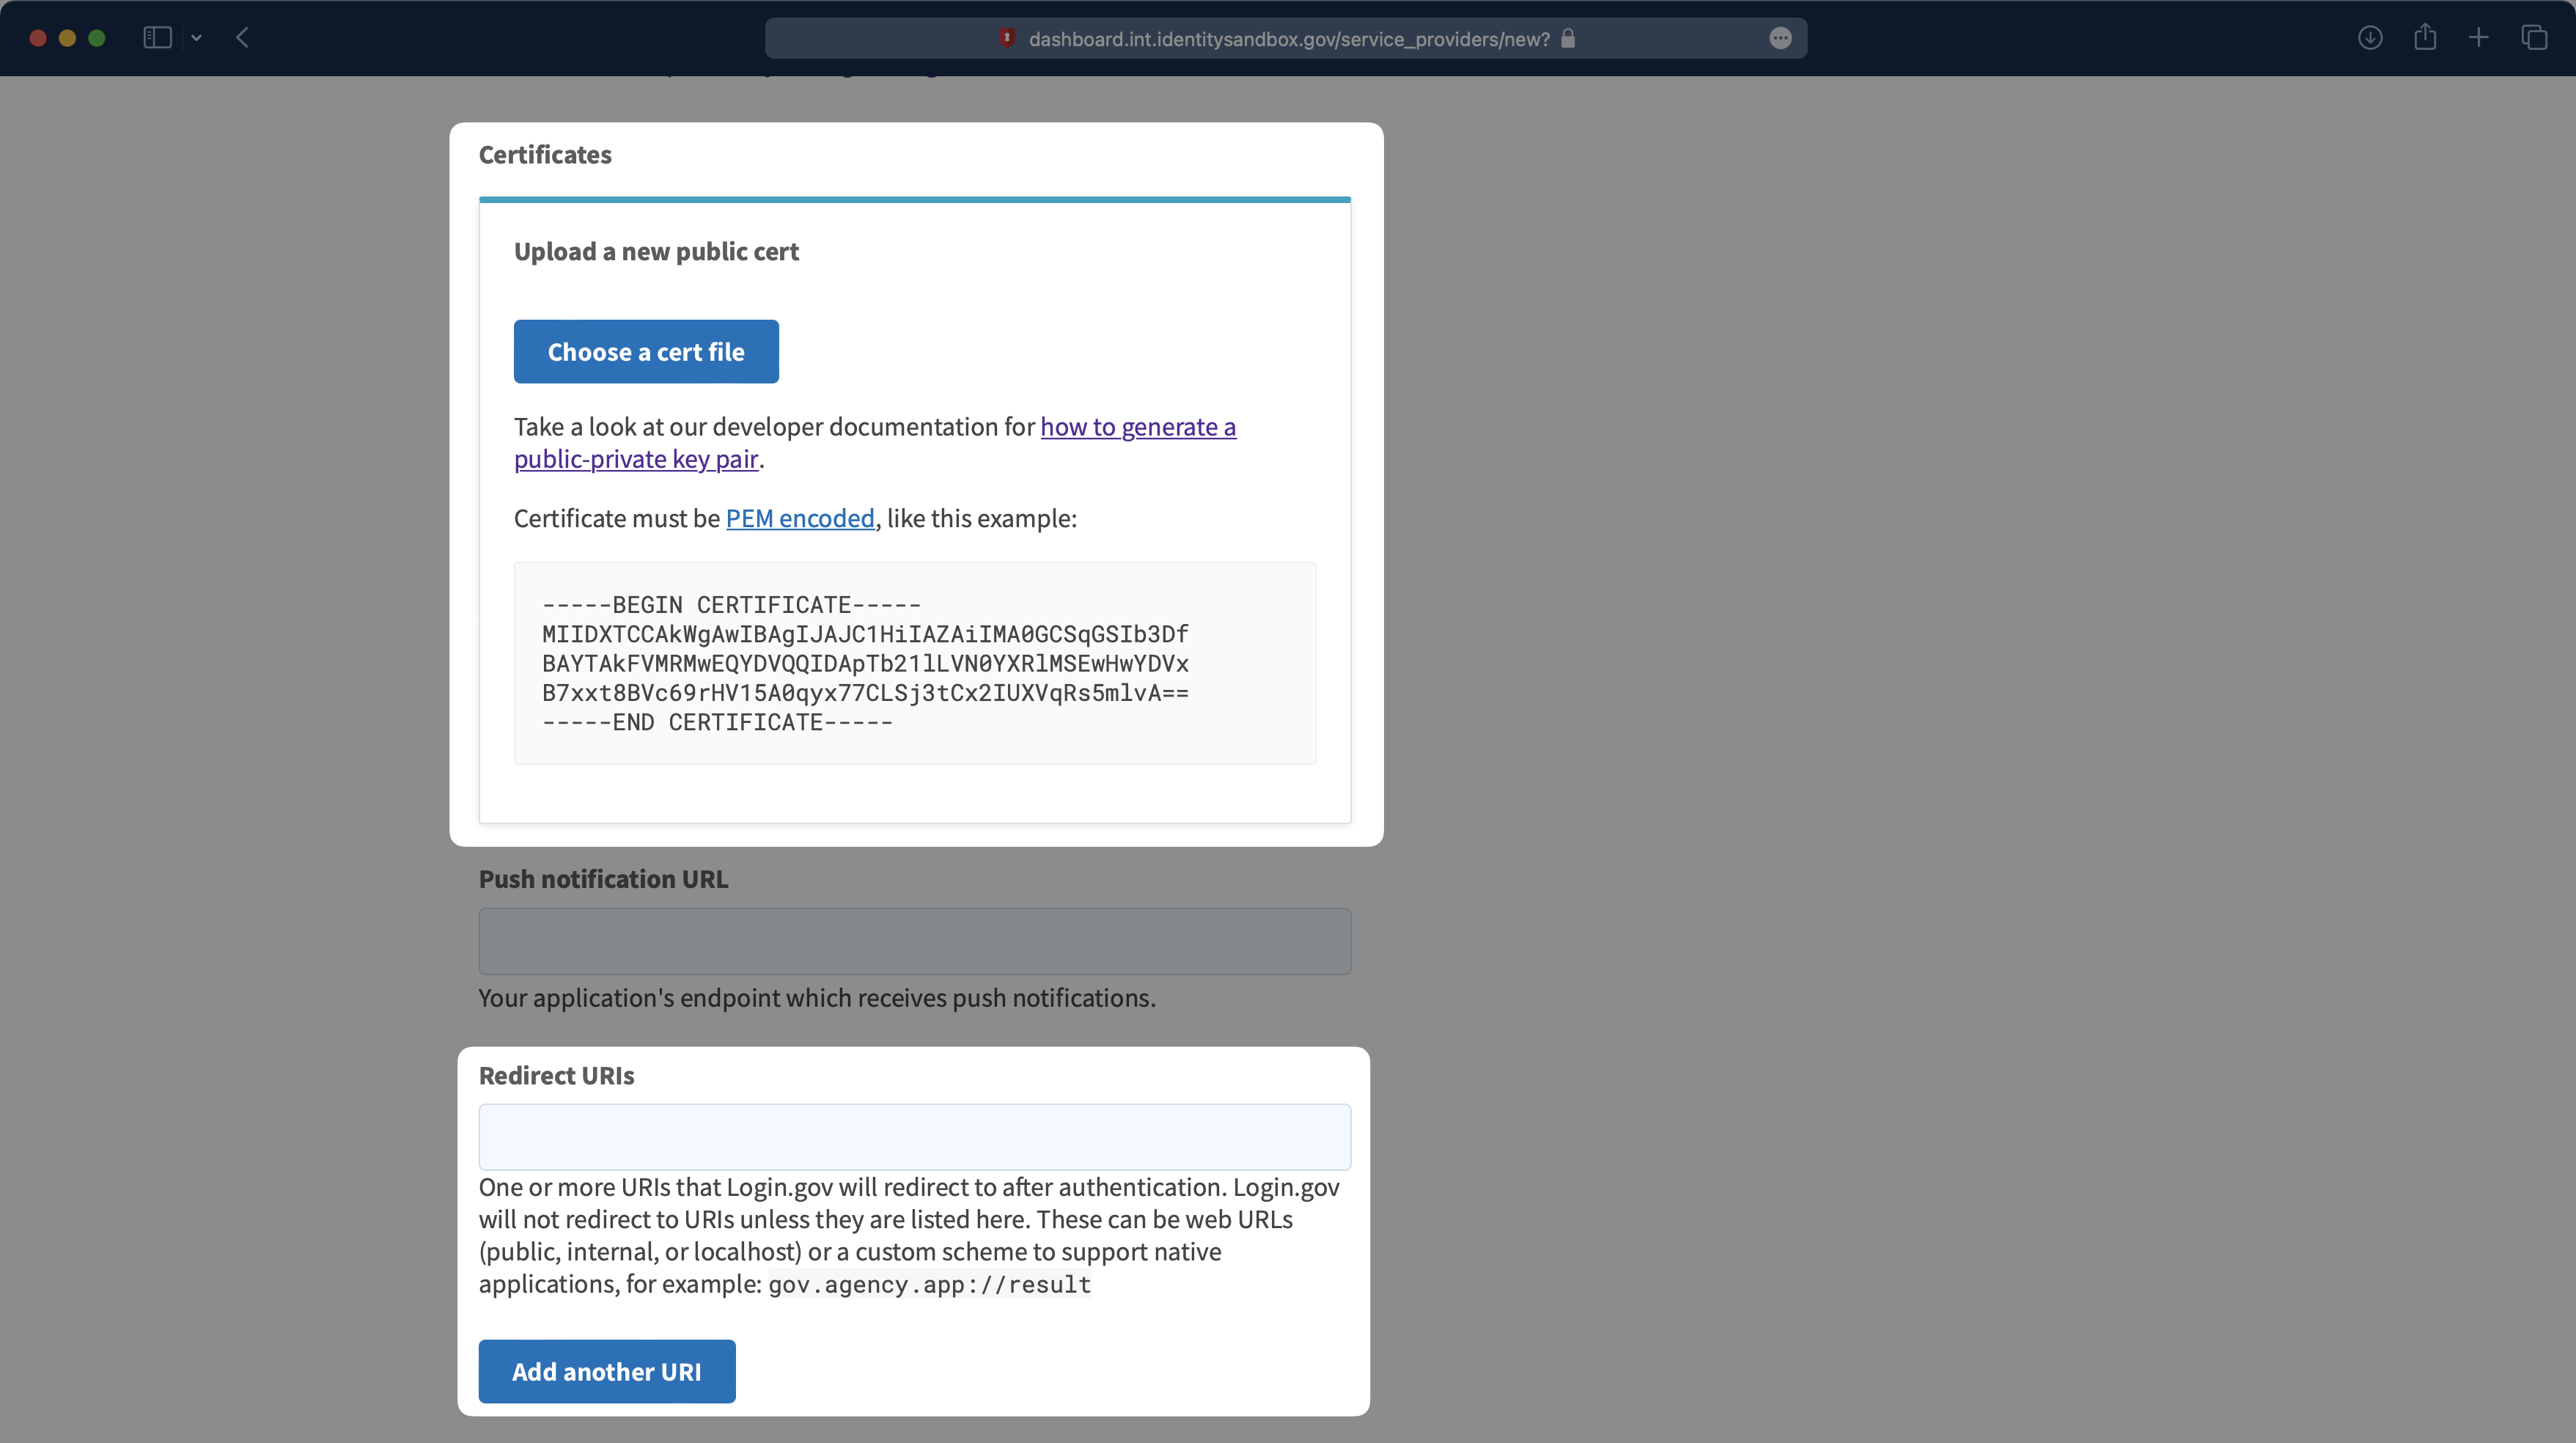
Specifically, the Redirect URI will need to be set as one of the “Redirect URIs” and the Public Certificate will need to be set as one of the “Public Certificates” in the Login.gov application settings:
In order to integrate you’ll need the Client ID and the Discovery Endpoint.
Normally, this information will come from the organization’s IT Management team when they set up your application’s Login.gov OpenID Connect configuration in their Identity Provider admin dashboard. But, should that not be the case during your setup, here’s how to obtain them.
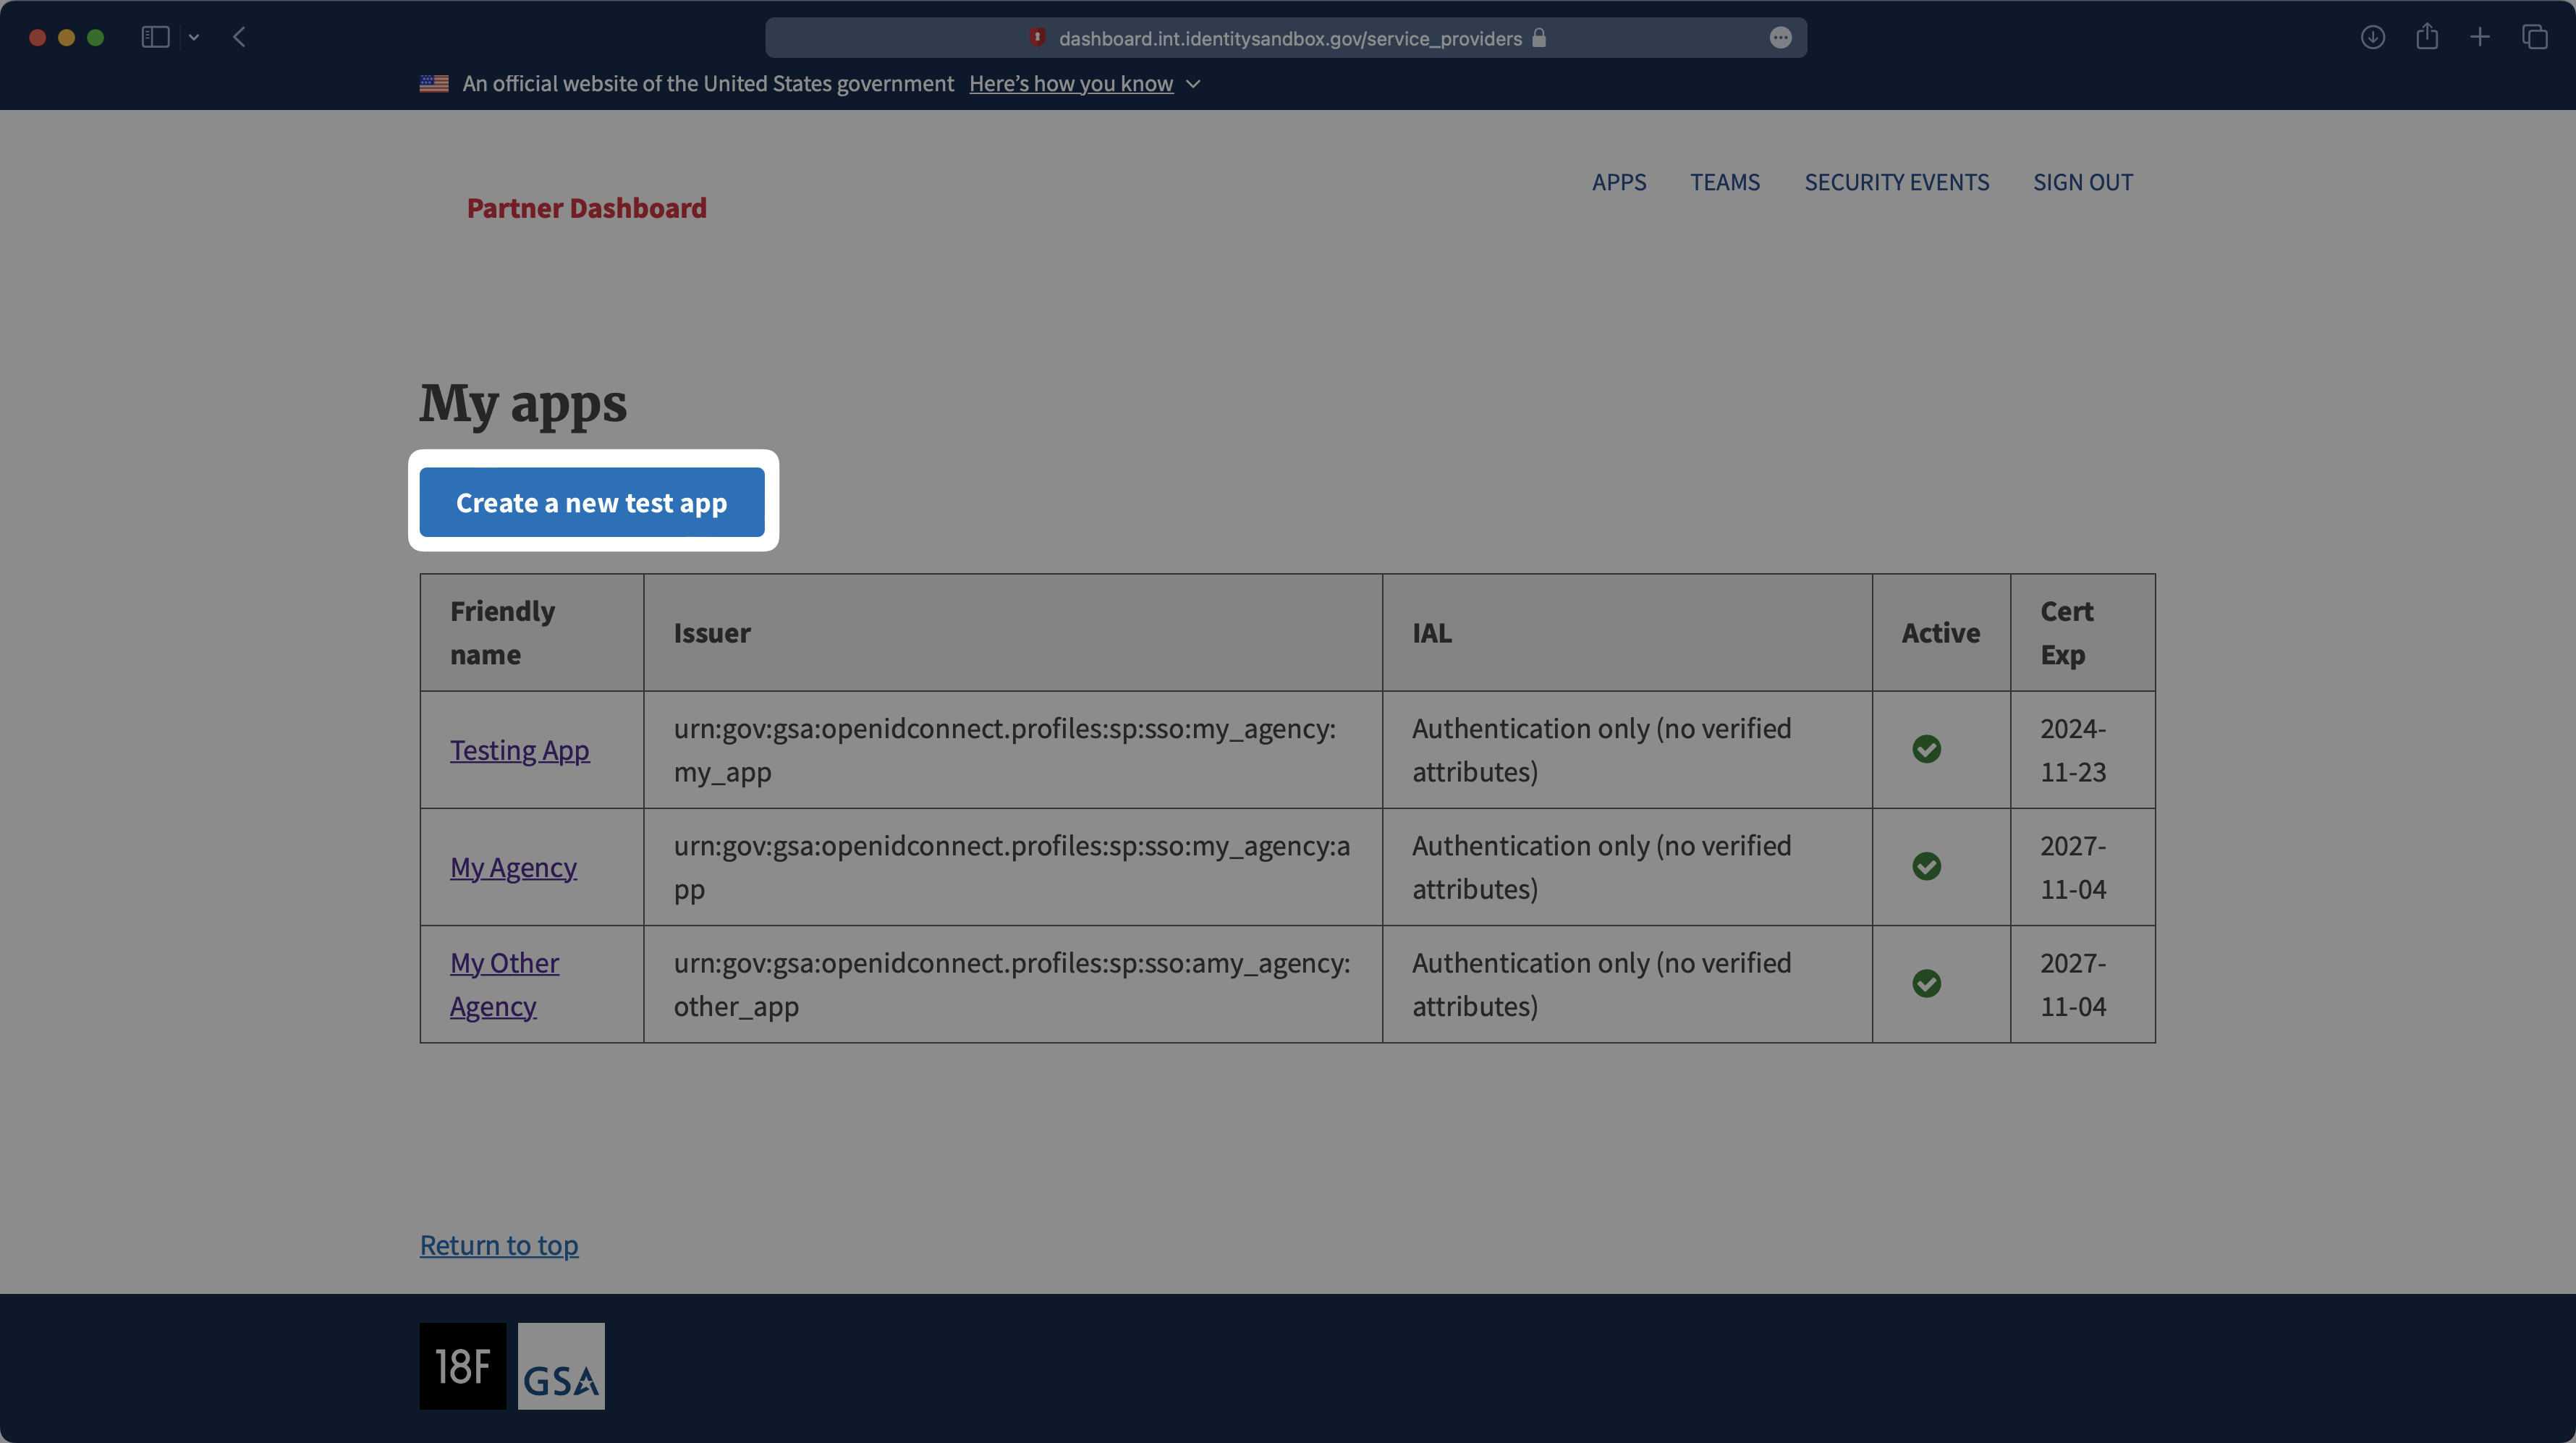
Login to your Login.gov sandbox dashboard, and select “Apps” from the top menu.
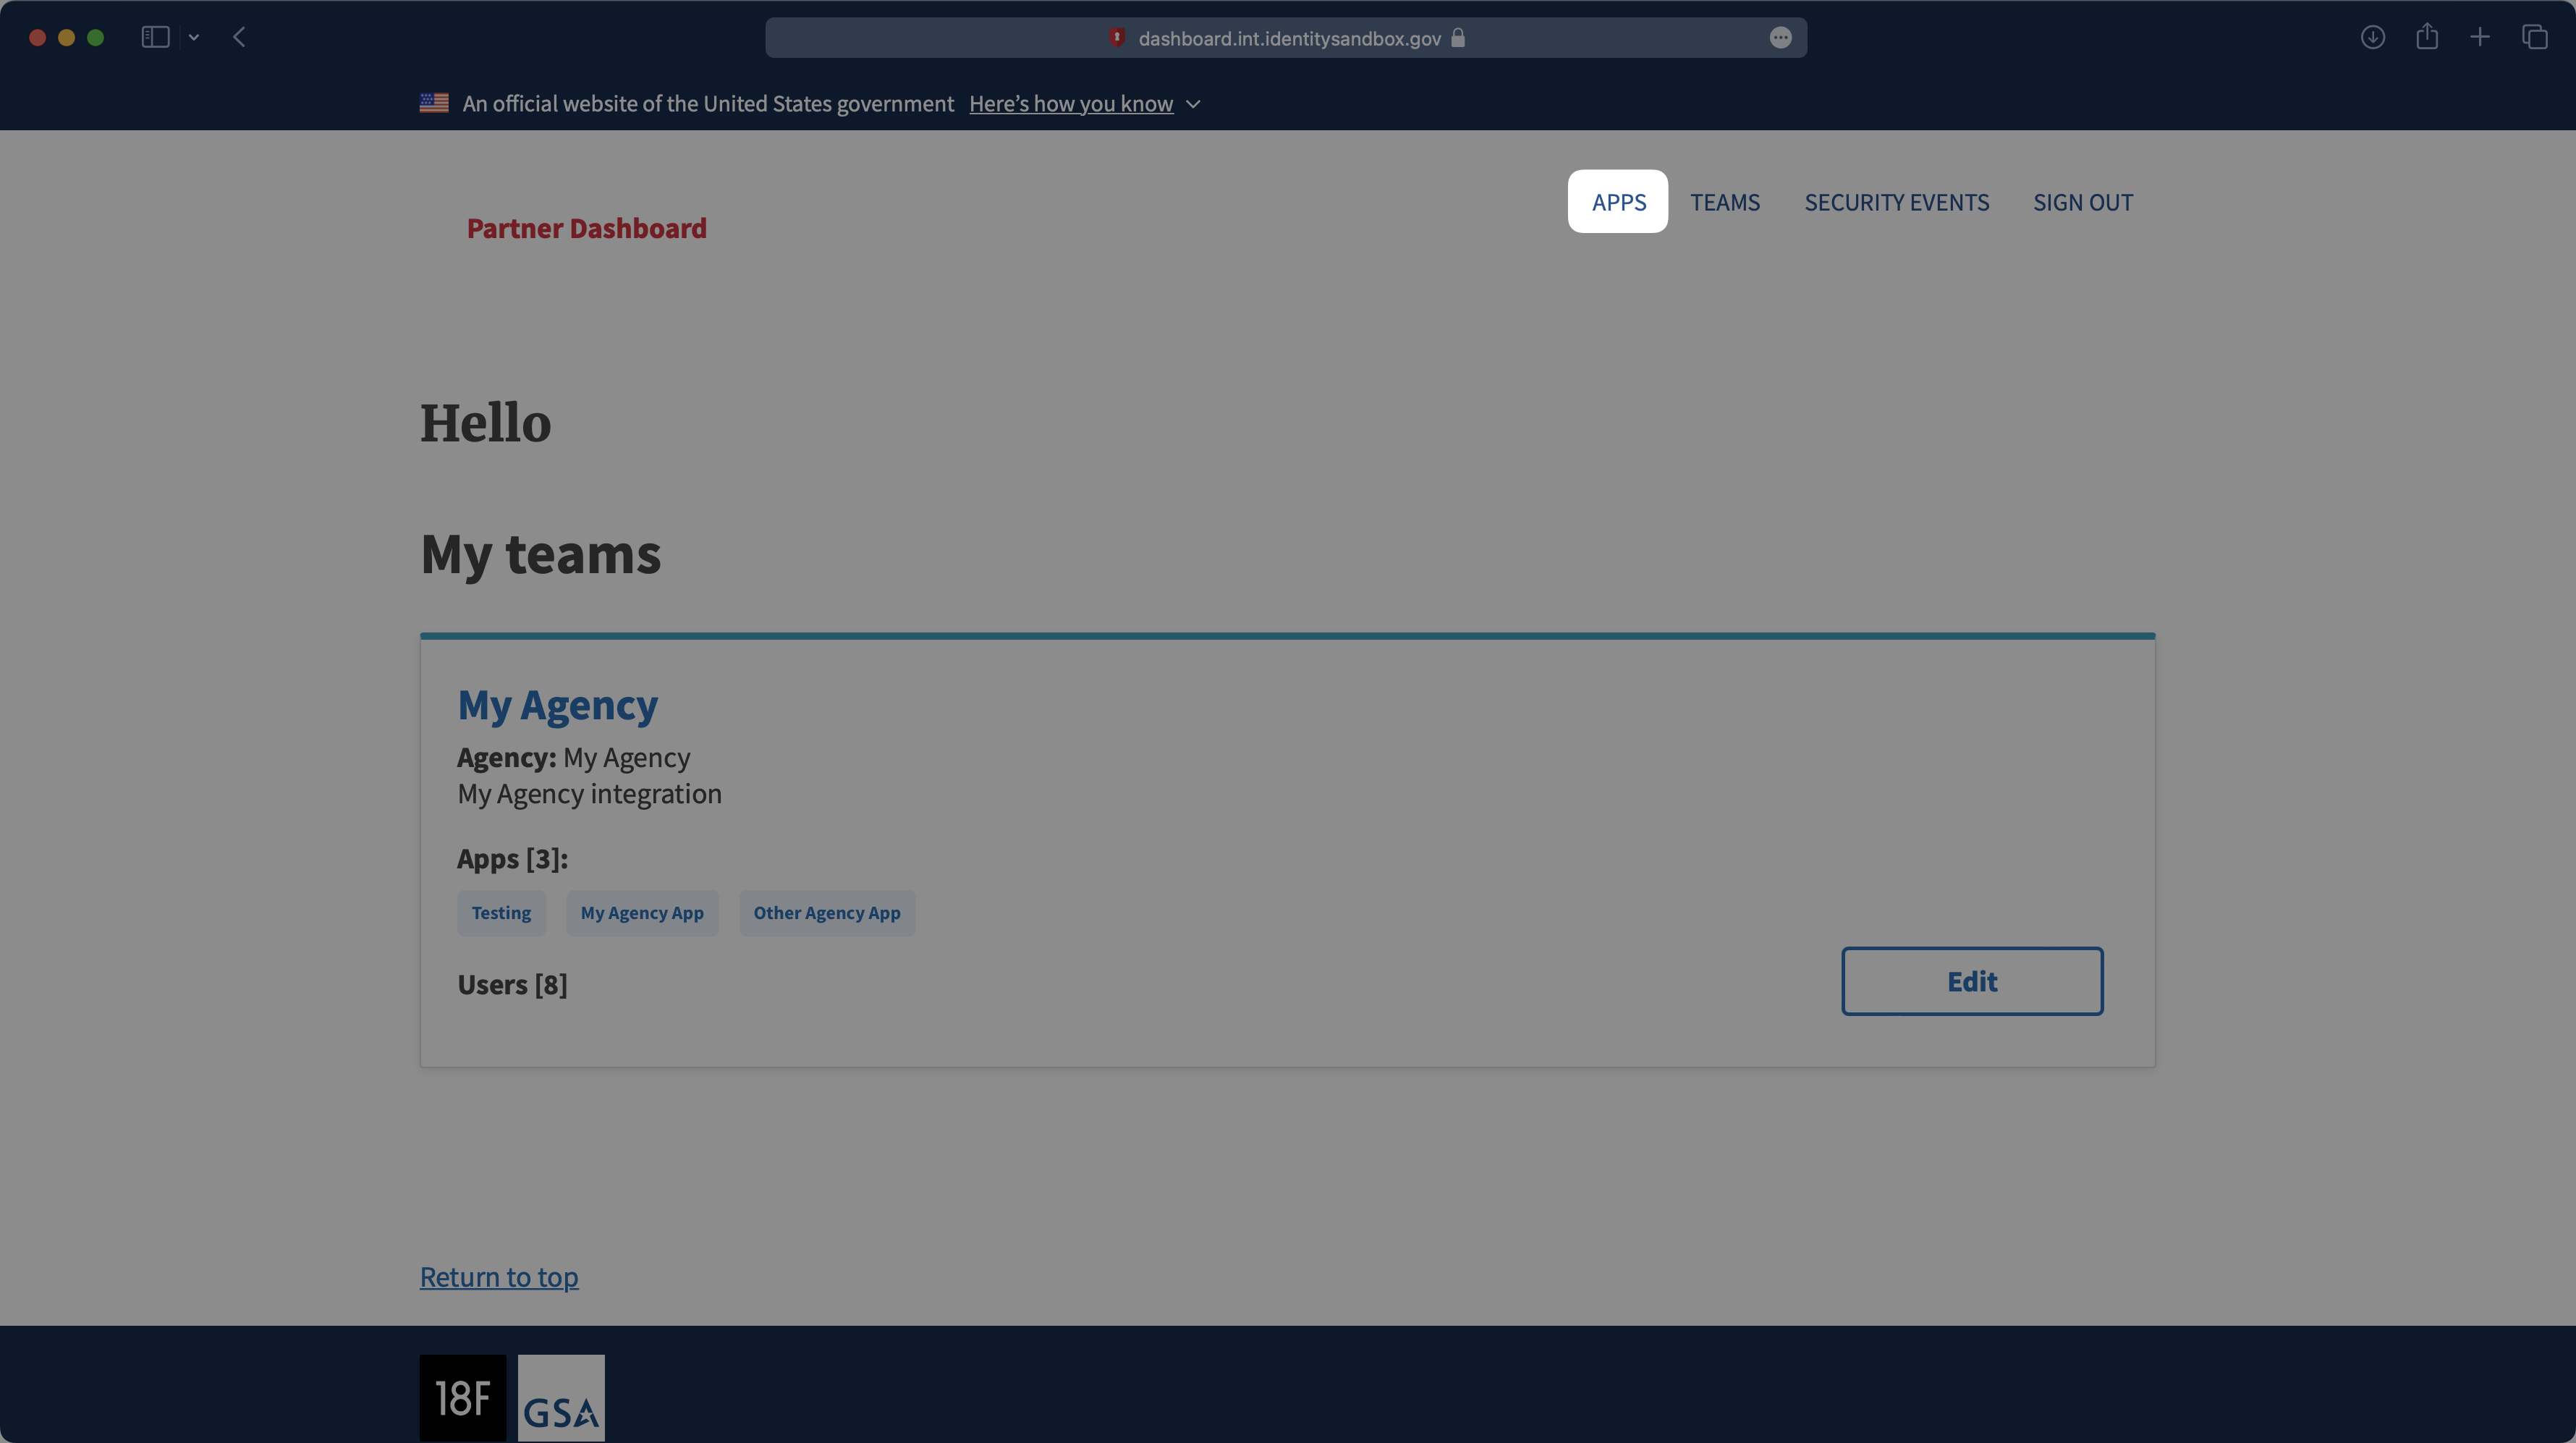
If your application is already created, select it from the list of applications and move to Step 4. If you haven’t created an application, select “Create a new test app.”
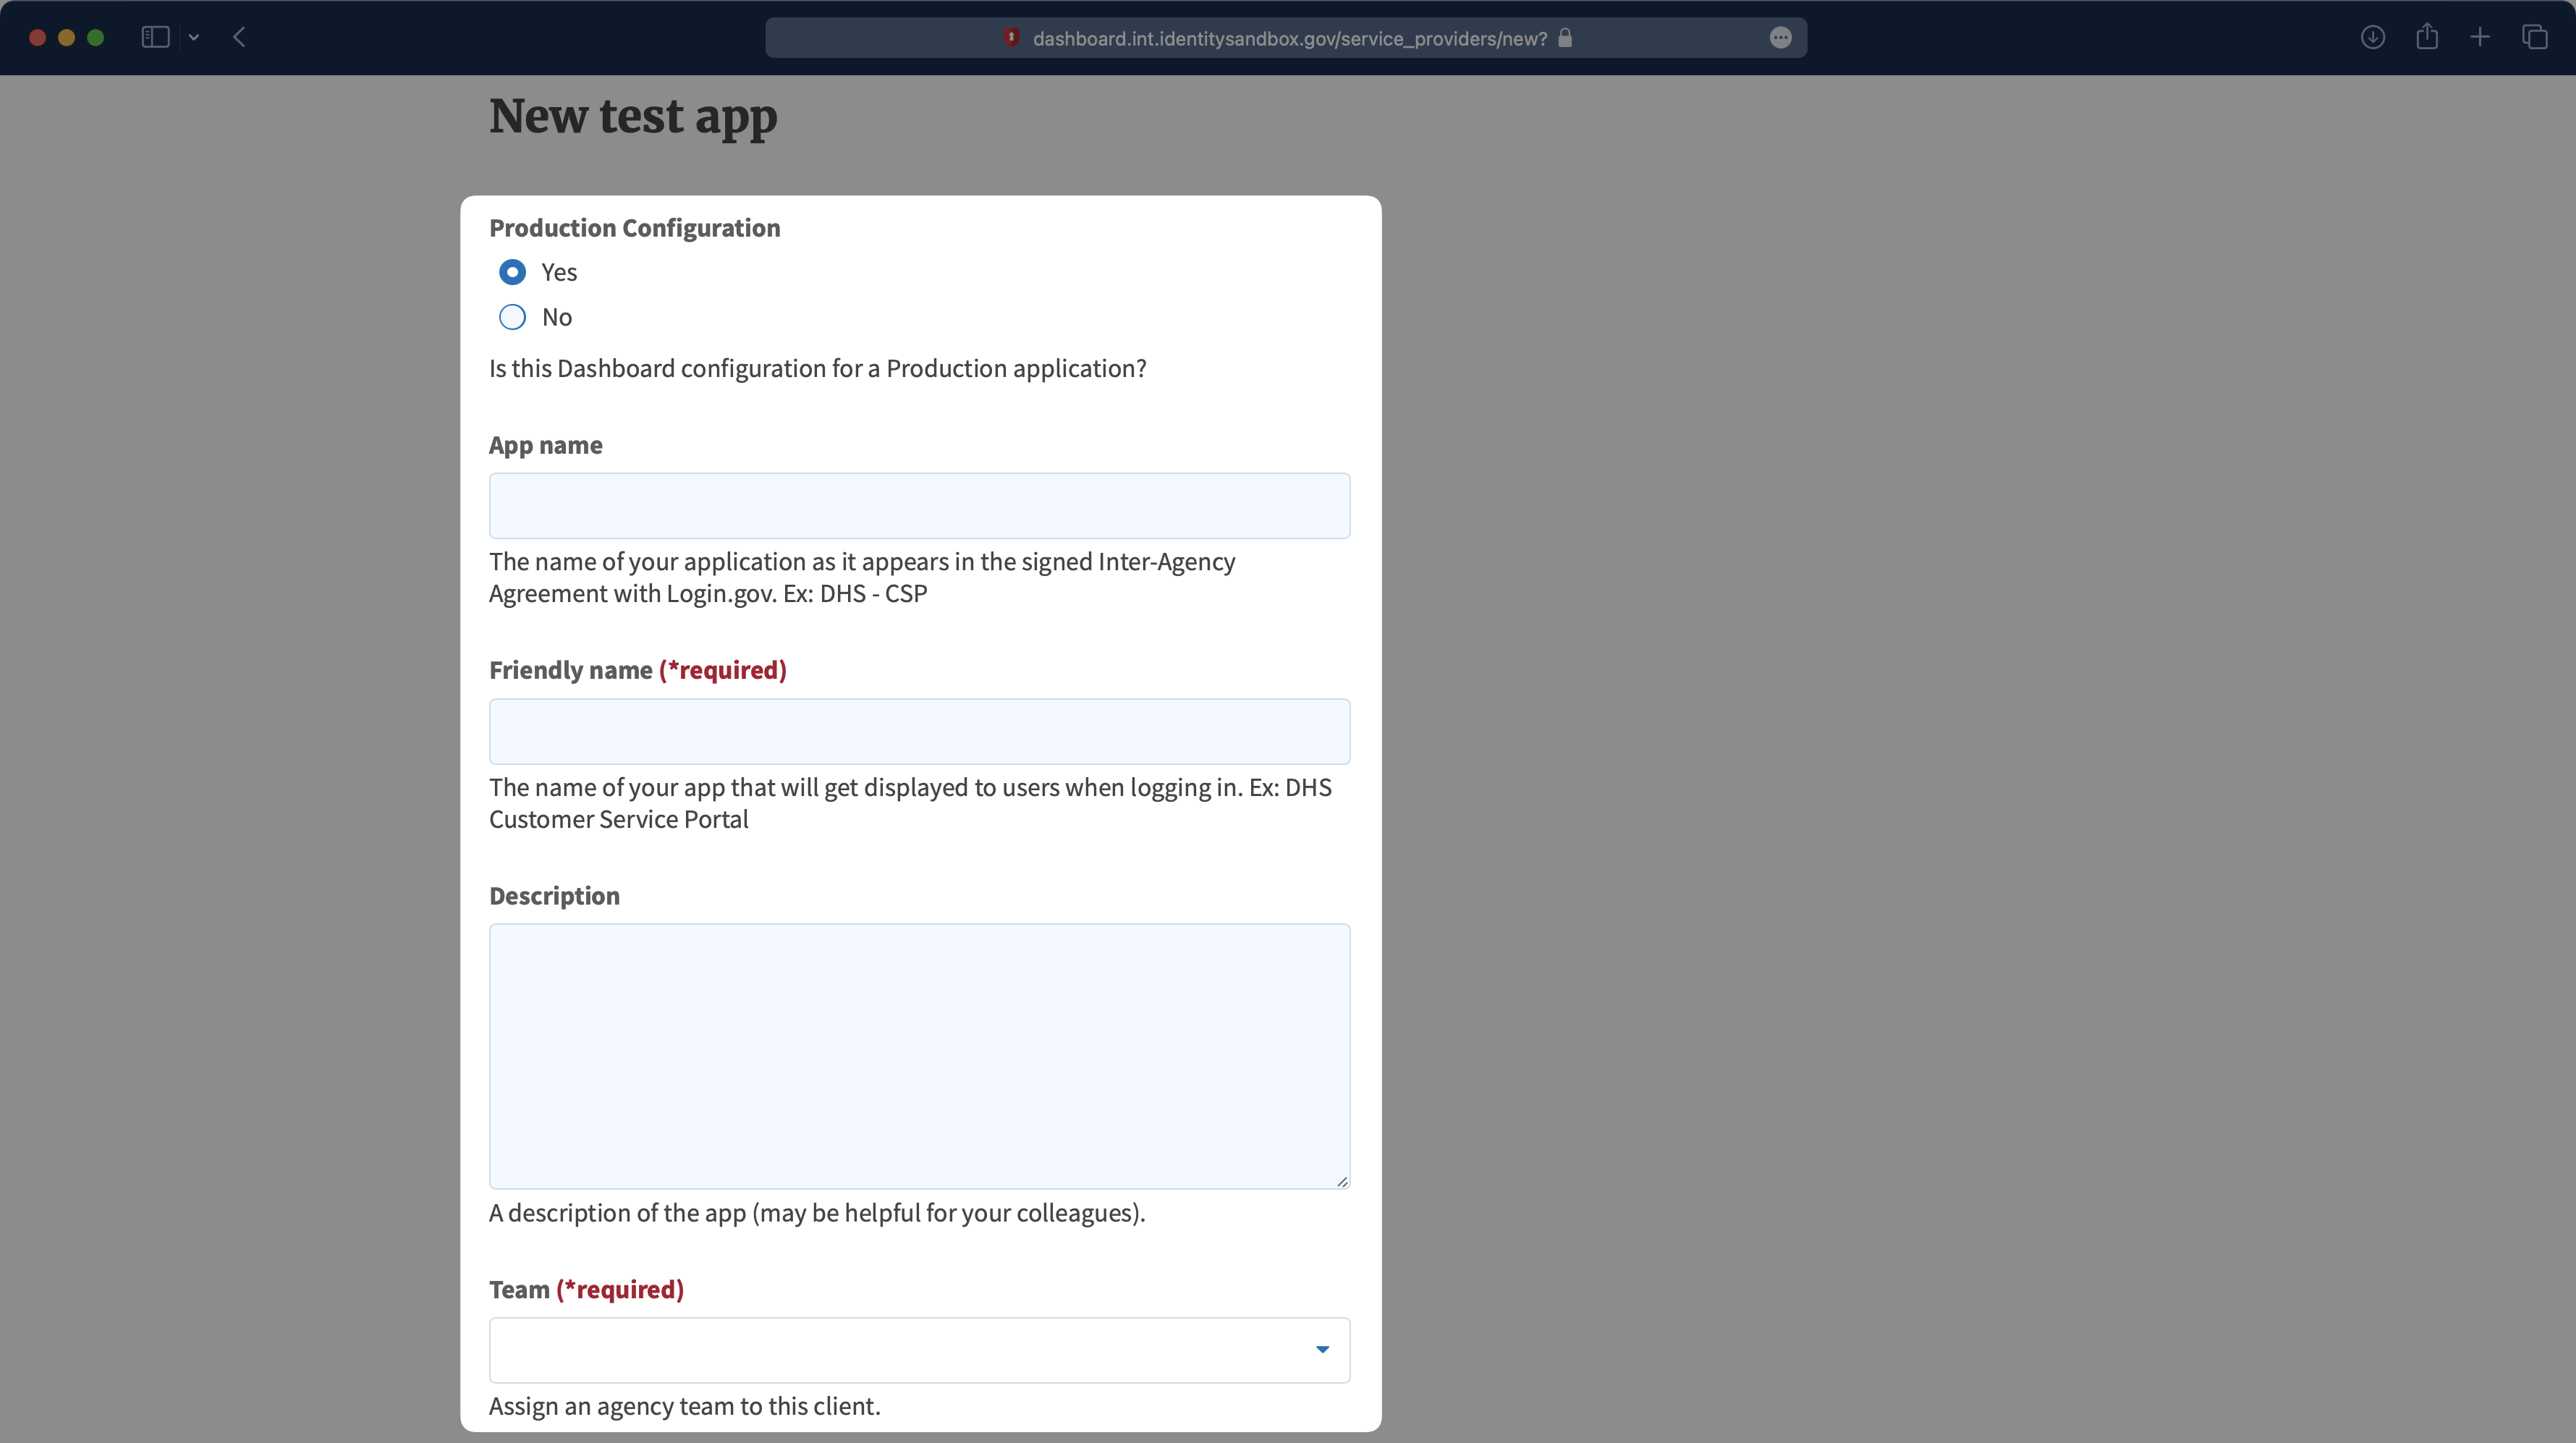
On the New test app page, select “Yes” under the Production configuration setting. Then, add an App name, Friendly name, and Description for the app. Next, assign an agency team to this client.
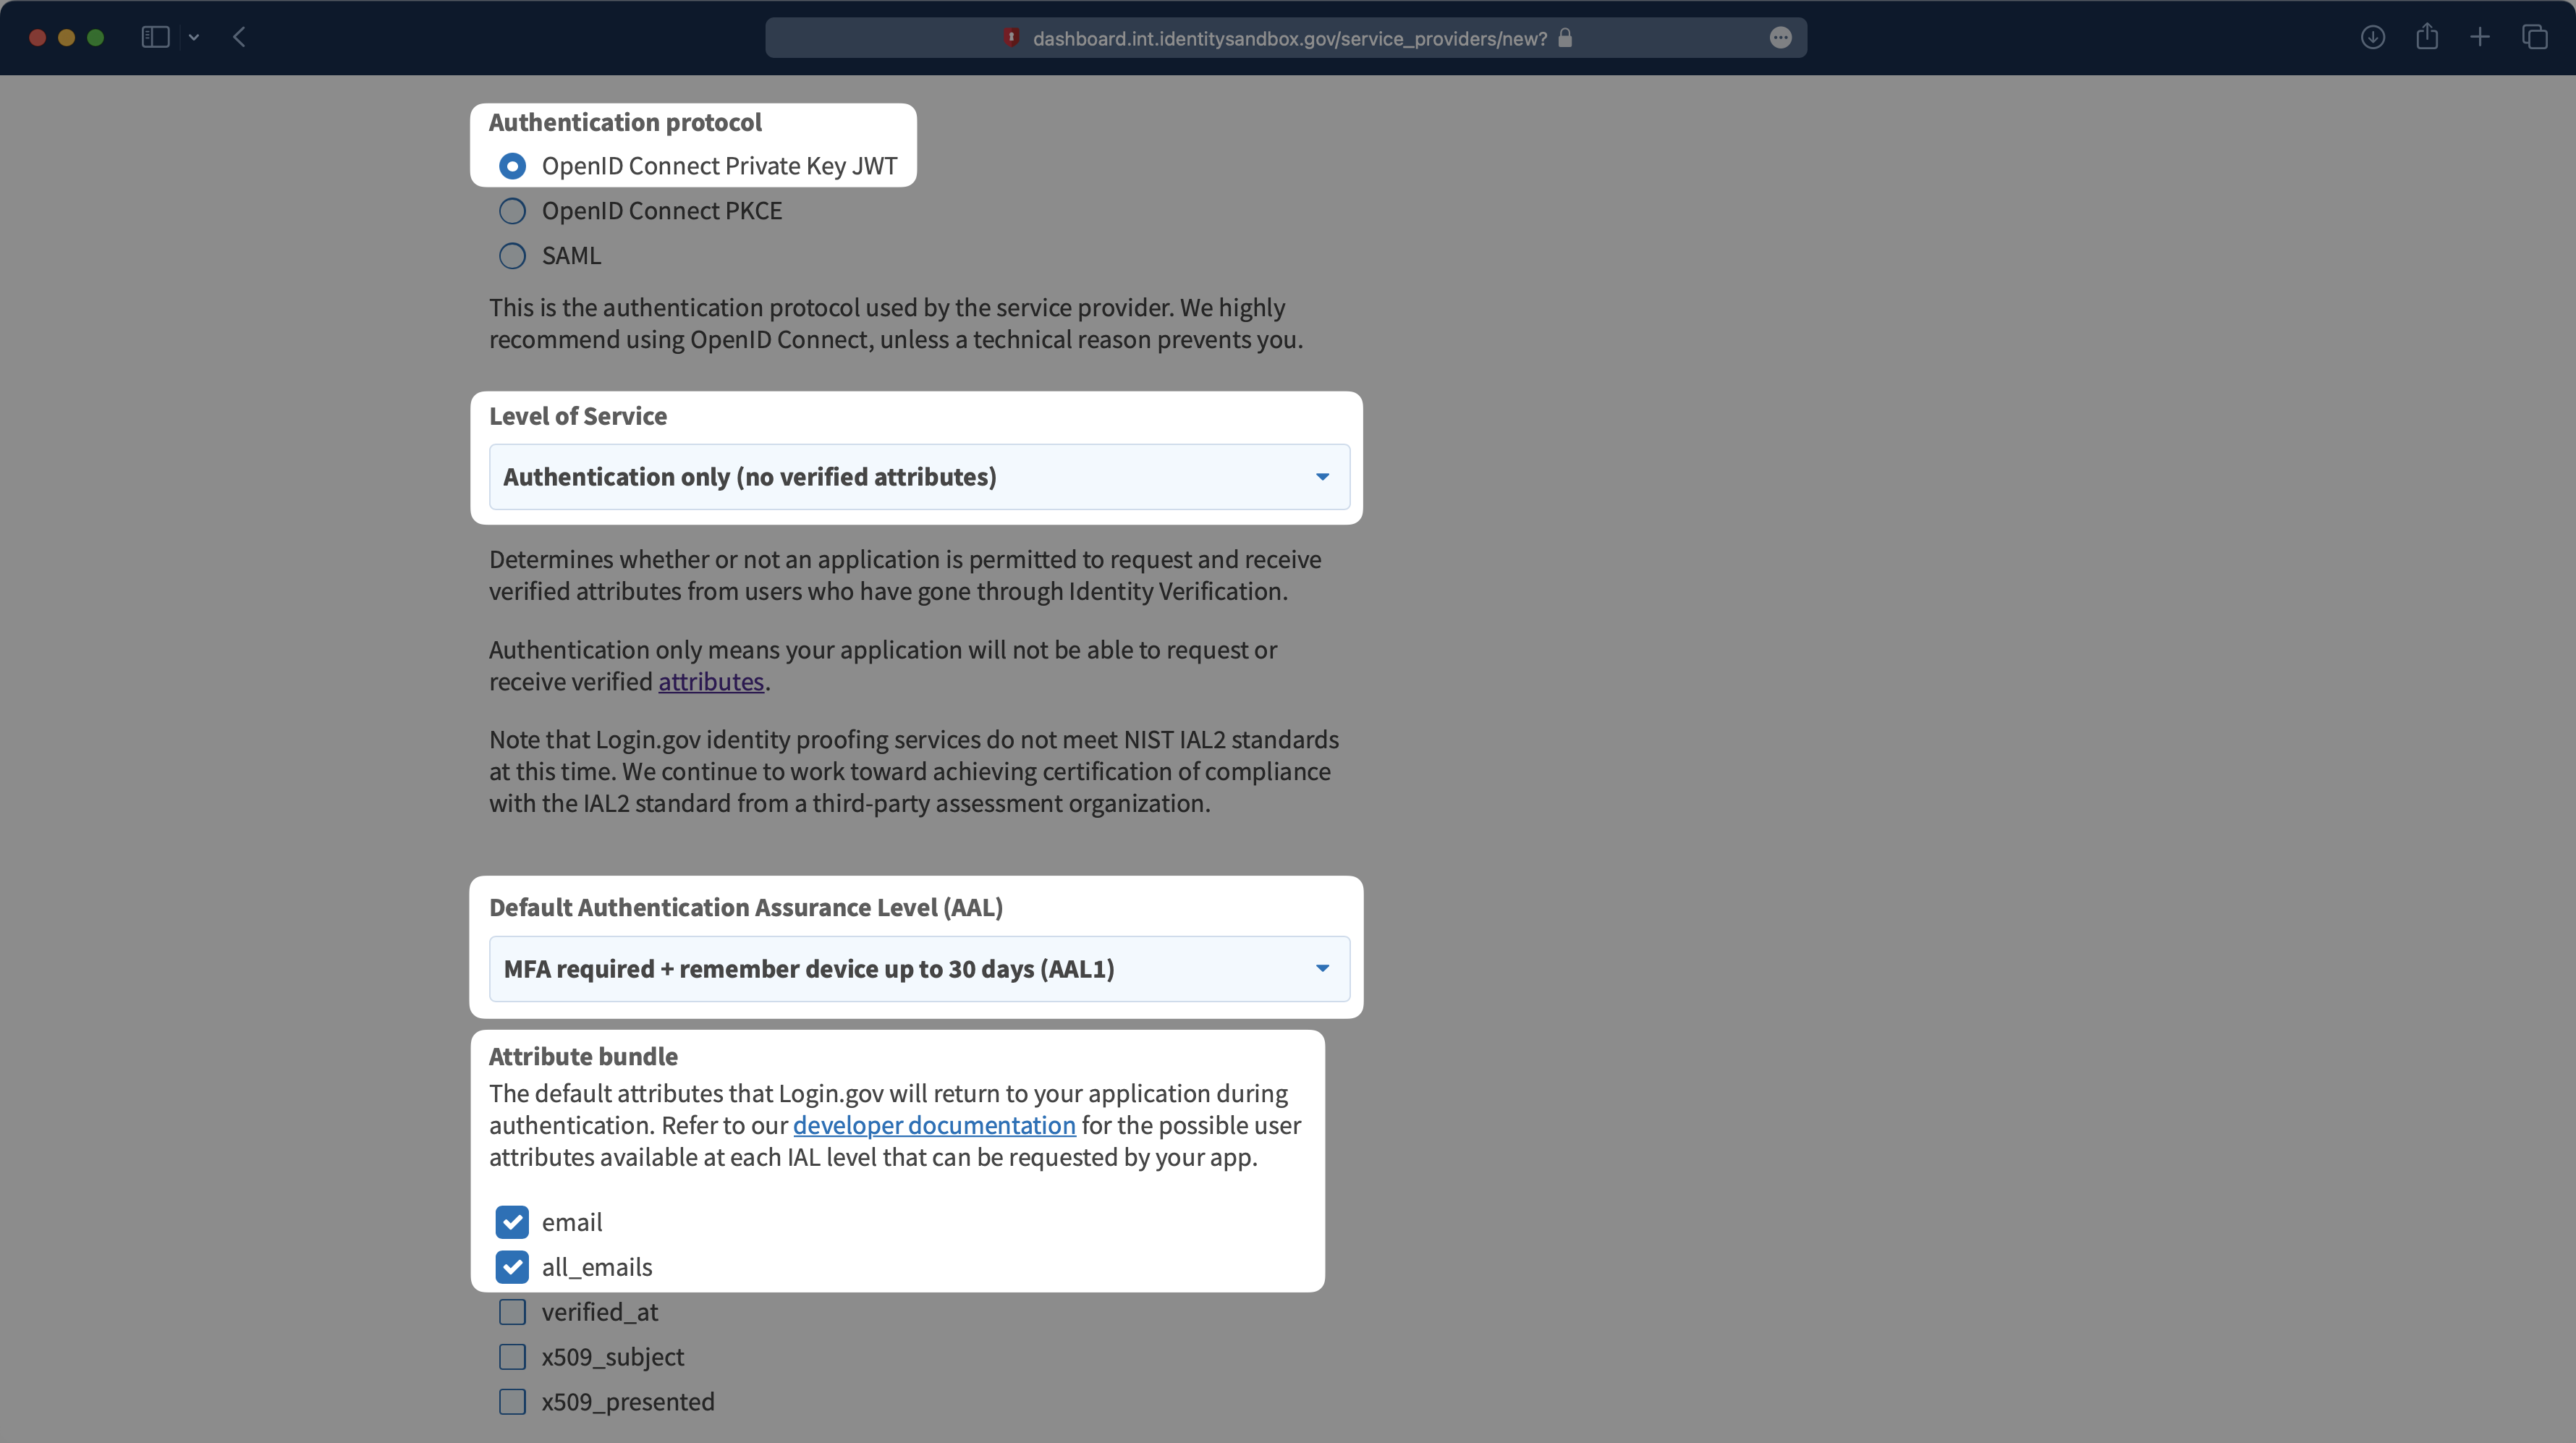
Select “OpenID Connect Private Key JWT” as the Authentication protocol. Select the appropriate Level of Service, Default Authentication Assurance Level (AAL), and Attribute bundle for your application.
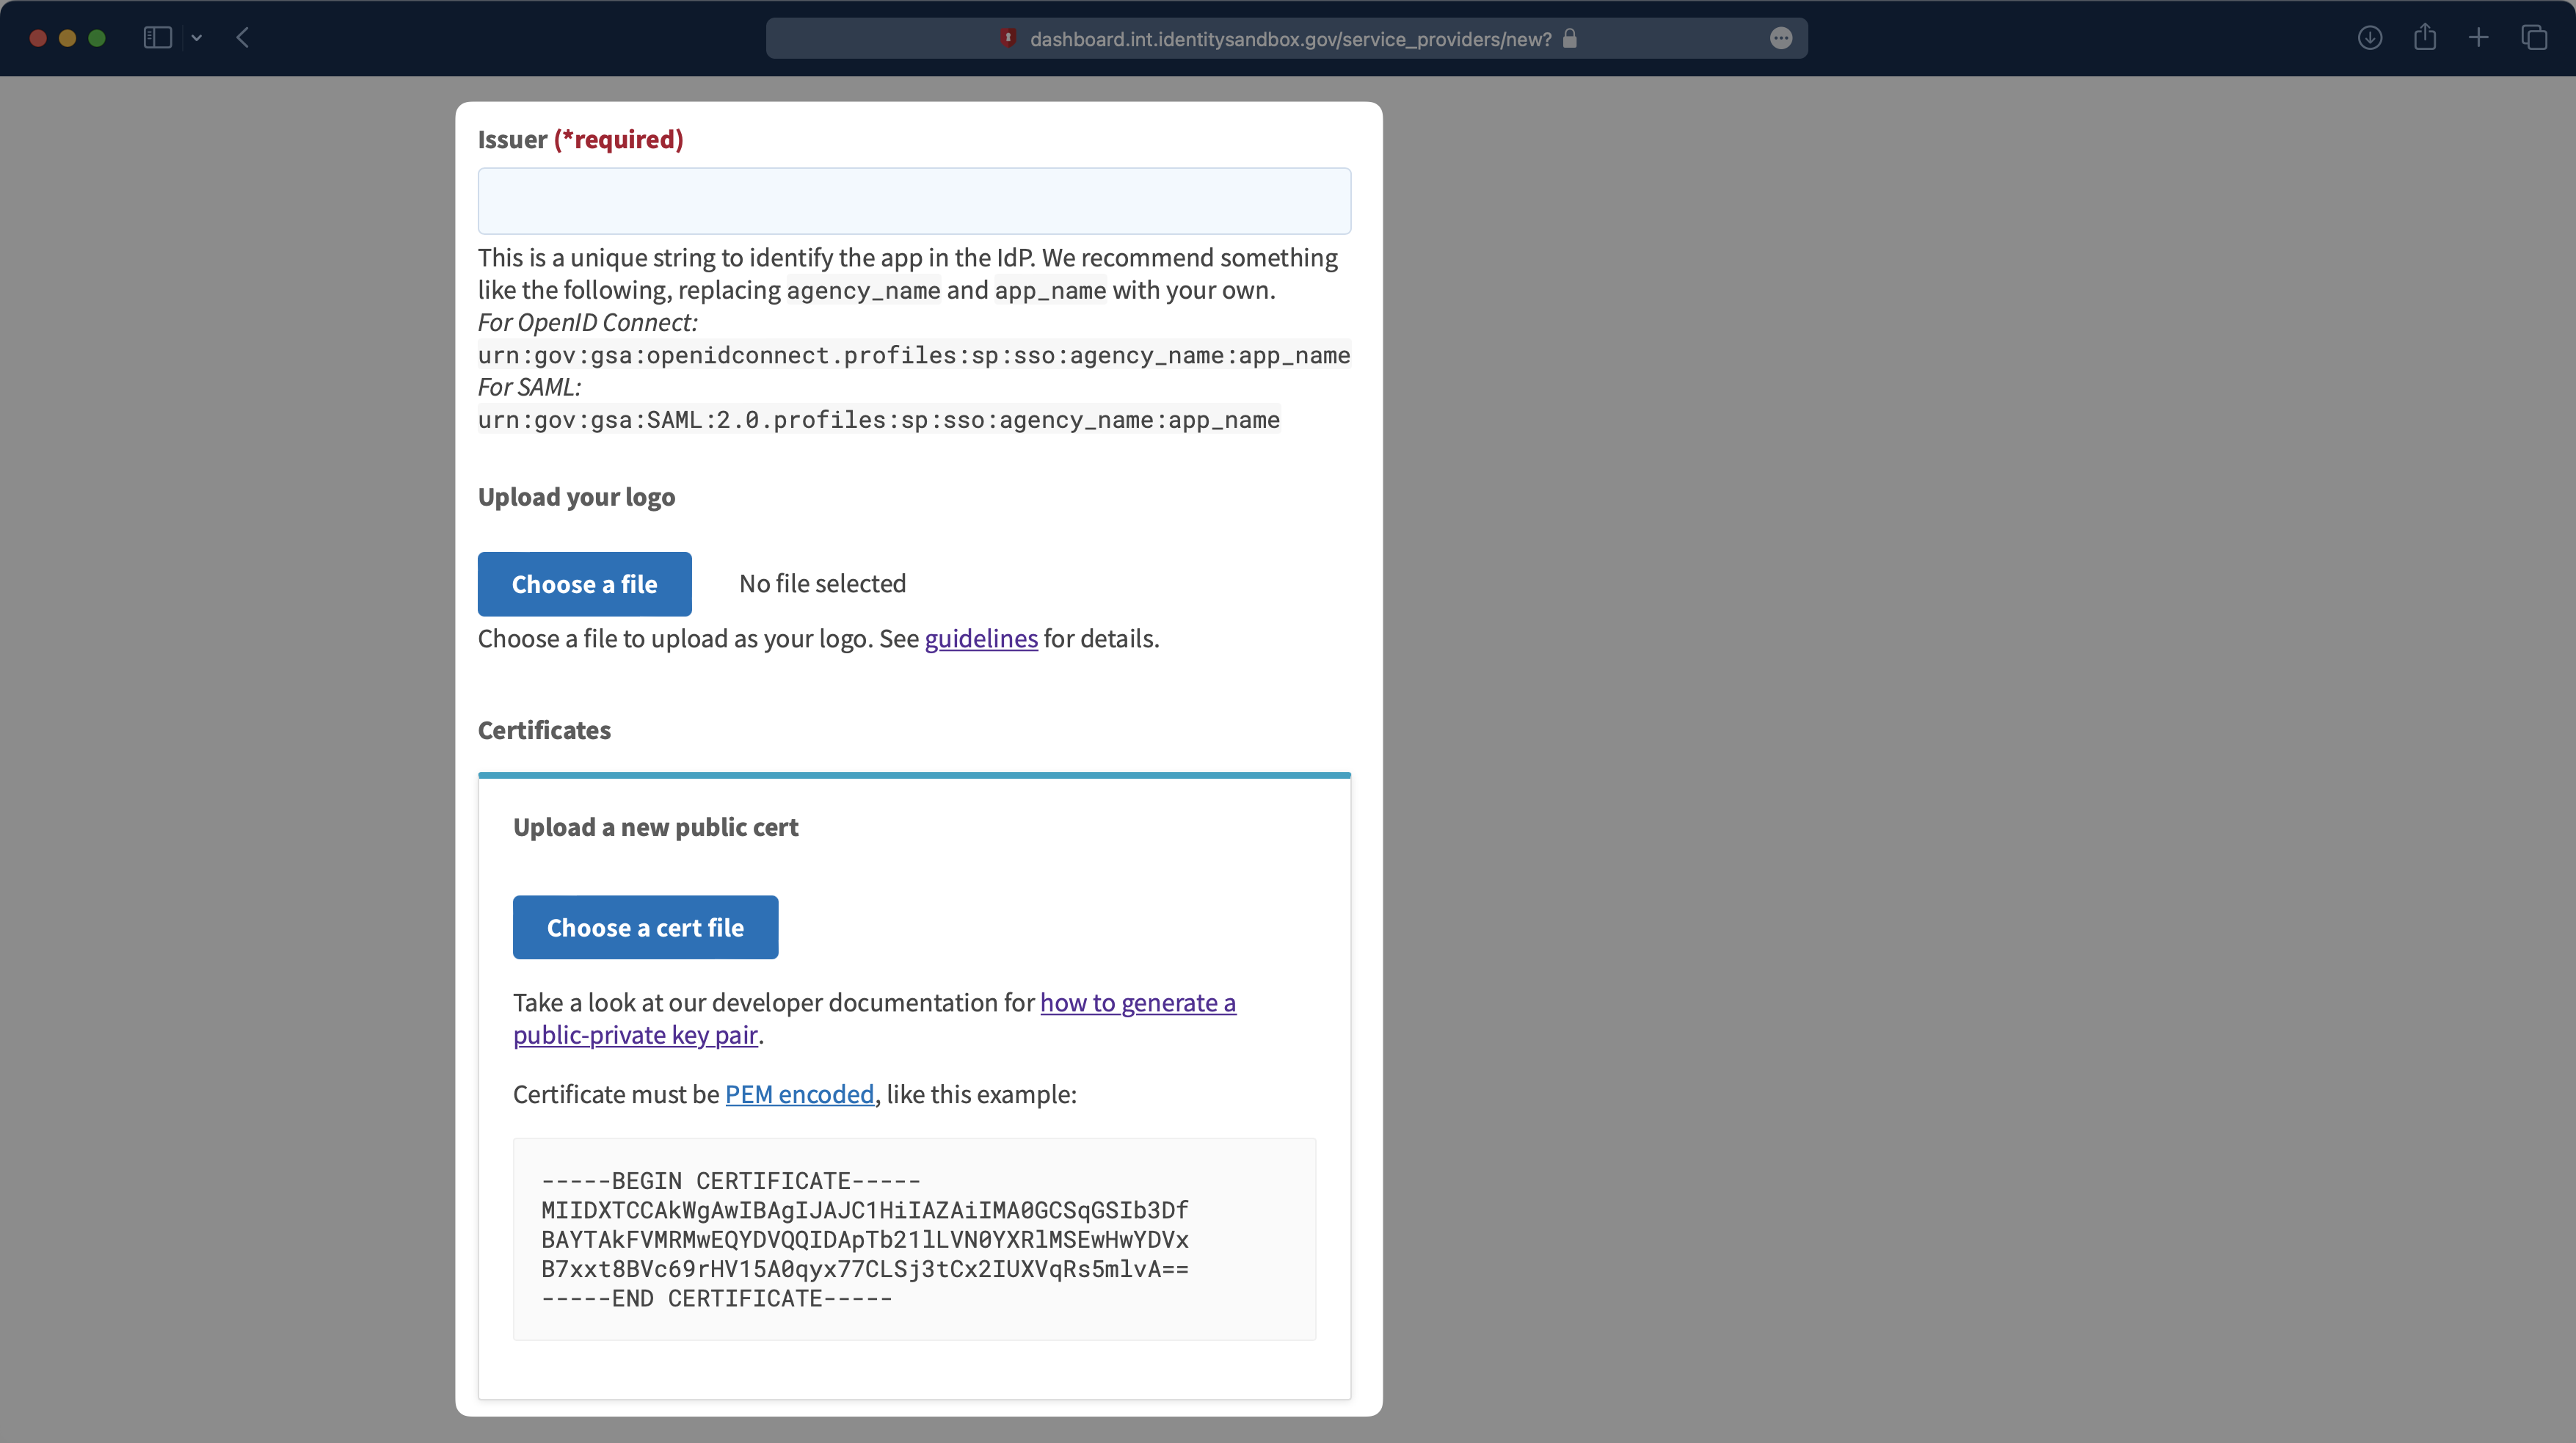
Next, you’ll need to define an Issuer – something like urn:gov:gsa:openidconnect.profiles:sp:sso:agency_name:app_name – replacing your agency and app name. Then, upload a logo and the public certificate file you downloaded from the WorkOS dashboard.
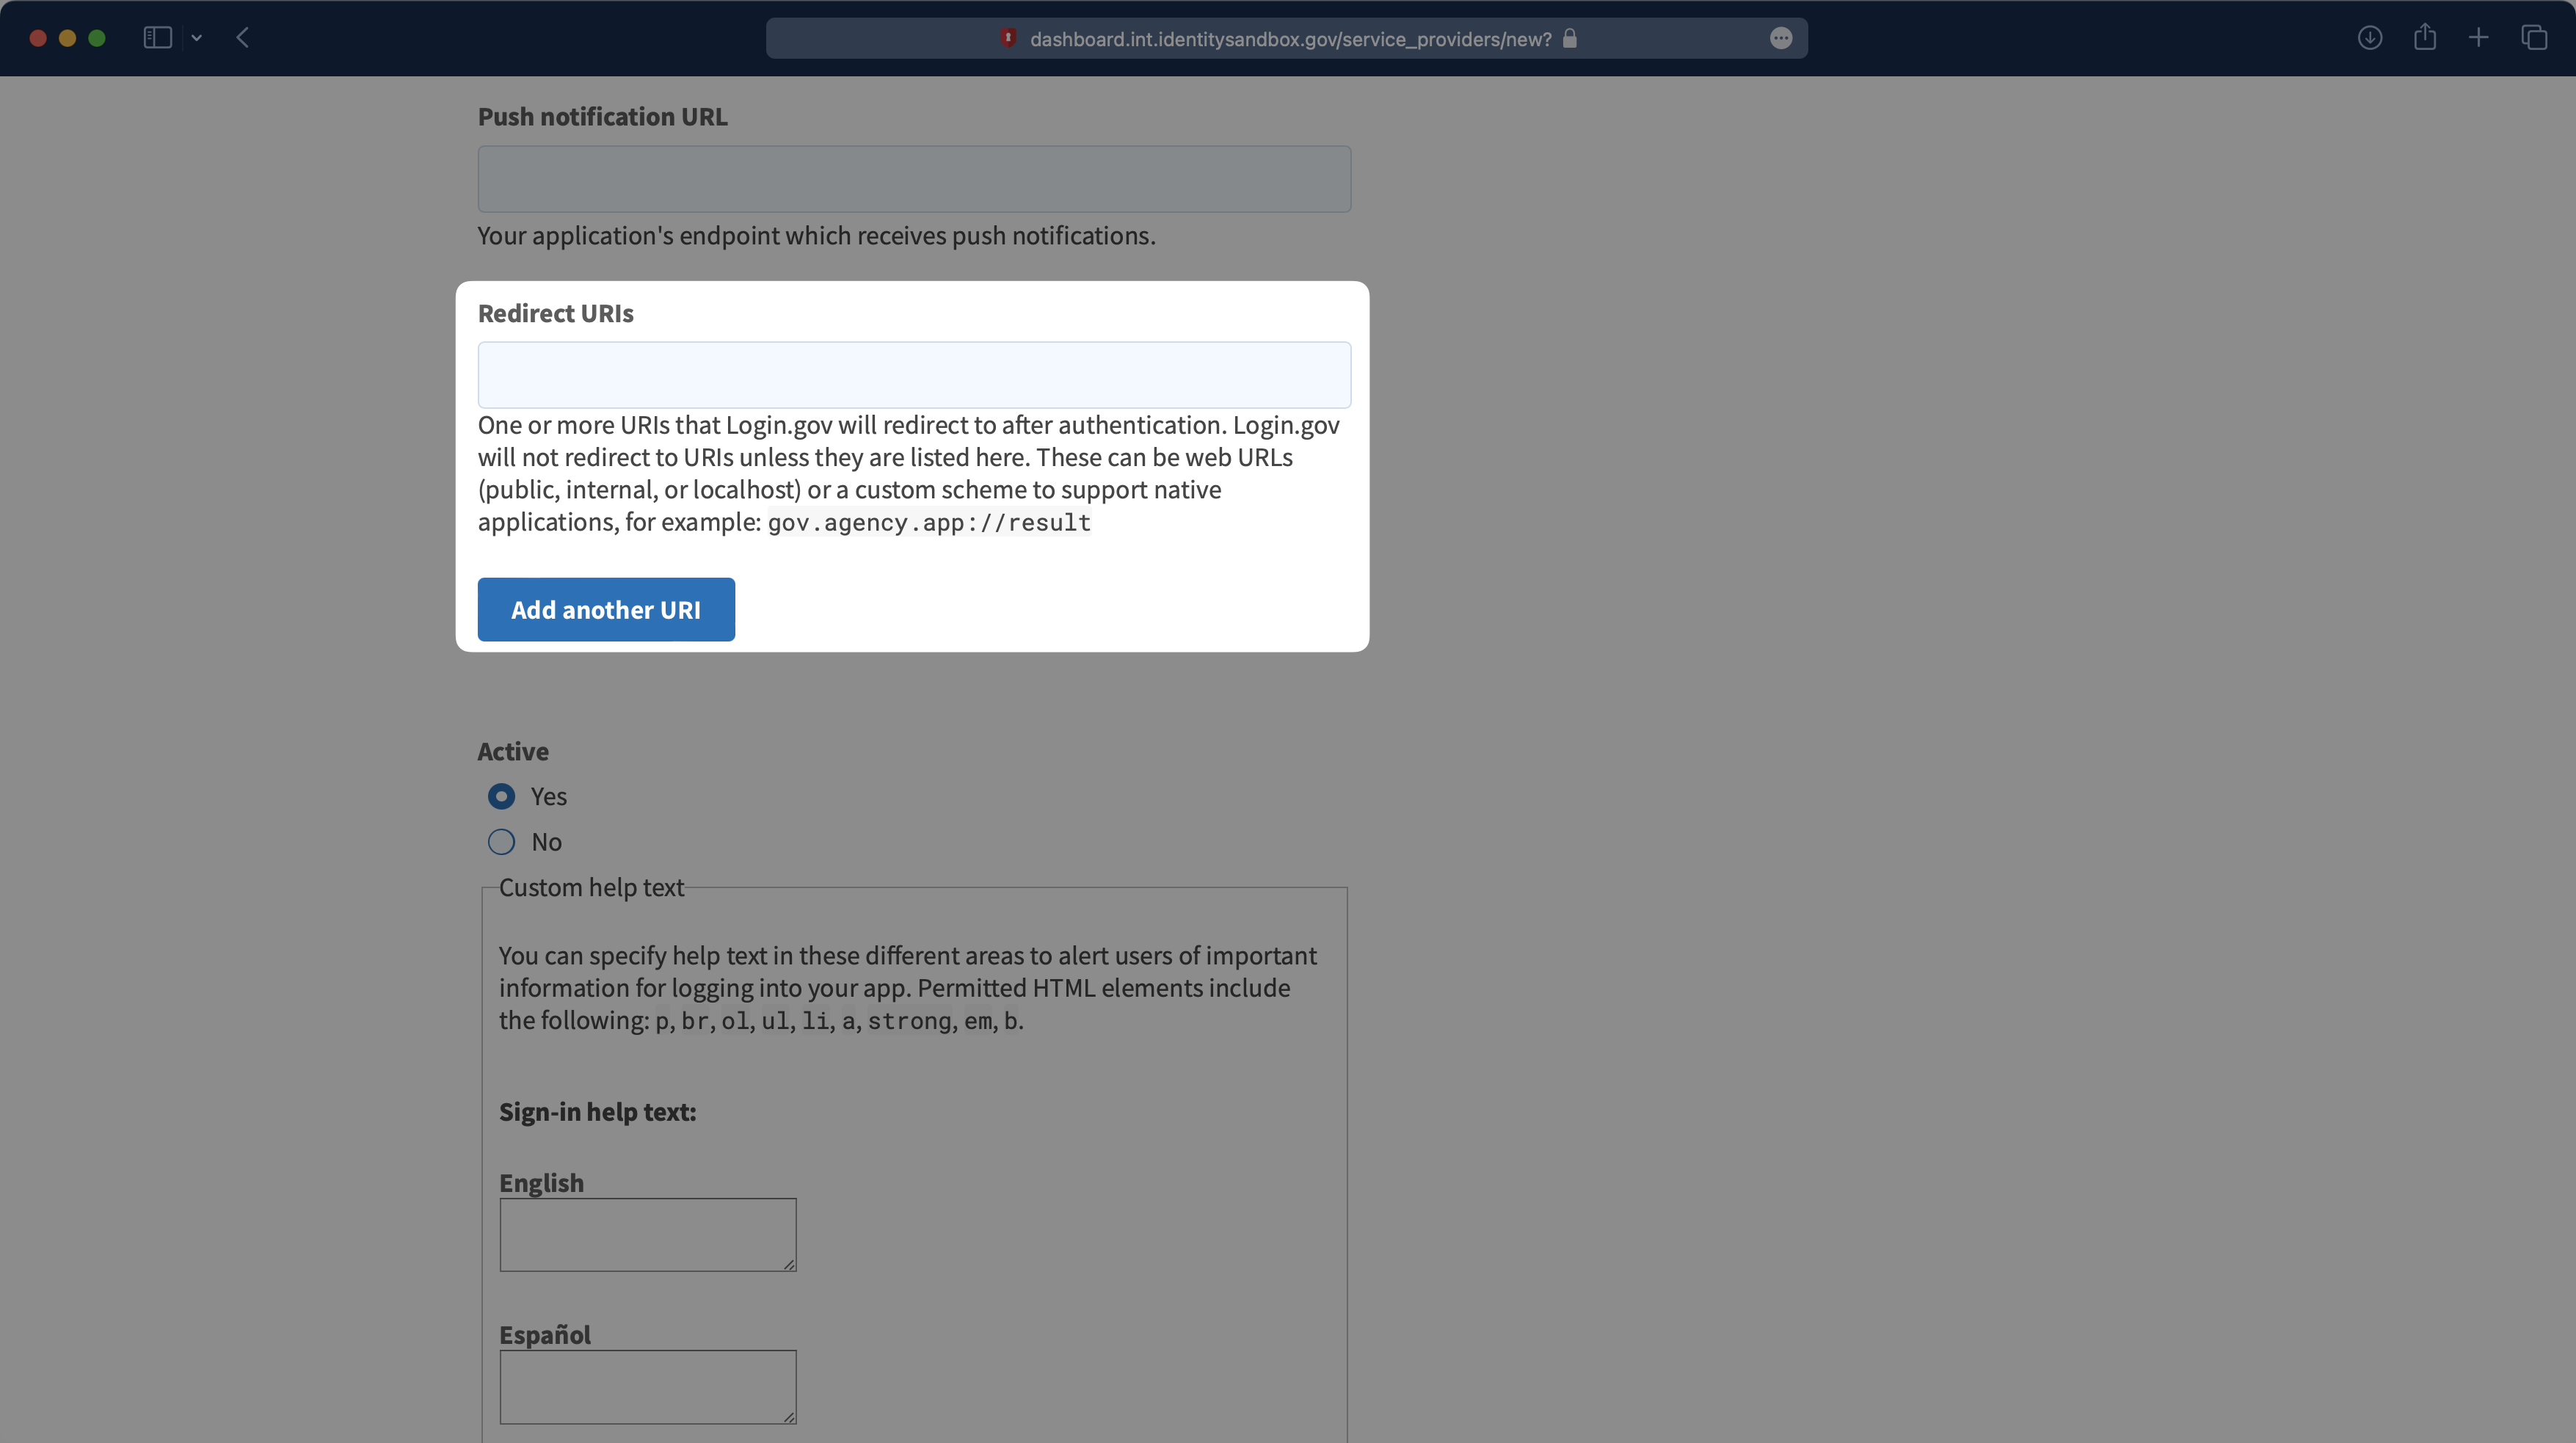
Finally, you’ll need to add the Redirect URIs. The first one you’ll need to add is the Redirect URI you copied from the WorkOS Dashboard. You’ll also need to add the Redirect URI for your application. There is a Content Security Policy (CSP) check from Login.gov, so all URIs that could potentially be redirected to the authentication flow should be listed here.
Scroll down to the bottom of the page and select “Create test app” to finish the setup.
Enter the Issuer you created in the previous step as the Client ID in the WorkOS Dashboard. Additionally, add the discovery endpoint, which for production accounts in Login.gov is: https://secure.login.gov/.well-known/openid-configuration.
Click “Update connection”.
Please follow the Login.gov docs to request a production deployment and finish your Login.gov application.