Okta SAML
Learn how to configure a connection to Okta via SAML.
Each SSO Identity Provider requires specific information to create and configure a new Connection. Often, the information required to create a Connection will differ by Identity Provider.
To create an Okta Connection, you’ll need three pieces of information: an ACS URL, an SP Entity ID, and an IdP Metadata URL.
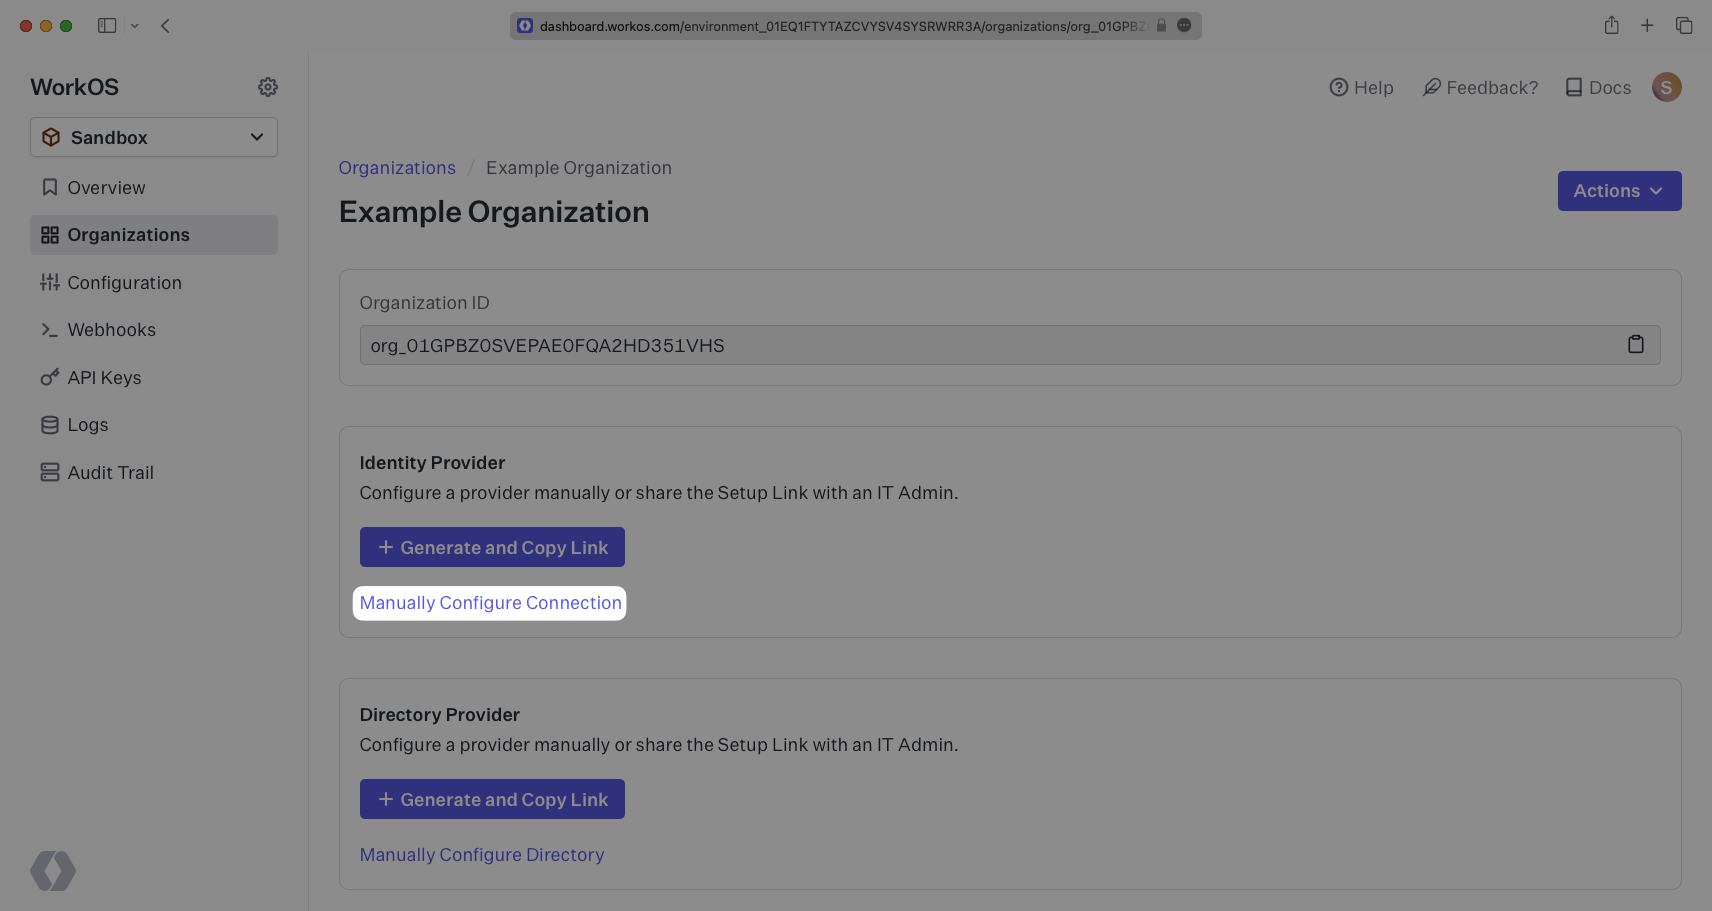
Start by logging in to your WorkOS dashboard and browse to the “Organizations” tab on the left hand navigation bar.
Select the organization you’d like to configure an Okta Connection for, and select “Manually Configure Connection” under “Identity Provider”.
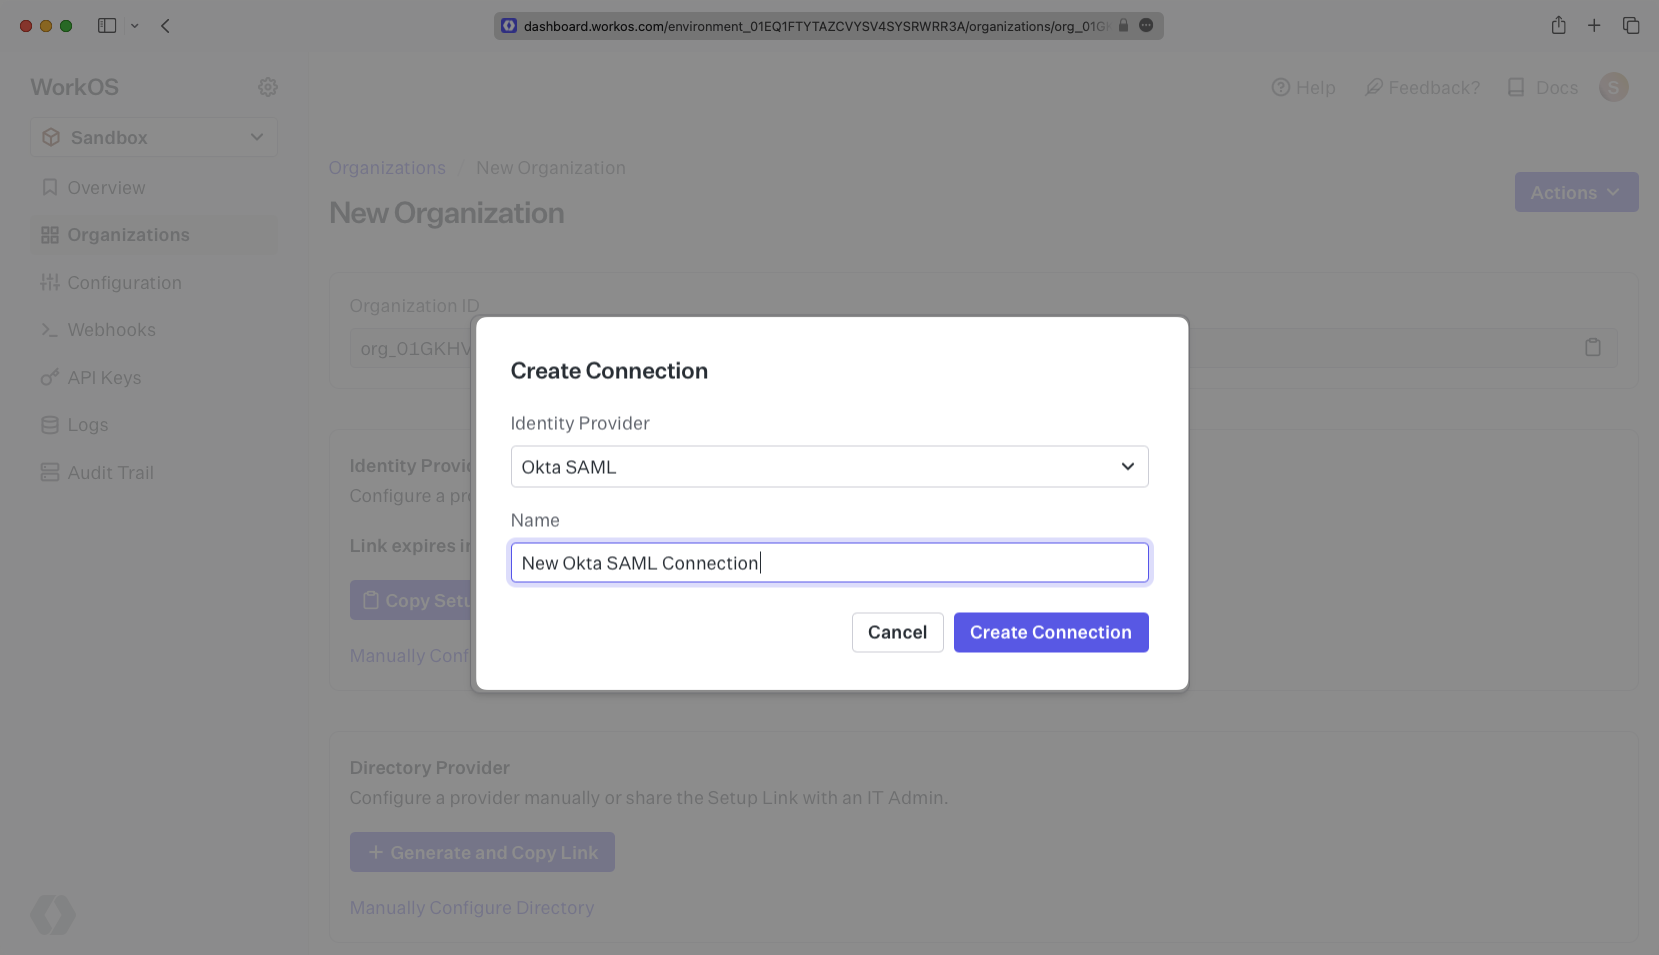
Select “Okta SAML” from the Identity Provider dropdown, enter a descriptive name for the connection, and then select the “Create Connection” button.
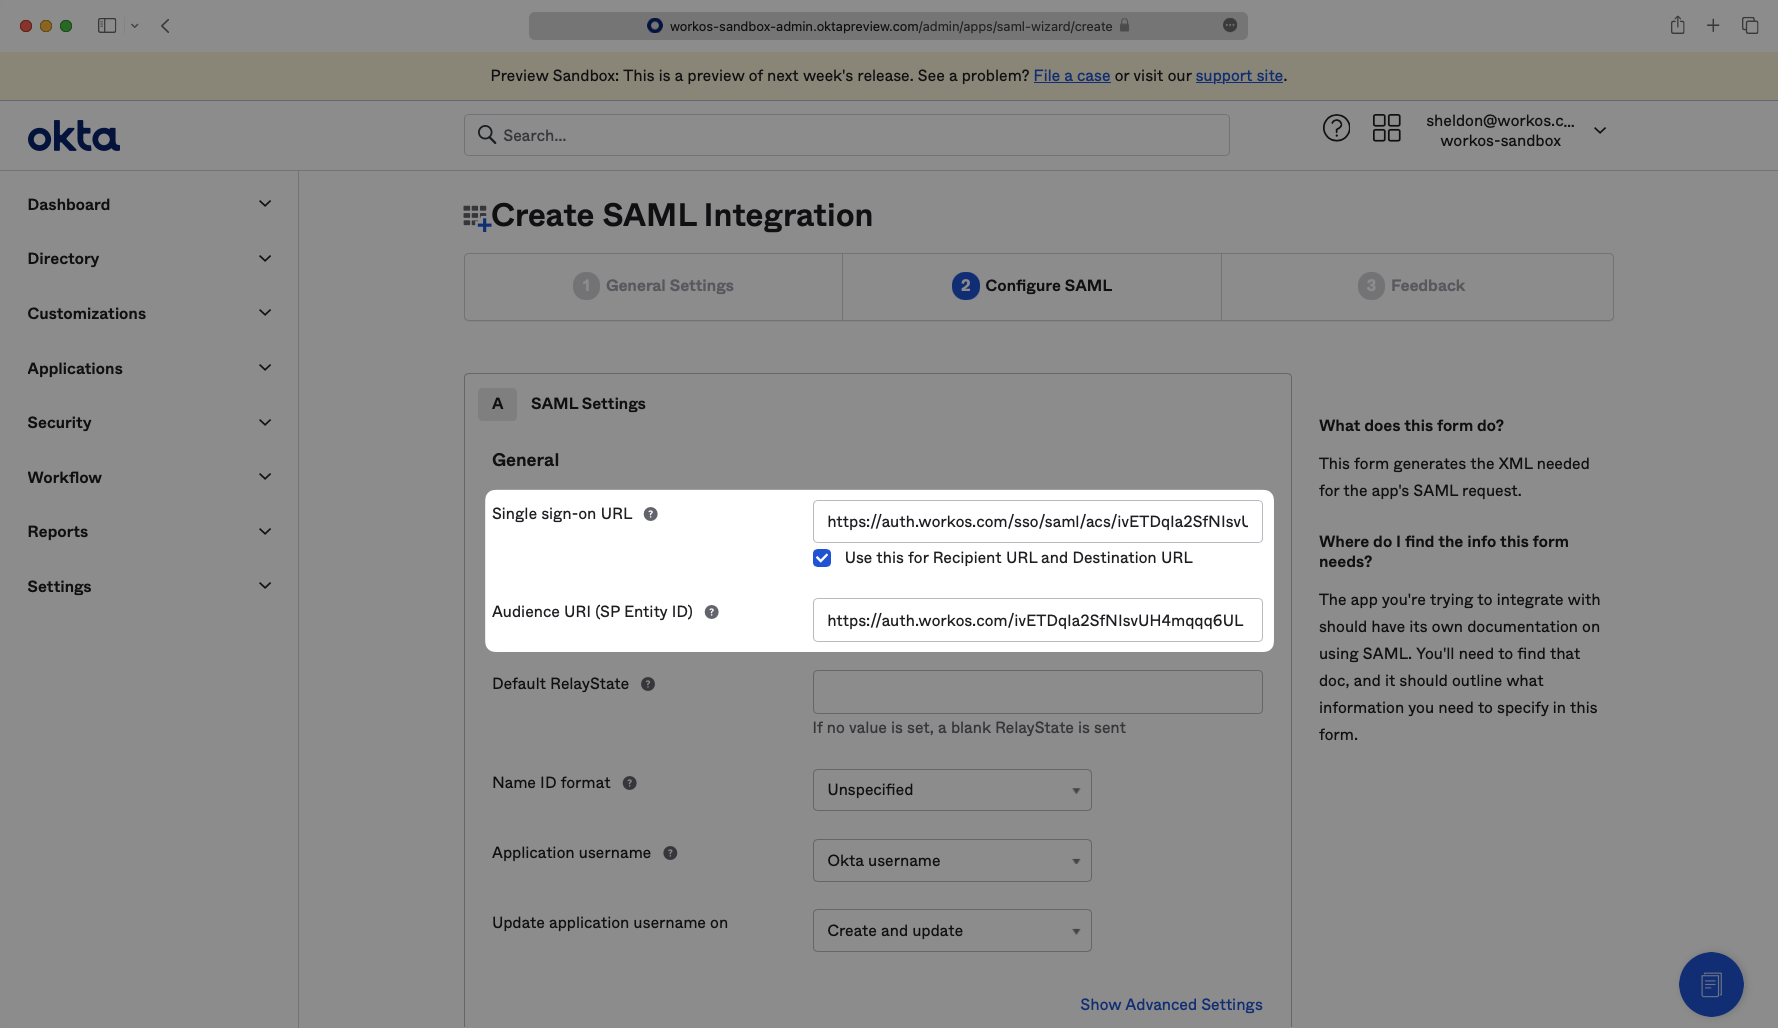
WorkOS provides the ACS URL and the SP Entity ID. It’s readily available in your Connection Settings in the WorkOS Dashboard.
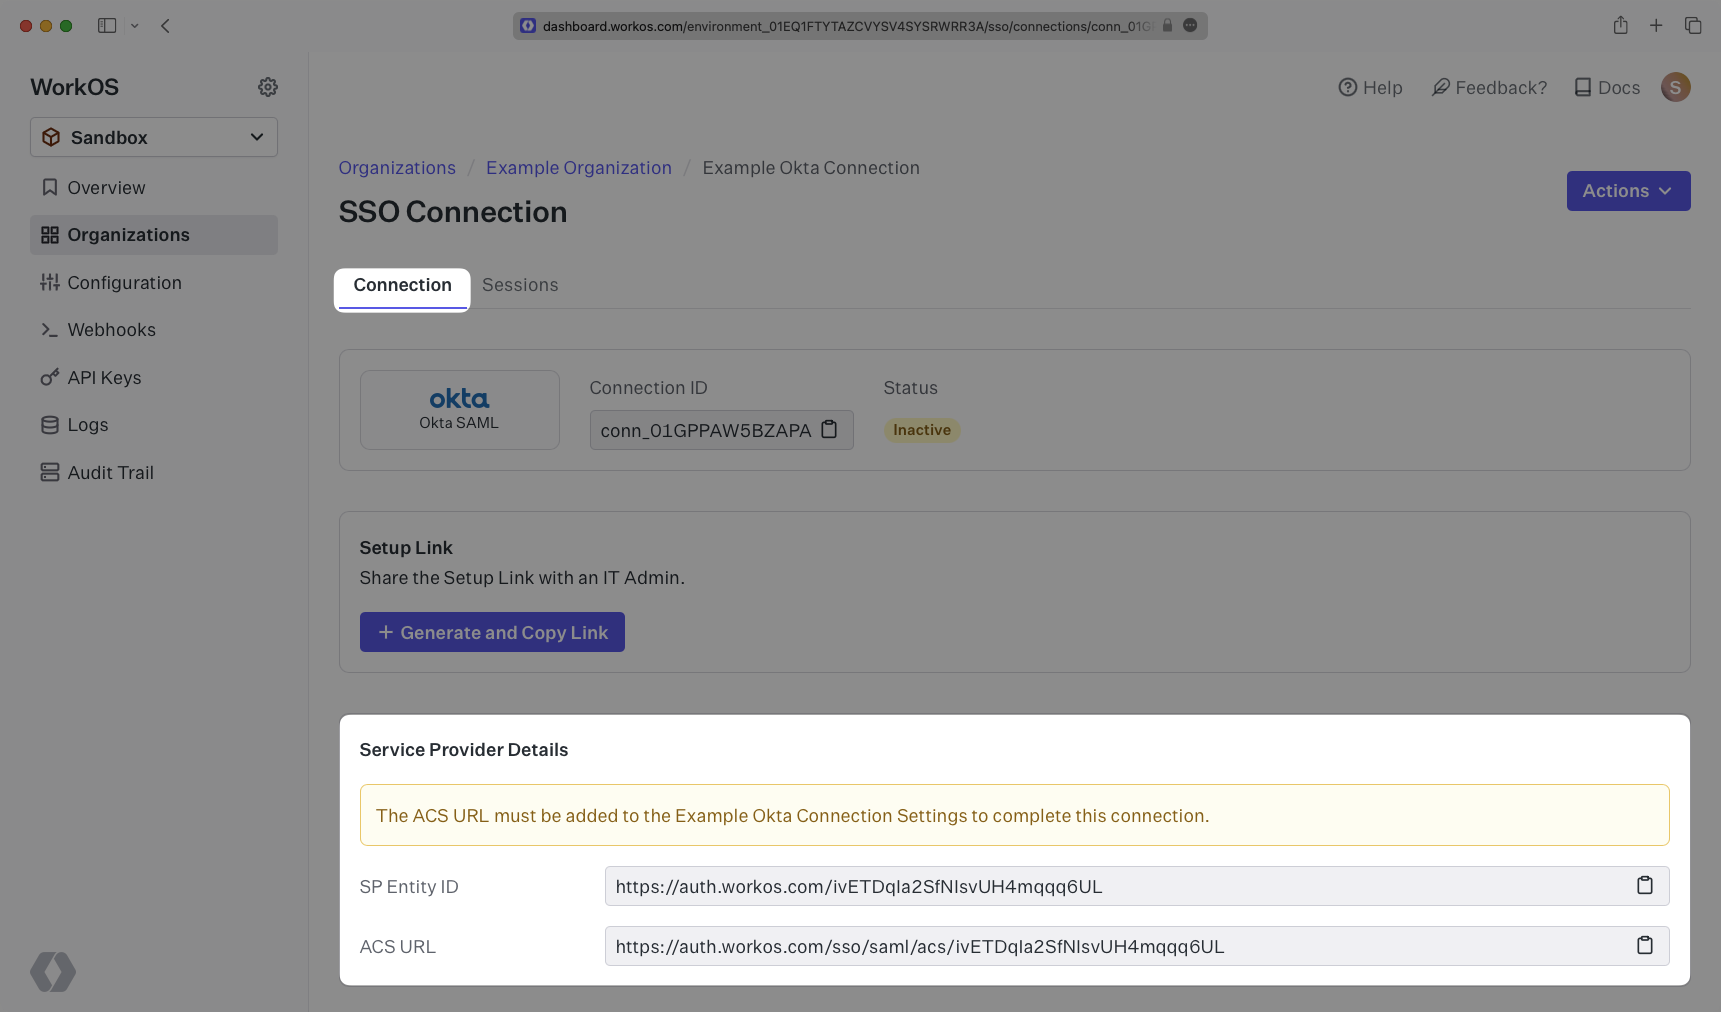
The ACS URL is the location an Identity Provider redirects its authentication response to. In Okta’s case, it needs to be set by the organization when configuring your application in their Okta instance.
The SP Entity ID is a URI used to identify the issuer of a SAML request, response, or assertion. In this case, the entity ID is used to communicate that WorkOS will be the party performing SAML requests to the organization’s Okta instance.
Specifically, the ACS URL will need to be set as the “Single Sign-On URL” and the SP Entity ID will need to be set as the “Audience URI (SP Entity ID)” in the “Configure SAML” step of the Okta “Edit SAML Integration” wizard:
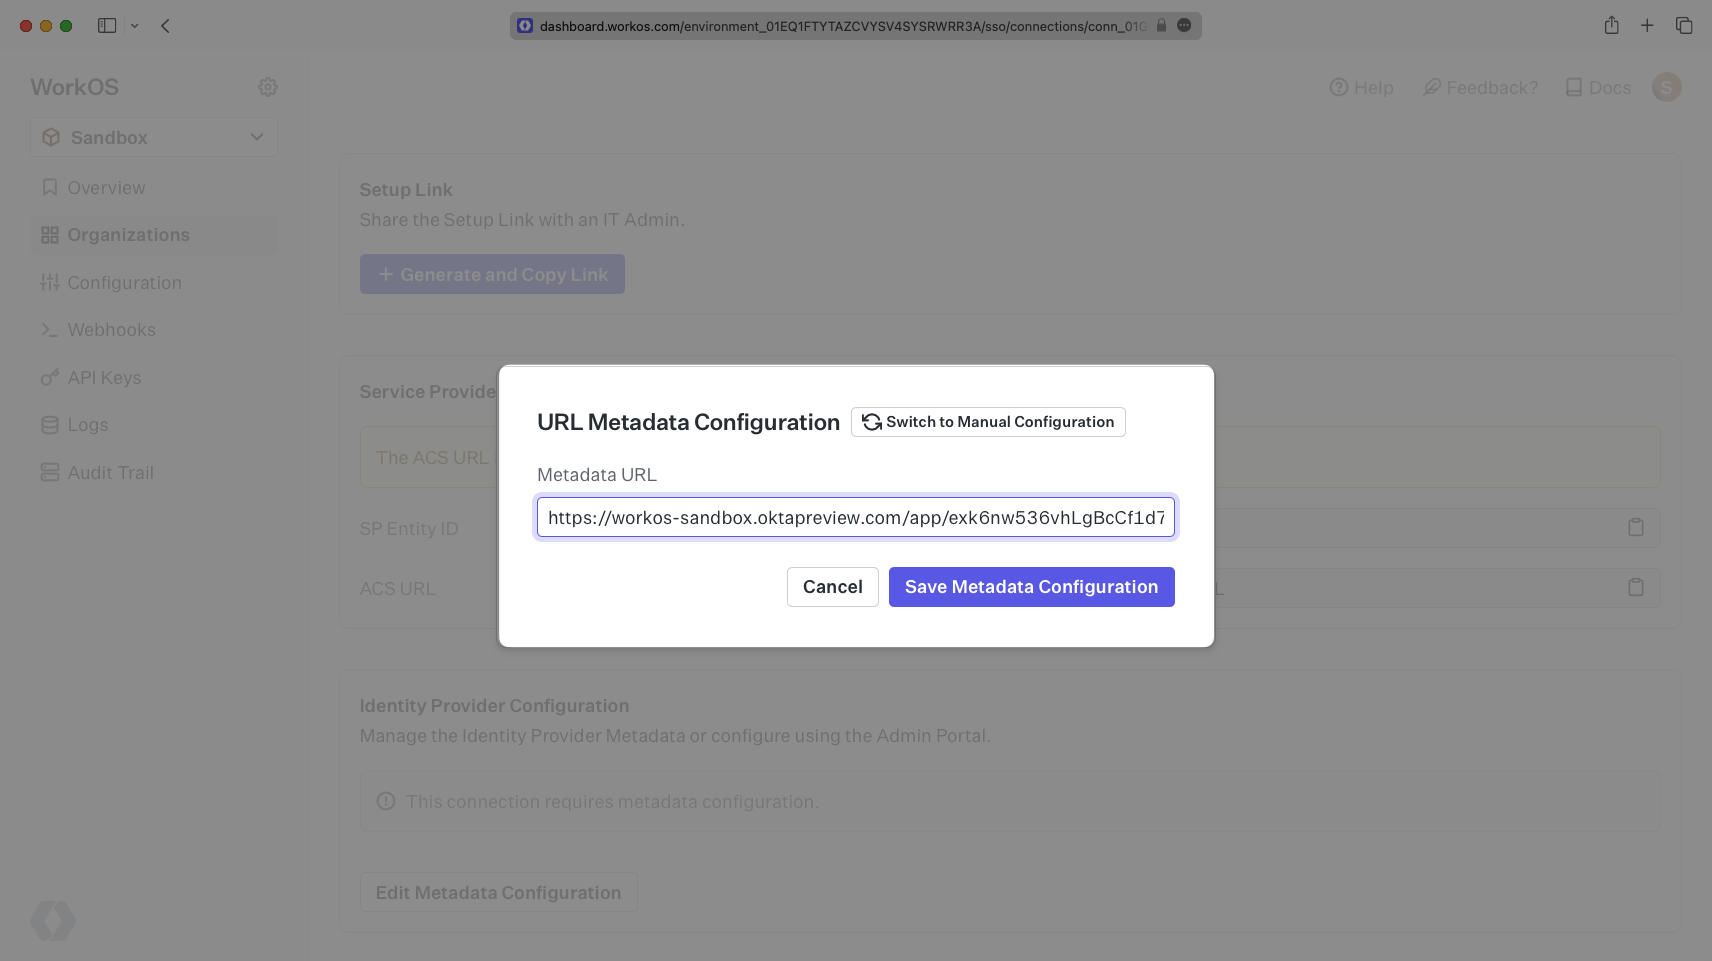
Next, provide the IdP Metadata URL. Normally, this information will come from the organization’s IT Management team when they set up your application’s SAML 2.0 configuration in their Okta admin dashboard. But, should that not be the case during your setup, the next steps will show you how to obtain it.
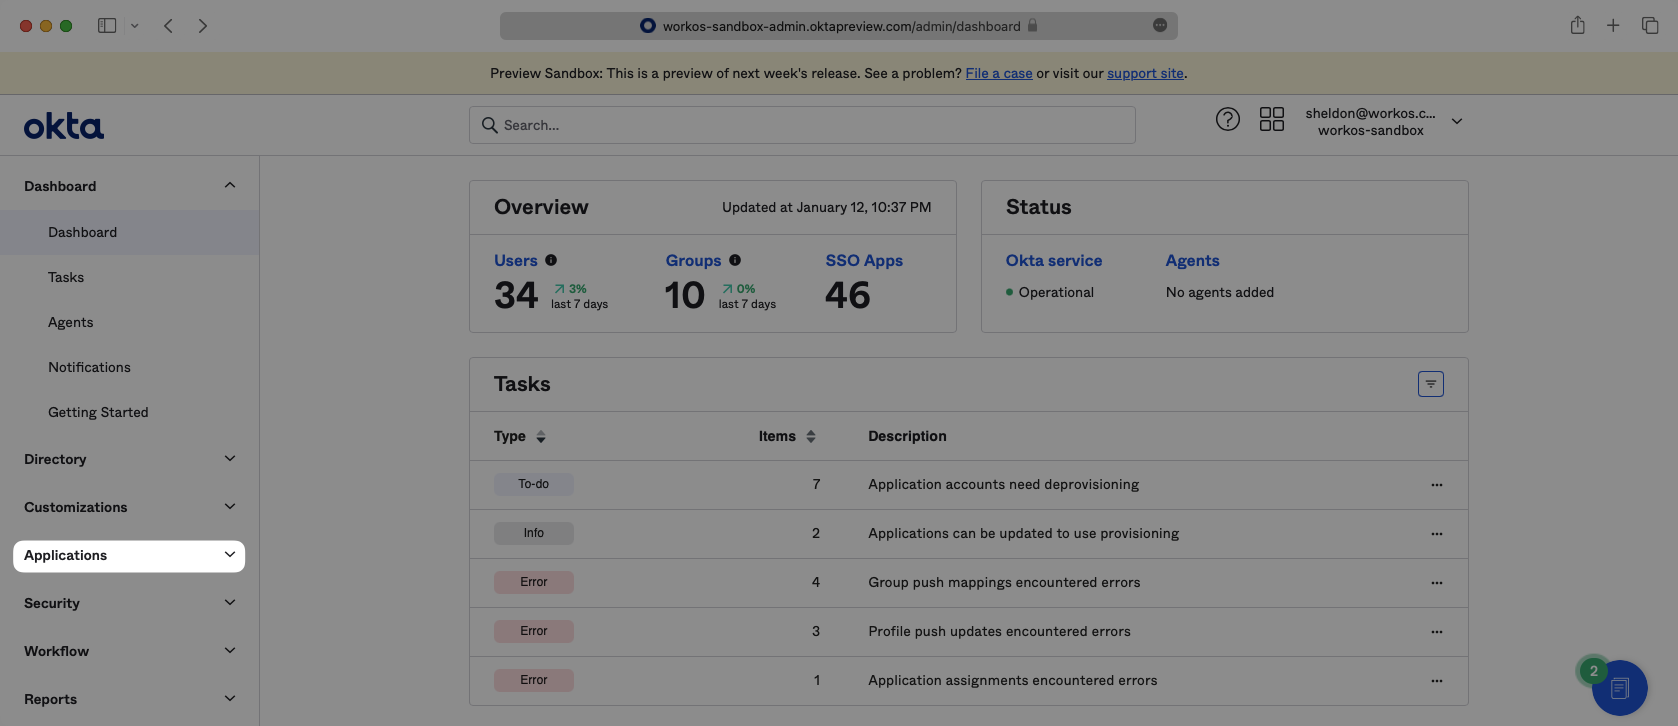
Log in to Okta, go to the admin dashboard, and select “Applications” in the navigation bar.
If your application is already created, select it from the list of applications and move to Step 7.
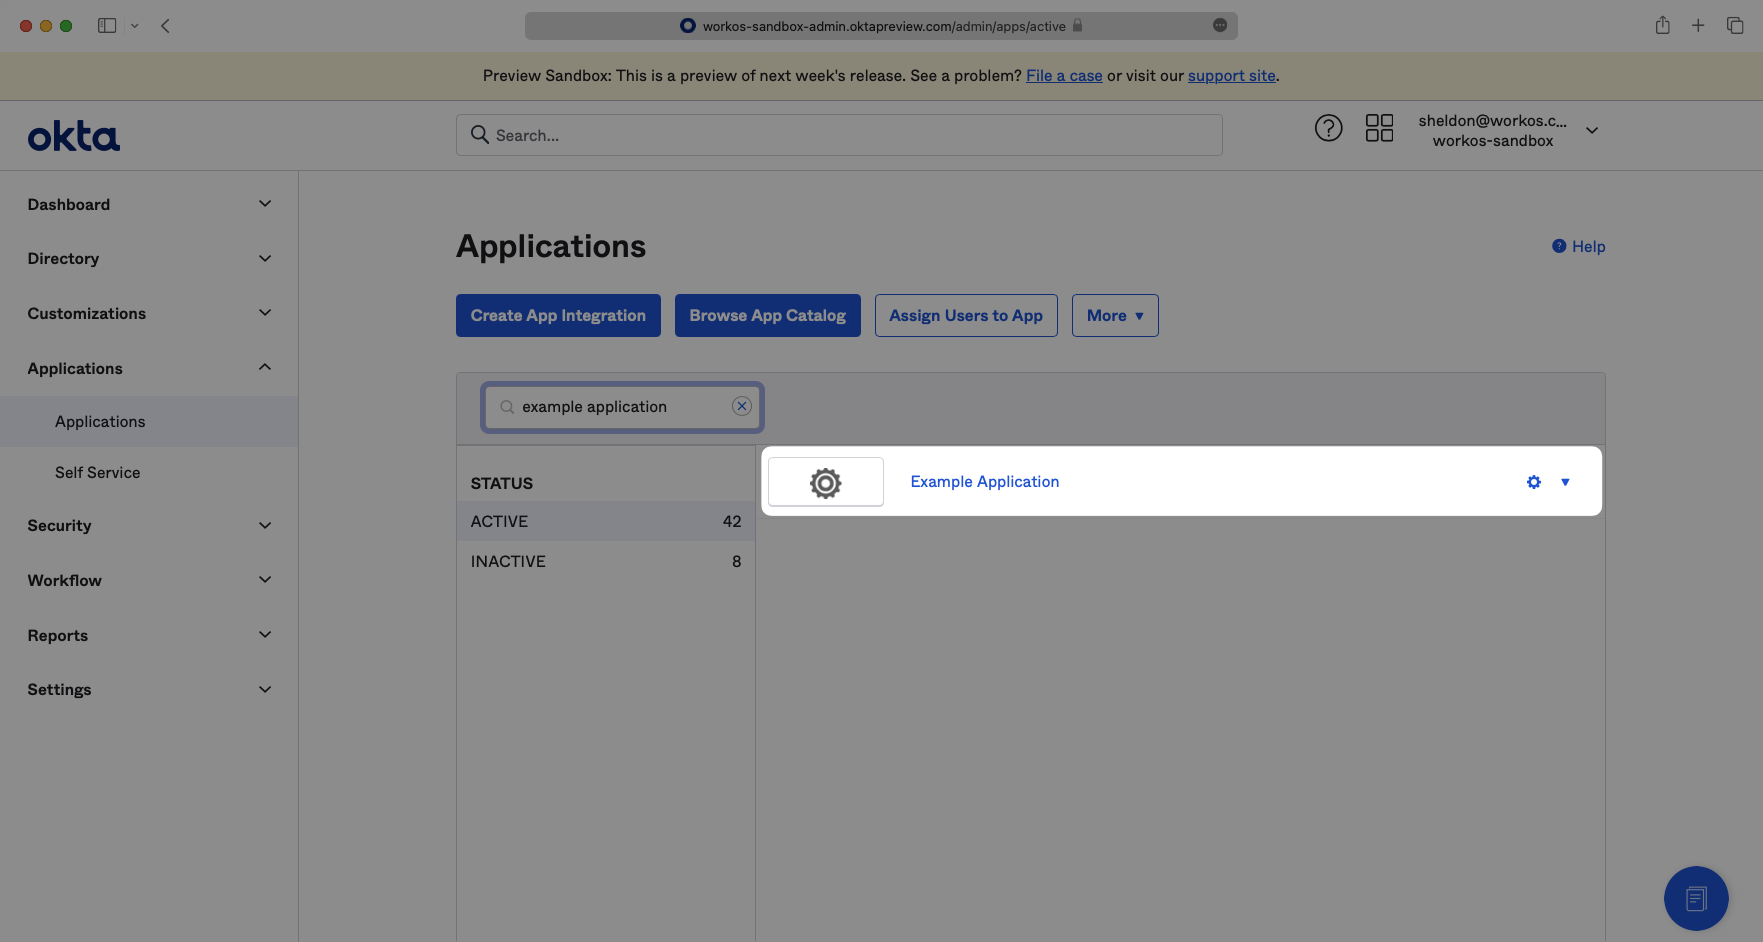
If you haven’t created a SAML application in Okta, select “Create App Integration”.

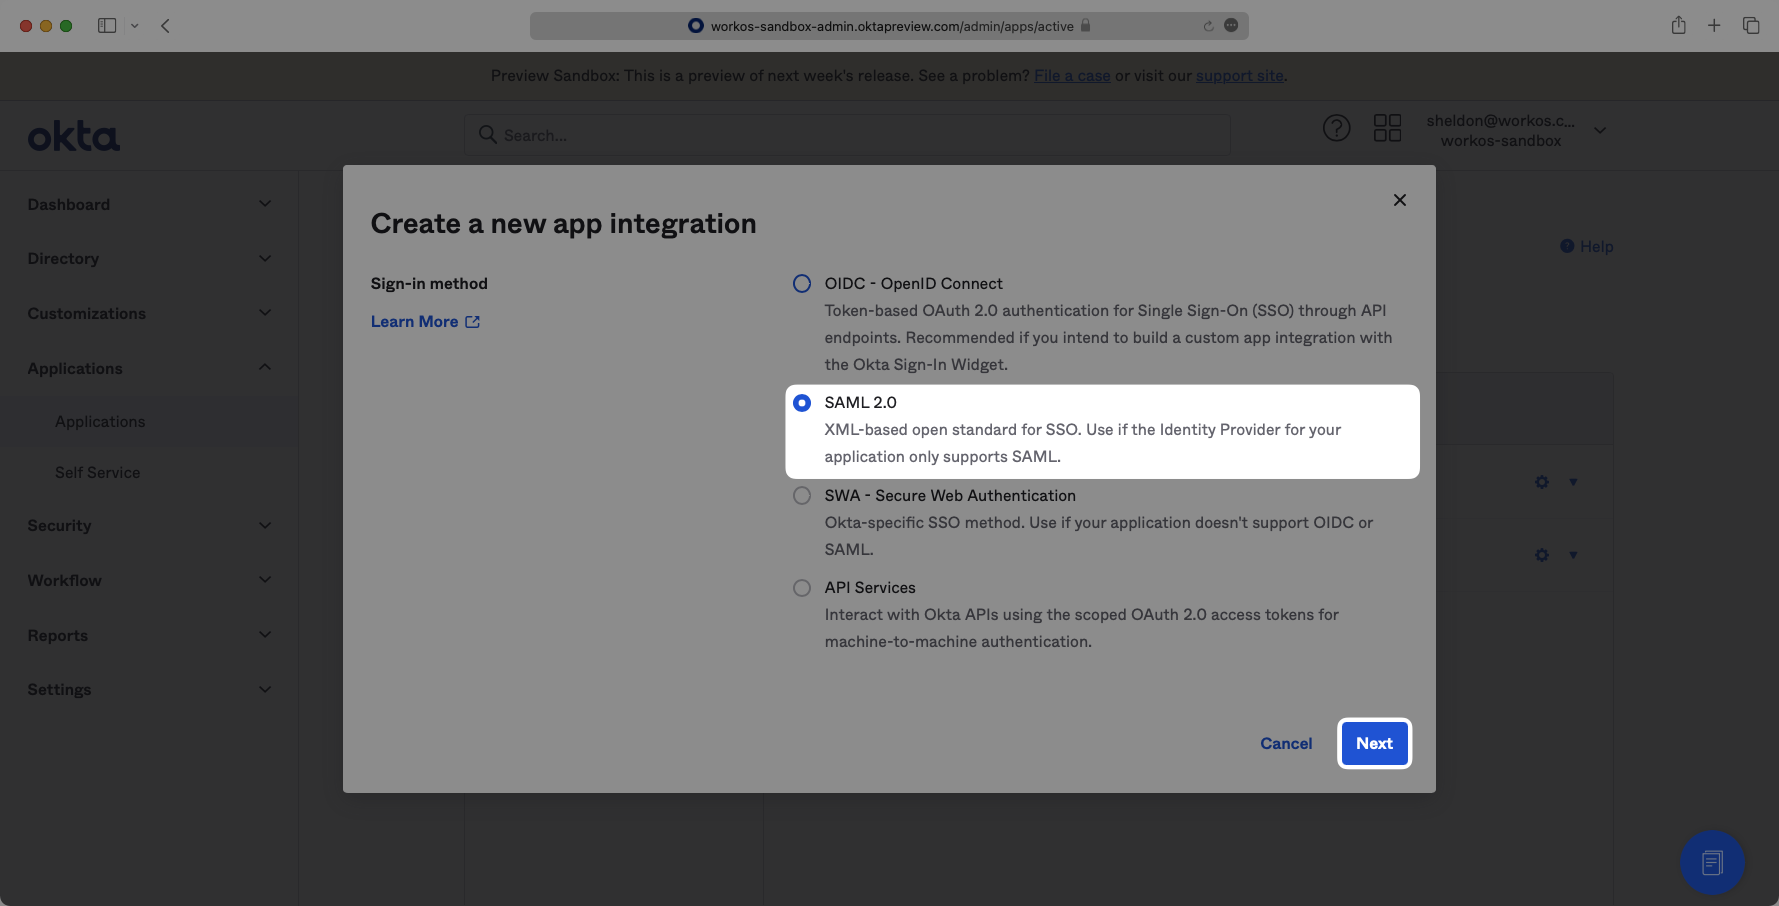
Select “Create New App”, then select “SAML 2.0” as a Sign on method, then click “Next”.
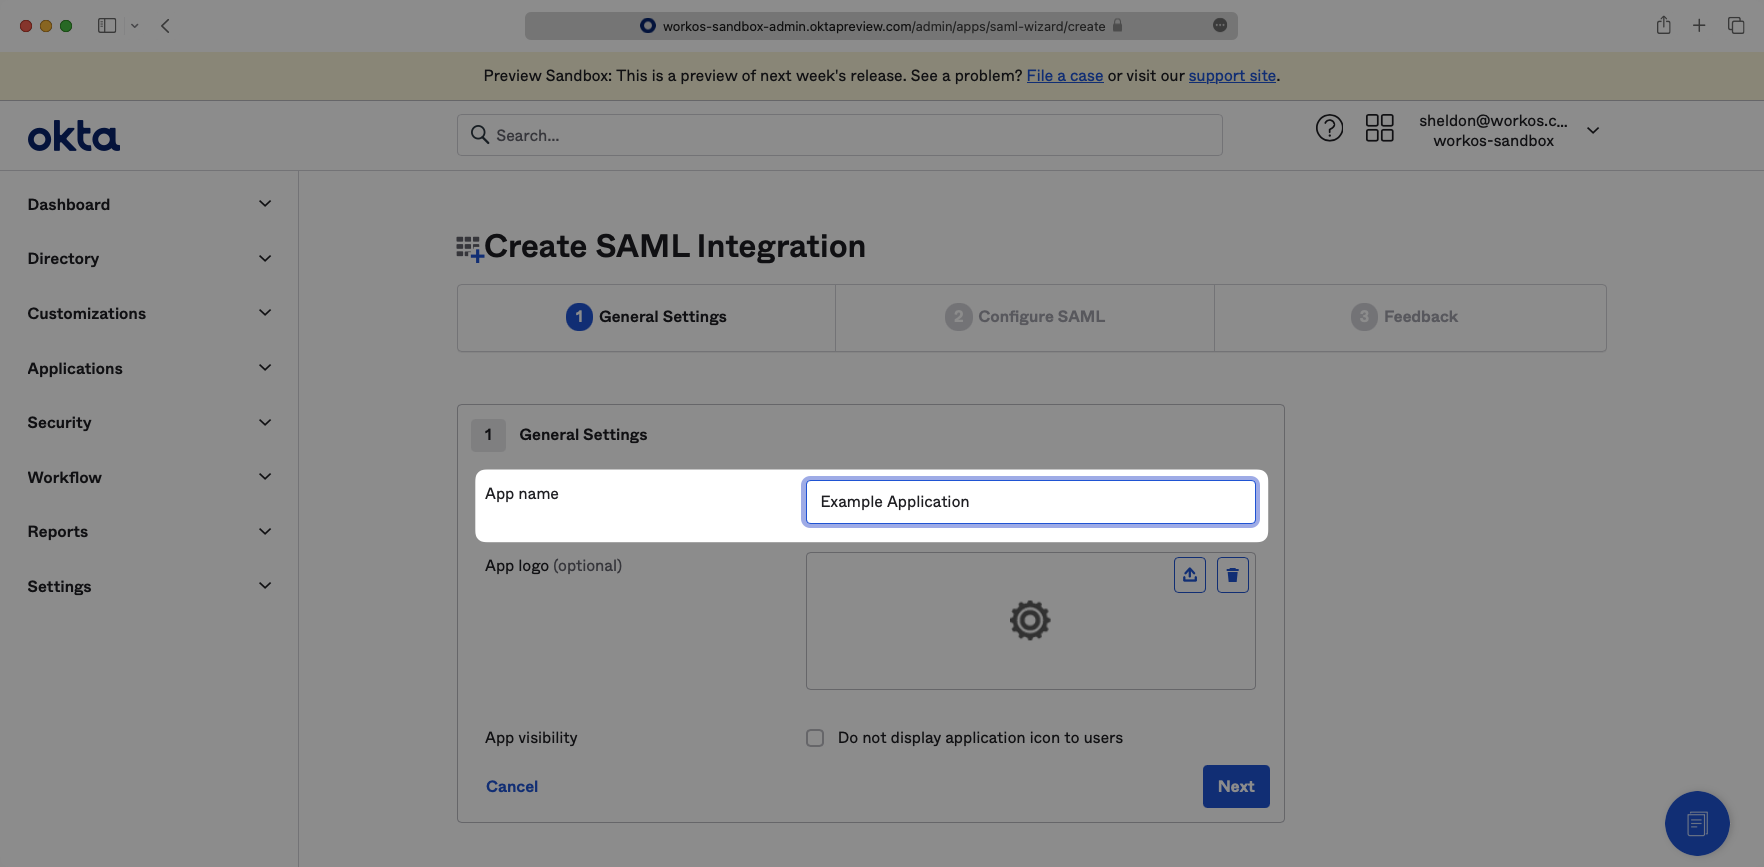
Enter a descriptive App name, then click “Next”.
Input the ACS URL from your WorkOS Dashboard as the “Single Sign-On URL” and input the SP Entity ID from your WorkOS Dashboard as the “Audience URI (SP Entity ID)”.
With identity provider role assignment, users can receive roles within your application based on their group memberships. To return this information in the attribute statement, follow the guidance below.
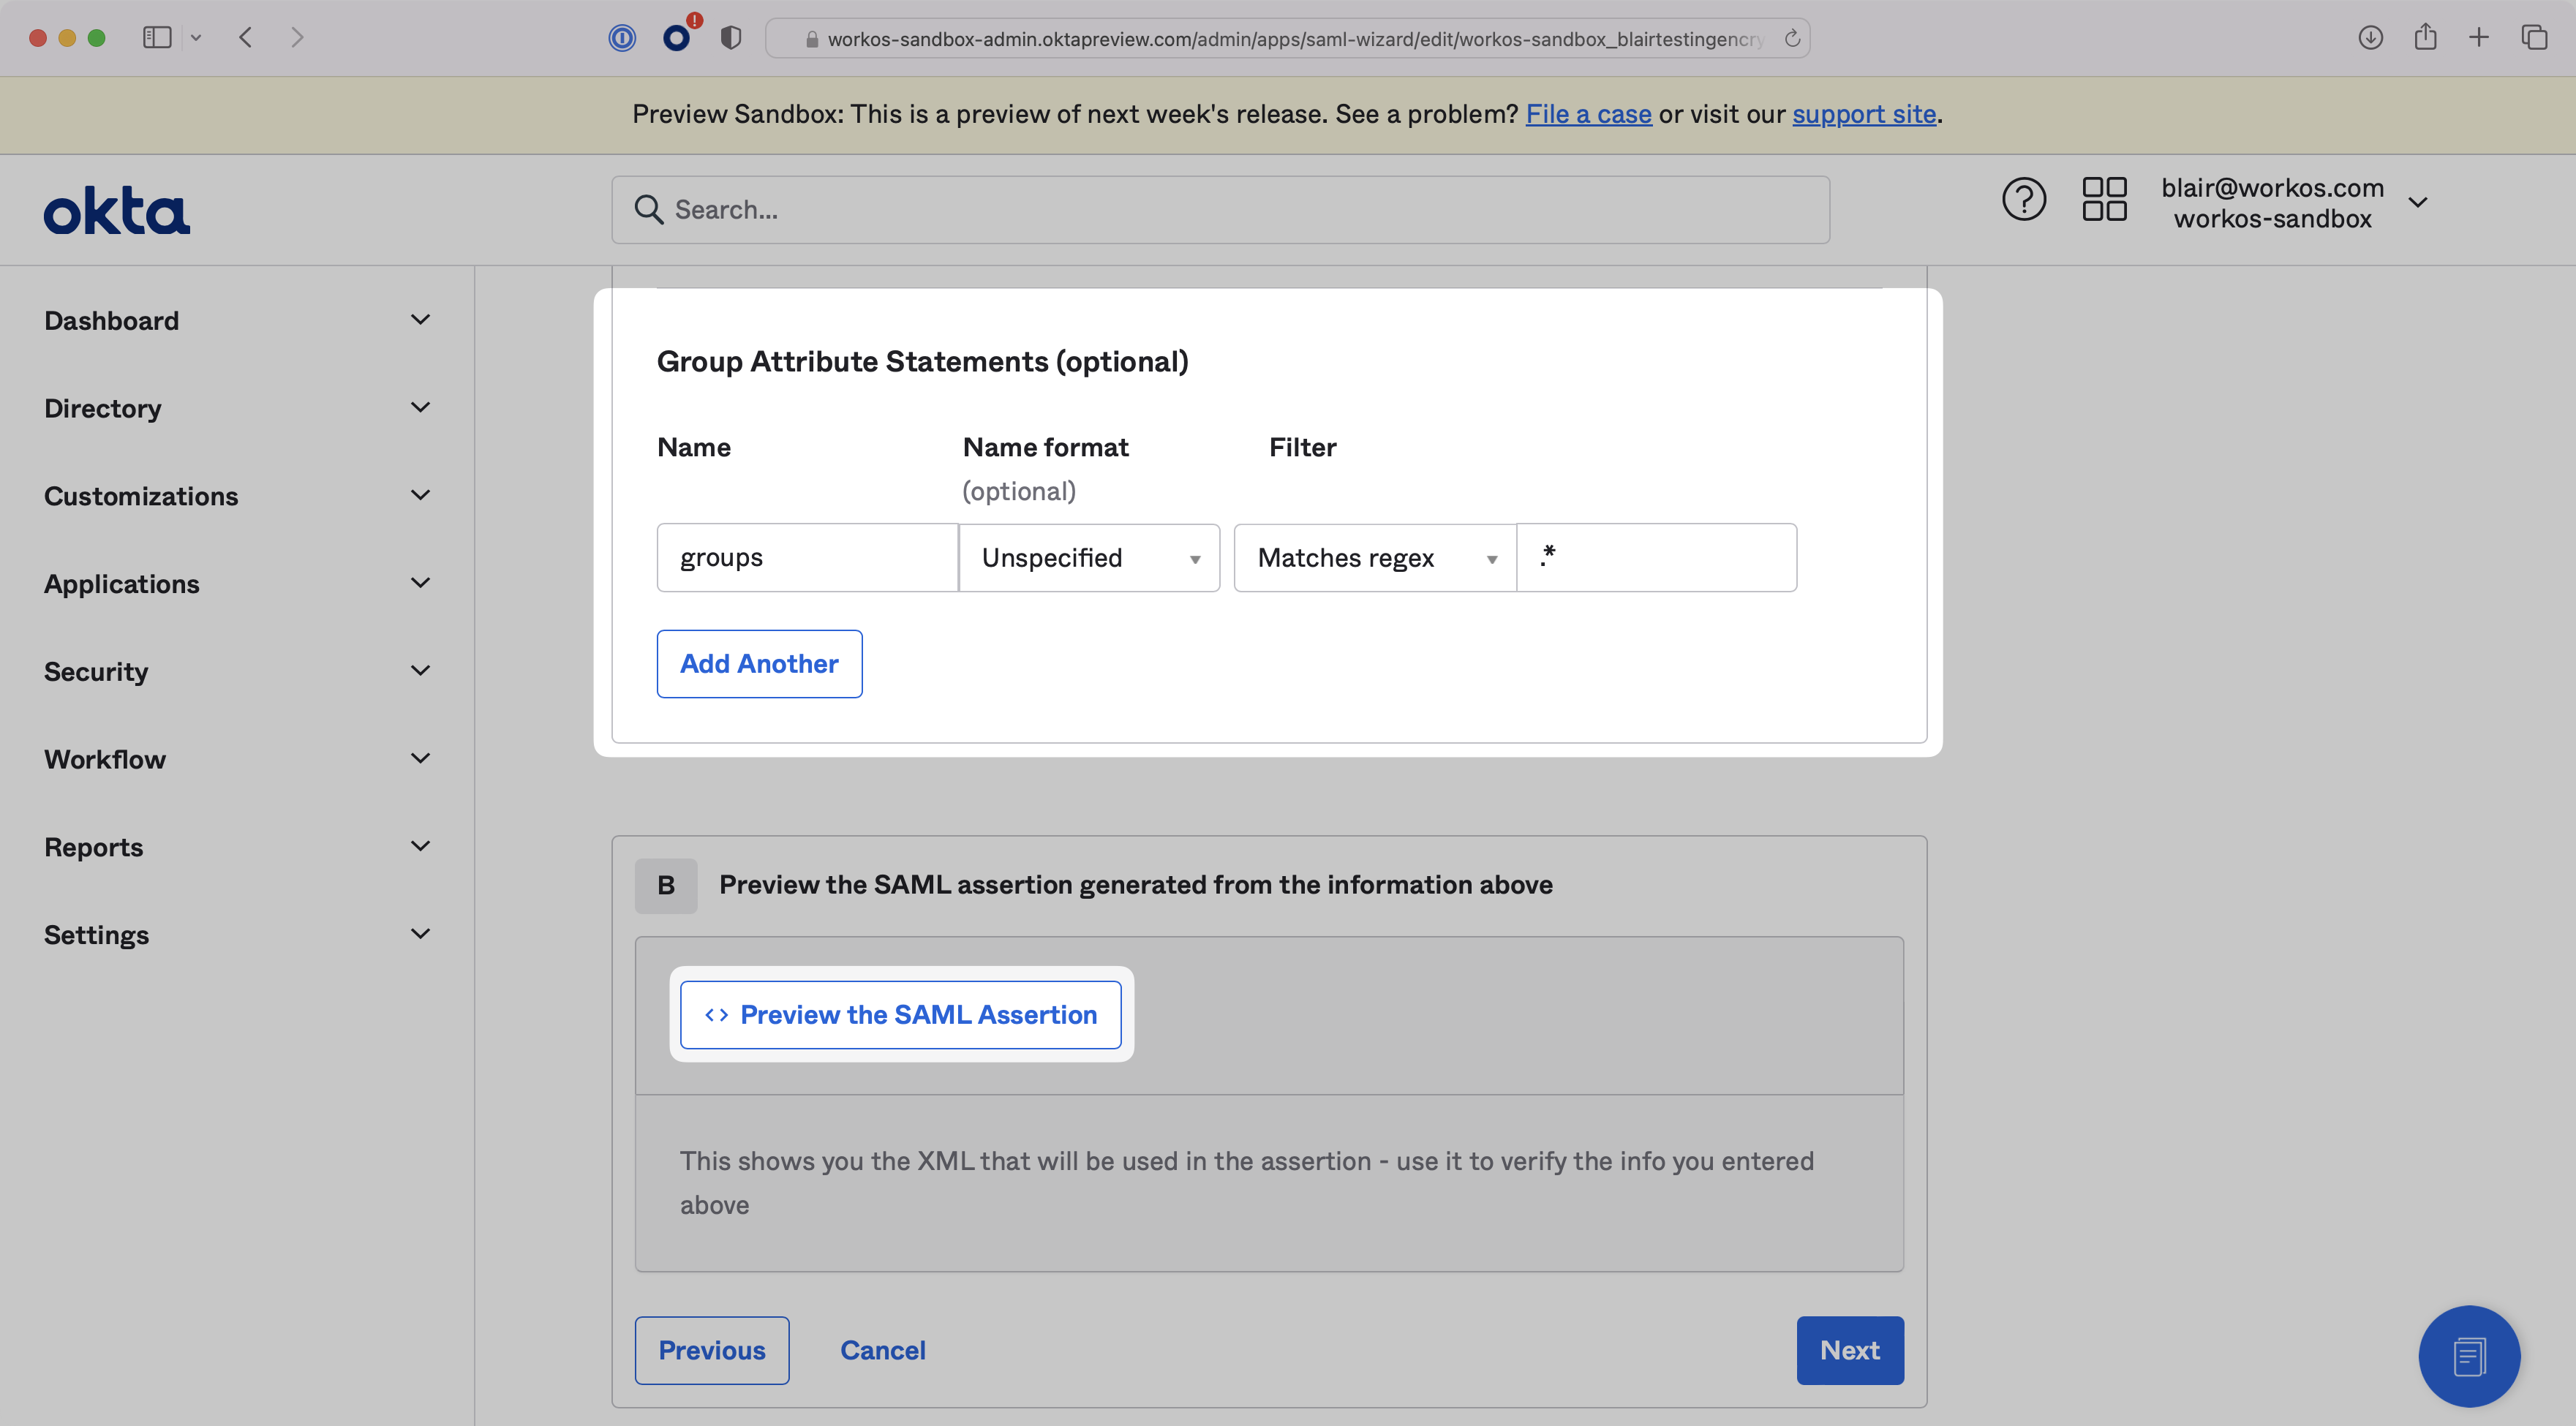
Scroll down to the Group Attribute Statements configuration. The Name should be set to groups, and you can define a filter to map the necessary Okta groups. To map all groups, filter by matching the regex .*, as shown in the screenshot below. You can preview the SAML Assertion to check that all attributes have been mapped correctly. Then, click “Next”.
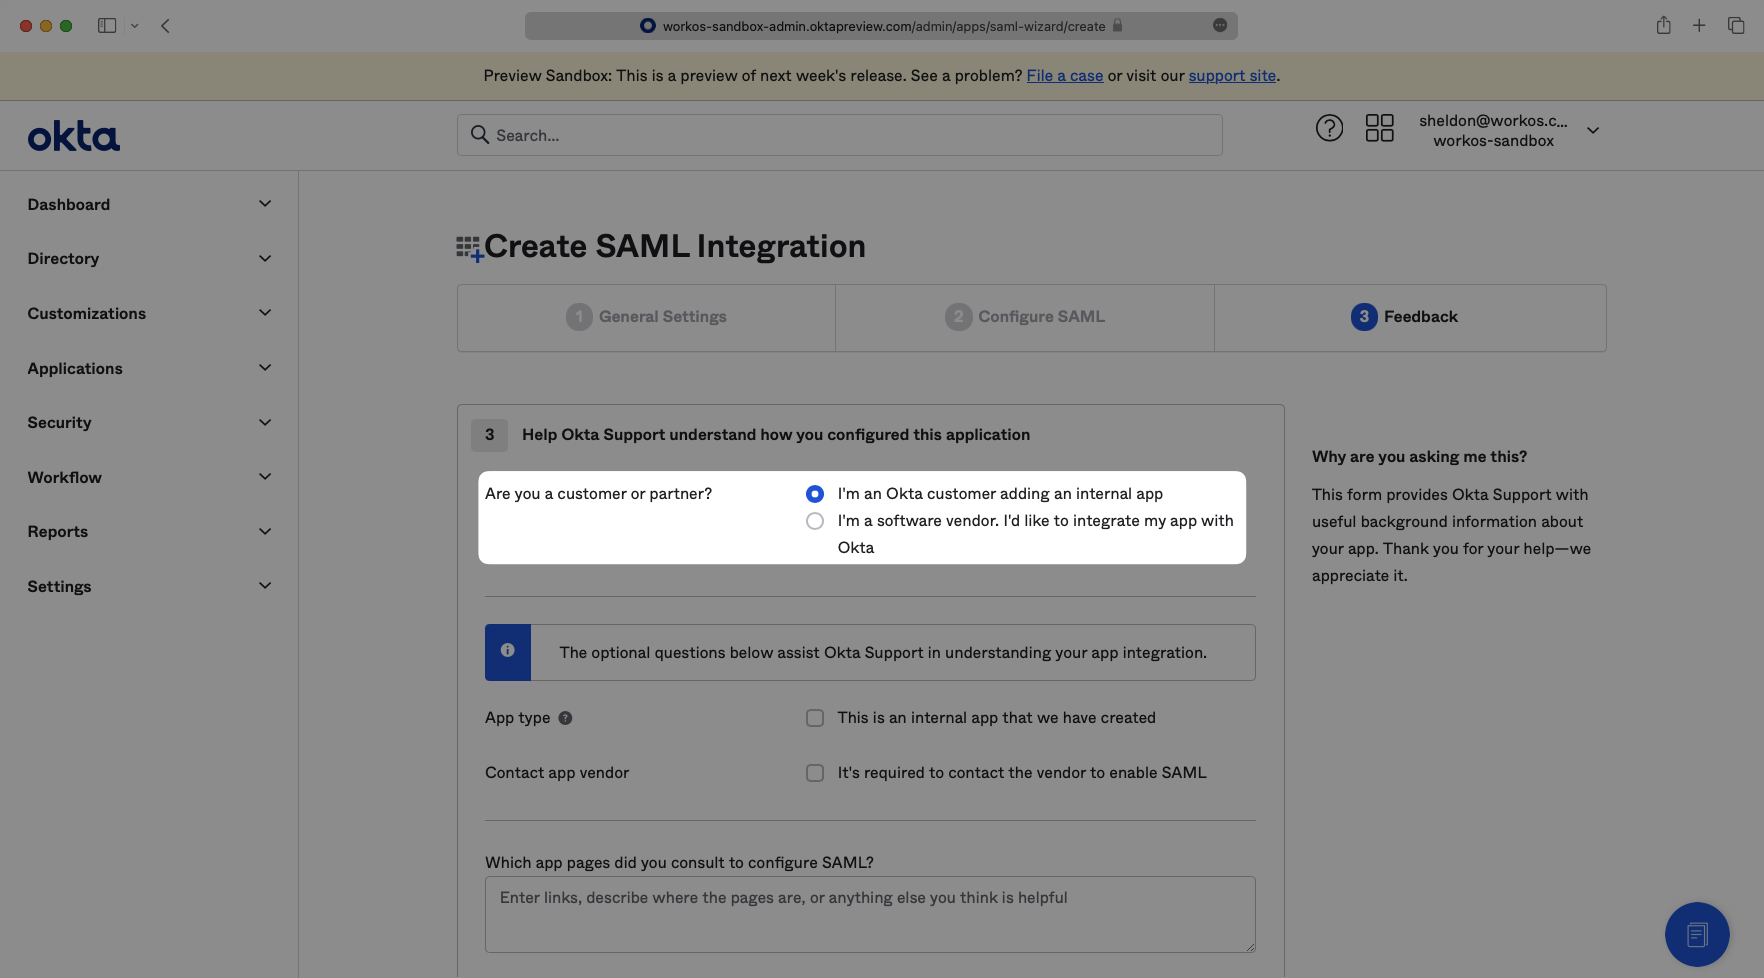
Select “I’m an Okta customer adding an internal app” from the options menu. Complete the form with any comments and select “Finish”.
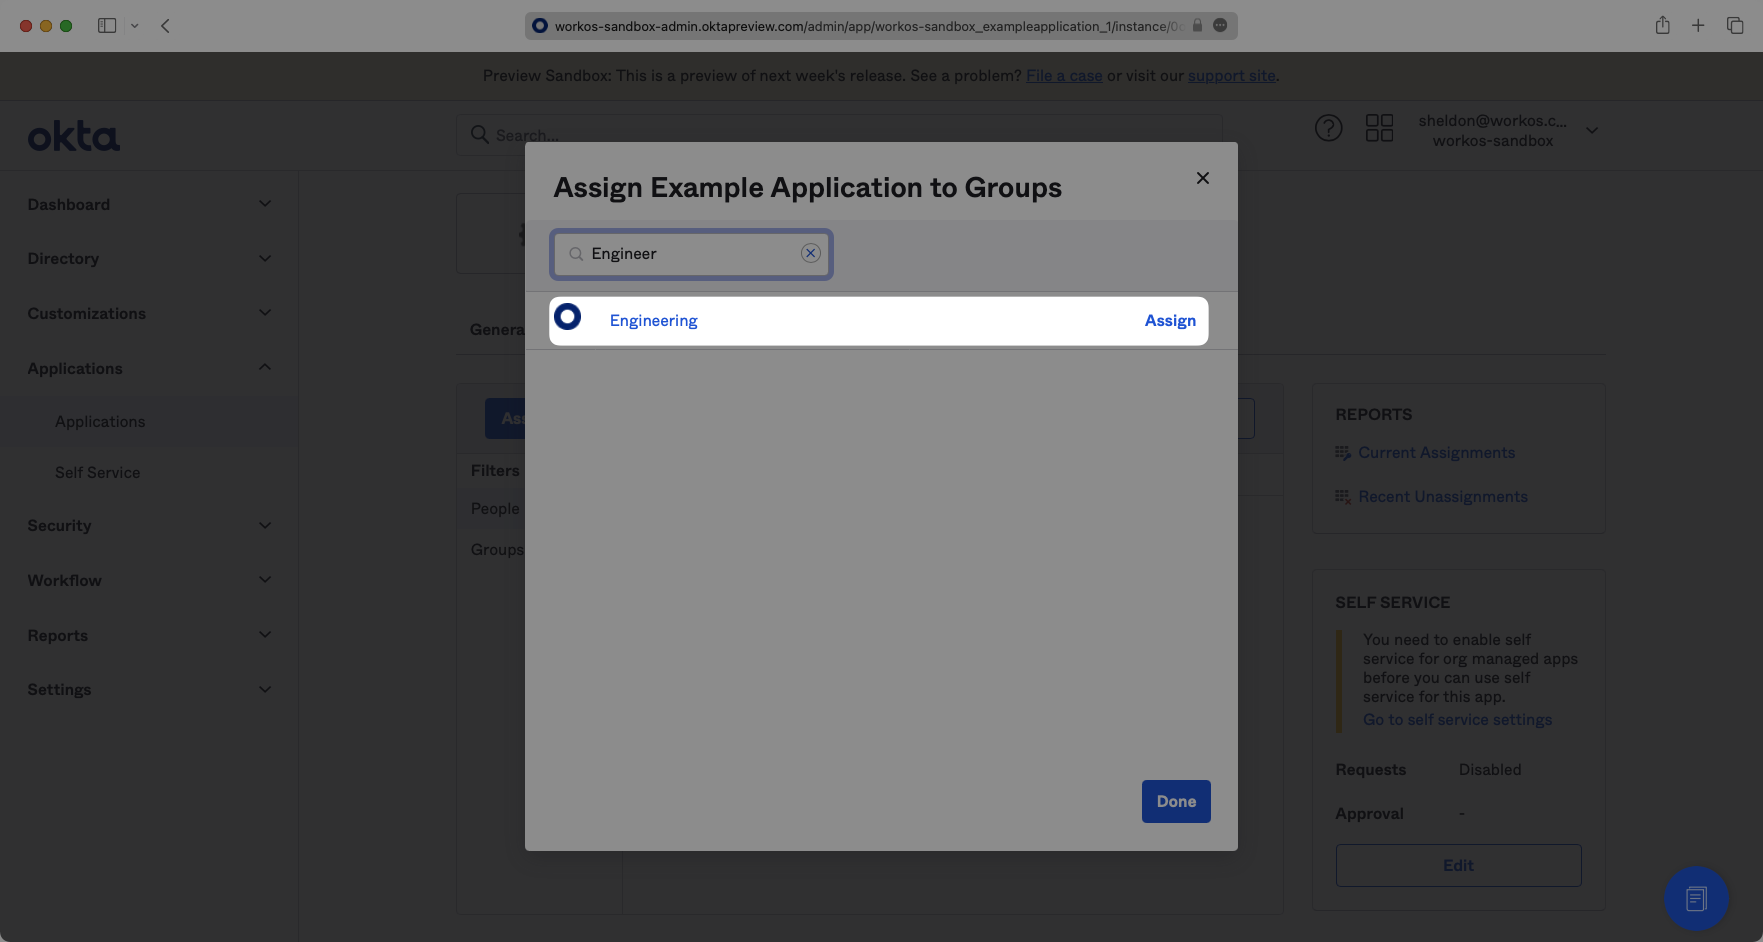
To give users permission to authenticate via this SAML app, you will need to assign individual users and/or groups of users to the Okta app.
Click on the “Assignments” tab, and select either “Assign to People” or “Assign to Groups”.
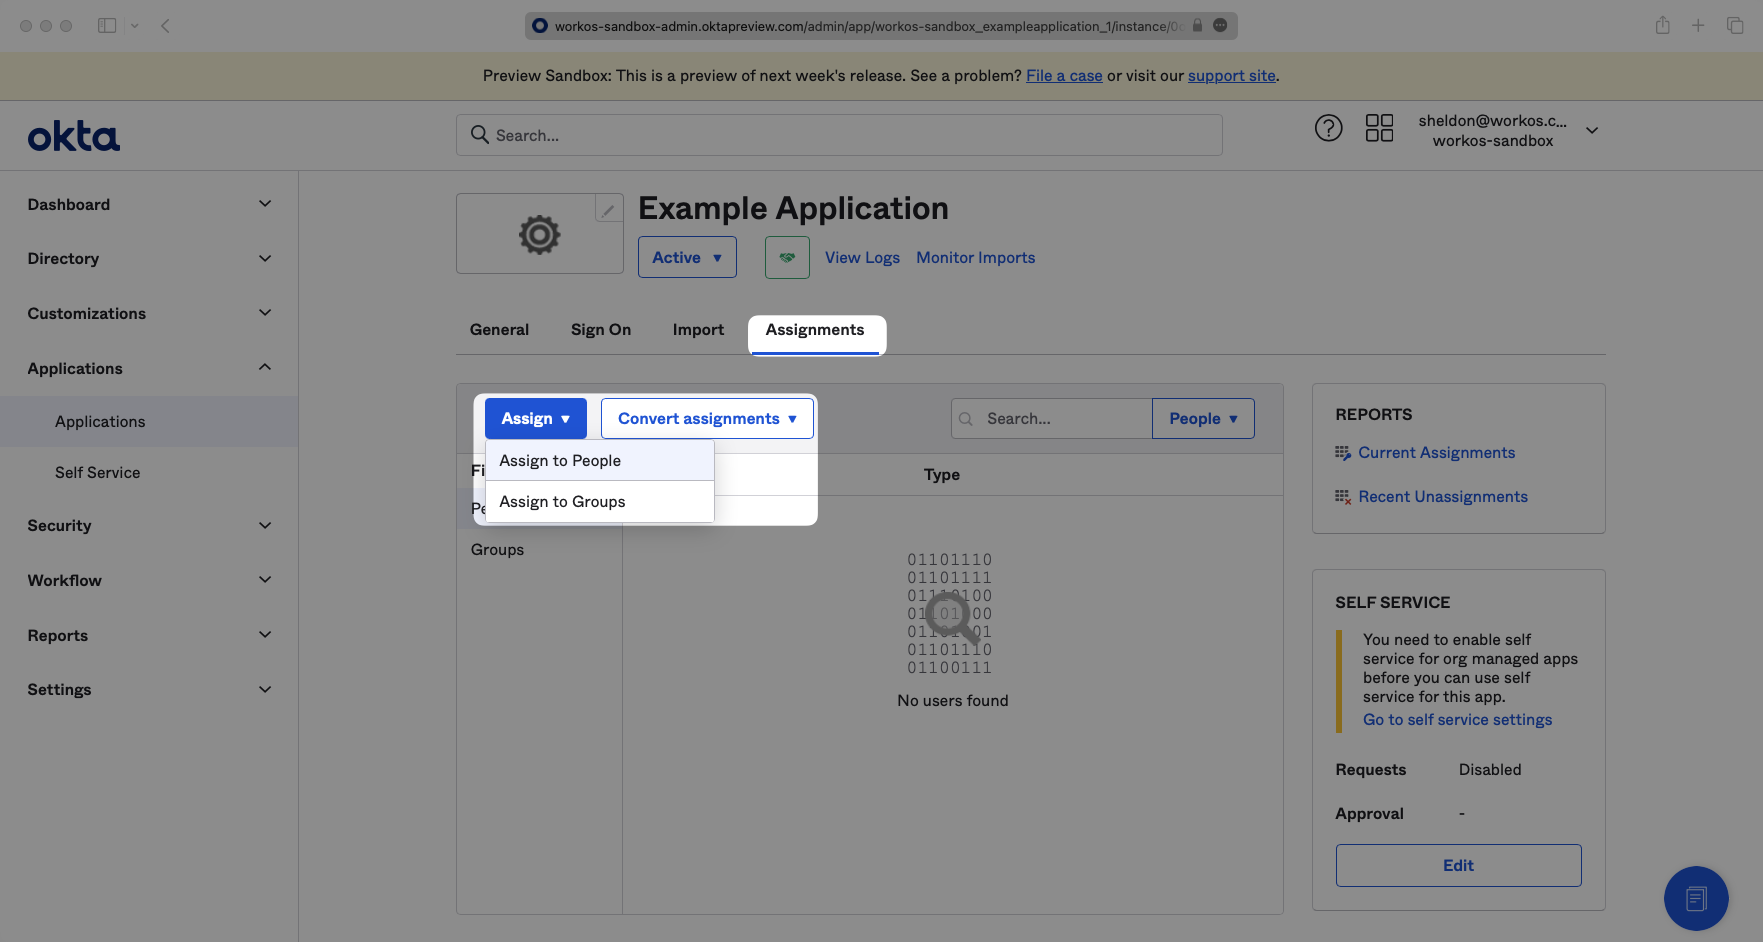
Find the individual user(s) and/or group(s) that you would like to assign to the app, and click “Assign” next to them. Click “Done” when you are finished.
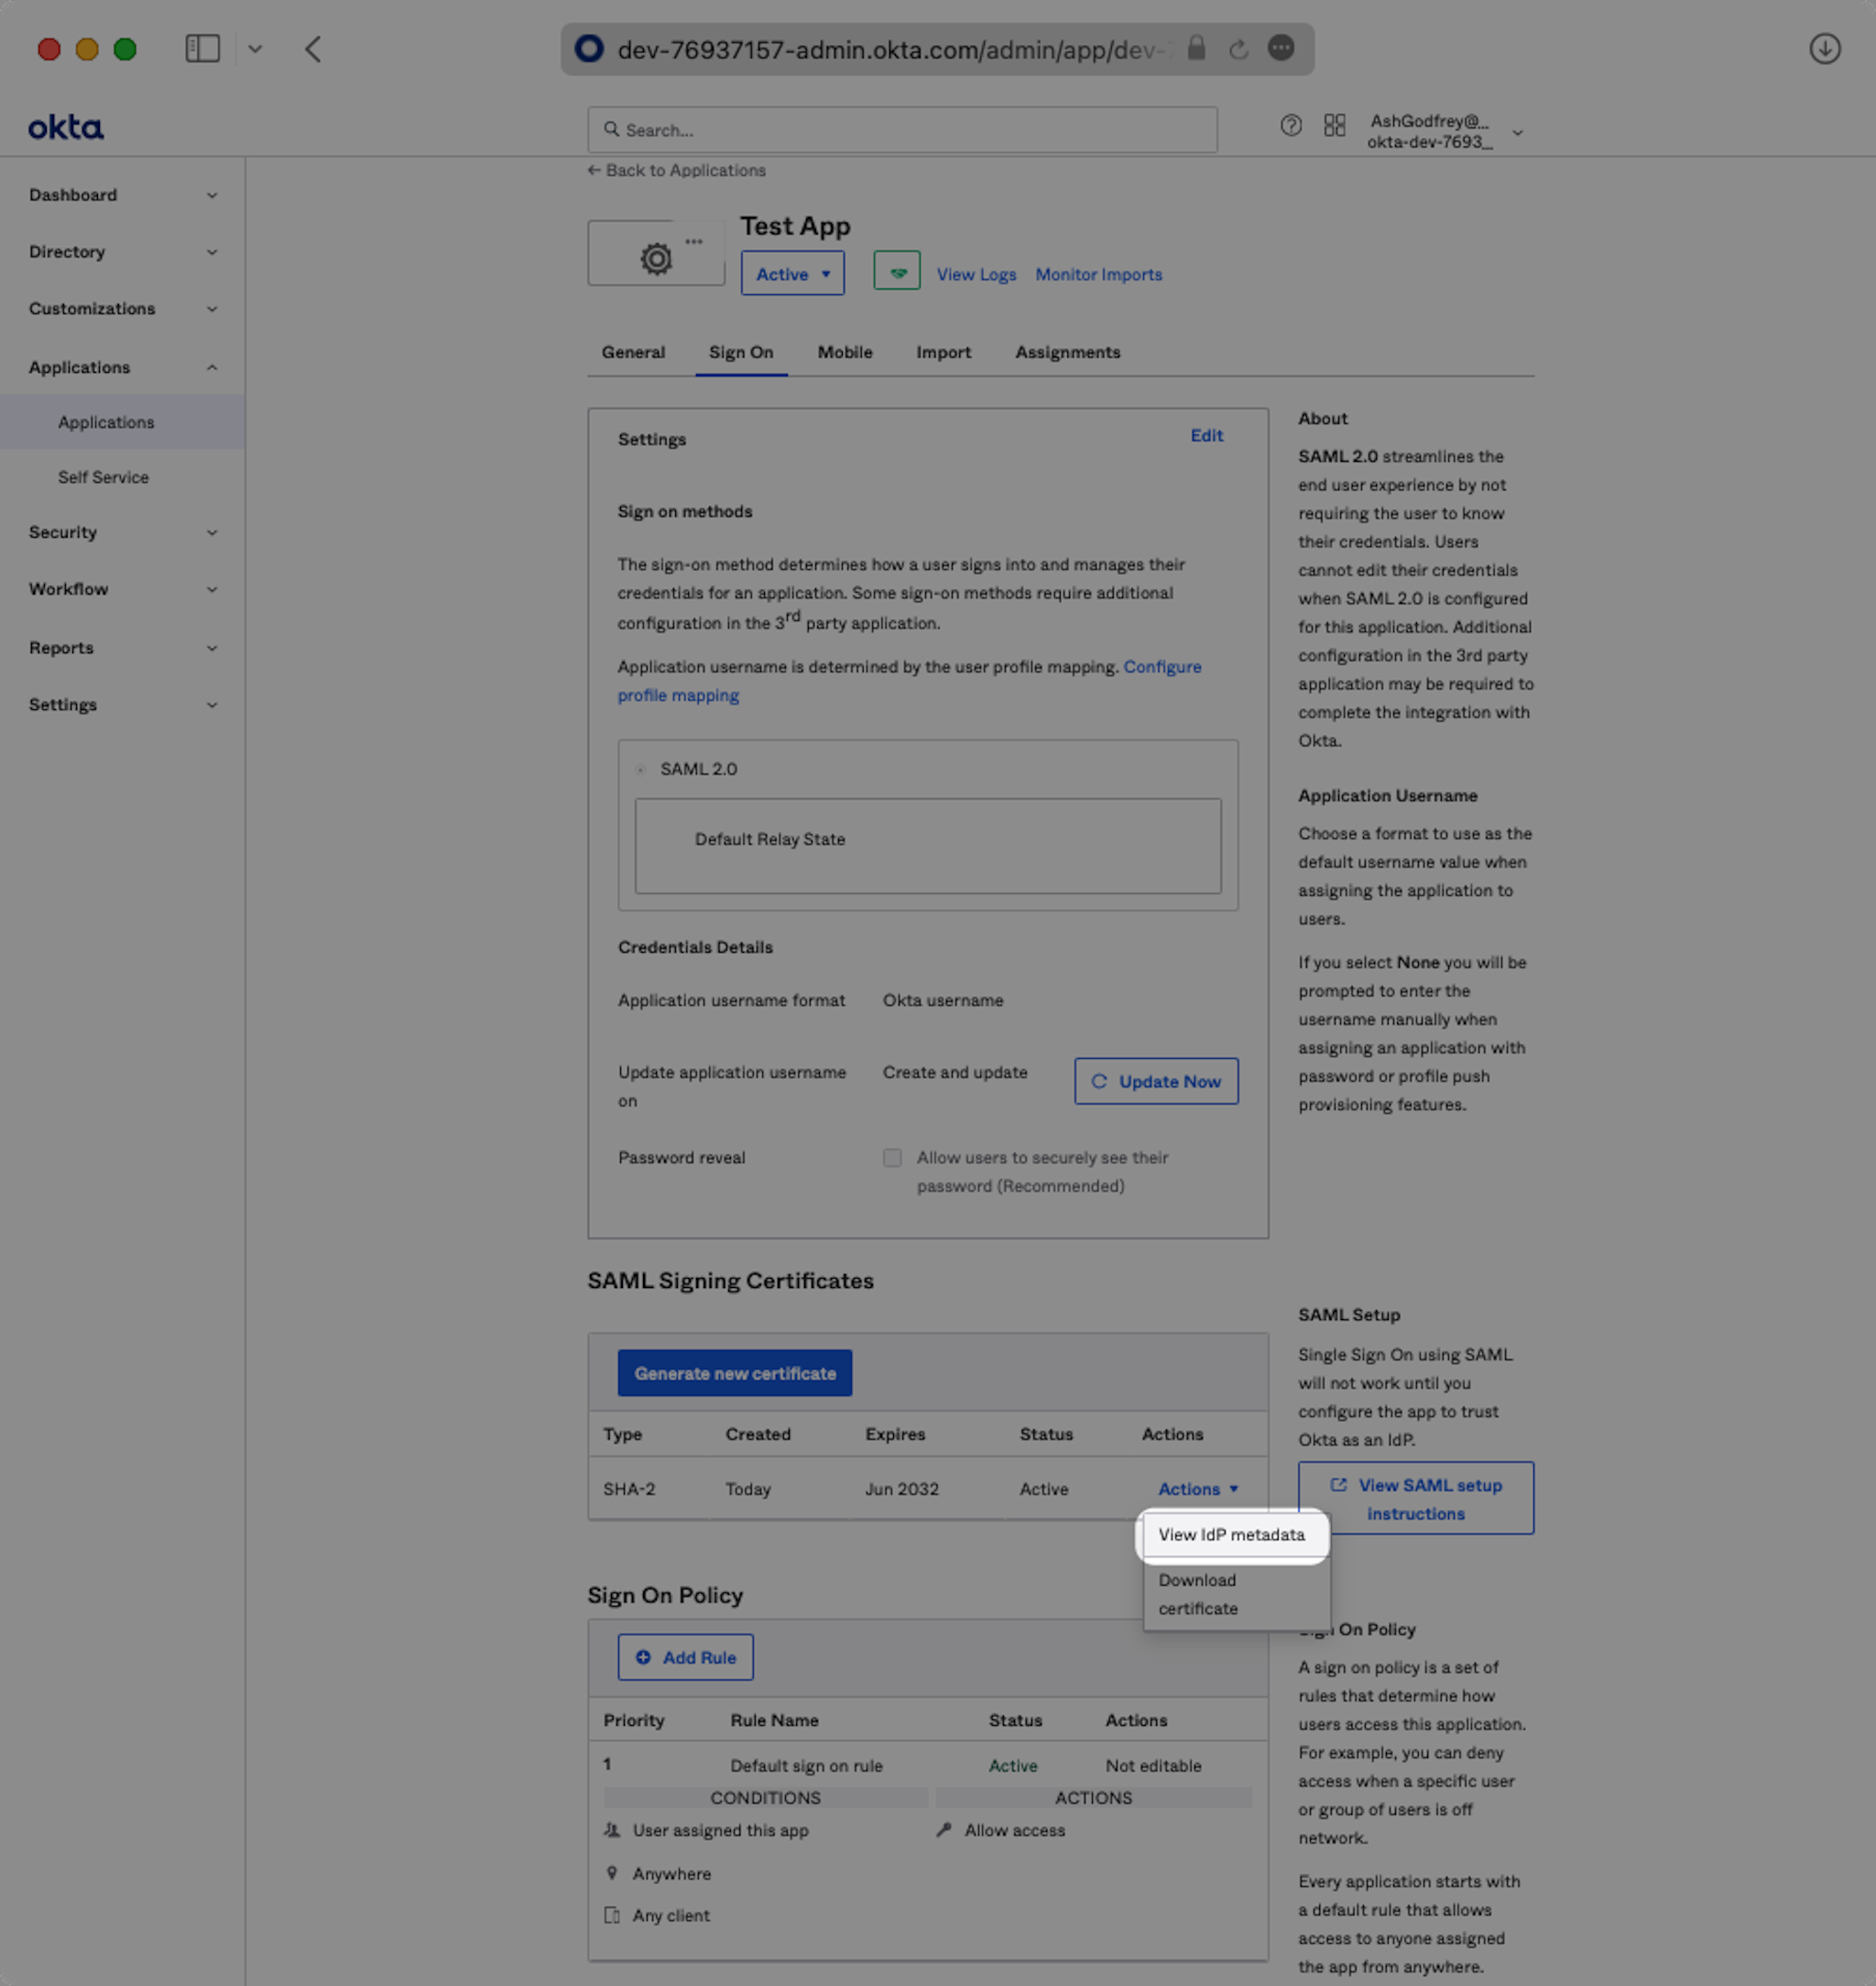
Click on the “Sign On” tab of the SAML app you just created.
Click the “Actions” dropdown for the correct certificate and select “View IdP Metadata.”
A separate tab will open. Copy the link in the browser.
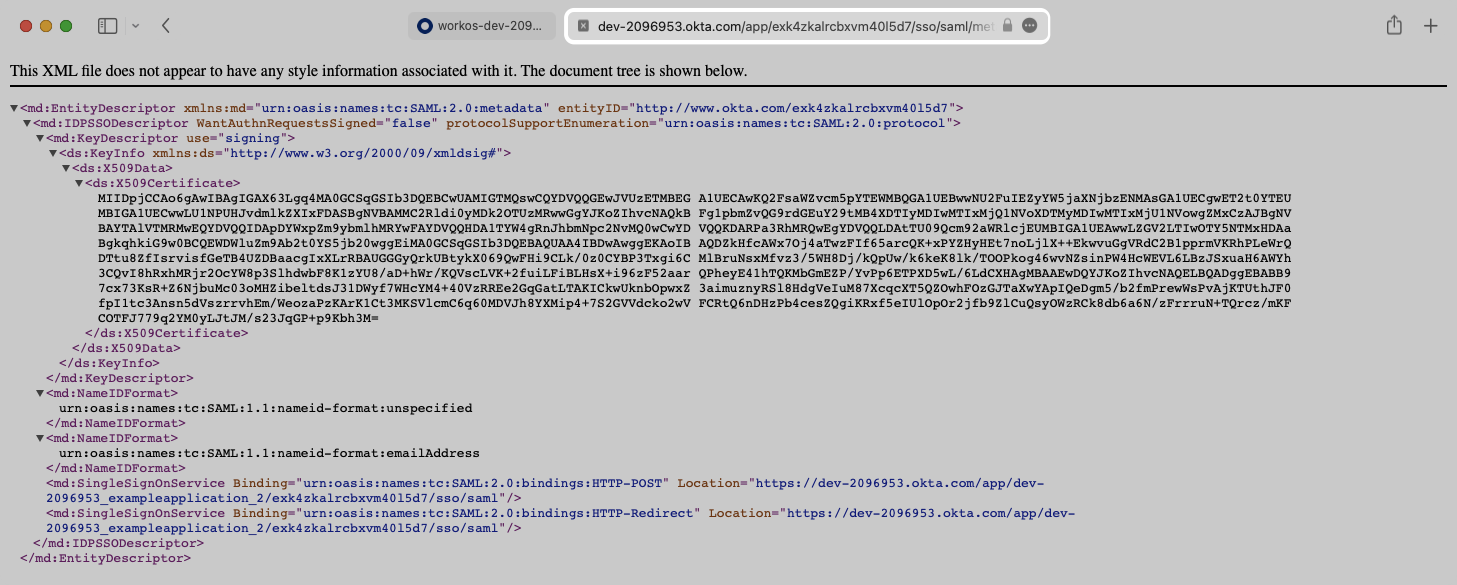
Back in the WorkOS Dashboard, click on “Edit Metadata Configuration” in the “Identity Provider Configuration” section of the Connection. Input the Metadata URL and click “Save Metadata Configuration”. Your Connection will then be linked and good to go!