SimpleSAMLphp
Learn how to configure a SimpleSAMLphp connection.
Each SSO Identity Provider requires specific information to create and configure a new Connection. Often, the information required to create a Connection will differ by Identity Provider.
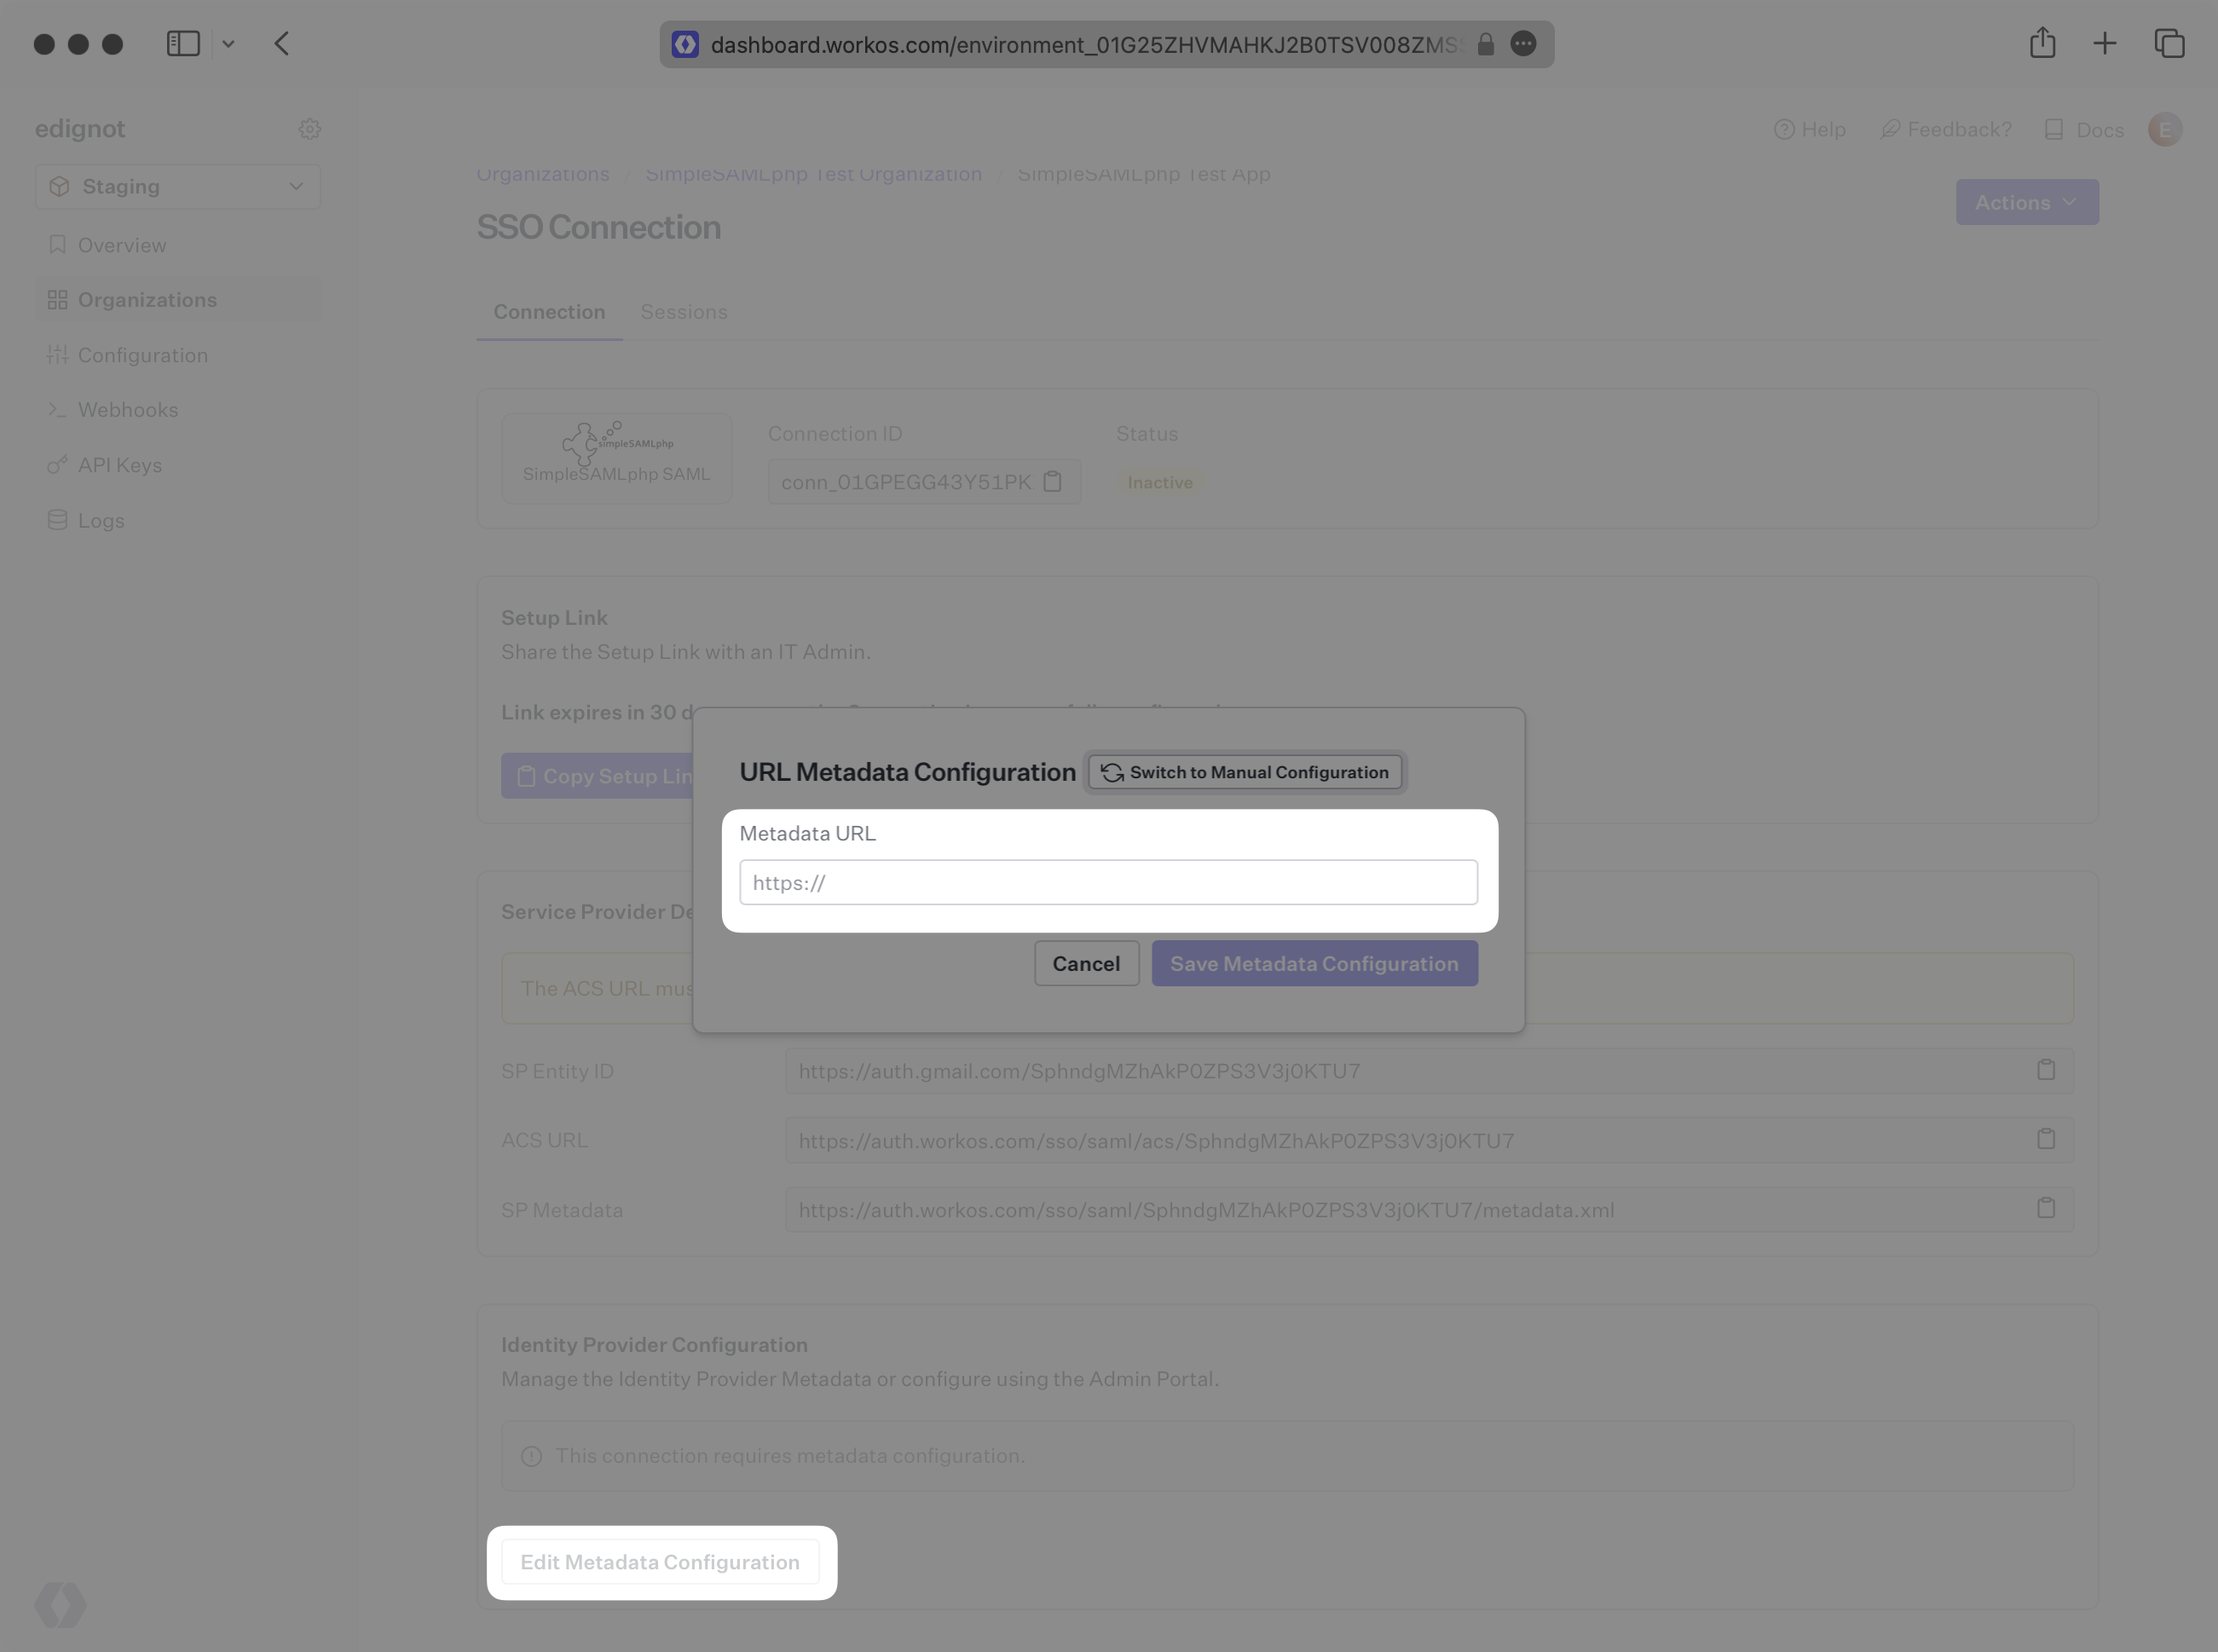
To create a SimpleSAMLphp SAML Connection, you’ll need the Identity Provider Metadata URL that is available from the organization’s SimpleSAMLphp instance.
WorkOS provides the ACS URL, the SP Metadata Link and the SP Entity ID. They are readily available in your Connection Settings in the WorkOS Dashboard.
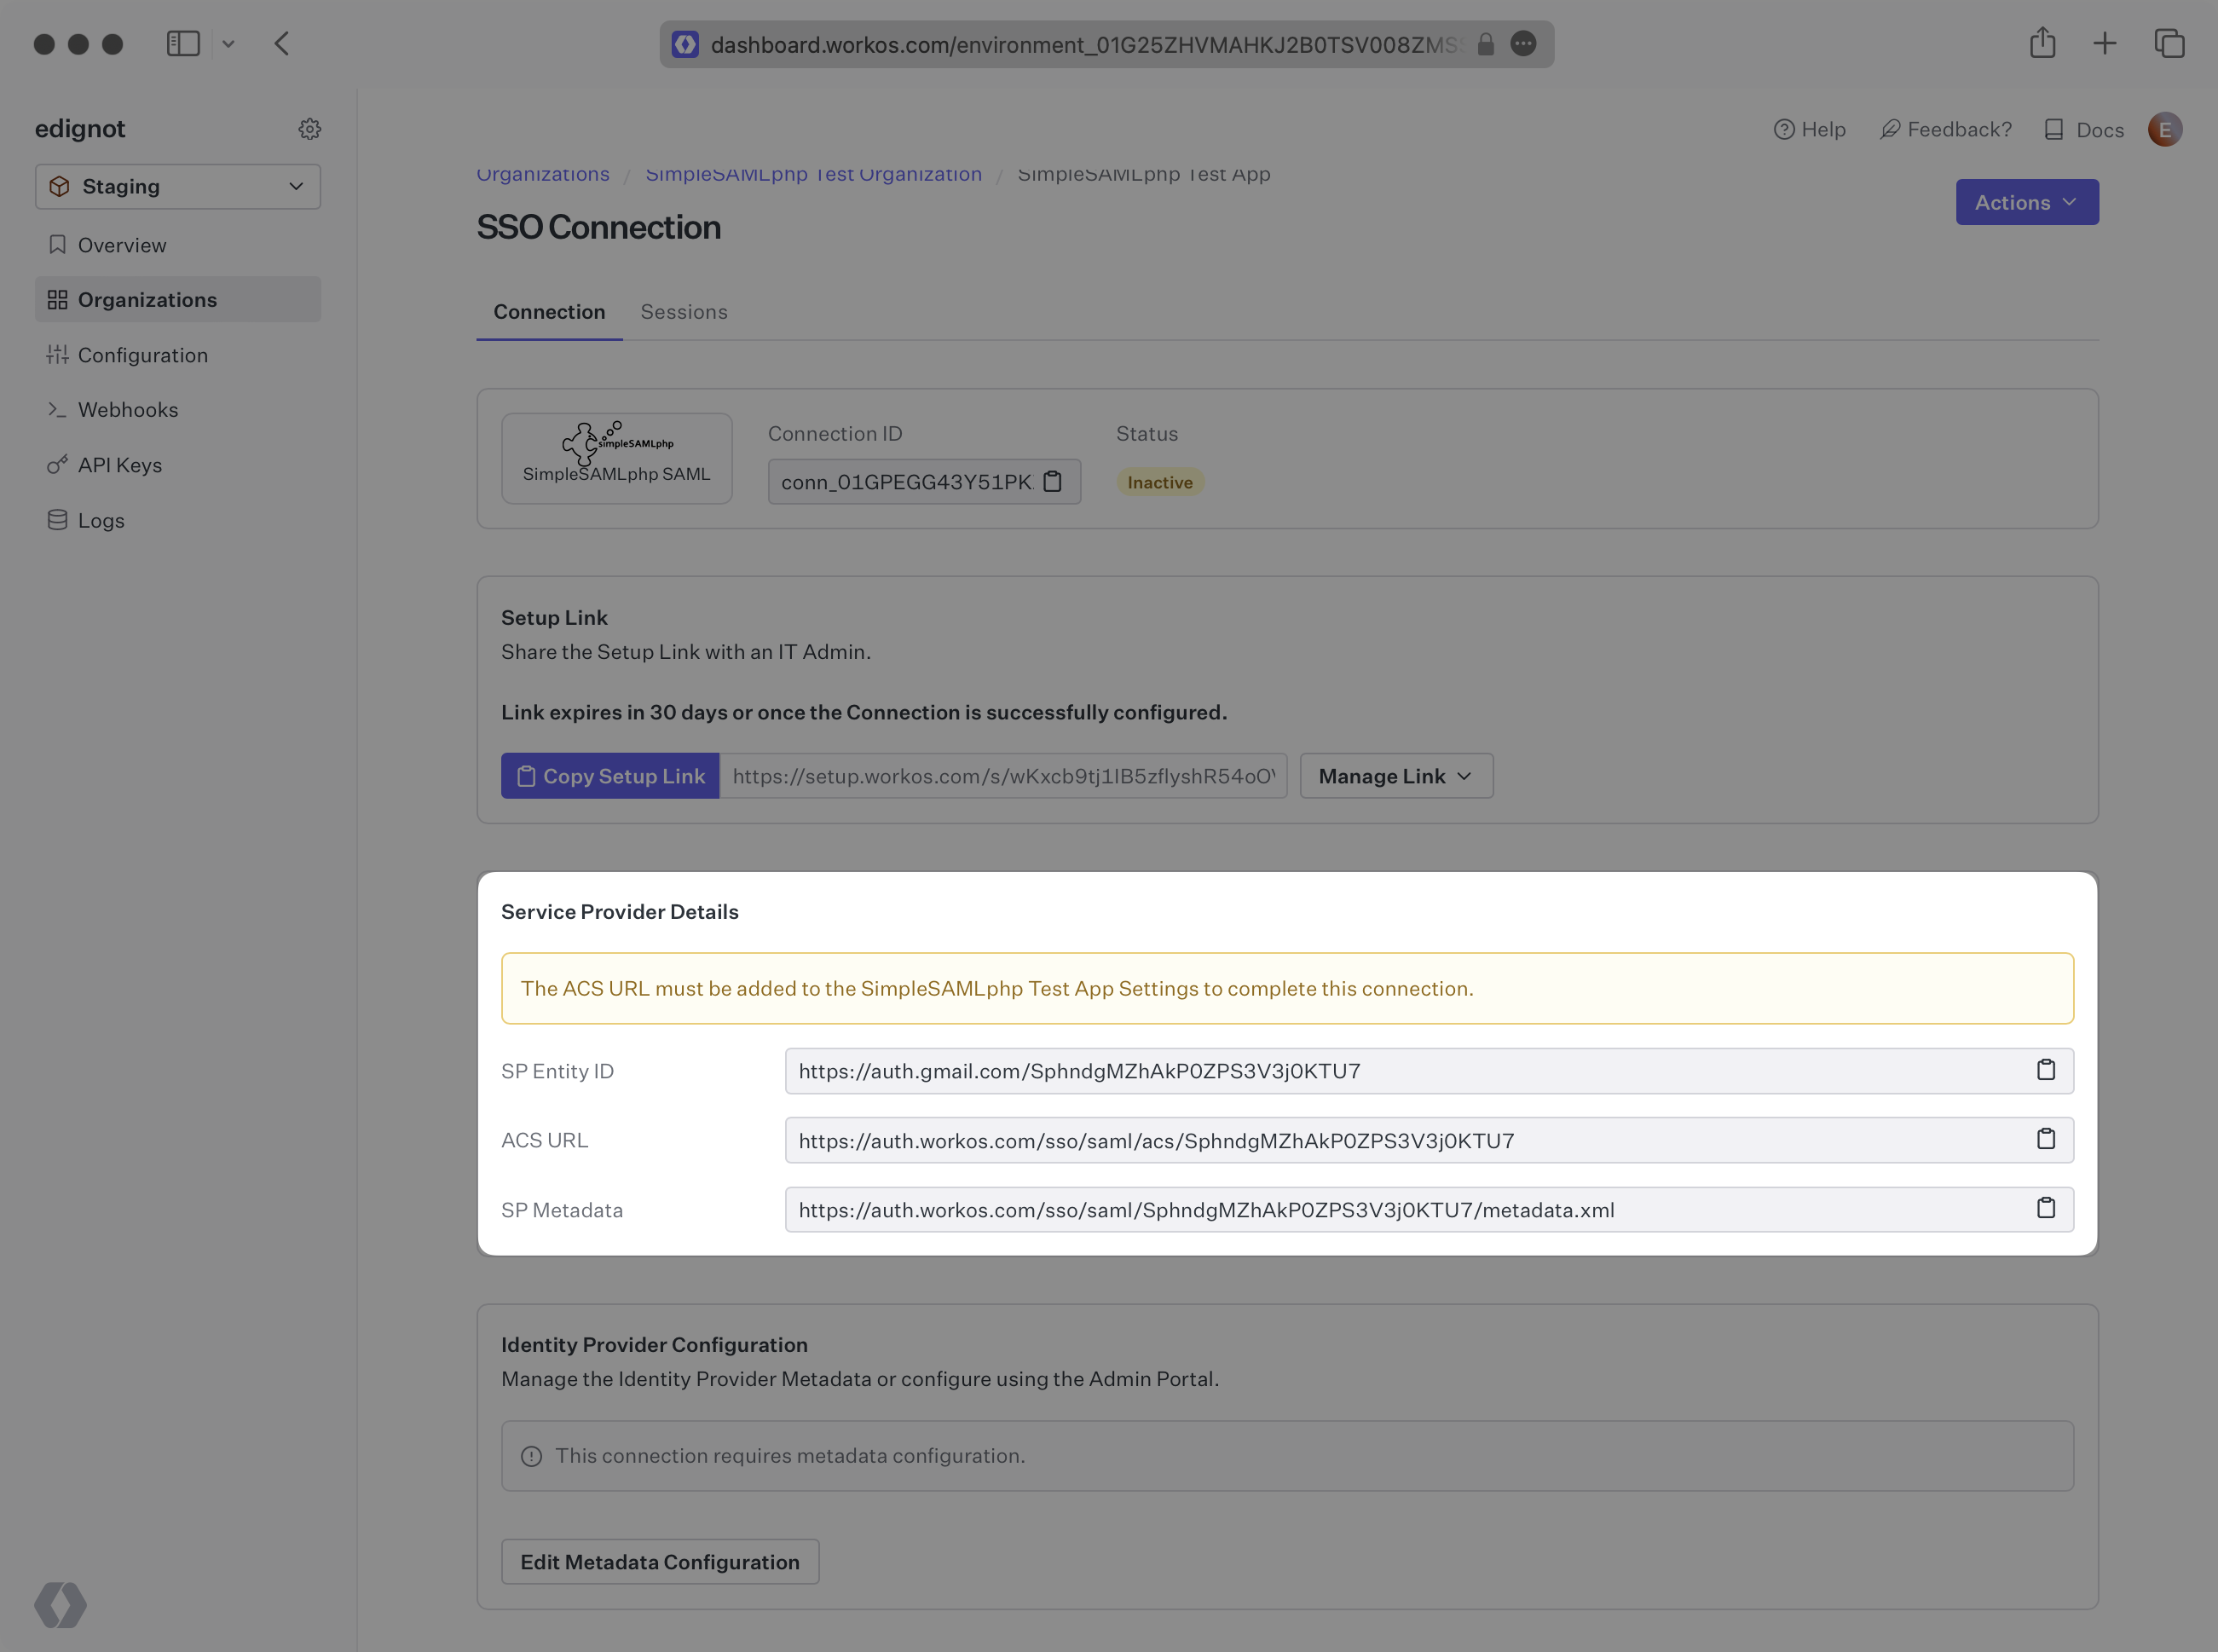
The ACS URL is the location an Identity Provider redirects its authentication response to. The SP Metadata link contains a metadata file that the organization can use to set up the SAML integration. The SP Entity ID is a URI used to identify the issuer of a SAML request, response, or assertion.
In order to integrate, you’ll need the IdP Metadata URL.
Normally, this will come from the organization’s IT Management team when they set up your application’s SAML configuration in their SimpleSAMLphp instance. But, should that not be the case during your setup, here’s how to obtain it.
Follow the SimpleSAMLphp documentation to set up SimpleSAMLphp as an Identity Provider and add a new SP.
Copy and paste the ACS URL and SP Entity ID into the corresponding fields for Service Provider configuration. You can find more on how to structure this under “Adding SPs to the IdP” in the SimpleSAMLphp documentation linked above.
The necessary SP metadata can also be found in the SP metadata URL provided in the WorkOS Dashboard.
You will need to send the following 4 required attributes in the SAML Response: firstName, lastName, email, and id.
Ensure the following attribute mapping is set:
- A user’s first name →
firstName - A user’s last name →
lastName - A user’s email address →
email - A unique identifier representing a user →
id
With identity provider role assignment, users can receive roles within your application based on their group memberships. To return this information in the attribute statement, map the groups in your identity provider to a SAML attribute named groups.
Obtain the IdP Metadata URL. As noted in the “Adding this IdP to other SPs” section of the SimpleSAMLphp documentation, the IdP metadata URL should be available from /saml2/idp/metadata.php.
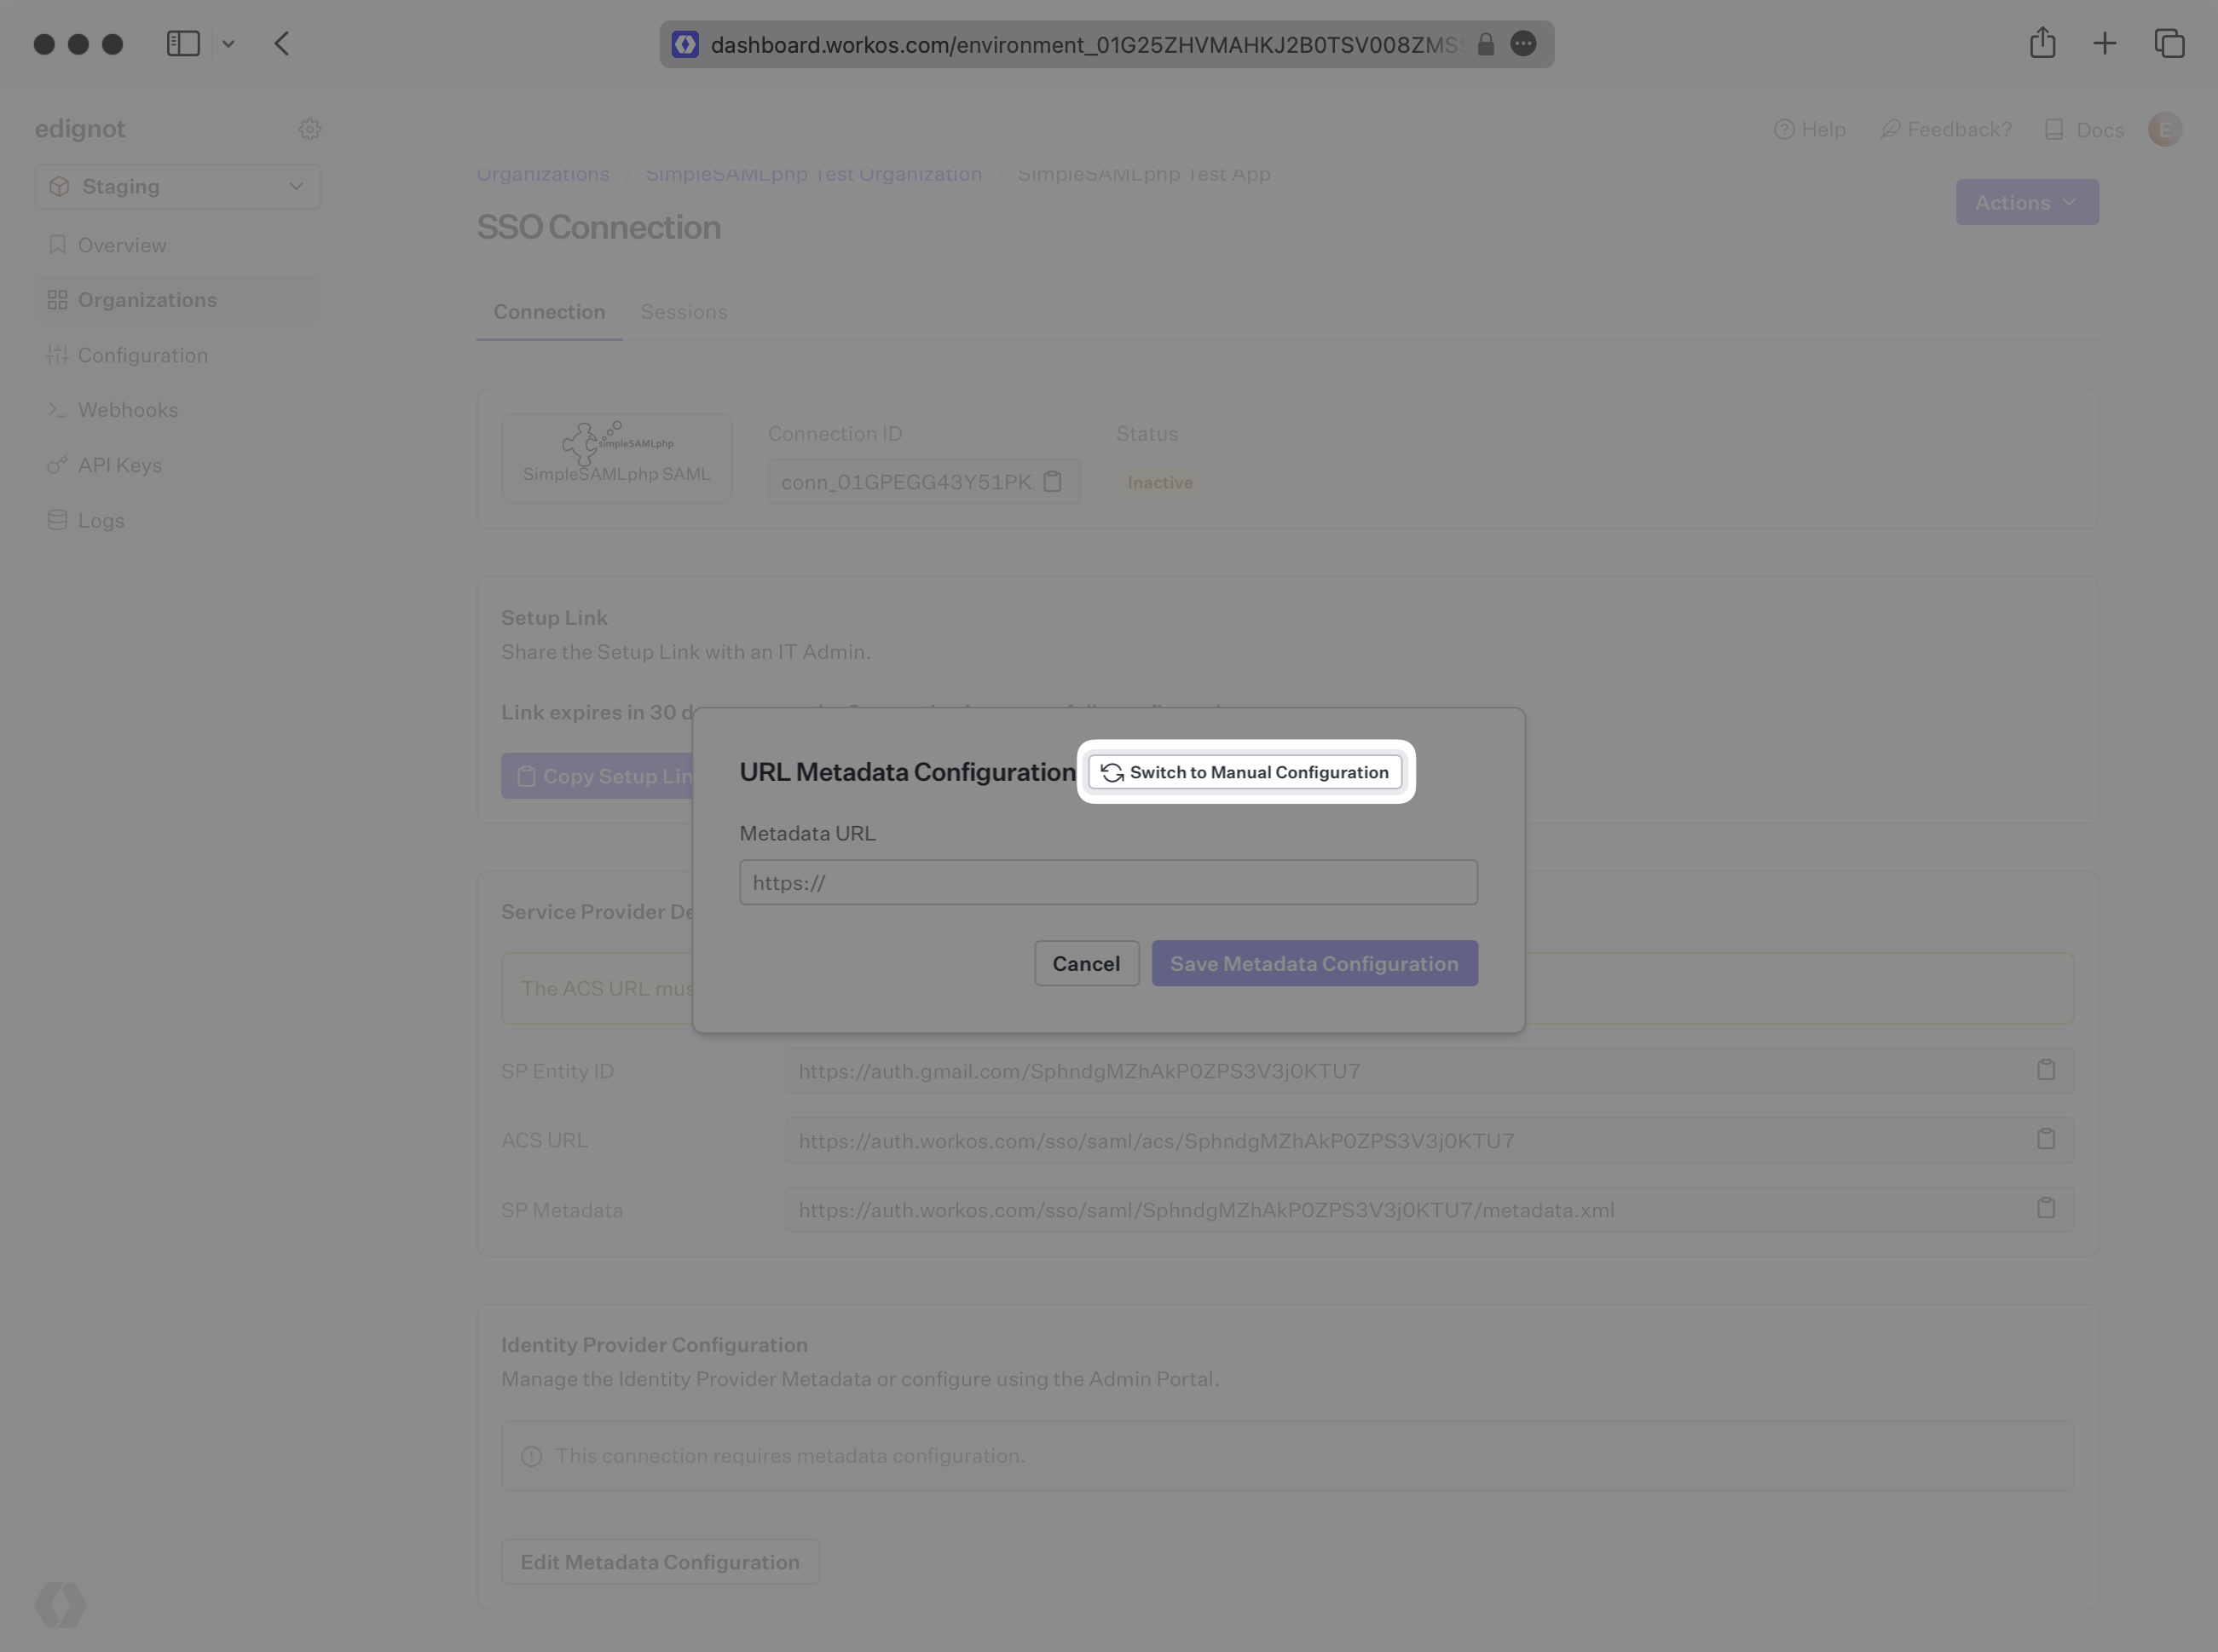
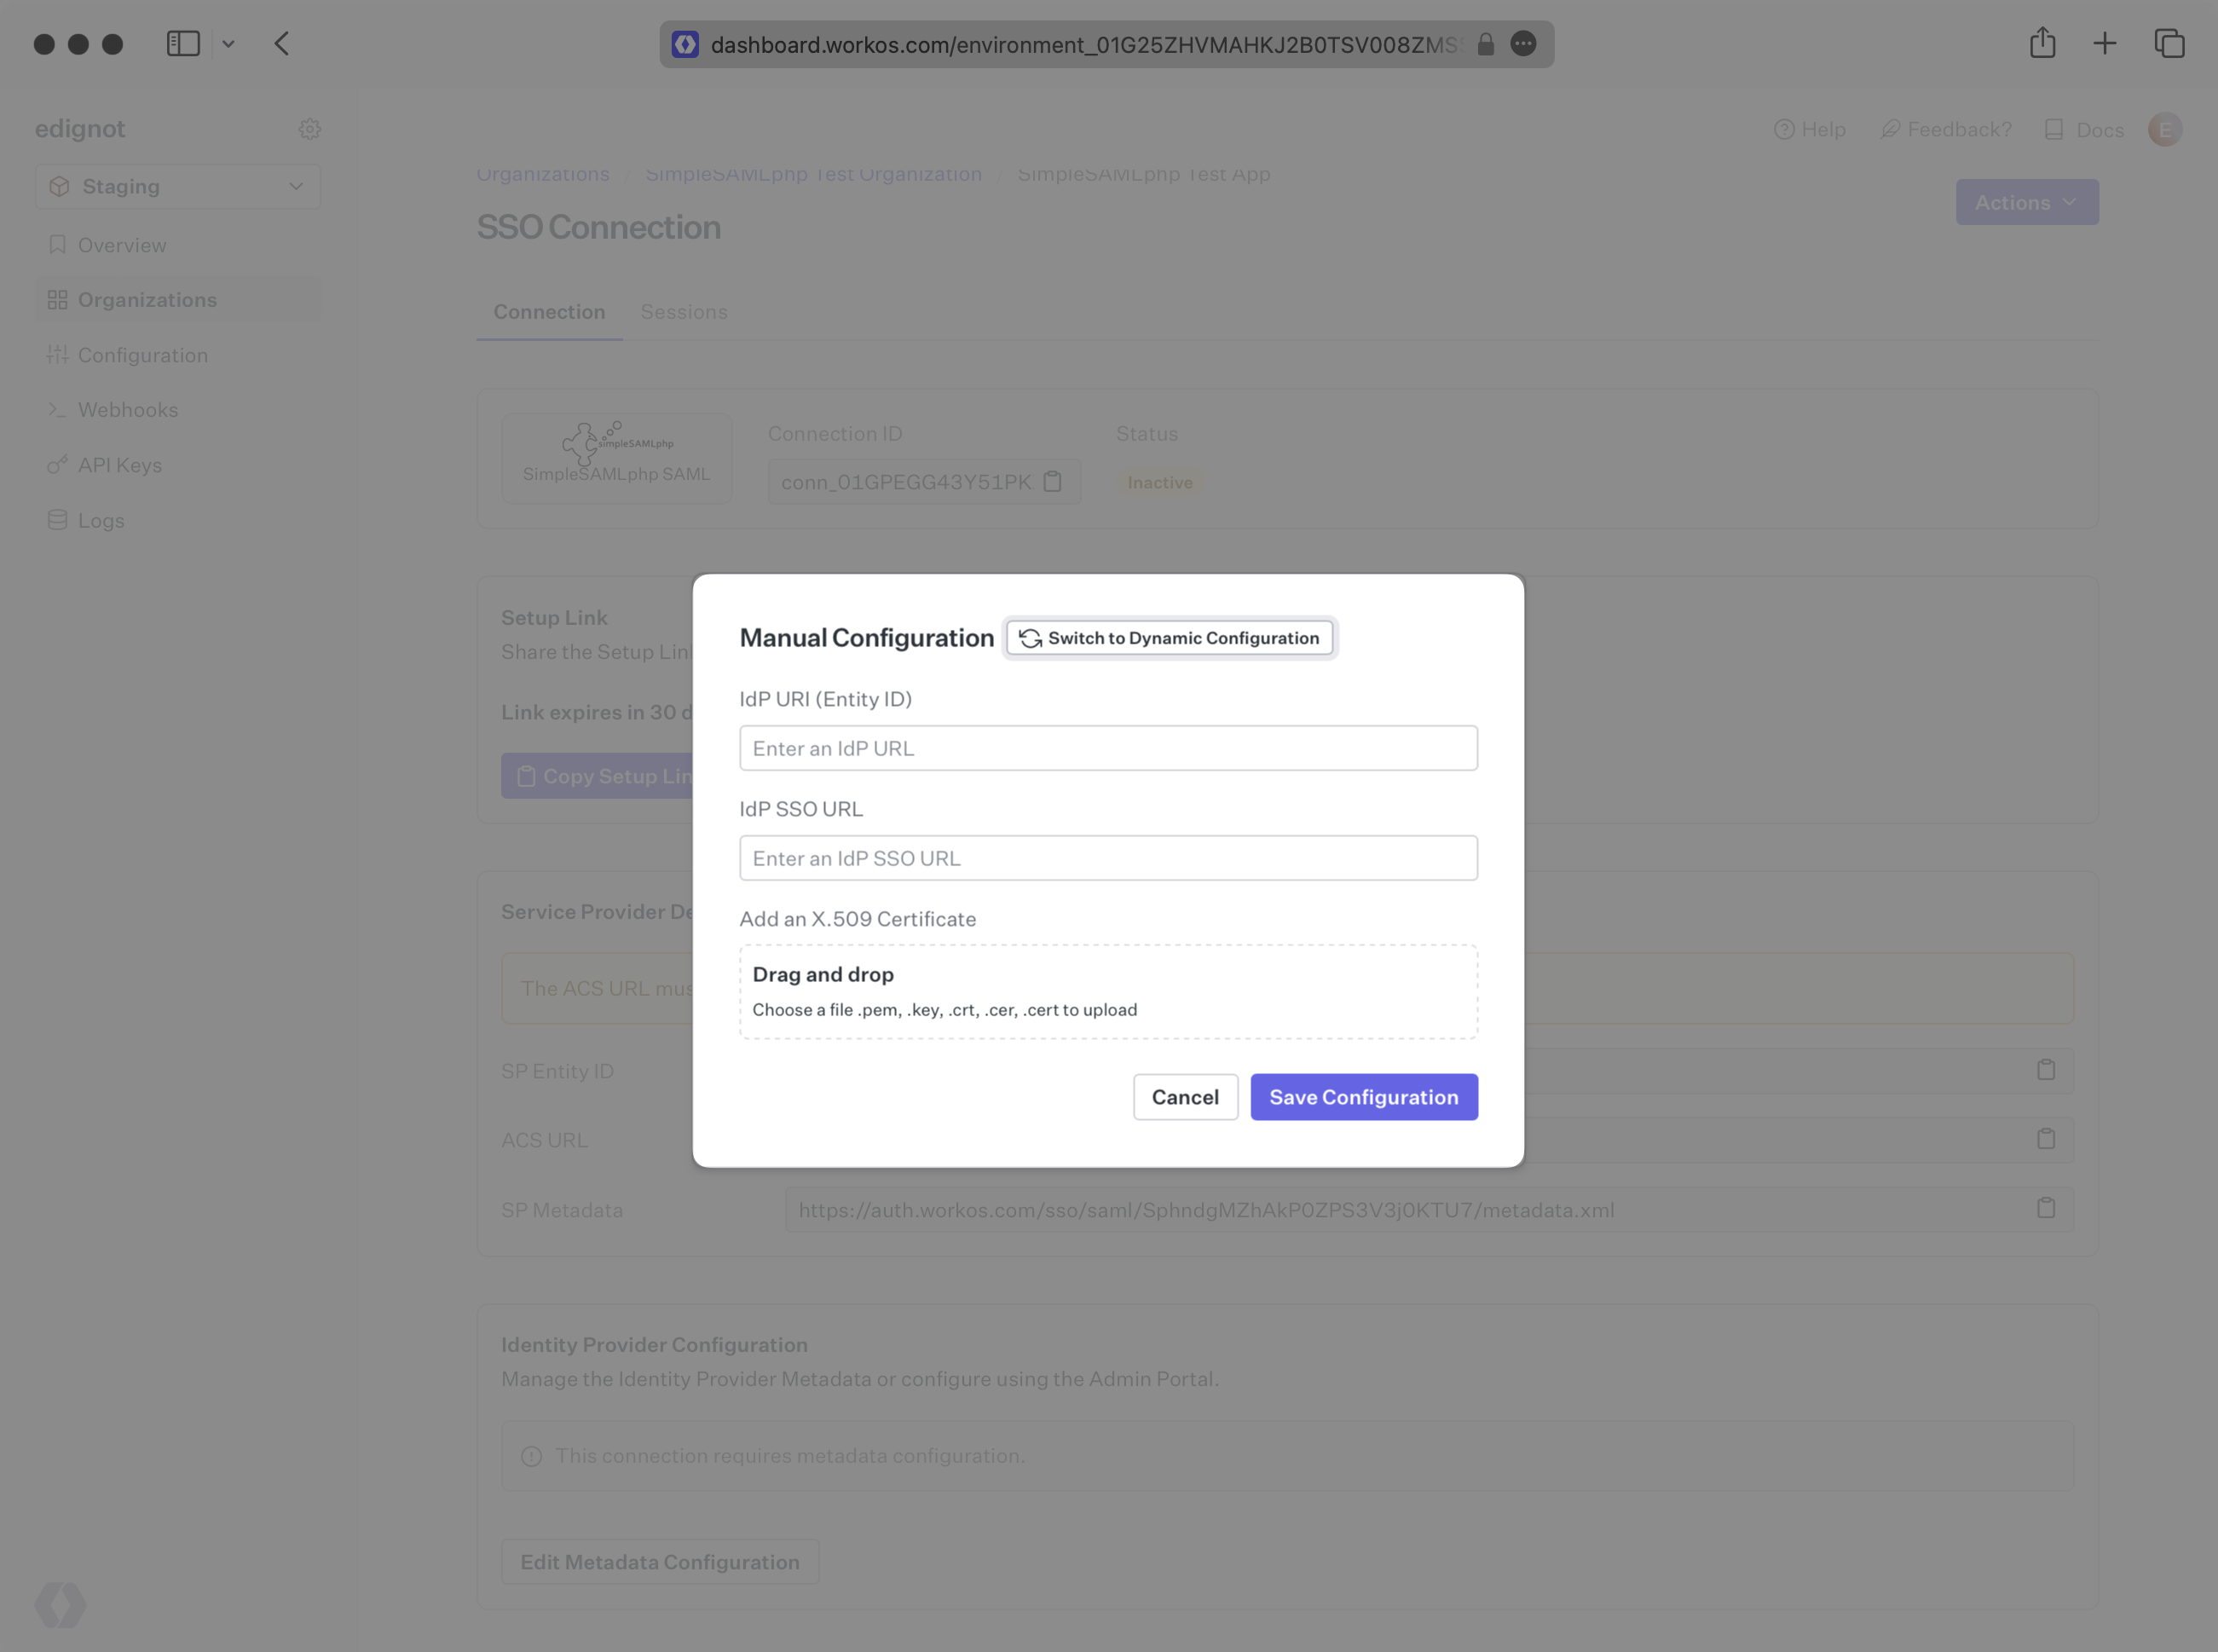
Alternatively, you can manually configure the connection by providing the IdP URI (Entity ID), IdP SSO URL and X.509 Certificate.
Your Connection will then be Active and good to go!