Migrating from a homegrown SSO implementation to WorkOS
A step-by-step guide to migrating homegrown SAML and OAuth/OIDC connections to WorkOS with zero customer downtime
If you built your own SSO solution, you already know the problem. What started as a weekend SAML integration or a quick OAuth flow has grown into a sprawling system that only two engineers fully understand, breaks whenever an enterprise customer upgrades their IdP, and quietly consumes more maintenance time than almost any other piece of your stack.
This guide walks you through replacing a homegrown SAML or OAuth/OIDC implementation with WorkOS, step by step. The goal is a clean cutover with minimal friction for your customers and zero reconfiguration required on the IdP side for the majority of your connections.
Before you start: Audit your existing setup
Unlike migrating from a managed provider, there is no export API to call. The first step is documenting what you have. Before touching any code, gather the following for each SSO connection you support:
For SAML connections:
- Your current ACS (Assertion Consumer Service) URL. Note whether you use a single ACS URL for all connections or a unique one per connection.
- Your SP Entity ID.
- Whether you have SAML request signing enabled, and which key pairs are in use.
- Whether you have SAML response encryption enabled.
- The NameID format you expect (email address, persistent, transient, etc.).
- Which IdP user attributes you rely on beyond the standard
email,firstName,lastName, andid. - Whether you use IdP-initiated SSO, and whether you plan to keep it.
For OAuth/OIDC connections:
- Client IDs and redirect URIs registered with each IdP.
- Which scopes you request.
- Any custom claims you rely on.
For both:
- Whether your app is multi-tenant and how tenants are identified at login (subdomain, path, query parameter, domain hint, etc.).
- Any existing documentation you share with enterprise customers for setting up their IdP configuration.
This audit will determine which connections can be migrated transparently and which require customers to reconfigure their IdP.
Choosing your migration path
The right approach depends on how many connections you are migrating.
- Fewer than 15 connections: Reconfigure each connection individually. WorkOS's Admin Portal makes this low-effort for IT admins, and the customer communication overhead is manageable at this scale.
- 15 or more connections: Use the proxy approach. Your existing callback URL becomes a proxy that routes SAML responses and OIDC callbacks to WorkOS. Customers do not need to change anything in their IdP, and you can migrate connections incrementally.
Both paths are covered below.
Path A: Fewer than 15 connections
Step 1. Set up a WorkOS callback endpoint
Create a new callback handler in your application. This endpoint receives the WorkOS authorization code and exchanges it for the user's profile.
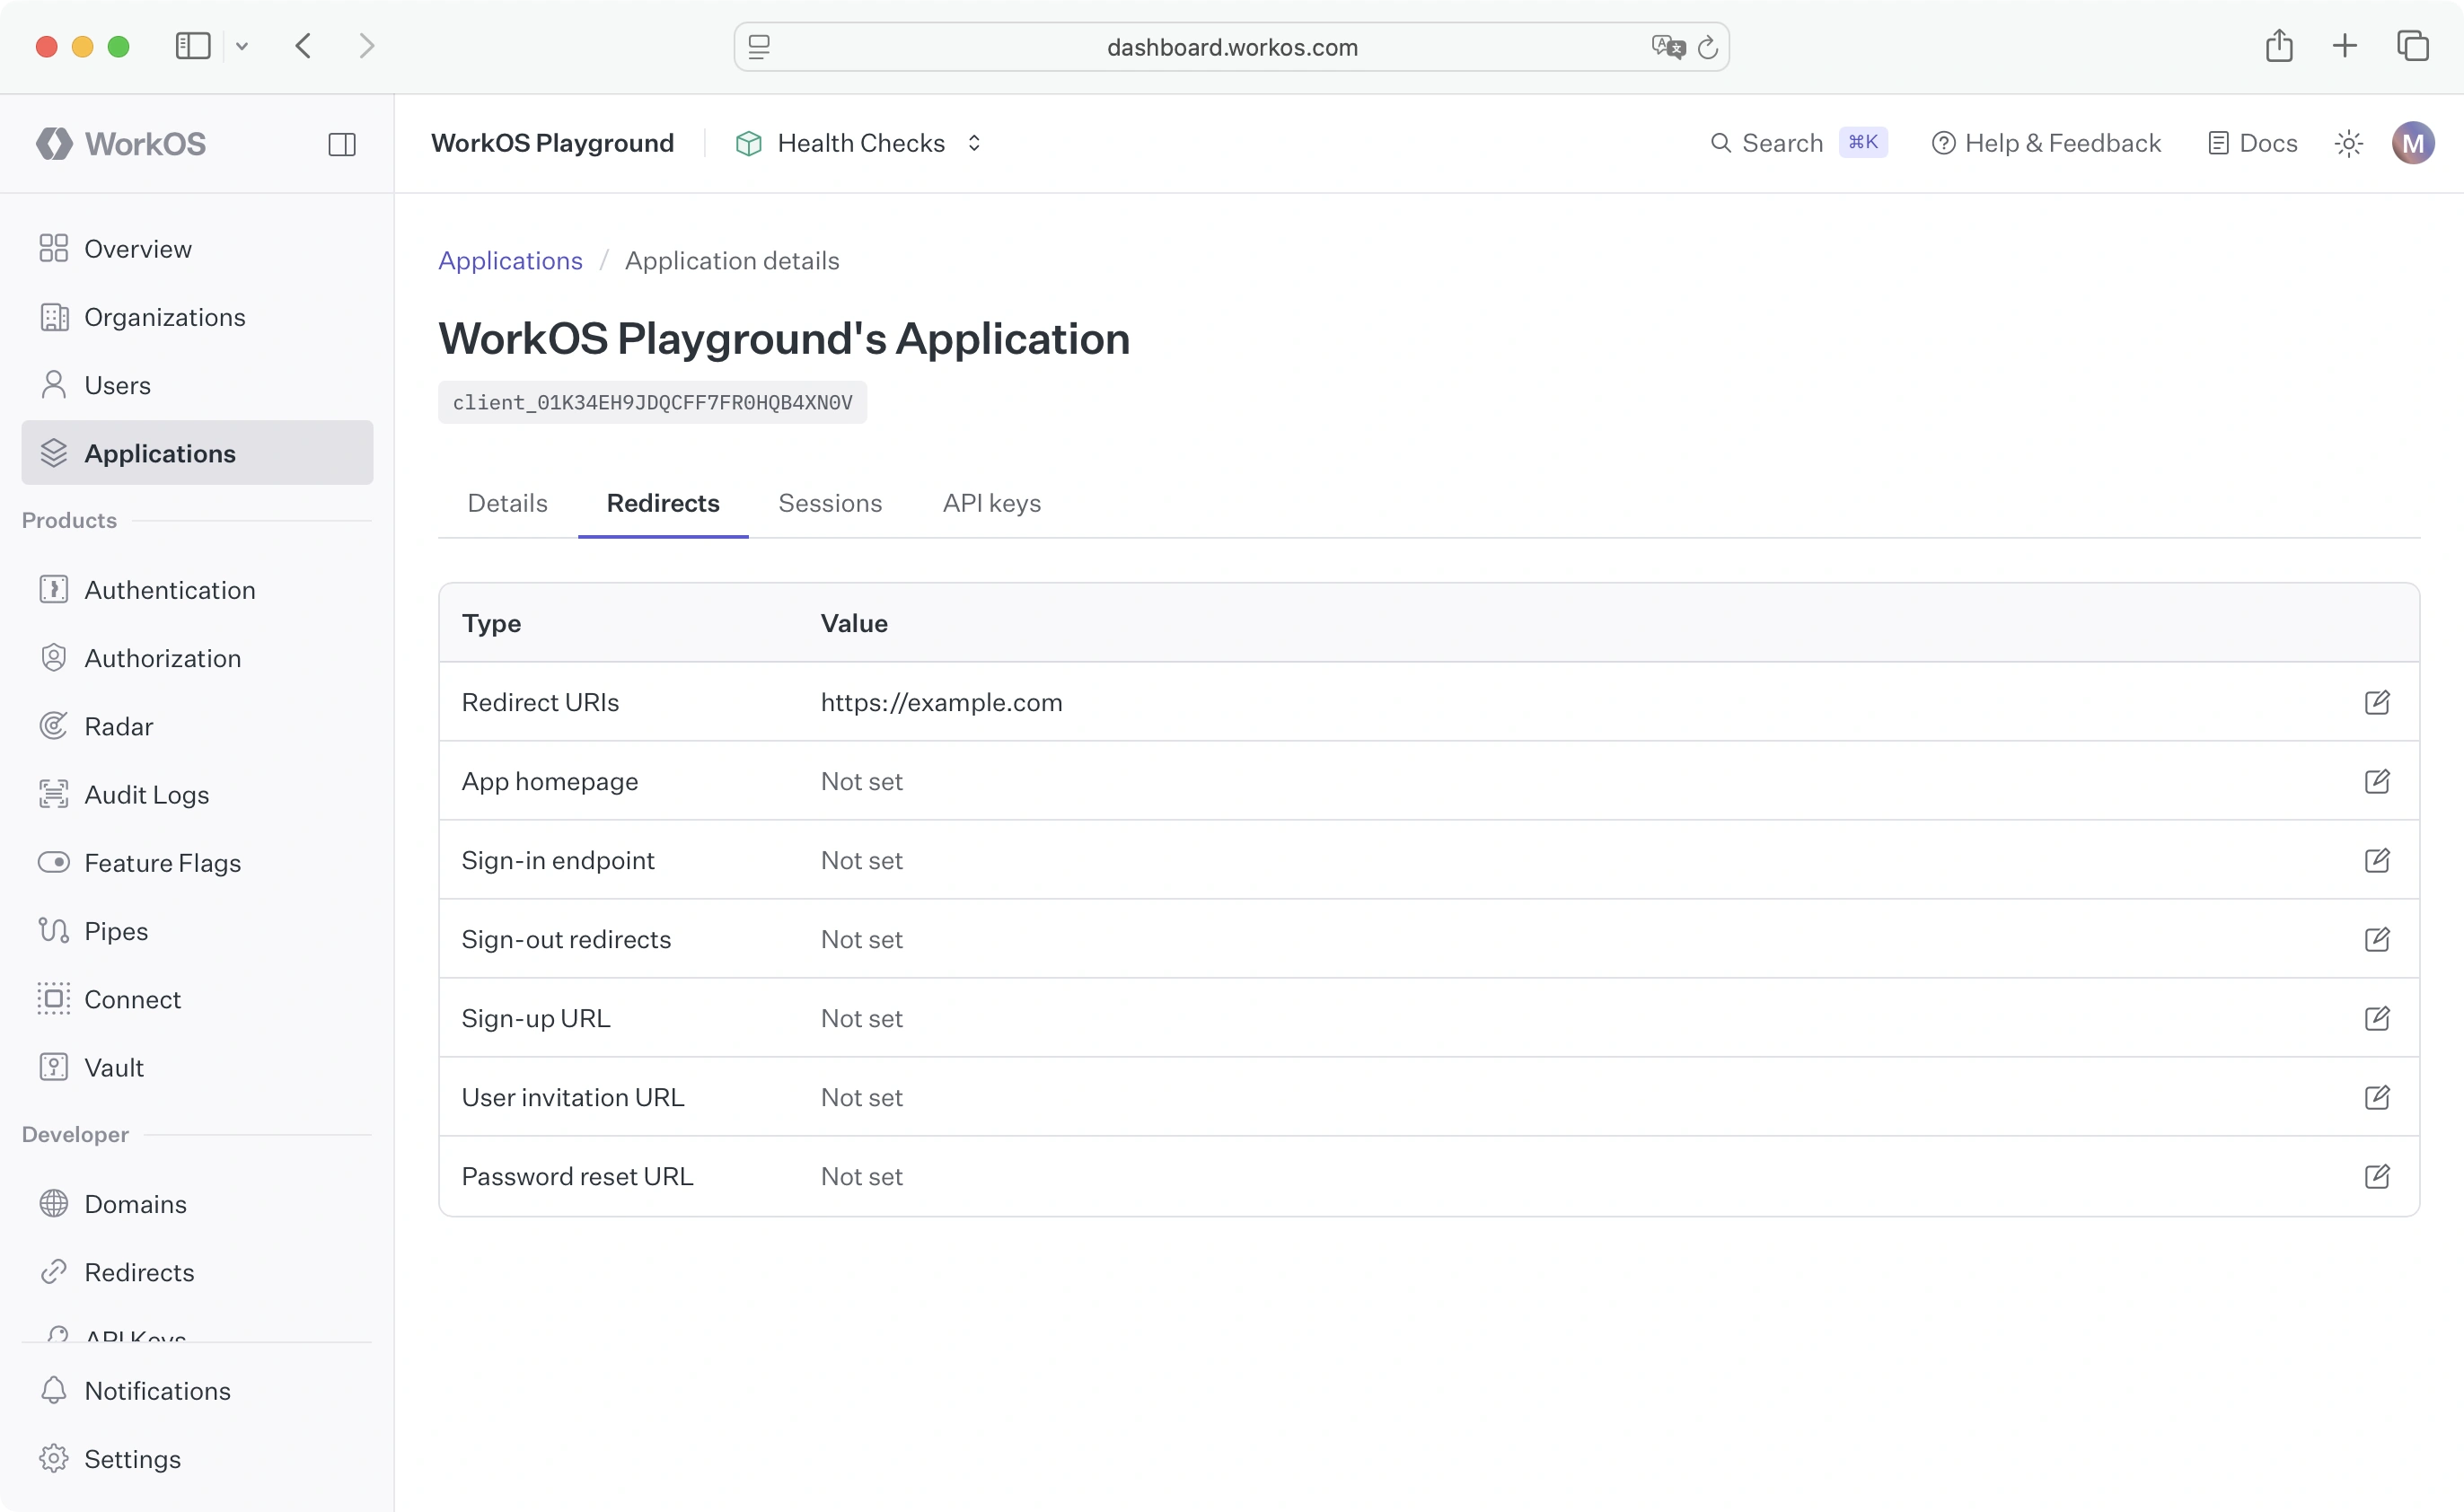
Add this callback URL as a Redirect URI in your WorkOS dashboard under Application > Redirects.
Step 2. Set up an SSO initiation endpoint
Replace (or wrap) your existing login initiation logic to generate WorkOS authorization URLs. During the transition, you will route some connections to WorkOS and keep others on your existing handler until they are migrated.
Step 3. Create organizations and send Admin Portal links
For each connection you are migrating:
- Create a new organization in WorkOS (via the dashboard or the API).
- Generate an Admin Portal setup link and send it to the customer's IT admin. The Admin Portal walks them through creating a new SAML or OIDC connection and lets them test it before going live.
- Once the IT admin activates the connection, add it to your
WORKOS_CONNECTION_MAPand route traffic to WorkOS.
Path B: 15 or more connections (proxy approach)
This path lets you migrate all connections without asking any customer to reconfigure their IdP. Your existing callback URL stays in place but acts as a proxy, forwarding SAML responses and OIDC callbacks to WorkOS.
Step 1. Export your existing connections
WorkOS needs to import your connection configuration before the proxy can resolve incoming requests. Prepare a CSV file using the WorkOS self-hosted connections CSV template and provide it to the WorkOS team via a secure transfer method. Include:
- Your internal organization or tenant identifier
- IdP Entity ID
- IdP SSO URL
- IdP X.509 signing certificate
- NameID format
- ACS URL (your current one, which becomes the proxy)
For OIDC connections, include the Client ID, Client Secret, and discovery document URL for each IdP.
The WorkOS team will validate the file and import the connections. They will flag any connections that cannot be migrated transparently (for example, those using SAML request signing with private keys you cannot export) so you can handle them separately via the Admin Portal.
Step 2. Set up a WorkOS callback endpoint
Same as step 1 in Path A. Create a new callback handler and register it as a Redirect URI in your WorkOS dashboard.
Step 3. Convert your existing callback to a proxy
Your existing ACS URL or OAuth callback handler becomes the proxy. When a SAML response or OIDC callback arrives, the proxy checks whether the connection has been imported to WorkOS. If it has, it forwards the request to WorkOS. If not, it falls through to your existing handler.
.png)
Here is a simplified example for a SAML proxy in Express:
For OIDC, the same pattern applies: intercept the redirect callback, check whether the connection is in WorkOS, and forward accordingly.
Step 4. Set up an SSO initiation endpoint
Same as Path A, step 2. Add migrated connections to your map and generate WorkOS authorization URLs for them. Unmigrated connections continue to use your existing authorization logic.
Step 5. Opt in connections gradually
Start with a single low-risk connection. Add its ID to your WORKOS_CONNECTION_MAP, verify that sessions appear as Successful in the WorkOS dashboard, and confirm that users can log in. Then roll out to a small percentage of connections before expanding to the full set.
Use the WorkOS Events API to monitor progress at scale:
authentication.sso_succeededauthentication.sso_failedconnections.activated
If you use Datadog, you can stream these events directly to your instance via the WorkOS Datadog integration.
Handling connections that cannot be migrated transparently
Some connections will require customers to reconfigure their IdP side. This is typically the case when:
- SAML request signing is in use with private keys that live inside your homegrown implementation and cannot be transferred.
- SAML response encryption uses a key pair you cannot hand off.
- The connection uses a non-standard NameID format that cannot be expressed in the imported configuration.
For these, use the WorkOS Admin Portal to give IT admins a self-serve setup flow. Generate a portal link from your WorkOS dashboard or via the API and email it to the customer. The Admin Portal provides step-by-step IdP configuration instructions, lets the admin test the connection before activating it, and notifies you via the connection.activated event when it is ready.
Shutting down the old implementation
Once all connections are routed through WorkOS and you have monitored successful sessions across the full customer base for a reasonable period (a few weeks is a safe target), you can begin decommissioning your homegrown SSO code.
If you used the proxy approach, your existing ACS URL endpoint can be removed once all connections have been migrated and tested. The only thing you need to keep is the DNS resolution for your callback domain, if any customers still have the old ACS URL registered in their IdP and have not yet switched to the new one.
Suggested decommission checklist:
- All connections show
Activestatus in WorkOS with at least oneSuccessfulsession - No traffic is hitting your legacy SAML or OIDC handlers (verify in your access logs)
- Your homegrown SAML library dependencies (e.g.,
passport-saml,samlify,node-saml) are removed - Internal documentation is updated
- Customer-facing SSO setup guides point to WorkOS Admin Portal flows
What you get on the other side
Moving to WorkOS removes the maintenance surface area of a homegrown implementation and gives you:
- Managed SAML certificate renewal flows, so expiring IdP certificates no longer cause outages
- Streamlined SAML and OIDC error handling with human-readable diagnostics in the dashboard
- Admin Portal for self-serve IT admin onboarding on new connections
- IdP-initiated SSO support with configurable allow/deny controls
- SAML request signing and response encryption managed by WorkOS
- Group and role attribute mapping integrated with WorkOS RBAC
- Events API for observability across all connections
If you want to migrate your full auth stack (not just enterprise SSO), AuthKit covers the full user management layer.