How to add Radar to a custom AuthKit UI
How to send Radar the signals it needs when you're building your own sign in and sign up UI on the User Management APIs.

If you use AuthKit's hosted UI, Radar is already protecting your sign-in and sign-up flows. No setup required. But if you're calling the User Management APIs directly to power your own sign-in forms (what we call headless AuthKit), Radar doesn't automatically see those requests. It needs a few extra signals from you first.
This tutorial walks through wiring up Radar in a custom authentication flow: collecting client-side signals, threading them through sign up and sign in, and handling the challenges Radar can throw back at you.
Radar in the User Management APIs is currently in preview. If you want to follow along in your own environment, contact support or ping your shared Slack channel to get it enabled.
What you're building
We'll build a simple email and password auth flow using Next.js (App Router, TypeScript), though the same pattern applies to any stack. The shape of it looks like this:
- A client component collects a device signals token as the user loads the sign up or sign in page.
- A server route handler calls the WorkOS User Management API, passing along the signals token plus the user's IP address and user agent.
- Radar evaluates the attempt. Most of the time it just allows it through. Sometimes it asks for a challenge (an emailed one-time code, for example). Occasionally it blocks the attempt outright.
- Your app handles whichever of those three outcomes comes back.
Everything starts in log mode, meaning Radar records what it would have done without actually blocking or challenging anyone. You flip a switch in the dashboard once you're happy with what you see.
Prerequisites
- A WorkOS account with Radar in the User Management APIs enabled for your environment
- An existing app using the User Management APIs for password or Magic Auth sign in
- Node 18 or later
Step 1: Install the signals library
Radar needs to see browser-side signals (device fingerprint, bot detection heuristics, and so on) before it can make a good decision. The @workos/radar-signals package handles collecting them and hands you back a correlation token to send to your server.
Step 2: Wrap your auth UI in the signals provider
Find your client ID in the WorkOS dashboard under Applications. Since signal collection needs to run in the browser, this has to be a client component.
Signal collection kicks off automatically as soon as the provider mounts, so there's a brief moment before the token is ready. That's what tokenReady is for.
Step 3: Grab the token in your sign up form
Notice the token comes from the browser, but the user's real IP address and user agent should come from the request your server receives, not from anything the client sends up. That way nobody can spoof them.
Step 4: Create the user and authenticate, threading the Radar attempt
Sign up is a two step process: create the user, then authenticate. Radar needs to see both calls, and it needs the second call to know it's a continuation of the first. That's what radarAuthAttemptId is for. Capture it from the create user response and pass it into the authenticate call.
We'll write handleRadarError in a moment, once we've covered what it needs to handle.
Step 5: Sign in is simpler
For sign in there's no user creation step to thread an attempt ID through, so you just pass the signals token straight into the authenticate call.
Magic Auth and OAuth/SSO follow the same shape.
- For Magic Auth, thread
radarAuthAttemptIdfrom the create magic auth session response into the code exchange, the same way you did for sign up. - For OAuth and SSO, pass
signalsIdwhen you exchange the authorization code, since there's no earlier step to correlate.
Step 6: Handle what Radar sends back
This is the part that's easy to skip and then get a confusing bug report later. When Radar isn't happy with an attempt, the authenticate call doesn't quietly fail, it comes back with a specific error shape your app needs to branch on. There are three outcomes:
- Allow. Nothing special happens. The call succeeds like normal.
- Challenge. WorkOS sends the user a one time code (by email, or by SMS if you've enabled it) and the error response includes a
pendingAuthenticationTokenplus aradarChallengeId. Your app needs to show a code input and complete the challenge before authentication finishes. - Block. The error comes back with a
policy_deniedcode. There's no path forward here, just show the user a message telling them the sign in didn't go through.
Here's a handleRadarError helper that sorts these out:
Note that only the email challenge error carries a radarChallengeId. The SMS challenge error only carries the pending authentication token, since the verification gets tied together later by the verificationId you receive when you send the SMS code.
The error codes and fields above match what the authentication errors reference documents for the raw API response. What isn't shown there is the exact shape the @workos-inc/node SDK throws when a request fails, so treat err.code, err.pendingAuthenticationToken, and err.radarChallengeId as the pattern to follow, and confirm the exact property names by logging a real error from your SDK version before shipping this.
Step 7: Complete an email challenge
On the client, once you get a challenge response back, show a one time code input and post it to a new route:
Step 8: SMS challenges, if you want them
SMS challenges need to be turned on separately from the Policies section of the Radar configuration page in the dashboard, and they need a phone number, so there's an extra step: send the code, then verify it.
Step 9: Watch log mode before you flip the switch
Everything above starts running in log mode the moment Radar is enabled for your environment. Nobody gets challenged or blocked yet, Radar just records what it would have done. This is the useful part: you get to see real decisions against real traffic before anything changes for your users.
A rough checklist for going live:
- Get Radar in the User Management APIs enabled for your environment.
- Ship the integration above.
- Watch the Radar dashboard for a while and check the decisions look sane.
- Flip on enforcement from the Radar configuration page when you're confident.
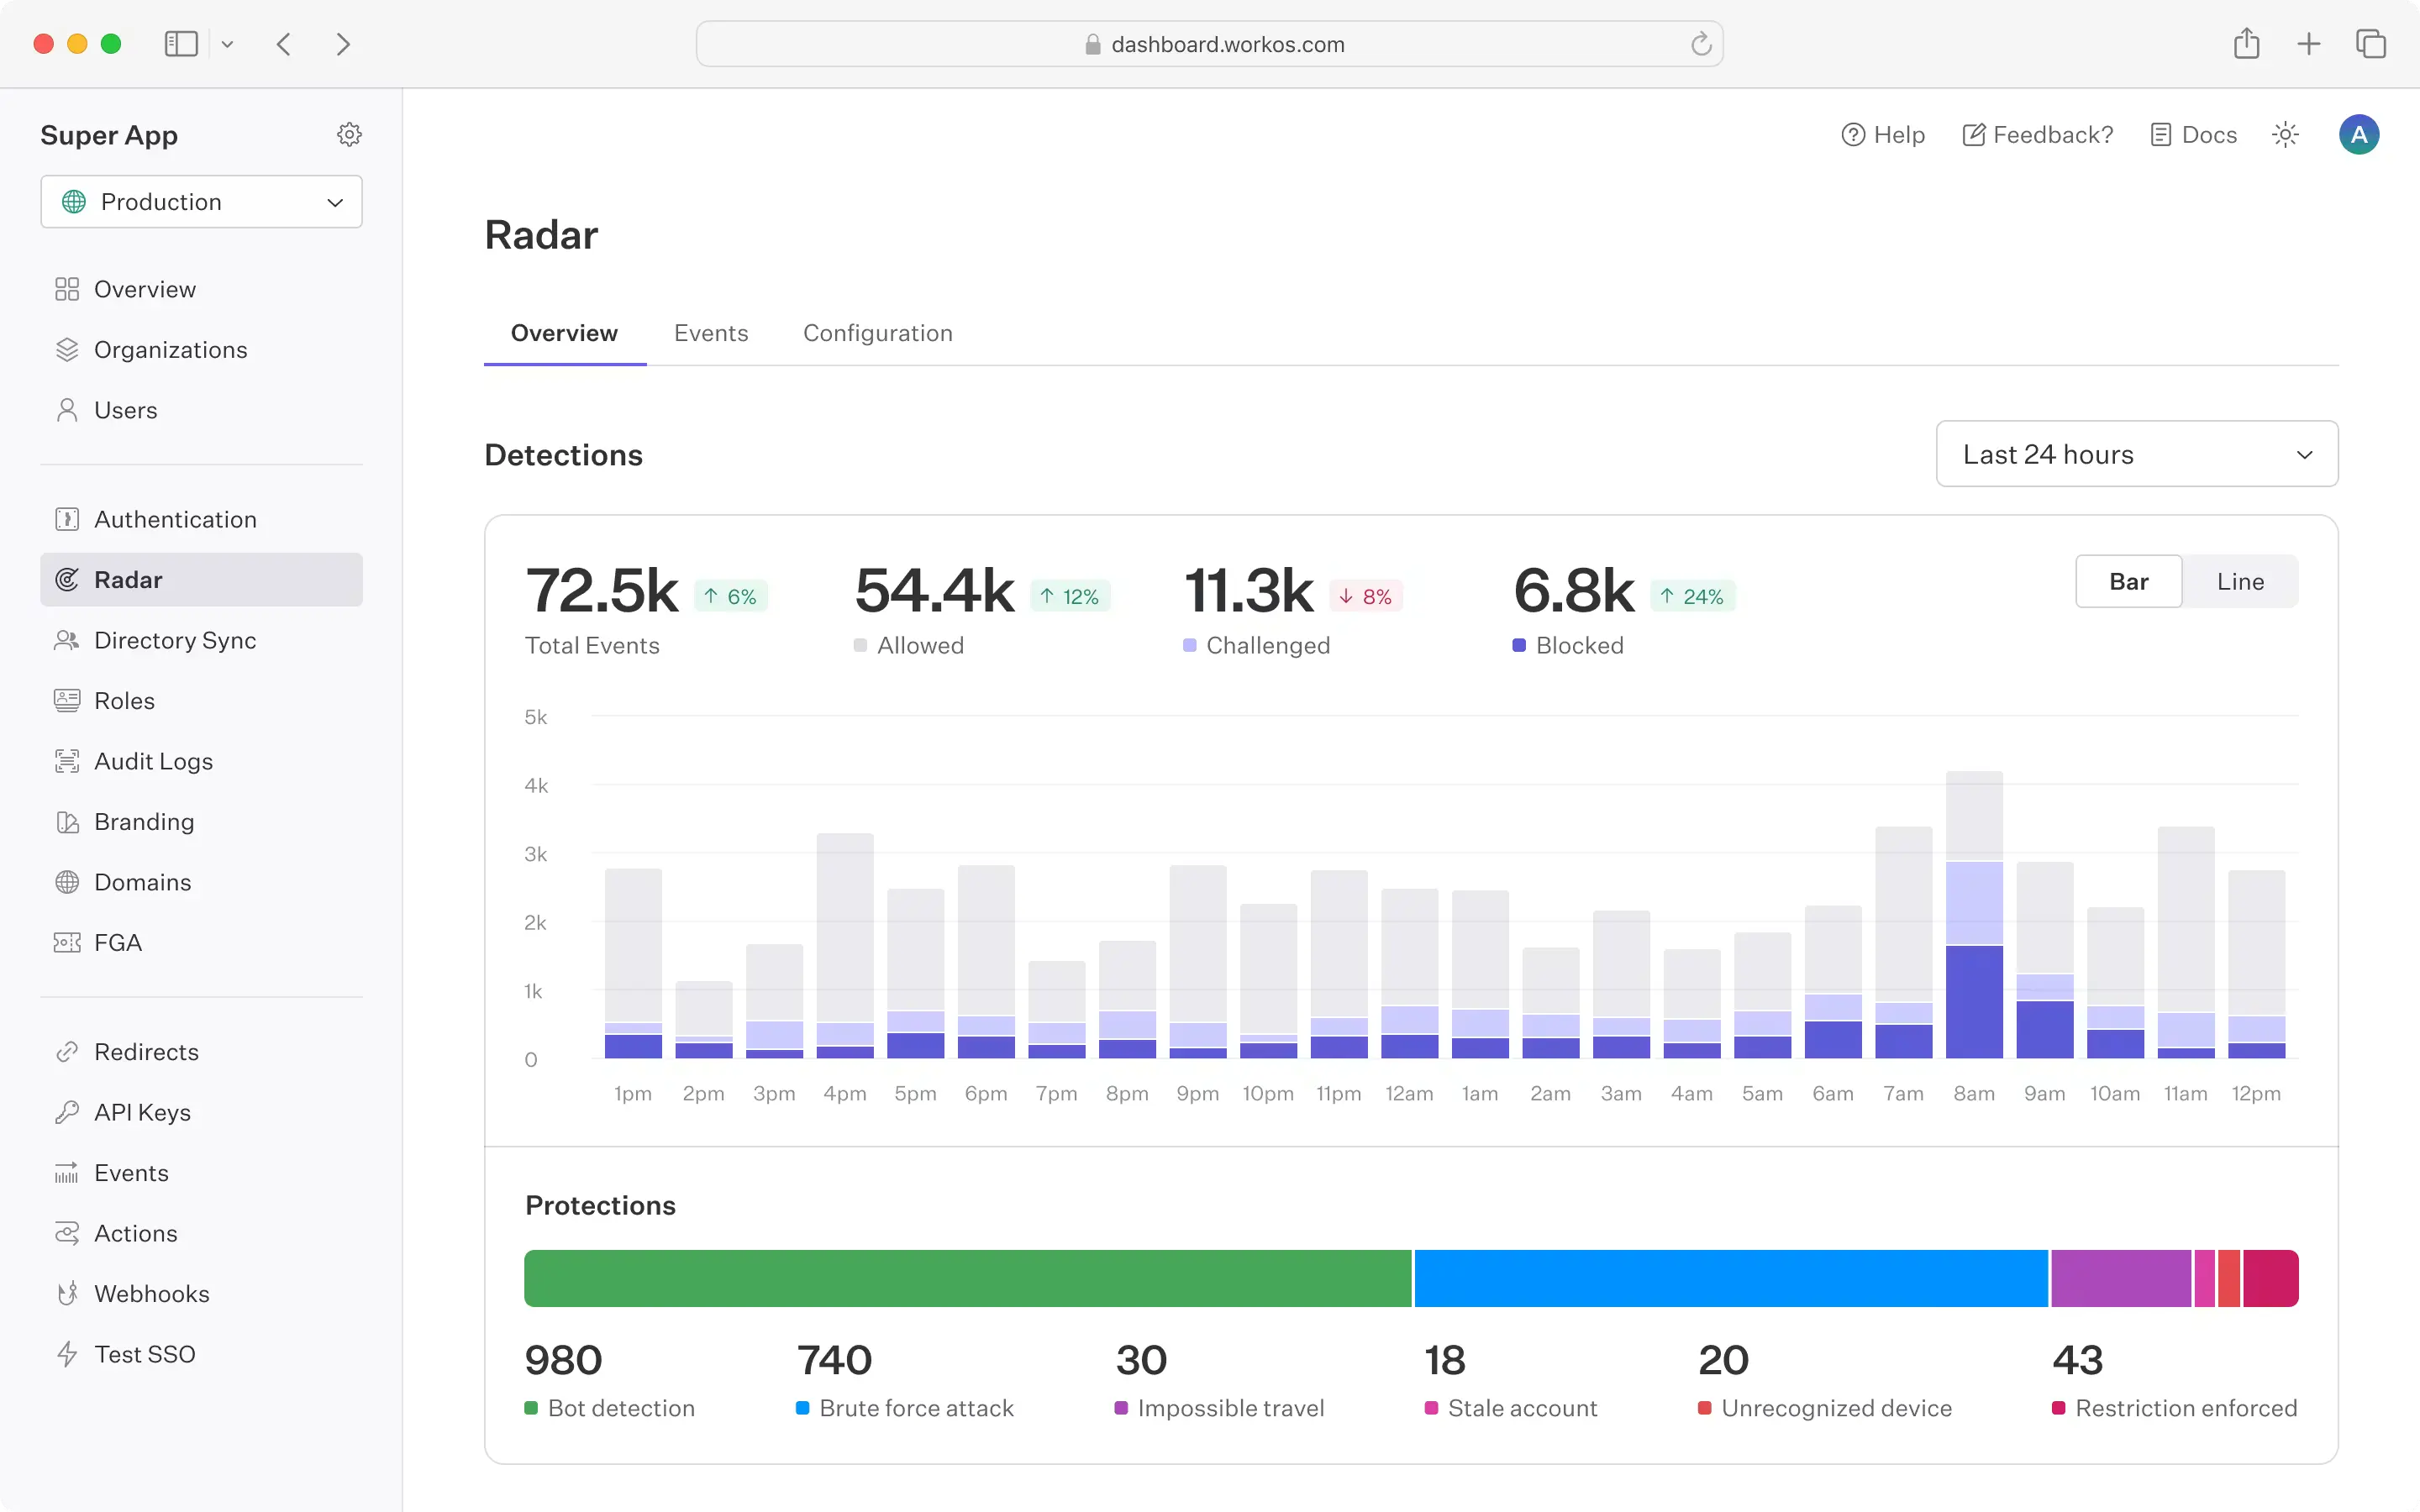
At that point challenges and blocks start actually happening, and everything you built in steps 6 through 8 starts mattering for real.
Where to go from here
The Radar integration guide has the full parameter reference plus code samples in Ruby, Python, Go, PHP, Java, and C# if JavaScript isn't your stack. It also covers Standalone Radar, for teams with a fully custom auth system who want Radar's risk engine without going through WorkOS authentication at all.