User Management
Easy to use authentication APIs designed to provide a flexible, secure, and fast integration.
Introduction
Integrating User Management features into your app is quick and easy. In this guide, we’ll walk you through adding a hosted authentication flow to your application using AuthKit.
In addition to this guide, there are a variety of example apps available to help with your integration.
Before getting started
To get the most out of this guide, you’ll need:
- A WorkOS account
- Your WorkOS API Key and Client ID
Additionally you’ll need to activate User Management in your WorkOS Dashboard if you haven’t already. In the Overview section, click the Set up User Management button and follow the instructions.

Let’s add the necessary dependencies and configuration in your WorkOS Dashboard.
A redirect URI is a callback endpoint that WorkOS will redirect to after a user has authenticated. This endpoint will exchange the authorization code returned by WorkOS for an authenticated User object. We’ll create this endpoint in the next step.
You can set a redirect URI in the Redirects section of the WorkOS Dashboard. While wildcards in your URIs can be used in the staging environment, they and query parameters cannot be used in production.
When users sign out of their application, they will be redirected to your app’s Logout redirect location which is configured in the same dashboard area.
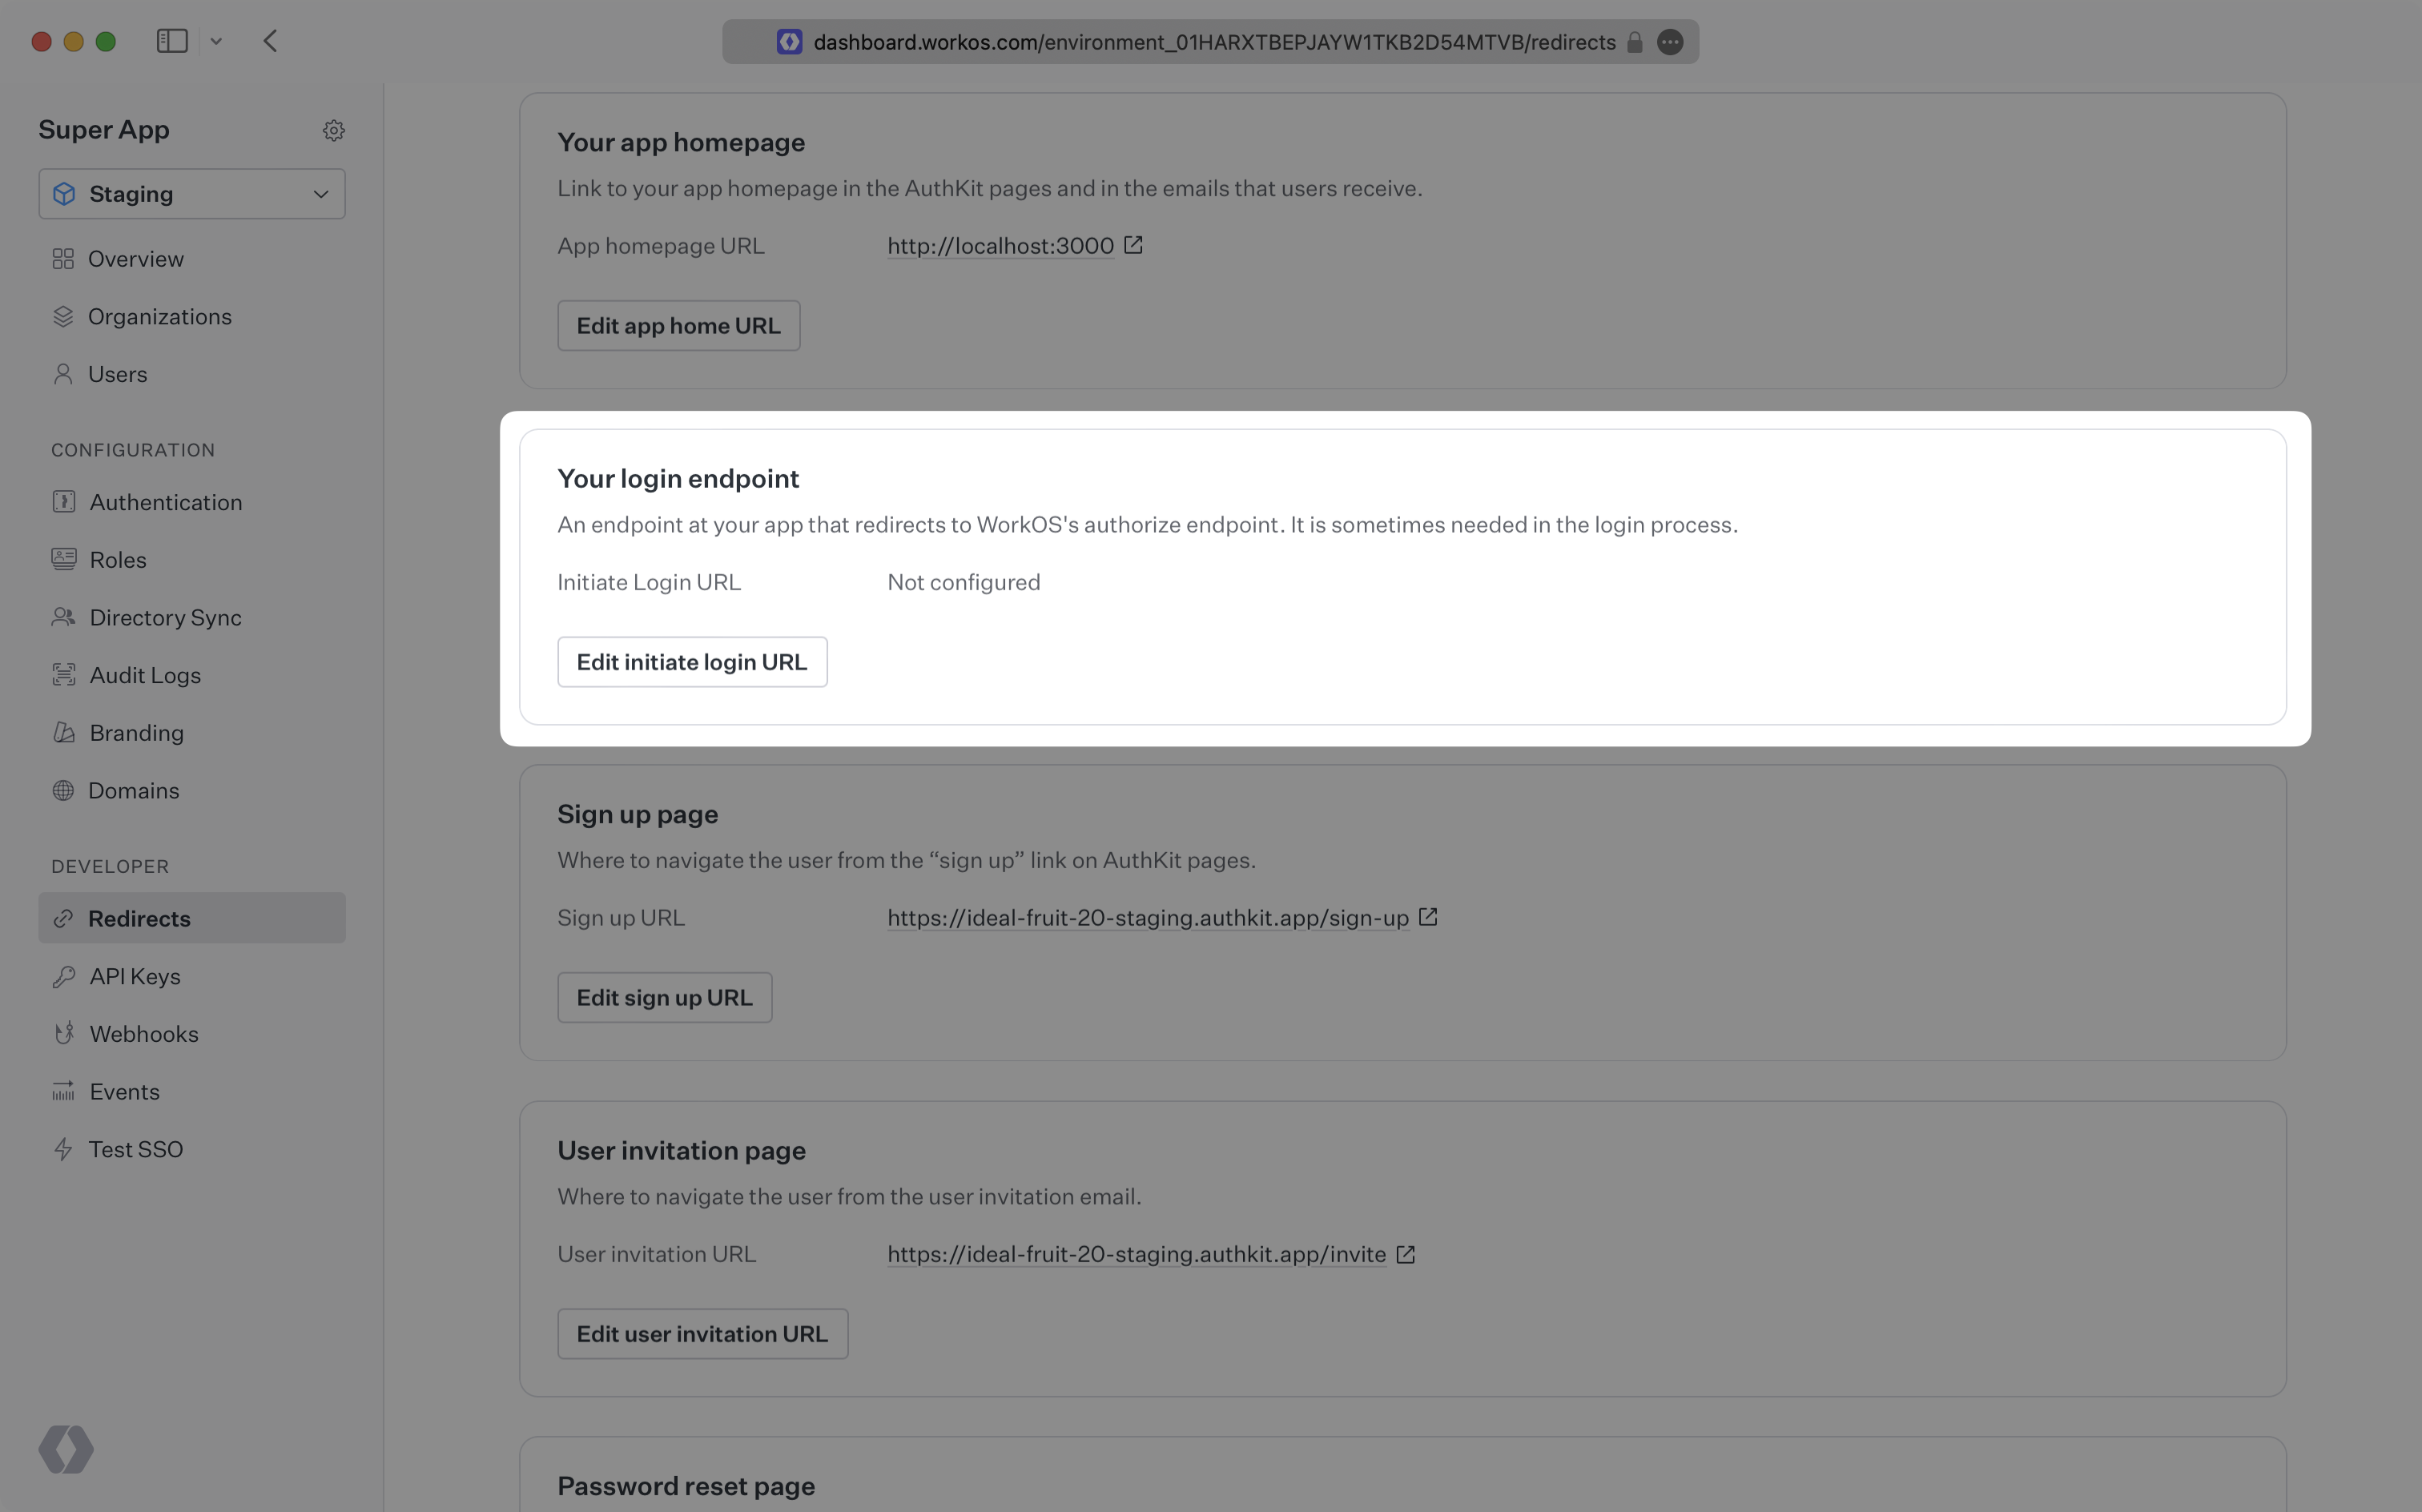
In these cases, AuthKit will detect when a login request did not originate at your application and redirect to your application’s login endpoint. This is an endpoint that you define at your application that redirects users to sign in using AuthKit. We’ll create this endpoint in the next step.
You can configure the initiate login URL from the Redirects section of the WorkOS dashboard.
The code examples use your staging API keys when signed in
Let’s integrate the hosted authentication flow into your app.
If you haven’t configured a Logout redirect in the WorkOS dashboard, users will see an error when logging out.
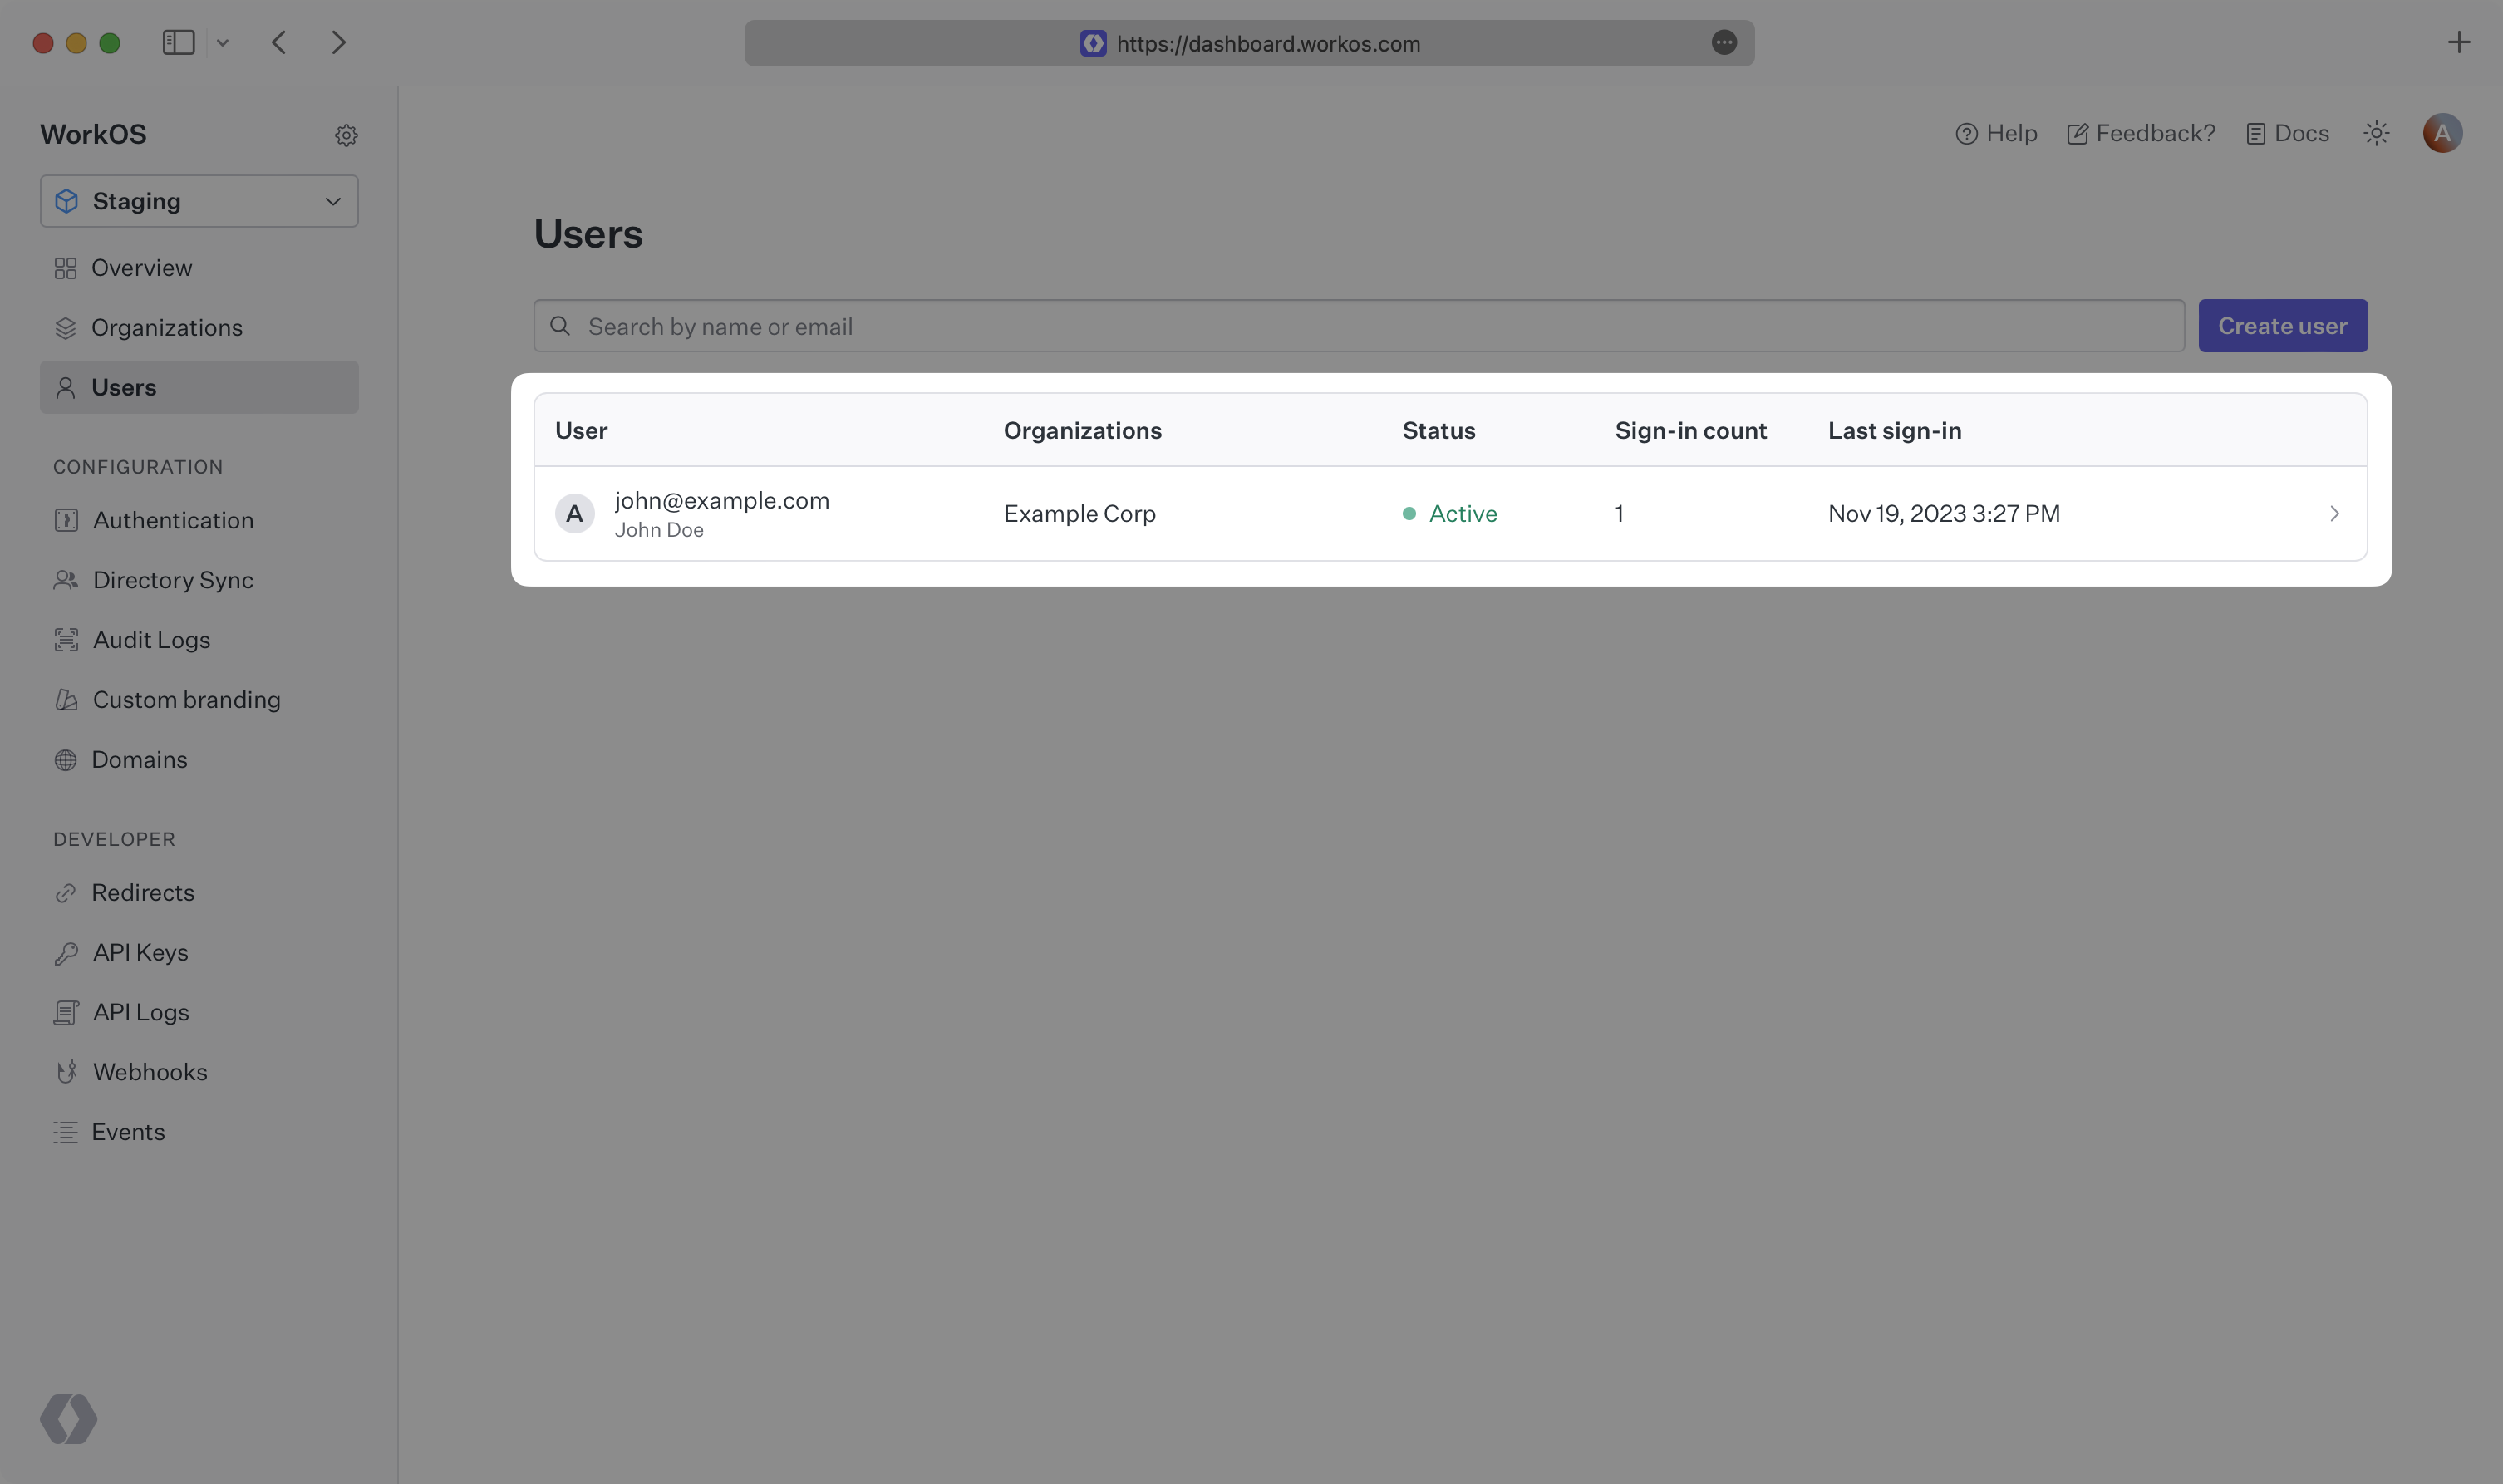
Navigate to the authentication endpoint we created and sign up for an account. You can then sign in with the newly created credentials and see the user listed in the Users section of the WorkOS Dashboard.