AuthKit
Easy to use authentication platform designed to provide a flexible, secure, and fast integration.
On this page
Quickly integrate AuthKit in your project with the AI-powered WorkOS CLI.
npx workos@latest
Introduction
Integrating AuthKit into your app can be done in less than ten minutes. In this guide, we’ll walk you through adding a hosted authentication flow to your application using AuthKit.
Want to skip the manual setup? The CLI Installer detects your framework, installs the SDK, configures your dashboard, and writes the integration code – all with a single command.
In addition to this guide, there are a variety of example apps available to help with your integration.
Before getting started
To get the most out of this guide, you’ll need:
- A WorkOS account
- Your WorkOS API Key and Client ID
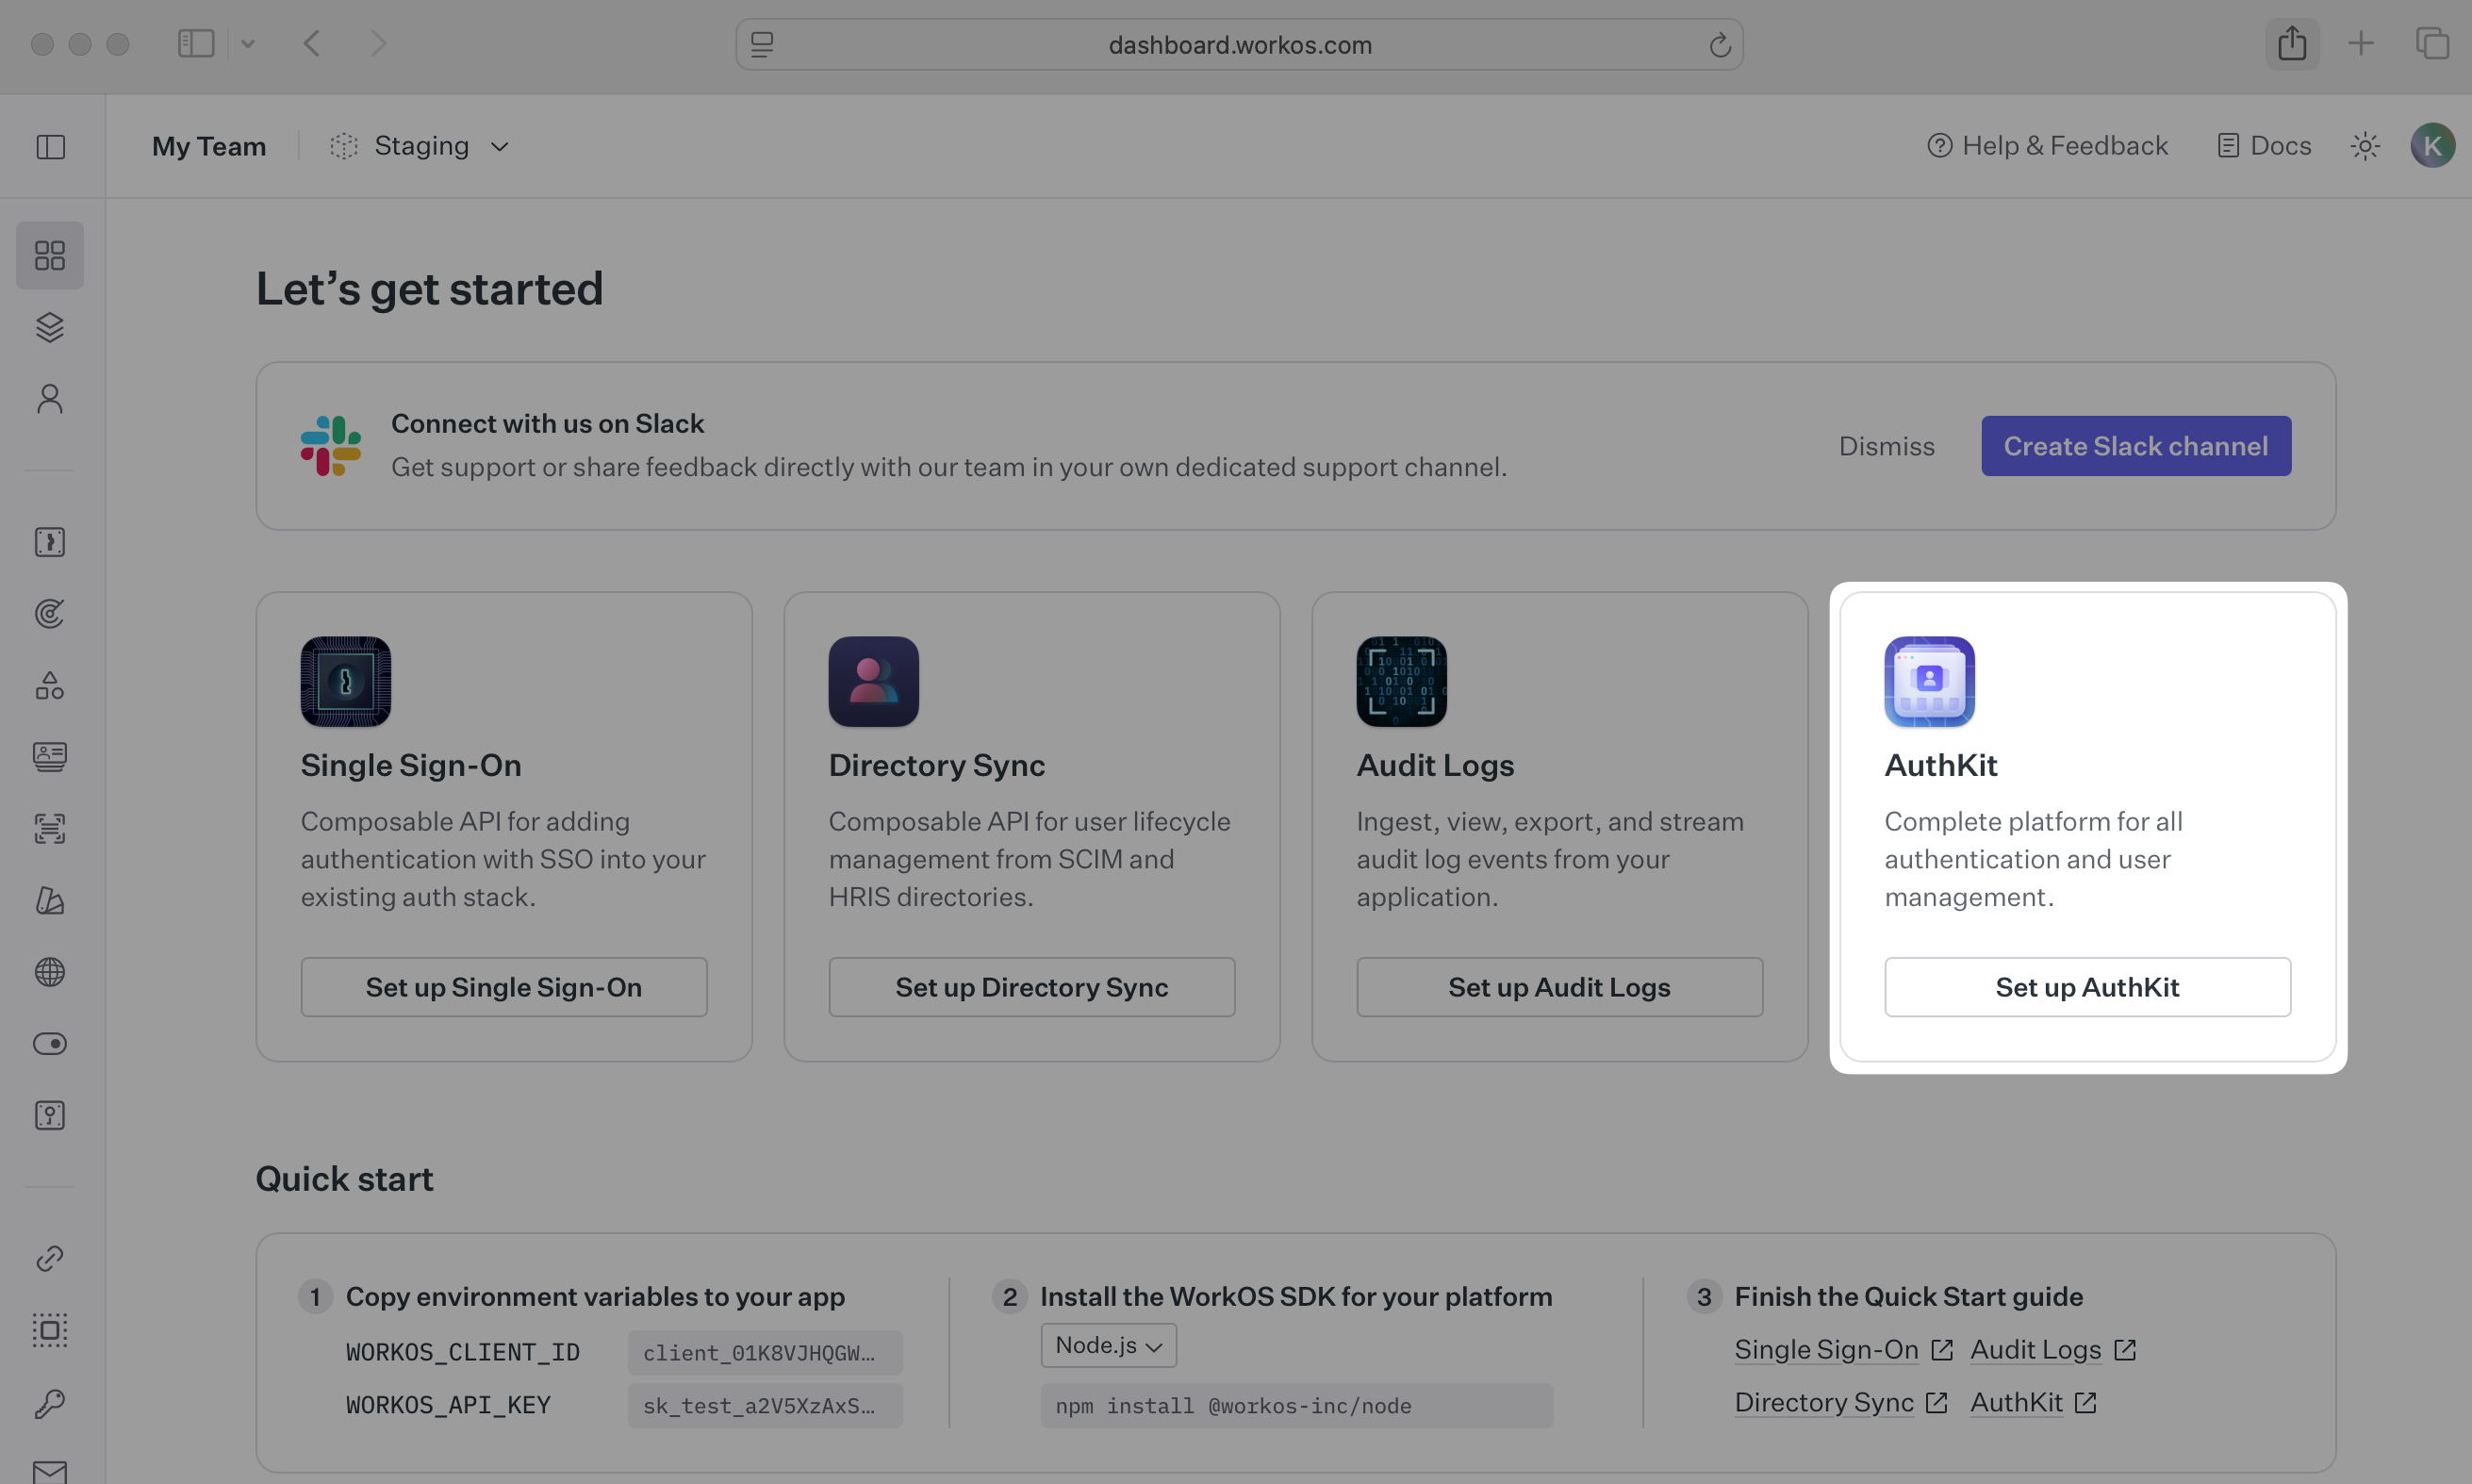
Additionally you’ll need to activate AuthKit in your WorkOS Dashboard if you haven’t already. In the Overview section, click the Set up AuthKit button and follow the instructions.

Let’s add the necessary dependencies and configuration in your WorkOS Dashboard.
First, install the required Node SDK via npm.
npm install @workos-inc/node
A redirect URI is a callback endpoint that WorkOS will redirect to after a user has authenticated. This endpoint will exchange the authorization code returned by WorkOS for an authenticated User object. We’ll create this endpoint in the next step.
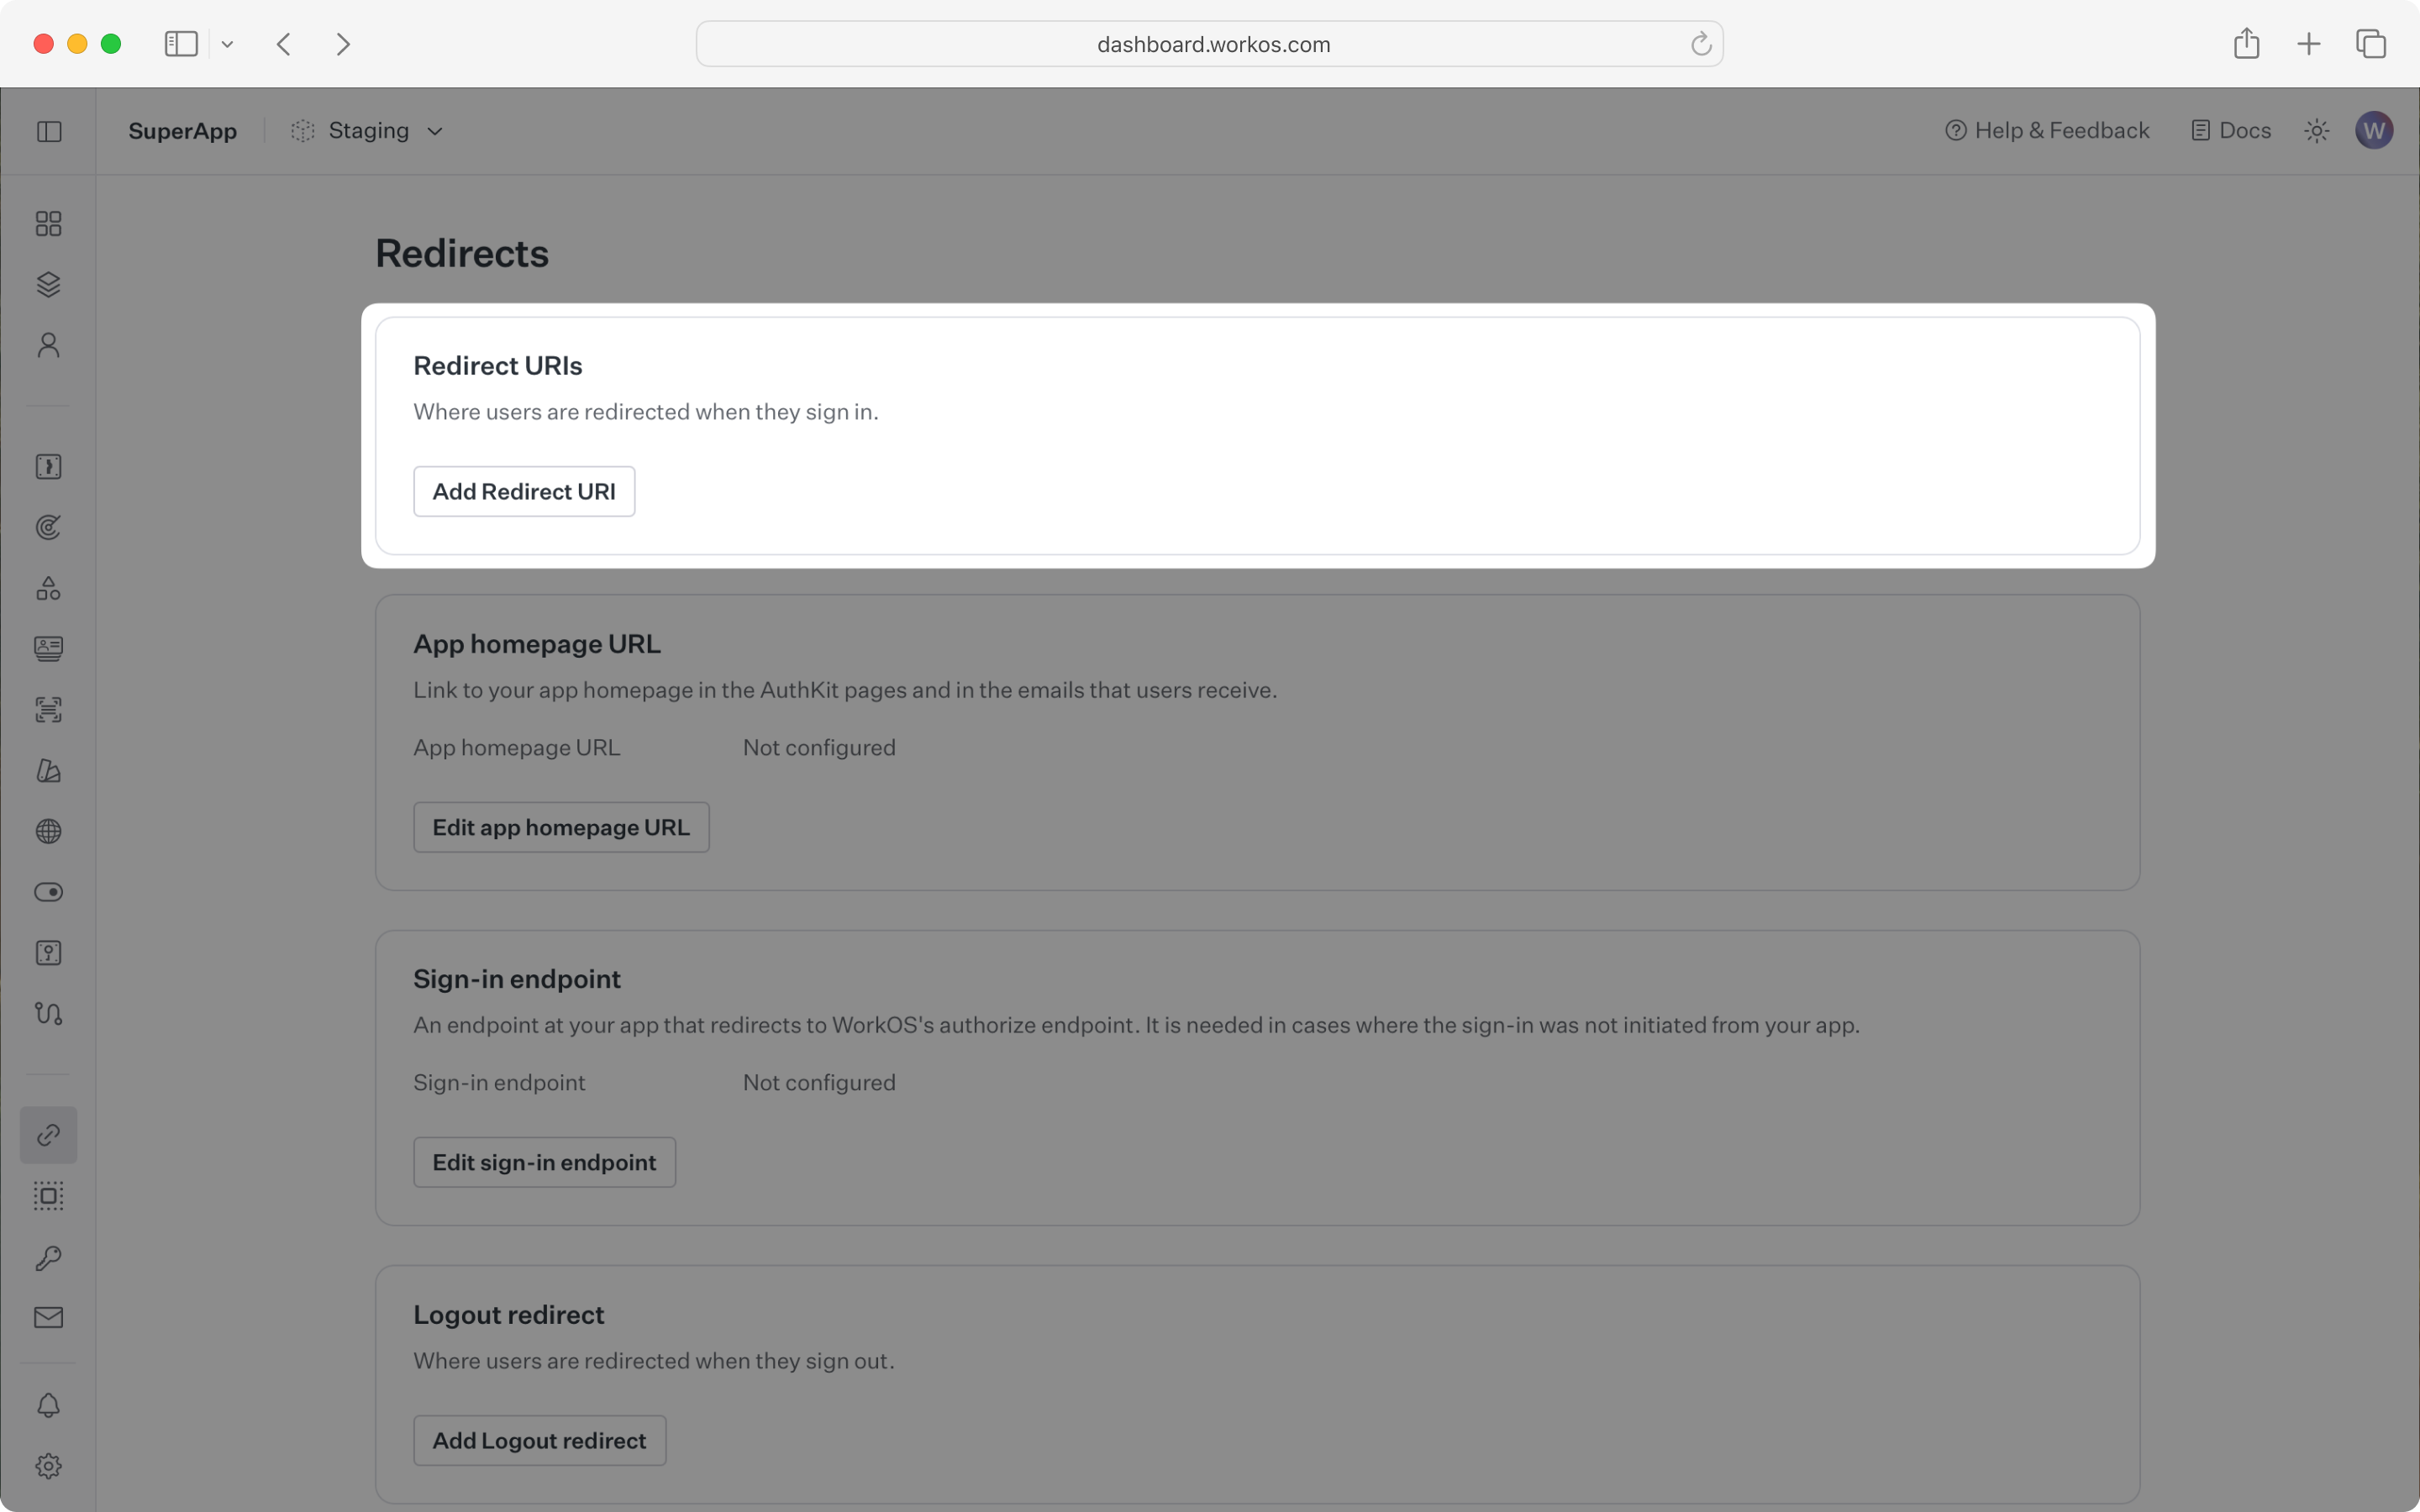
You can set a redirect URI in the Redirects section of the WorkOS Dashboard. We recommend using http://localhost:3000/callback as the default here.
WorkOS supports using wildcard characters in Redirect URIs, but not for the default Redirect URI. More information about wildcard characters support can be found in the Redirect URIs guide.

When users sign out of their application, they will be redirected to your app’s Sign-out redirect location which is configured in the same dashboard area.
Sign-in requests should originate from your application. In some instances, requests may not begin at your app. For example, some users might bookmark the hosted sign-in page or they might be led directly to the hosted sign-in page when clicking on a password reset link in an email.
In these cases, AuthKit will detect when a sign-in request did not originate at your application and redirect to your application’s sign-in endpoint. This is an endpoint that you define at your application that redirects users to sign in using AuthKit. We’ll create this endpoint in the next step.
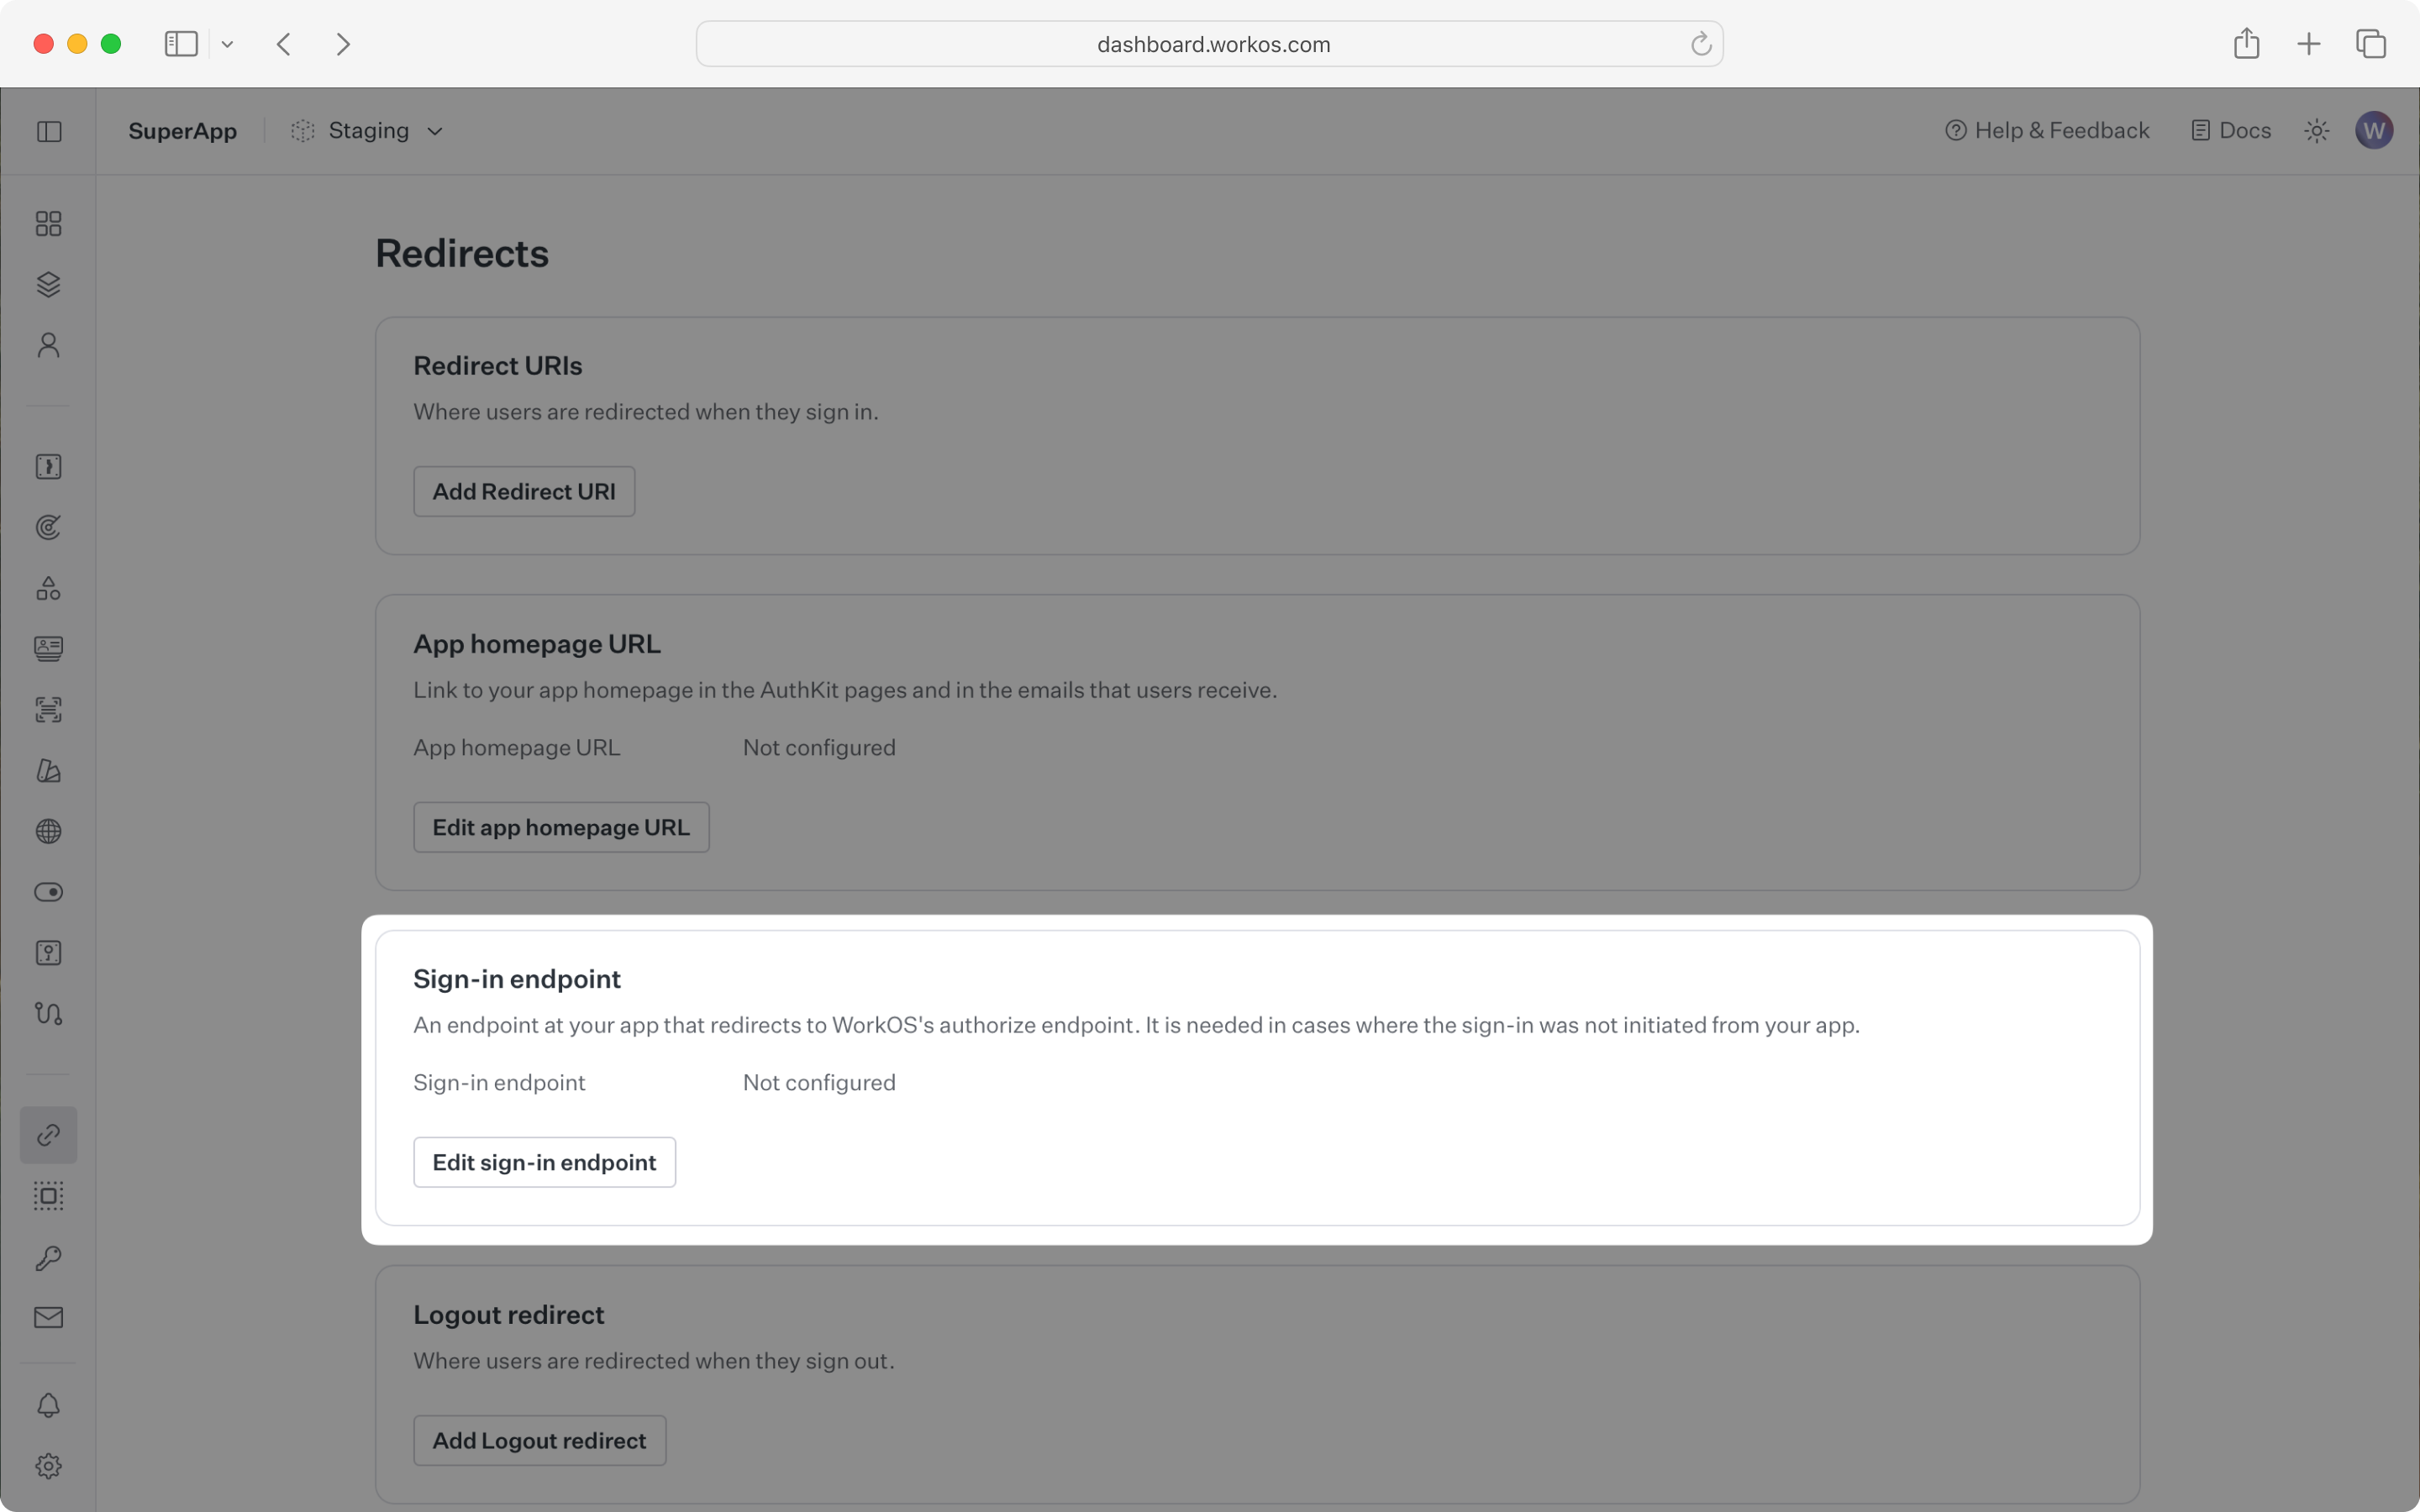
You can configure the sign-in endpoint from the Redirects section of the WorkOS dashboard.

To make calls to WorkOS, provide the API key and the client ID. Store these values as managed secrets and pass them to the SDKs either as environment variables or directly in your app’s configuration depending on your preferences.
WORKOS_API_KEY='sk_example_123456789' WORKOS_CLIENT_ID='client_123456789'
The code examples use your staging API keys when signed in
To demonstrate AuthKit, we only need a simple page with links to logging in and out.
export default function App() { return ( <div className="App"> <h1>AuthKit example</h1> <p>This is an example of how to use AuthKit with a React frontend.</p> <p> <a href="/login">Sign in</a> </p> <p> <a href="/logout">Sign out</a> </p> </div> ); }
Clicking the “Sign in” and “Sign out” links should invoke actions on our server, which we’ll set up next.
We’ll need a sign-in endpoint to direct users to sign in (or sign up) using AuthKit before redirecting them back to your application. This endpoint should generate an AuthKit authorization URL server side and redirect the user to it.
You can use the optional state parameter to encode arbitrary information to help restore application state between redirects.
For this guide we’ll be using the express web server for Node. This guide won’t cover how to set up an Express app, but you can find more information in the Express documentation.
require('dotenv').config(); const path = require('path'); const express = require('express'); const { WorkOS } = require('@workos-inc/node'); const app = express(); const workos = new WorkOS(process.env.WORKOS_API_KEY, { clientId: process.env.WORKOS_CLIENT_ID, }); // This `/login` endpoint should be registered as the login endpoint // on the "Redirects" page of the WorkOS Dashboard. app.get('/login', (req, res) => { const authorizationUrl = workos.userManagement.getAuthorizationUrl({ // Specify that we'd like AuthKit to handle the authentication flow provider: 'authkit', // The callback endpoint that WorkOS will redirect to after a user authenticates redirectUri: 'http://localhost:3000/callback', clientId: process.env.WORKOS_CLIENT_ID, }); // Redirect the user to the AuthKit sign-in page res.redirect(authorizationUrl); }); app.get('/', (req, res) => { res.sendFile(path.join(__dirname, 'index.html')); }); app.listen(3000, () => { console.log('Server running on http://localhost:3000'); });
WorkOS will redirect to your Redirect URI if there is an issue generating an authorization URL. Read our API Reference for more details.
Next, let’s add the callback endpoint (referenced in Configure a redirect URI) which will exchange the authorization code (valid for 10 minutes) for an authenticated User object.
const express = require('express'); const { WorkOS } = require('@workos-inc/node'); const app = express(); const workos = new WorkOS(process.env.WORKOS_API_KEY, { clientId: process.env.WORKOS_CLIENT_ID, }); app.get('/callback', async (req, res) => { // The authorization code returned by AuthKit const code = req.query.code; if (!code) { return res.status(400).send('No code provided'); } const { user } = await workos.userManagement.authenticateWithCode({ code, clientId: process.env.WORKOS_CLIENT_ID, }); // Use the information in `user` for further business logic. // Redirect the user to the homepage return res.redirect('/'); });
Session management helper methods are included in our SDKs to make integration easy. For security reasons, sessions are automatically “sealed”, meaning they are encrypted with a strong password.
The SDK requires you to set a strong password to encrypt cookies. This password must be 32 characters long. You can generate a secure password by using the 1Password generator or the openssl library via the command line:
openssl rand -base64 32
Then add it to the environment variables file.
WORKOS_API_KEY='sk_example_123456789' WORKOS_CLIENT_ID='client_123456789' WORKOS_COOKIE_PASSWORD='<your password>'
Next, use the SDK to authenticate the user and return a password protected session. The refresh token is considered sensitive as it can be used to re-authenticate, hence why the session is encrypted before storing it in a session cookie.
const cookieParser = require('cookie-parser'); app.use(cookieParser()); app.get('/callback', async (req, res) => { // The authorization code returned by AuthKit const code = req.query.code; if (!code) { return res.status(400).send('No code provided'); } try { const authenticateResponse = await workos.userManagement.authenticateWithCode({ clientId: process.env.WORKOS_CLIENT_ID, code, session: { sealSession: true, cookiePassword: process.env.WORKOS_COOKIE_PASSWORD, }, }); const { user, sealedSession } = authenticateResponse; // Store the session in a cookie res.cookie('wos-session', sealedSession, { path: '/', httpOnly: true, secure: true, sameSite: 'lax', }); // Use the information in `user` for further business logic. // Redirect the user to the homepage return res.redirect('/'); } catch (error) { return res.redirect('/login'); } });
We should also present some of the user information on our frontend. Let’s update the default route to read the session cookie and display user information:
const fs = require('fs'); app.get('/', async (req, res) => { let user = null; try { const session = workos.userManagement.loadSealedSession({ sessionData: req.cookies['wos-session'], cookiePassword: process.env.WORKOS_COOKIE_PASSWORD, }); const authResult = await session.authenticate(); if (authResult.authenticated) { user = authResult.user; } } catch (e) { // Not authenticated, user stays null } let html = fs.readFileSync(path.join(__dirname, 'index.html'), 'utf8'); if (user) { html = html.replace('{{USER_DATA}}', `<p>Welcome, ${user.email}!</p>`); } else { html = html.replace('{{USER_DATA}}', ''); } res.send(html); });
And, we should make sure to update the index page to present this info.
<!doctype html> <html lang="en"> <head> <title>AuthKit example</title> </head> <body> <h1>AuthKit example</h1> {{USER_DATA}} <p>This is an example of how to use AuthKit with an HTML frontend.</p> <p> <a href="/login">Sign in</a> </p> <p> <a href="/logout">Sign out</a> </p> </body> </html>
Then, use middleware to specify which routes should be protected. If the session has expired, use the SDK to attempt to generate a new one.
import { WorkOS } from '@workos-inc/node'; const workos = new WorkOS(process.env.WORKOS_API_KEY, { clientId: process.env.WORKOS_CLIENT_ID, }); // Auth middleware function async function withAuth(req, res, next) { const session = workos.userManagement.loadSealedSession({ sessionData: req.cookies['wos-session'], cookiePassword: process.env.WORKOS_COOKIE_PASSWORD, }); const { authenticated, reason } = await session.authenticate(); if (authenticated) { return next(); } // If the cookie is missing, redirect to login if (!authenticated && reason === 'no_session_cookie_provided') { return res.redirect('/login'); } // If the session is invalid, attempt to refresh try { const { authenticated, sealedSession } = await session.refresh(); if (!authenticated) { return res.redirect('/login'); } // update the cookie res.cookie('wos-session', sealedSession, { path: '/', httpOnly: true, secure: true, sameSite: 'lax', }); // Redirect to the same route to ensure the updated cookie is used return res.redirect(req.originalUrl); } catch (e) { // Failed to refresh access token, redirect user to login page // after deleting the cookie res.clearCookie('wos-session'); res.redirect('/login'); } }
Add the middleware to the route that should only be accessible to logged in users.
// Specify the `withAuth` middleware function we defined earlier to protect this route app.get('/dashboard', withAuth, async (req, res) => { const session = workos.userManagement.loadSealedSession({ sessionData: req.cookies['wos-session'], cookiePassword: process.env.WORKOS_COOKIE_PASSWORD, }); const { user } = await session.authenticate(); console.log(`User ${user.firstName} is logged in`); // ... render dashboard page });
Finally, ensure the user can end their session by redirecting them to the logout URL. After successfully signing out, the user will be redirected to your app’s Sign-out redirect location, which is configured in the WorkOS dashboard.
app.get('/logout', async (req, res) => { const session = workos.userManagement.loadSealedSession({ sessionData: req.cookies['wos-session'], cookiePassword: process.env.WORKOS_COOKIE_PASSWORD, }); const url = await session.getLogoutUrl(); res.clearCookie('wos-session'); res.redirect(url); });
If you haven’t configured a Sign-out redirect in the WorkOS dashboard, users will see an error when logging out.
To test all of this out, start your server with node server.js, navigate to localhost:3000, and sign up for an account.
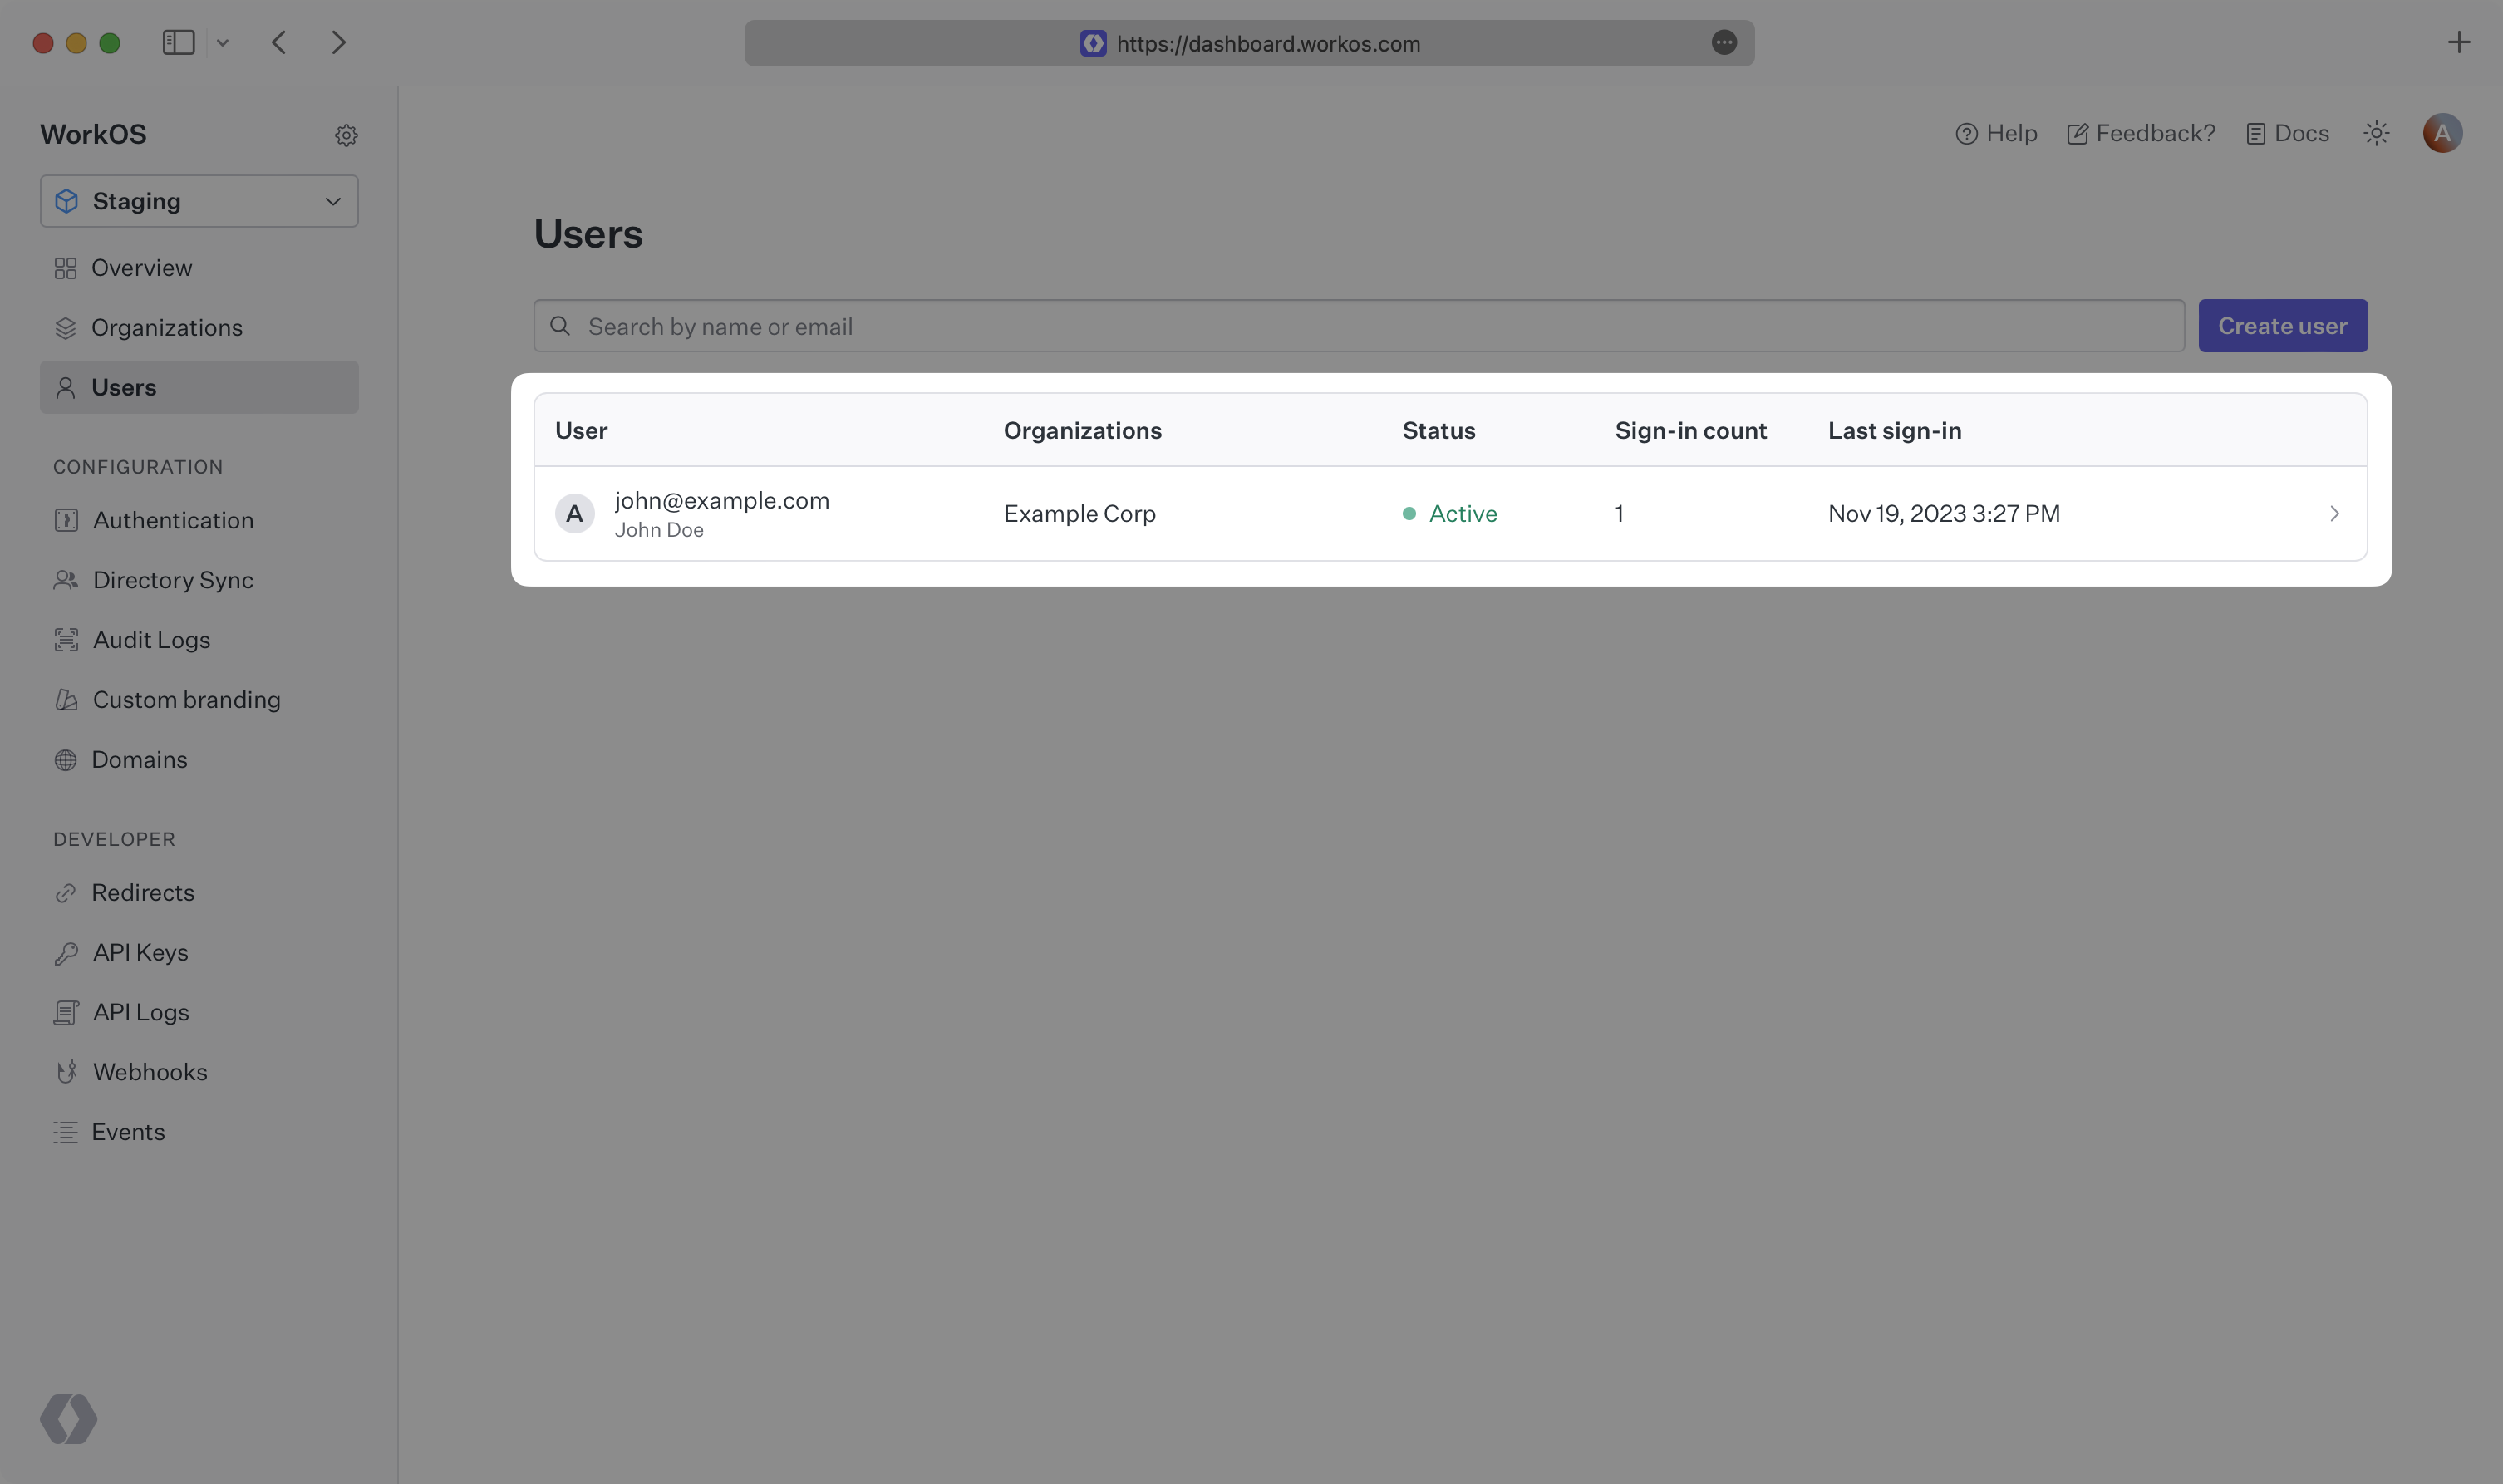
You can then sign in with the newly created credentials and see the user listed in the Users section of the WorkOS Dashboard.
