Frictionless Enterprise Customer Onboarding Using the WorkOS Admin Portal
Learn how to leverage the WorkOS Admin Portal to quickly onboard enterprise customers. The Admin Portal is an interactive setup experience for SSO and directory sync.
The large majority of our users are able to integrate with our APIs and become Enterprise Ready in hours, rather than months. However, we know that the onboarding process for enterprise customers has a lot of friction.
Setting up a Single Sign-On or a Directory Sync integration requires painful coordination between developers and their enterprise customers. Each identity/directory provider does things in its own way, which slows down the onboarding of new enterprise customers for our users.
That’s why we built the Admin Portal. It’s a free service that allows IT admins to easily set up their Identity or directory provider of choice.
It’s an interactive experience, where the necessary steps needed to set up a connection are displayed, and the necessary data needed by the identity providers is collected.
No need to worry about asking for X.509 certificates, correctly mapping attributes, or validating SAML assertions. Everything is laid out for the enterprise customer that’s configuring the connection.
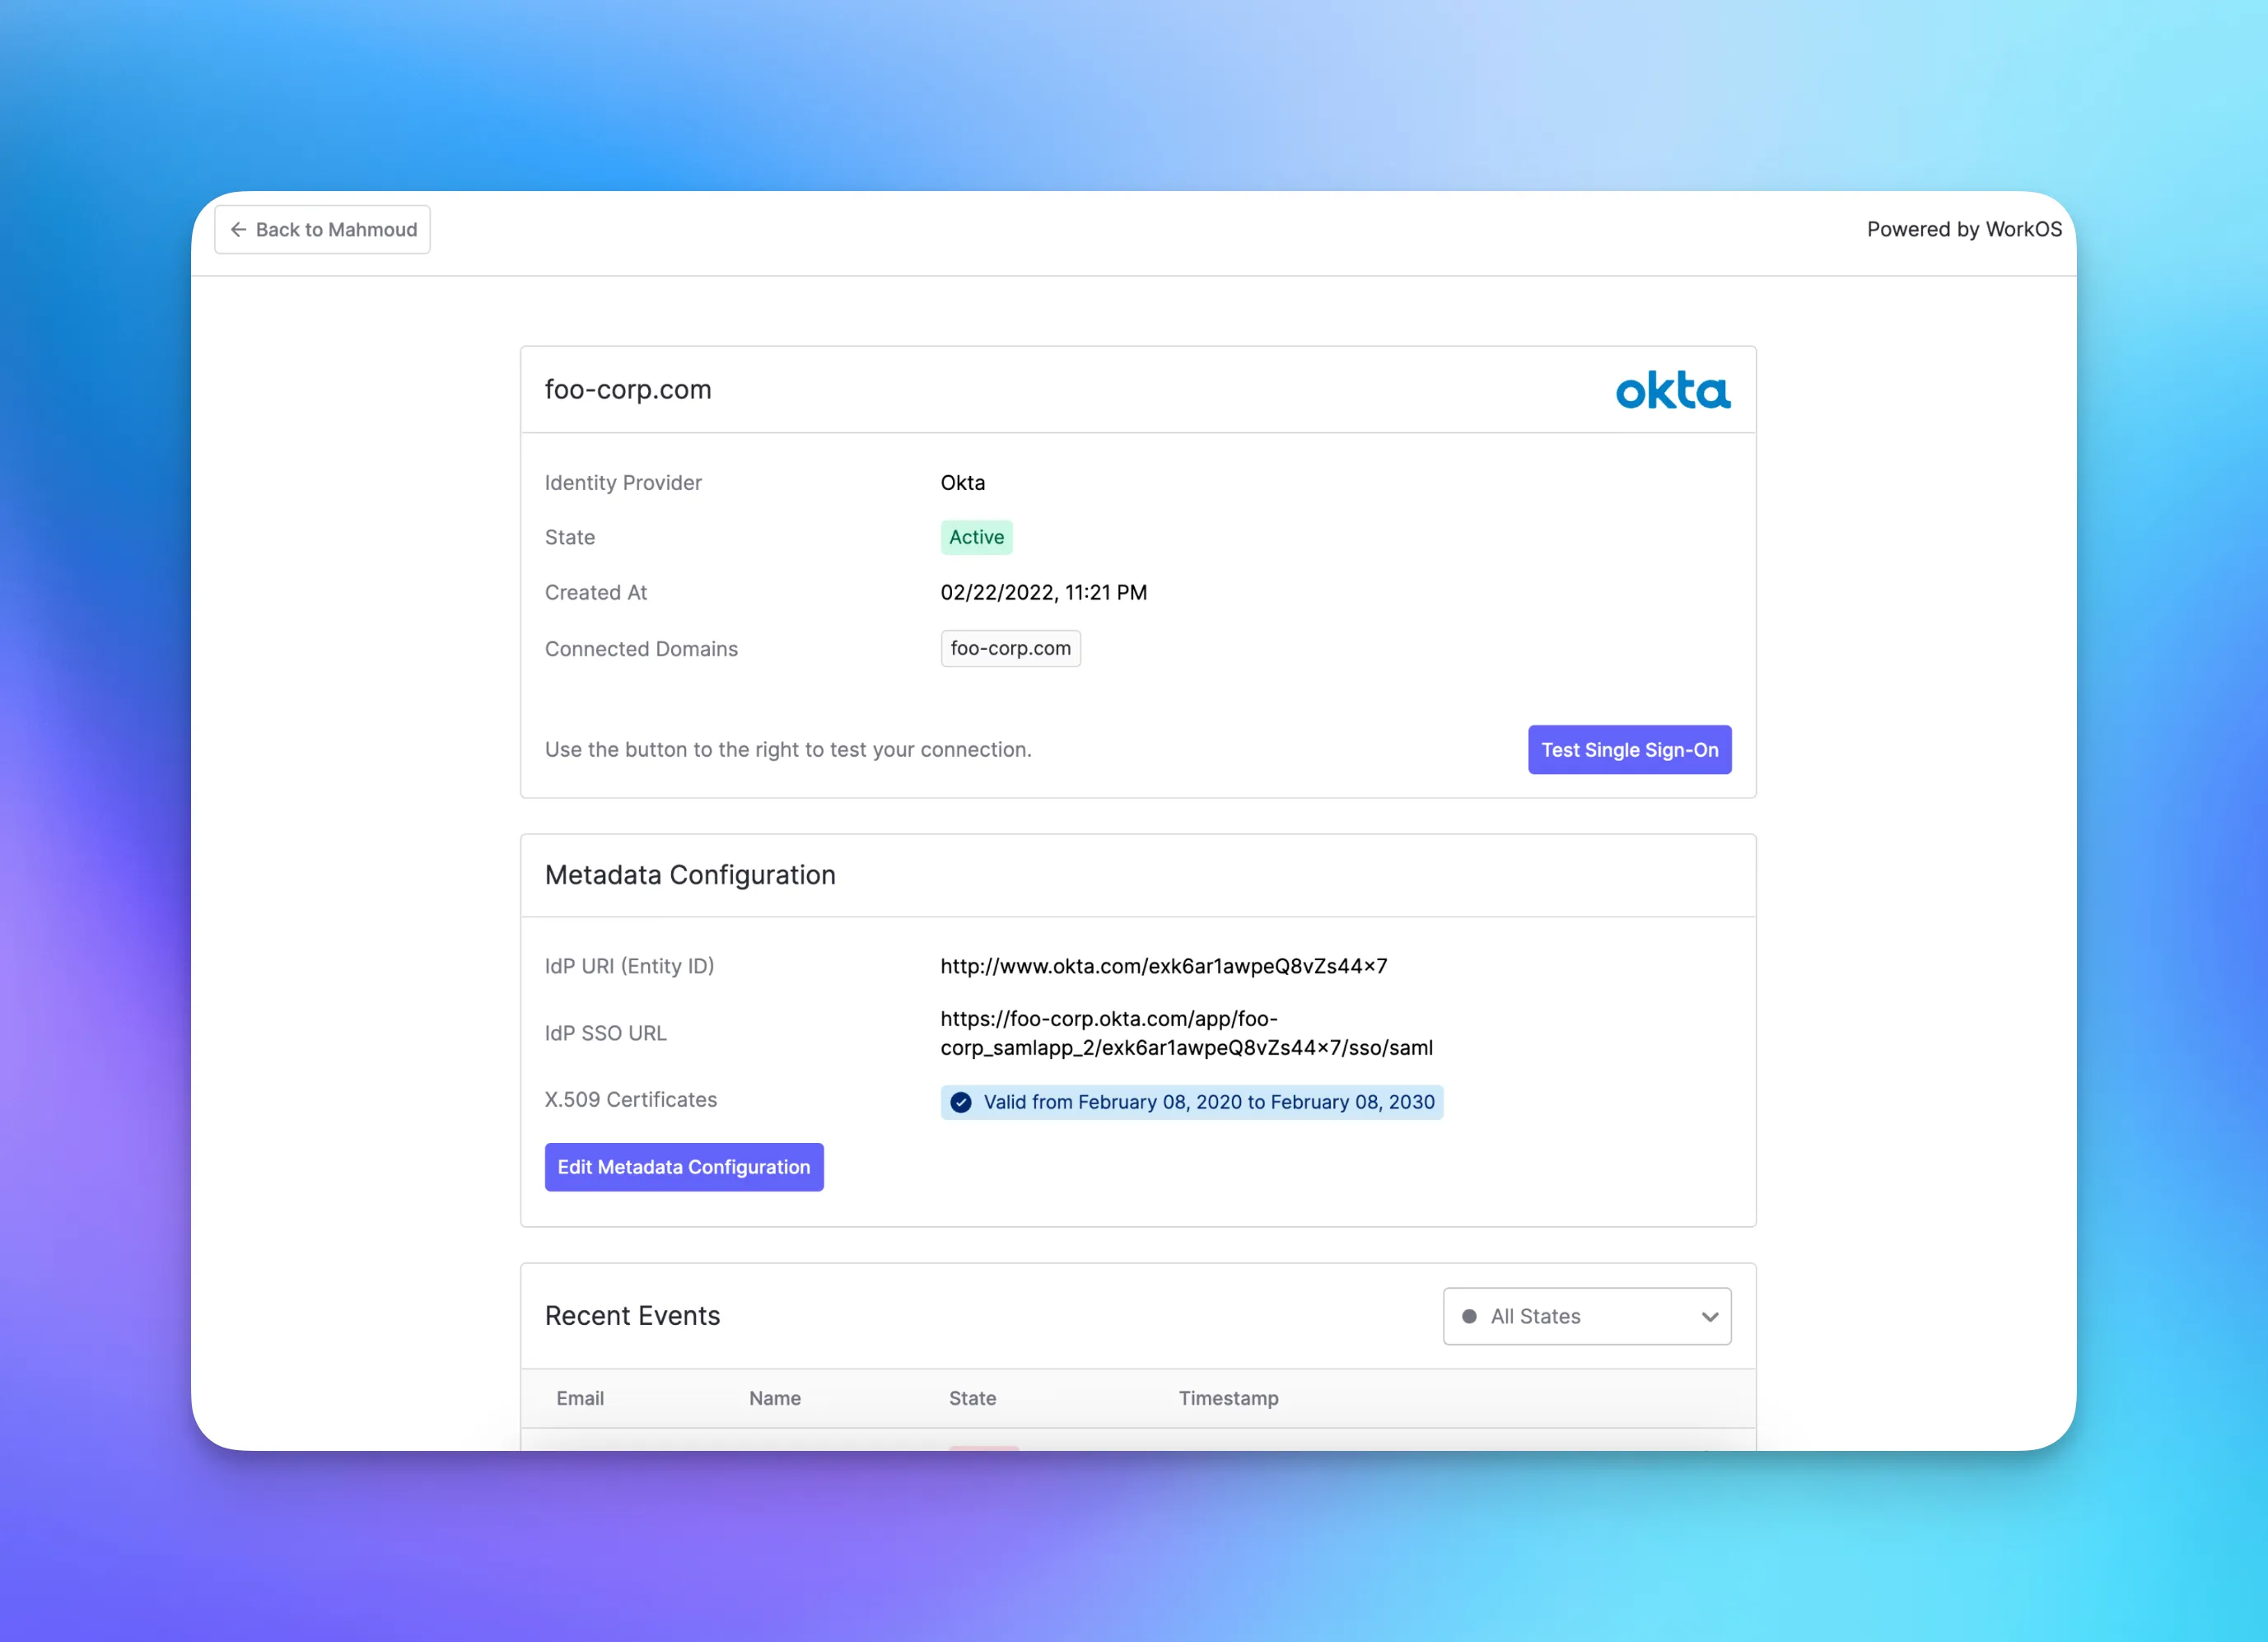
There’s also a validation step in the end where the enterprise customer can test if the connection works. If there are any issues during the setup, debugging steps will be displayed.
The Admin Portal also allows the enterprise customer to manage the SSO/directory sync connection, allowing them to view recent events and update the configuration if needed.

Get in touch with WorkOS support if you would like to custom-brand the Admin Portal by using your own domain and logo.
Getting started with the Admin Portal using Node.js
To get started with the Admin Portal you need to be already using the Single Sign-On or the Directory Sync APIs.
Creating an organization via the API
An Admin portal session is scoped to an organization, so the first step is to create one. You’ll need to provide a name and the list of domains that will be allowed to log in.
Once an organization is created, you need to persist the returned organization ID, since you’ll need to reference it when starting an Admin Portal session for that specific customer.
Generating an Admin Portal link via the API
The next step is to create an endpoint that will redirect users to the Admin Portal setup page. This endpoint can be called from within your application when the IT admin is logged in.
The `intent` field is used to specify what the organization will be configuring. Can be either "sso" or "dsync".
An optional `return_url` parameter can be used to specify where a user should be redirected after successfully setting up an Identity Provider (IdP) or a directory. If one is not provided, the default redirect link configured in the WorkOS Dashboard is used.
If the session expires before completing the setup of an IdP/directory, a new link gets generated by the API and the enterprise customer can go through the setup process again.
For security reasons, generating a portal link through the API immediately starts a session that expires after 5 minutes. So it’s recommended to redirect users immediately (i.e don’t email the user, portal links generated by the API)
Upon completion, users can view information about their connection and they can manage it. If they would like to configure a different IdP/directory, they can reset the connection and go through the setup process again.
Subscribing to real-time events using webhooks
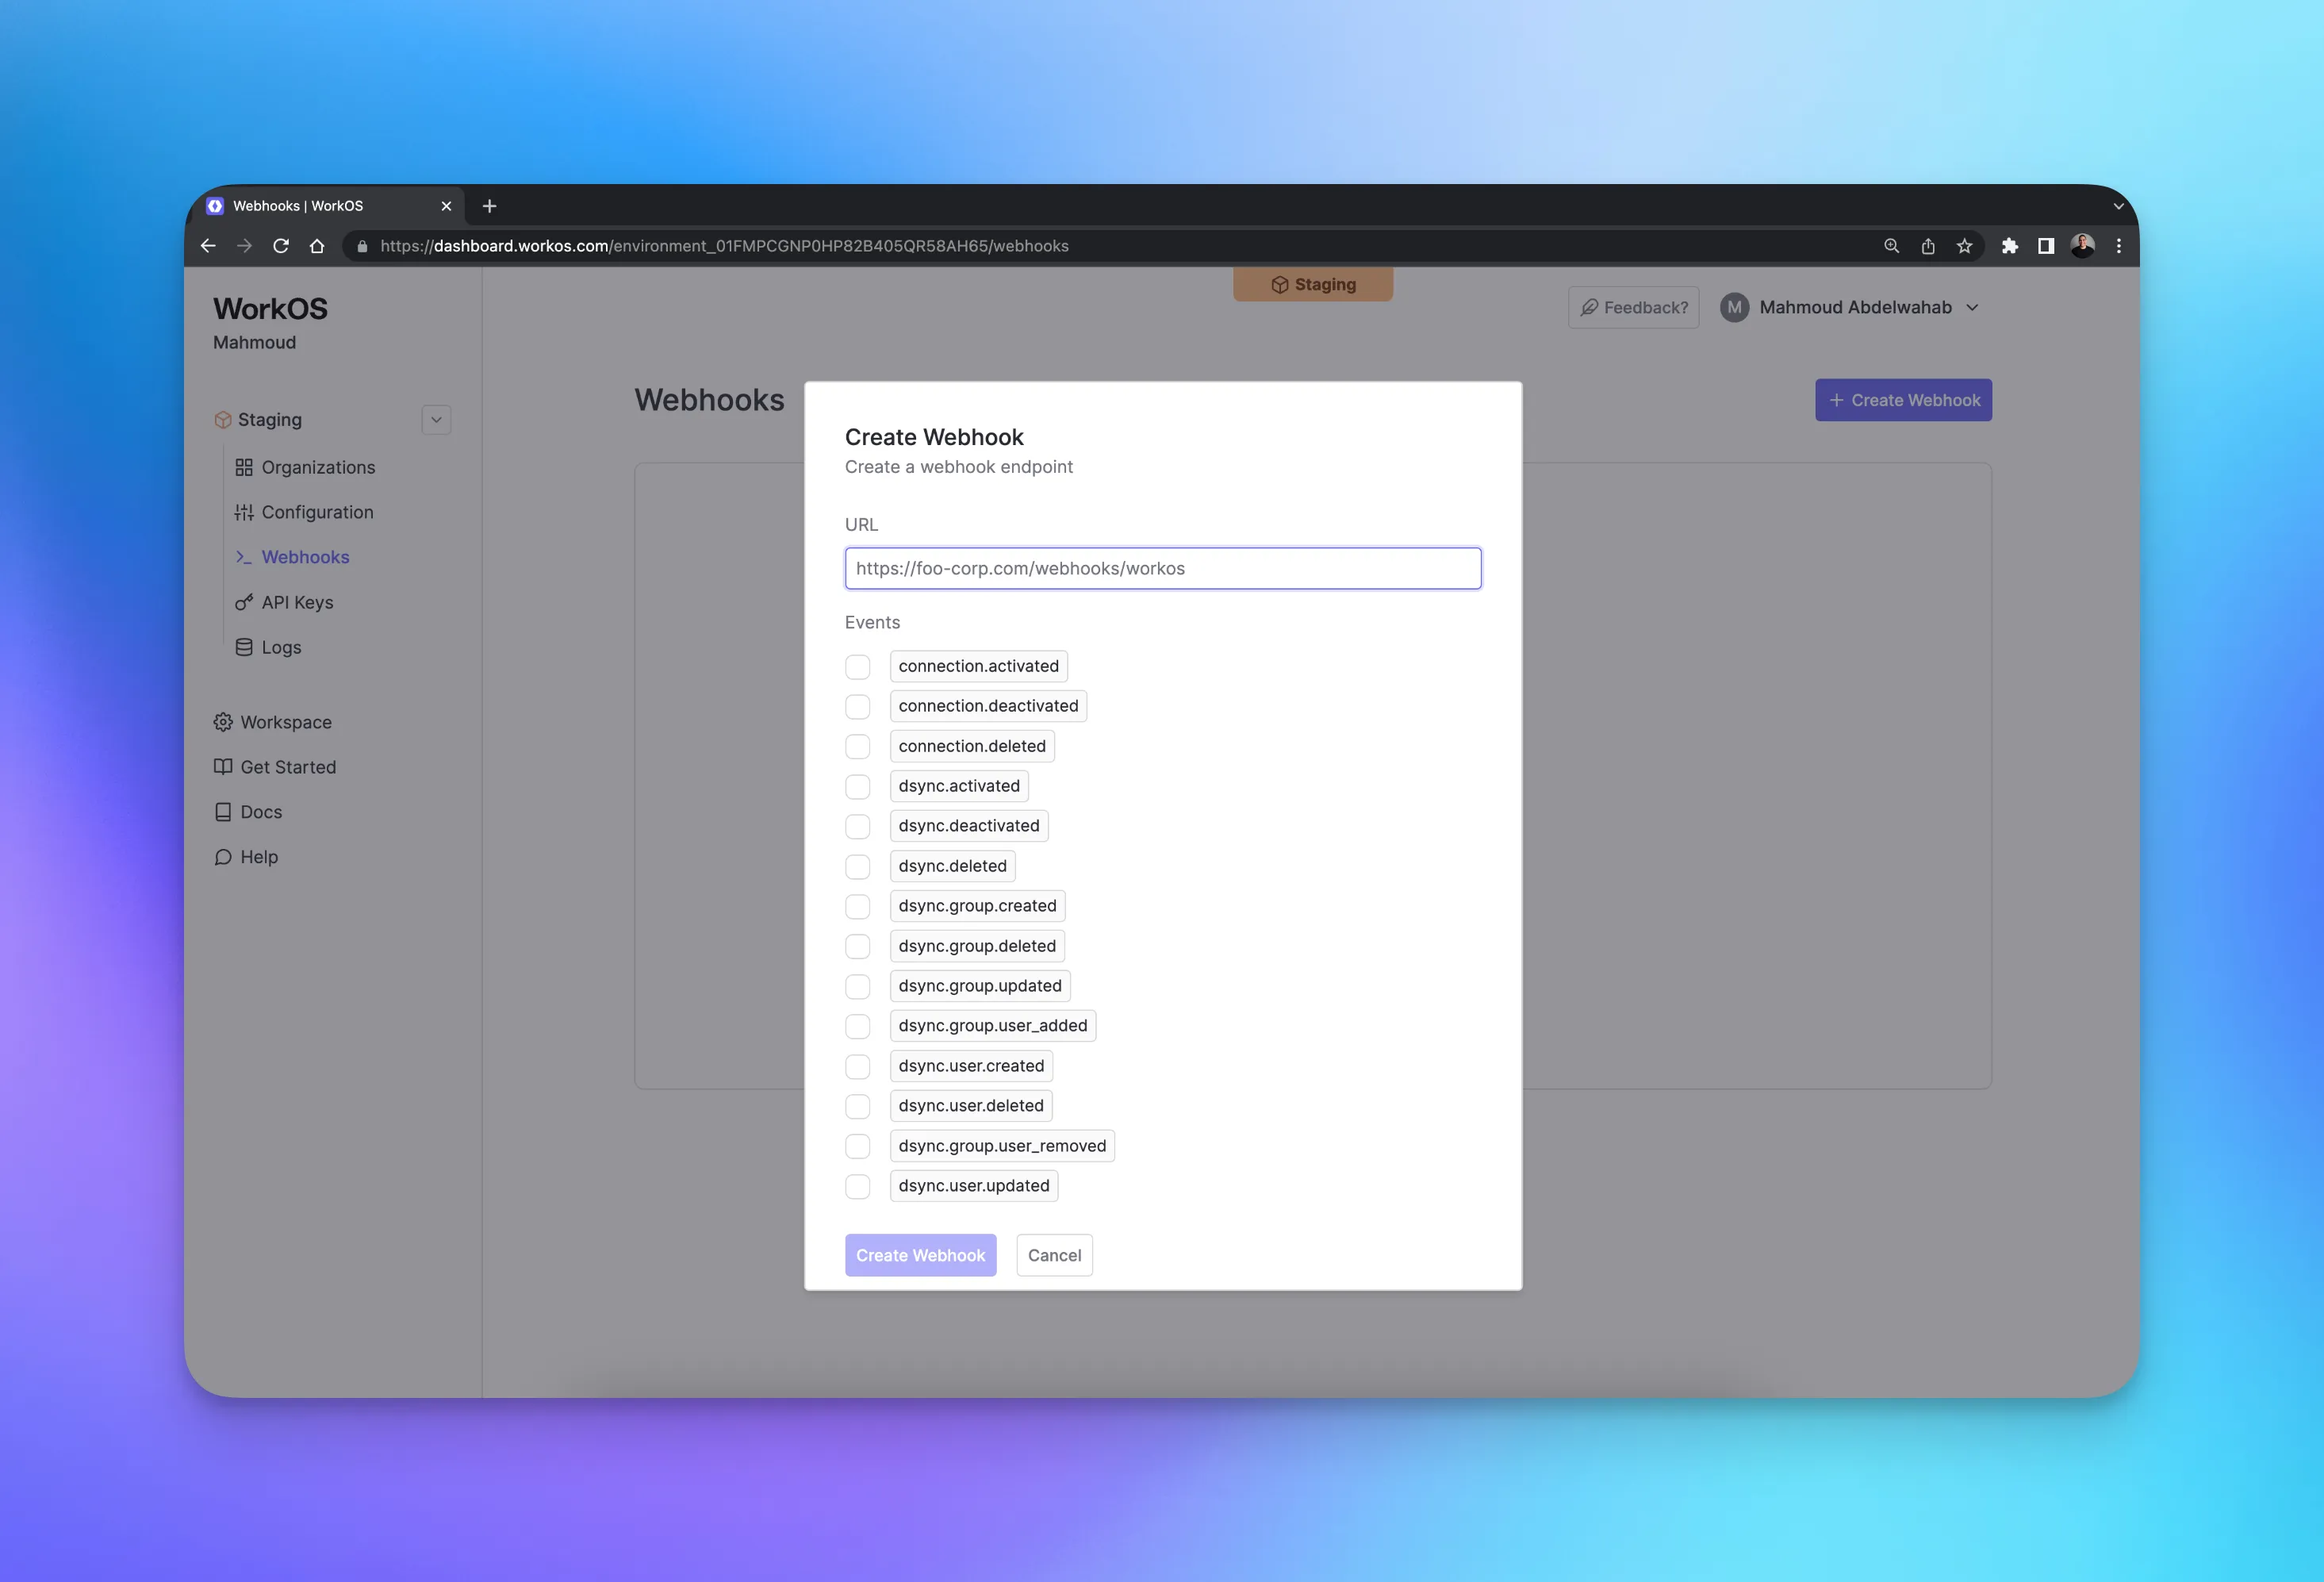
You can subscribe to real-time events using webhooks. In your WorkOS dashboard, go to the “Webhooks” tab and click on “Create Webhook”. You can then provide the URL of the webhook endpoint and pick which events you would like to receive.

You can check out the full list of webhook events in the API reference.
We suggest handling events using two concurrent processes to avoid the possibility of unnecessary retry requests hitting your webhook handler.
Depending on your network architecture, you may need to allowlist incoming traffic from api.workos.com. Otherwise, you might not be able to receive redirects and webhooks from WorkOS.
Get started
Check out the full documentation for the Admin Portal and feel free to take a look at our example applications.
As always, if you have any questions or feedback feel free to reach out to our WorkOS support team.