Fetch GitHub repo data without OAuth using WorkOS Pipes
Build a Node app that lets users connect GitHub and list their repos with a refreshed access token, without implementing OAuth.
Many applications need data from tools their users already use, like GitHub, CRMs, or internal services. While the APIs are usually straightforward, connecting user accounts and managing OAuth flows, tokens, and refresh logic often adds a lot of complexity.
WorkOS Pipes removes that overhead. Pipes lets users connect third-party services to your app, while WorkOS handles the OAuth flow, credential storage, and token refresh for you. Your application just asks for a valid access token when it needs data and uses it to call the provider API.
In this tutorial, you will use Pipes to connect GitHub and fetch repository data in a Node app. You will:
- Use the Pipes widget to let users connect and manage their GitHub account.
- Fetch a refreshed GitHub access token from WorkOS on the backend.
- Call the GitHub API to list repositories for the authenticated user.
The same pattern can be used to connect other data sources and bring external data into your application without building OAuth plumbing yourself.
What are WorkOS Pipes
Pipes allows your users to securely connect their third-party accounts to your application. With Pipes, you can easily integrate with popular services like GitHub, Slack, Google, Salesforce, and many more without managing OAuth flows, token refresh logic, or credential storage.
At a high level:
- You configure a provider (like GitHub) in the WorkOS dashboard.
- Your app renders the Pipes widget so users can connect and manage accounts.
- Your backend calls WorkOS to fetch a provider access token whenever it needs to call the provider API.
- Pipes refreshes tokens for you so you always get a usable token.
- Use that token in your app to retrieve any data you need from the configured provider (e.g., GitHub repos)
Step 1: Configure GitHub
In the WorkOS Dashboard, go to Pipes.
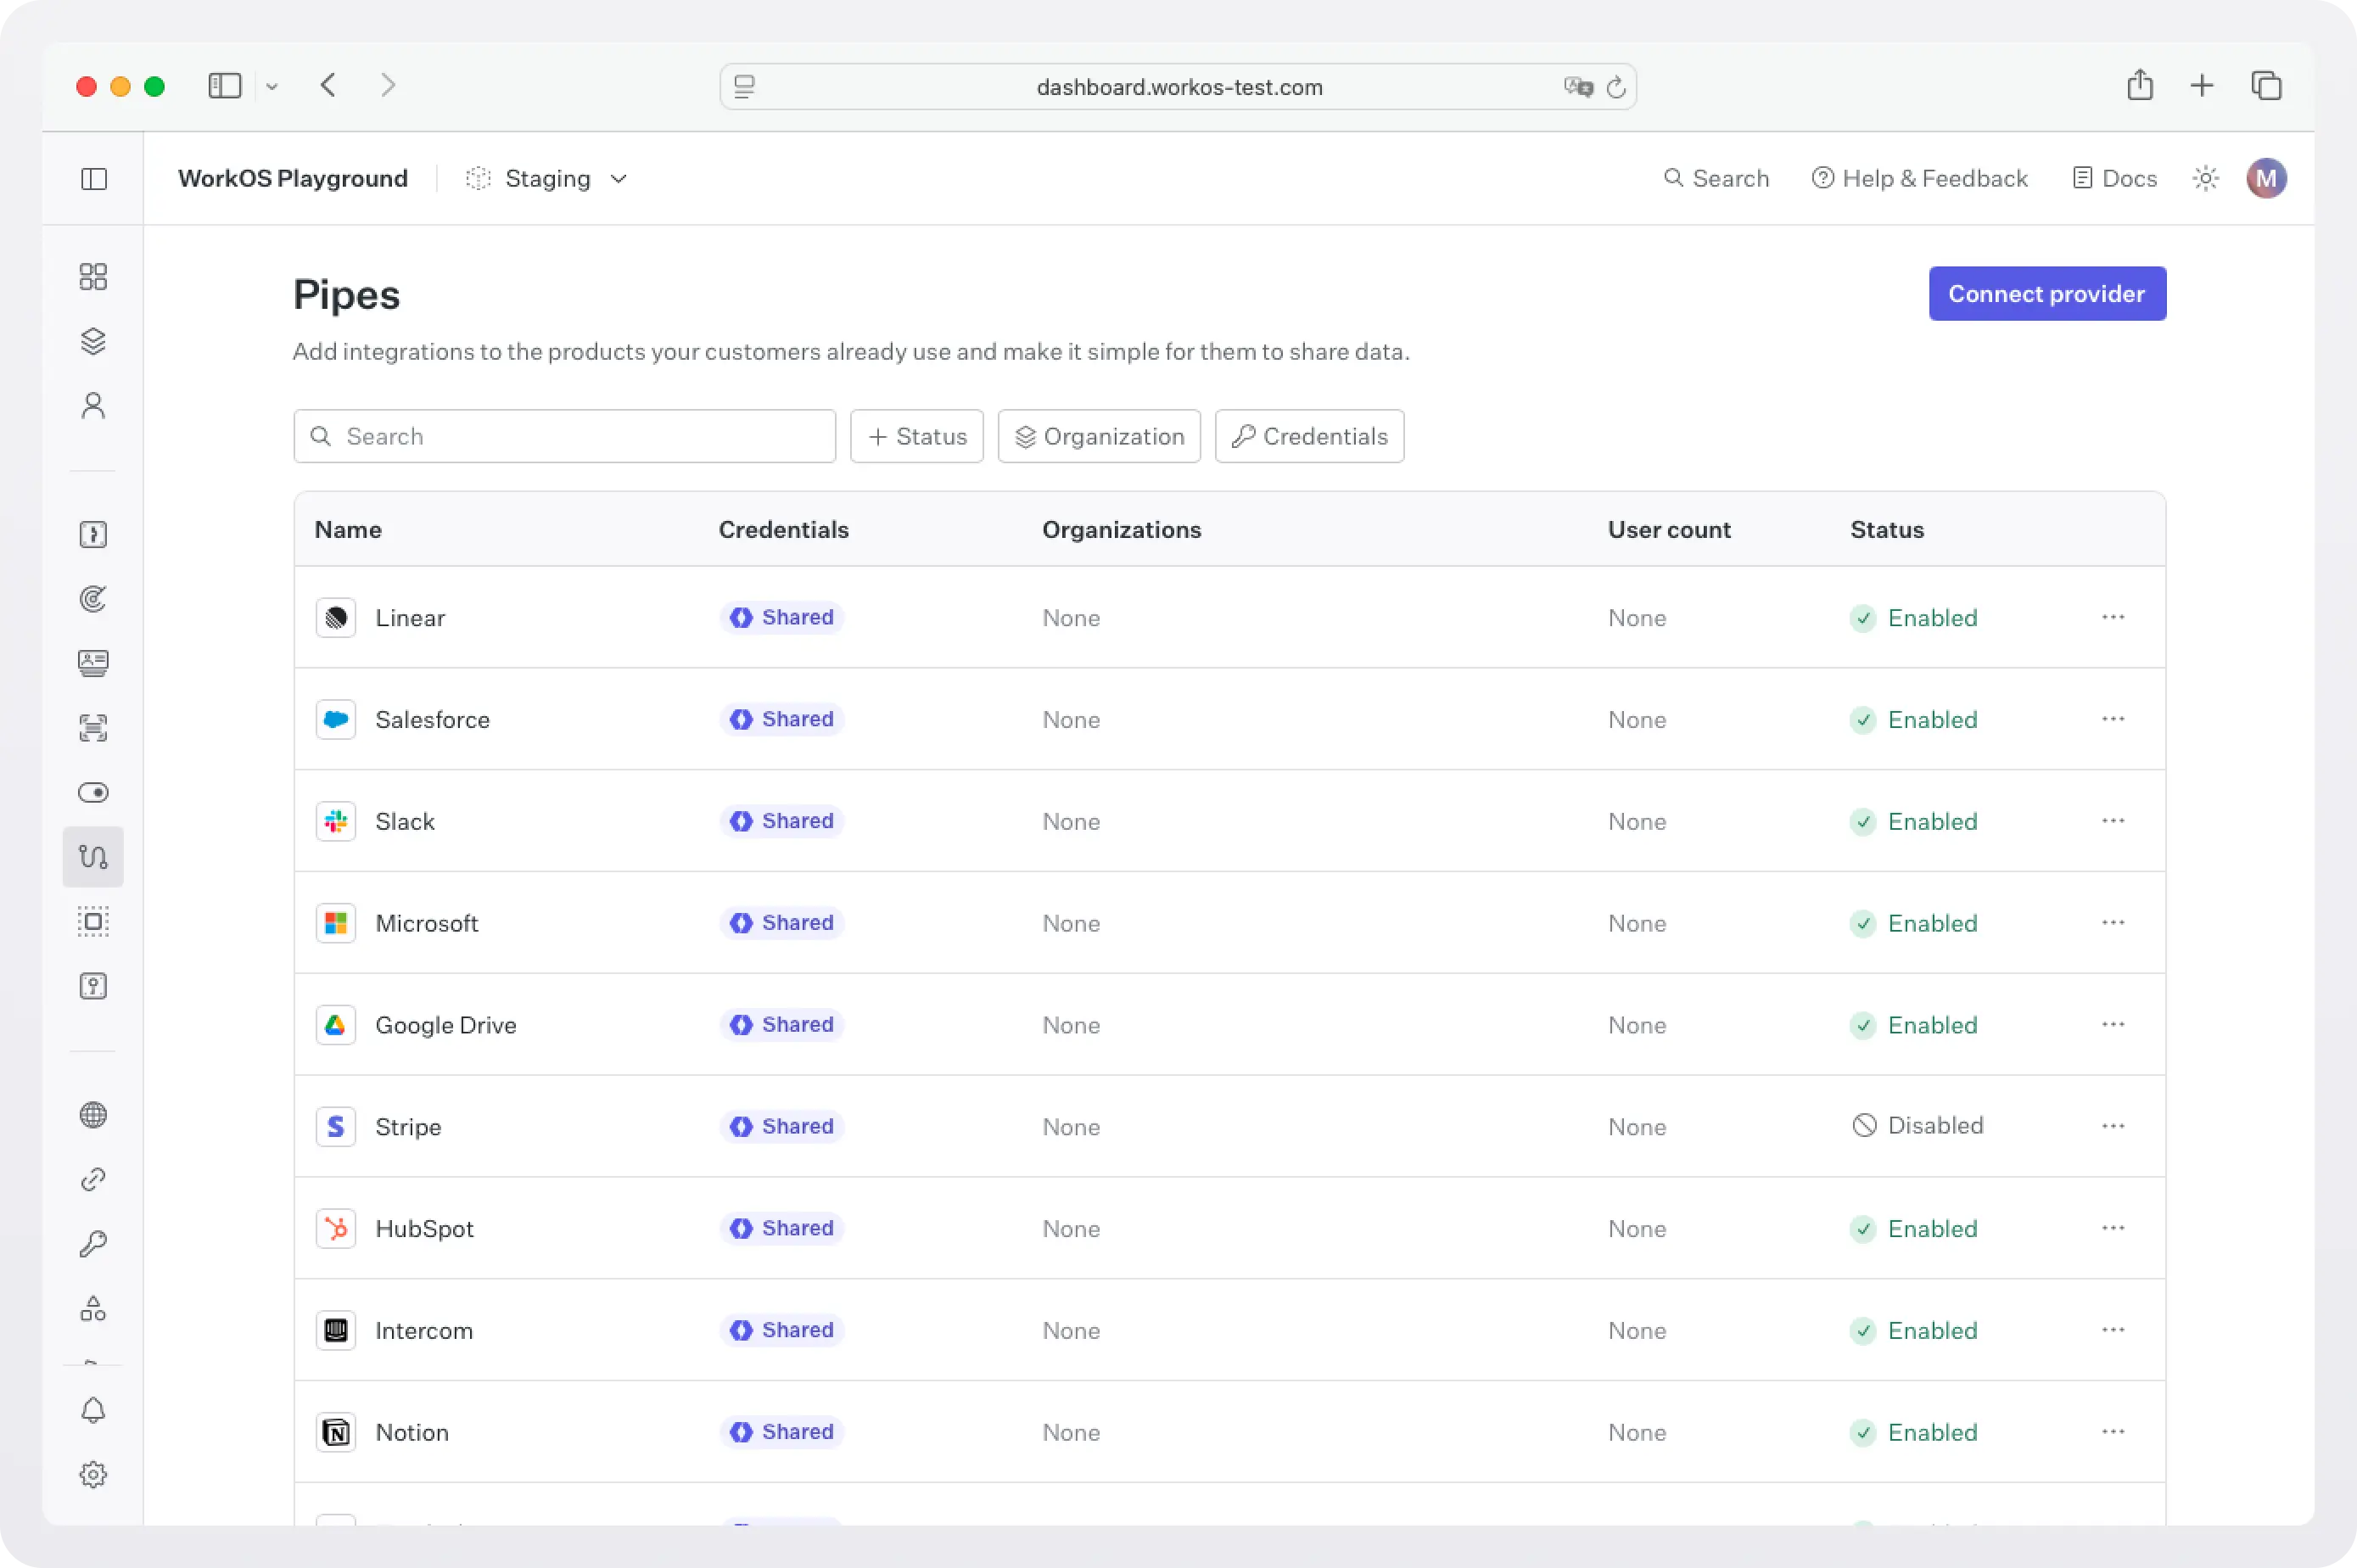
Click Connect provider and select GitHub.

Choose your scopes. For listing repos (public and private), select repo. For more details on what each scope gives access to, see GitHub OAuth Scopes.

Add an optional description. This shows up in the widget to explain how your app uses the data.
For the fastest setup, go ahead and use the shared credentials option. This will allow users to connect immediately (using WorkOS-managed shared credentials) without requiring you to create OAuth applications with GitHub. This option is available for sandbox environments only.
For production environments, configure the provider with your own OAuth credentials. Create a GitHub app using the provided Redirect URI, and set the Client ID and Client Secret to the GitHub popup dialog box in the WorkOS dashboard.
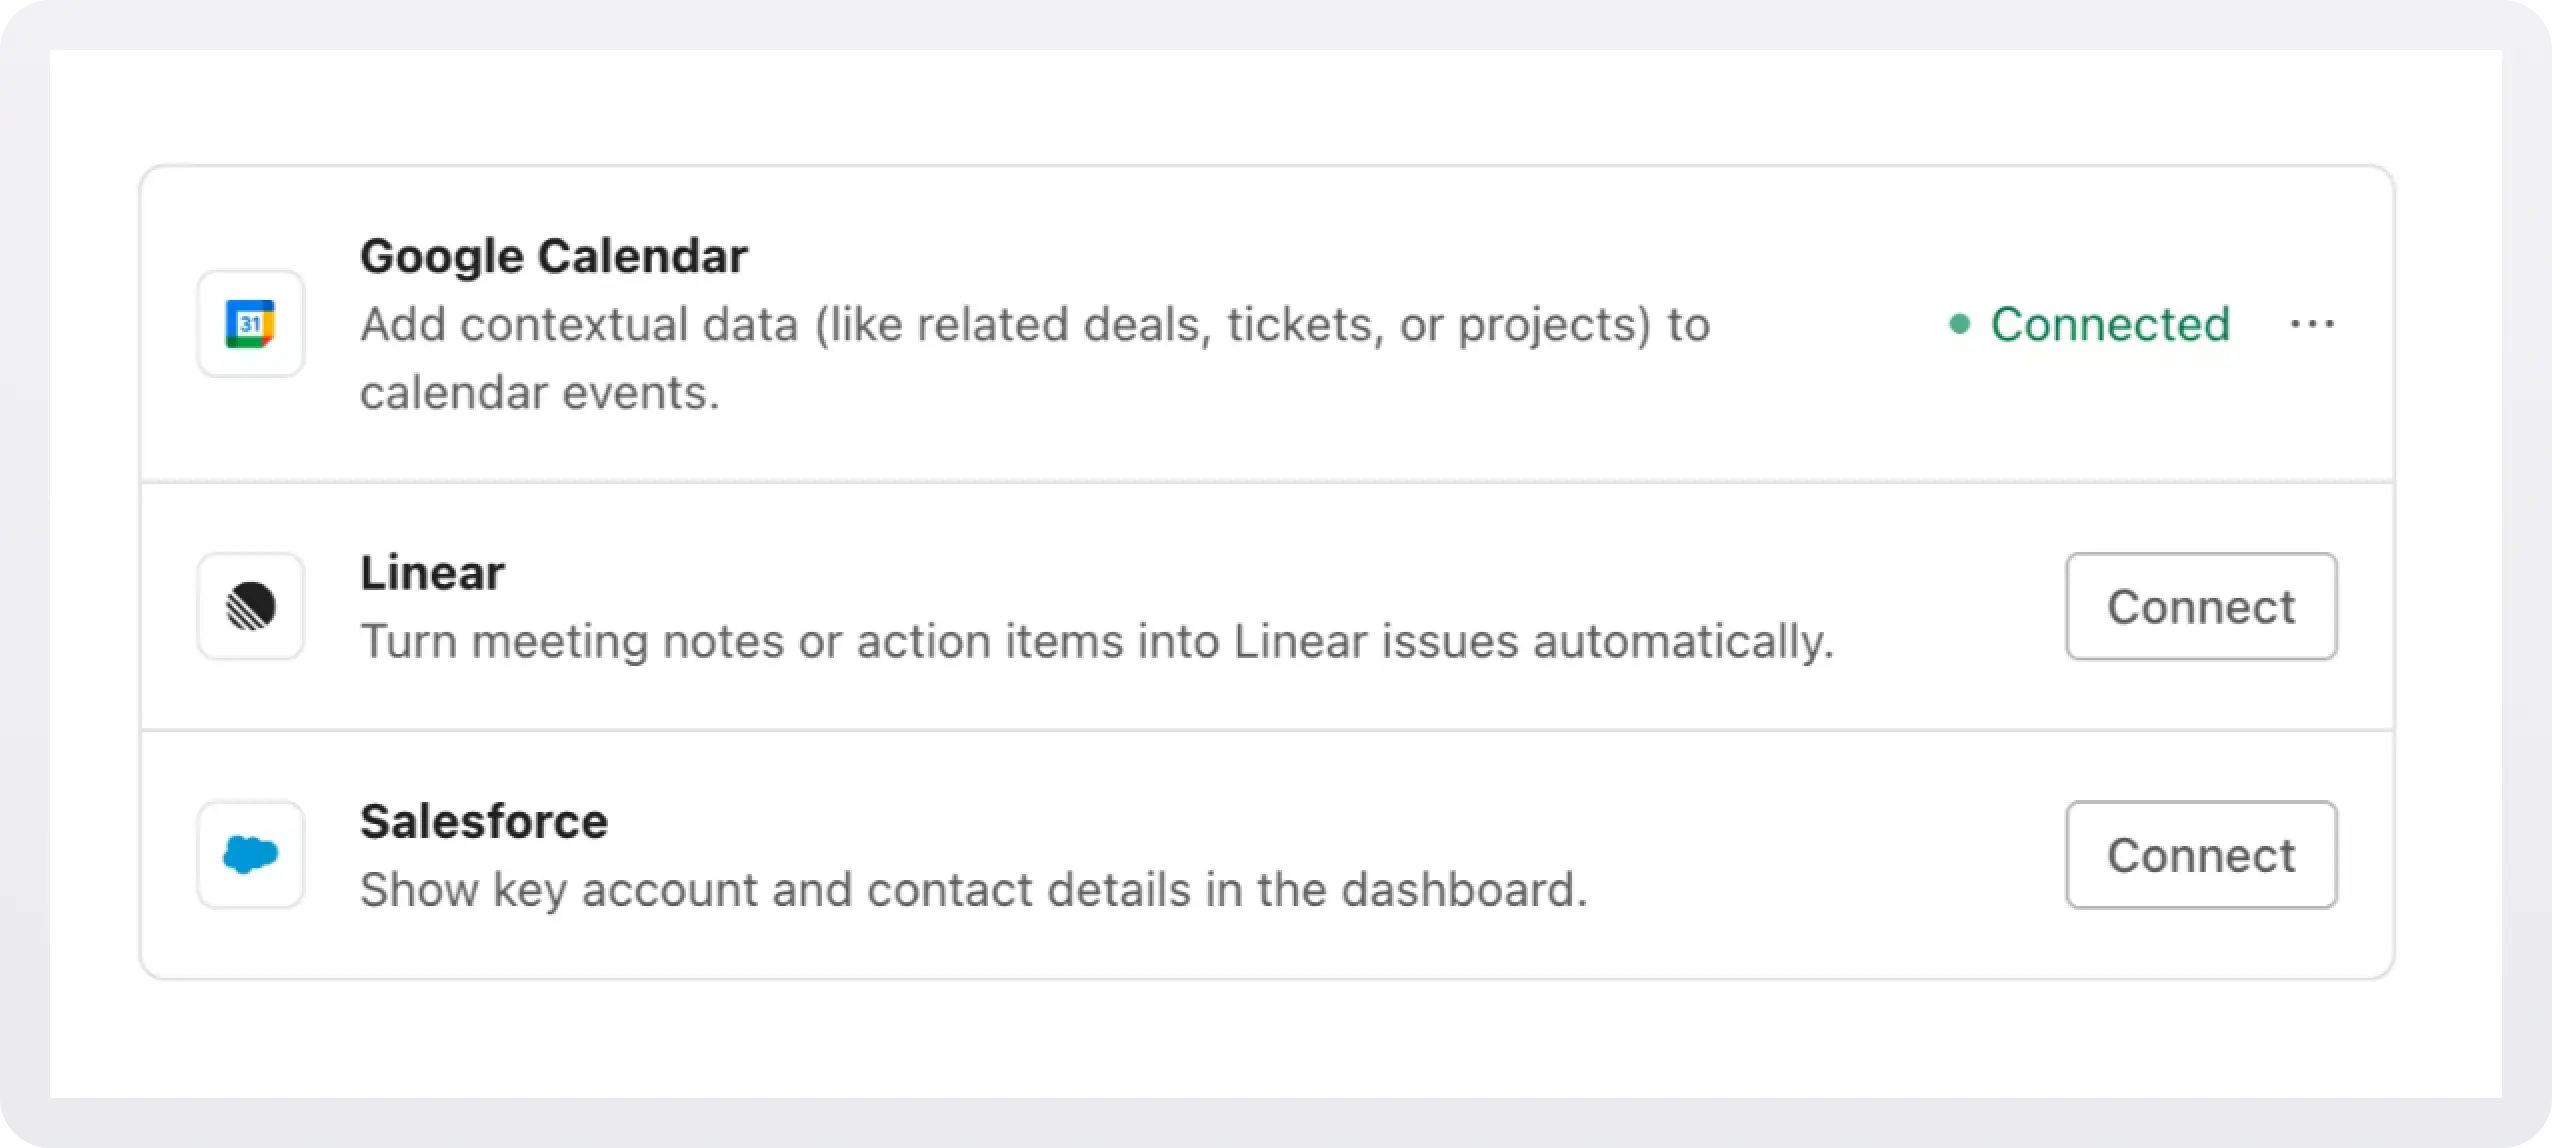
Step 2: Add the Pipes Widget
Next we will add the Pipes widget to your app.
The Pipes widget is a pre-built UI that shows available providers and lets users connect and manage accounts. It displays a list of all the 3rd party services you have enabled and the user has the option to connect them or not.
In order to add the widget to our app we need to install some dependencies, configure keys and URLs, and then get a valid token for the user.
2a. Install dependencies
WorkOS Widgets uses Radix Themes for its UI components and style customization APIs, while TanStack Query is used for data fetching and caching. Since both libraries are often used in applications, we require them as peer dependencies to avoid duplication, version conflicts, and bloated bundles.
Install these dependencies:
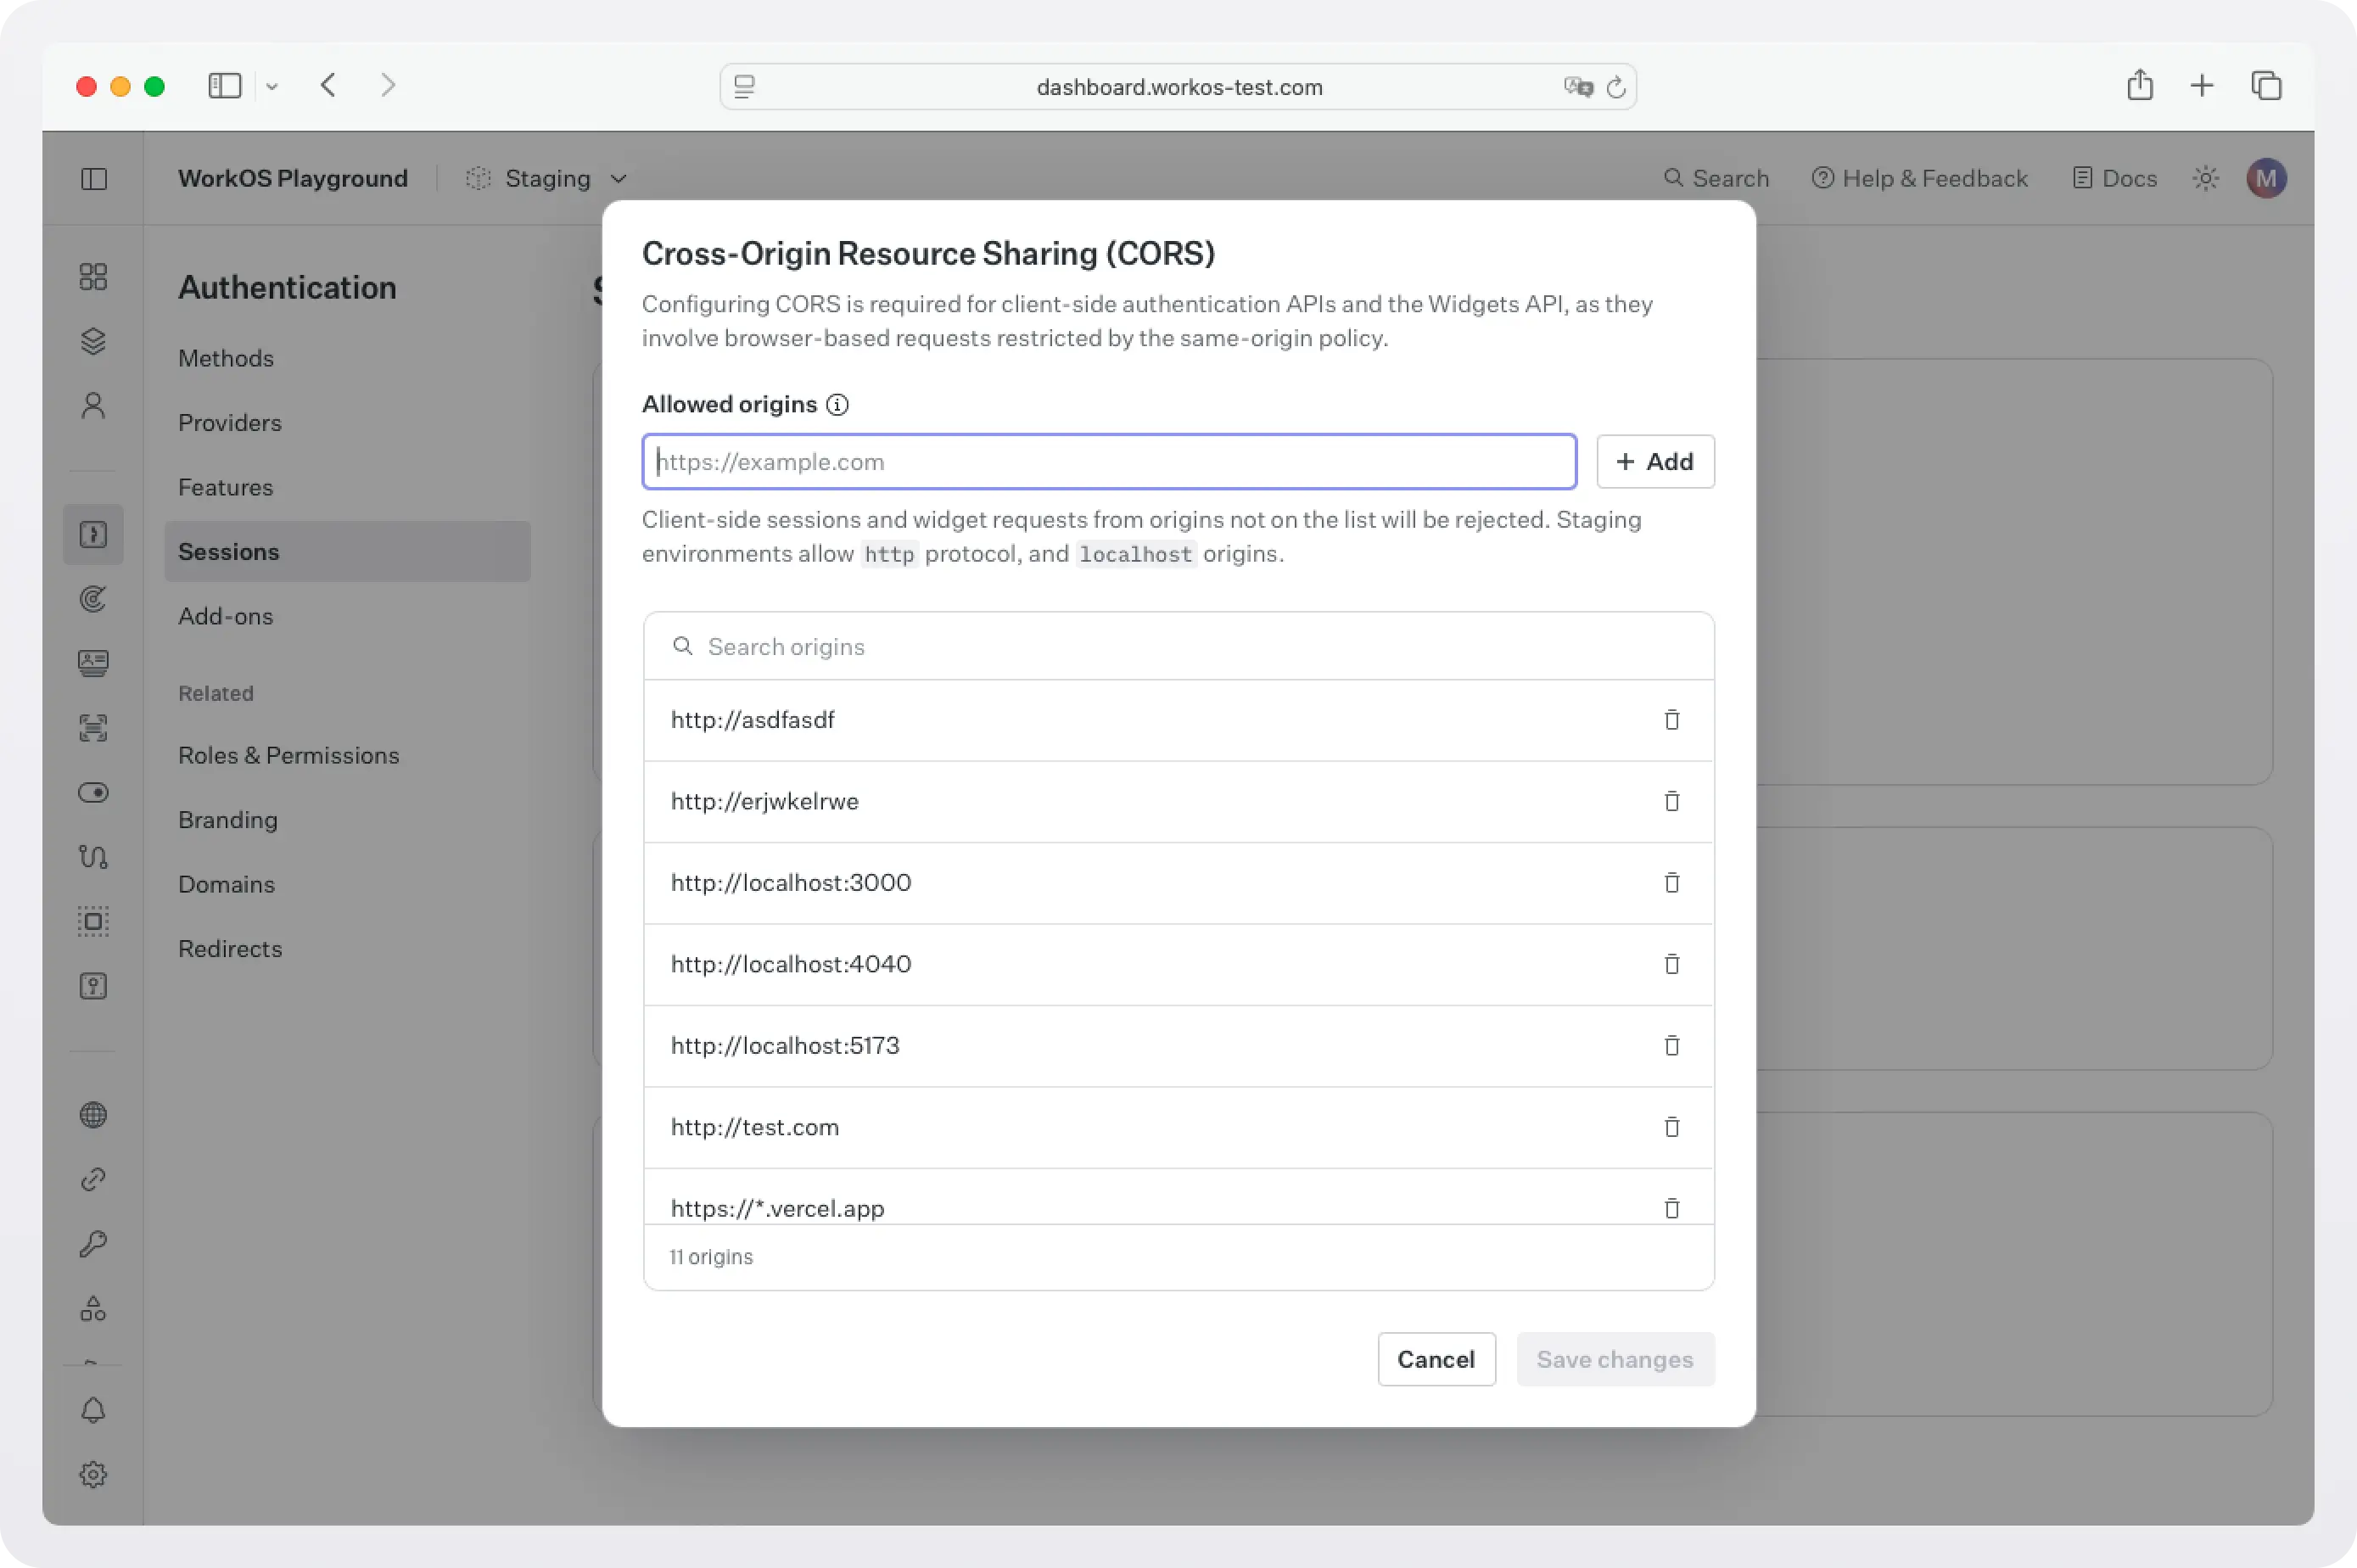
2b. Configure WorkOS API key and CORS
Next, because WorkOS widgets issue client-side requests to WorkOS, it is necessary to configure your site as an allowed web origin. Adding this in the Authentication section of the WorkOS dashboard will prevent CORS issues when using the widget.
You also need to set the WorkOS API key and client ID in order to make calls to the WorkOS API. Copy these values from the WorkOS dashboard.
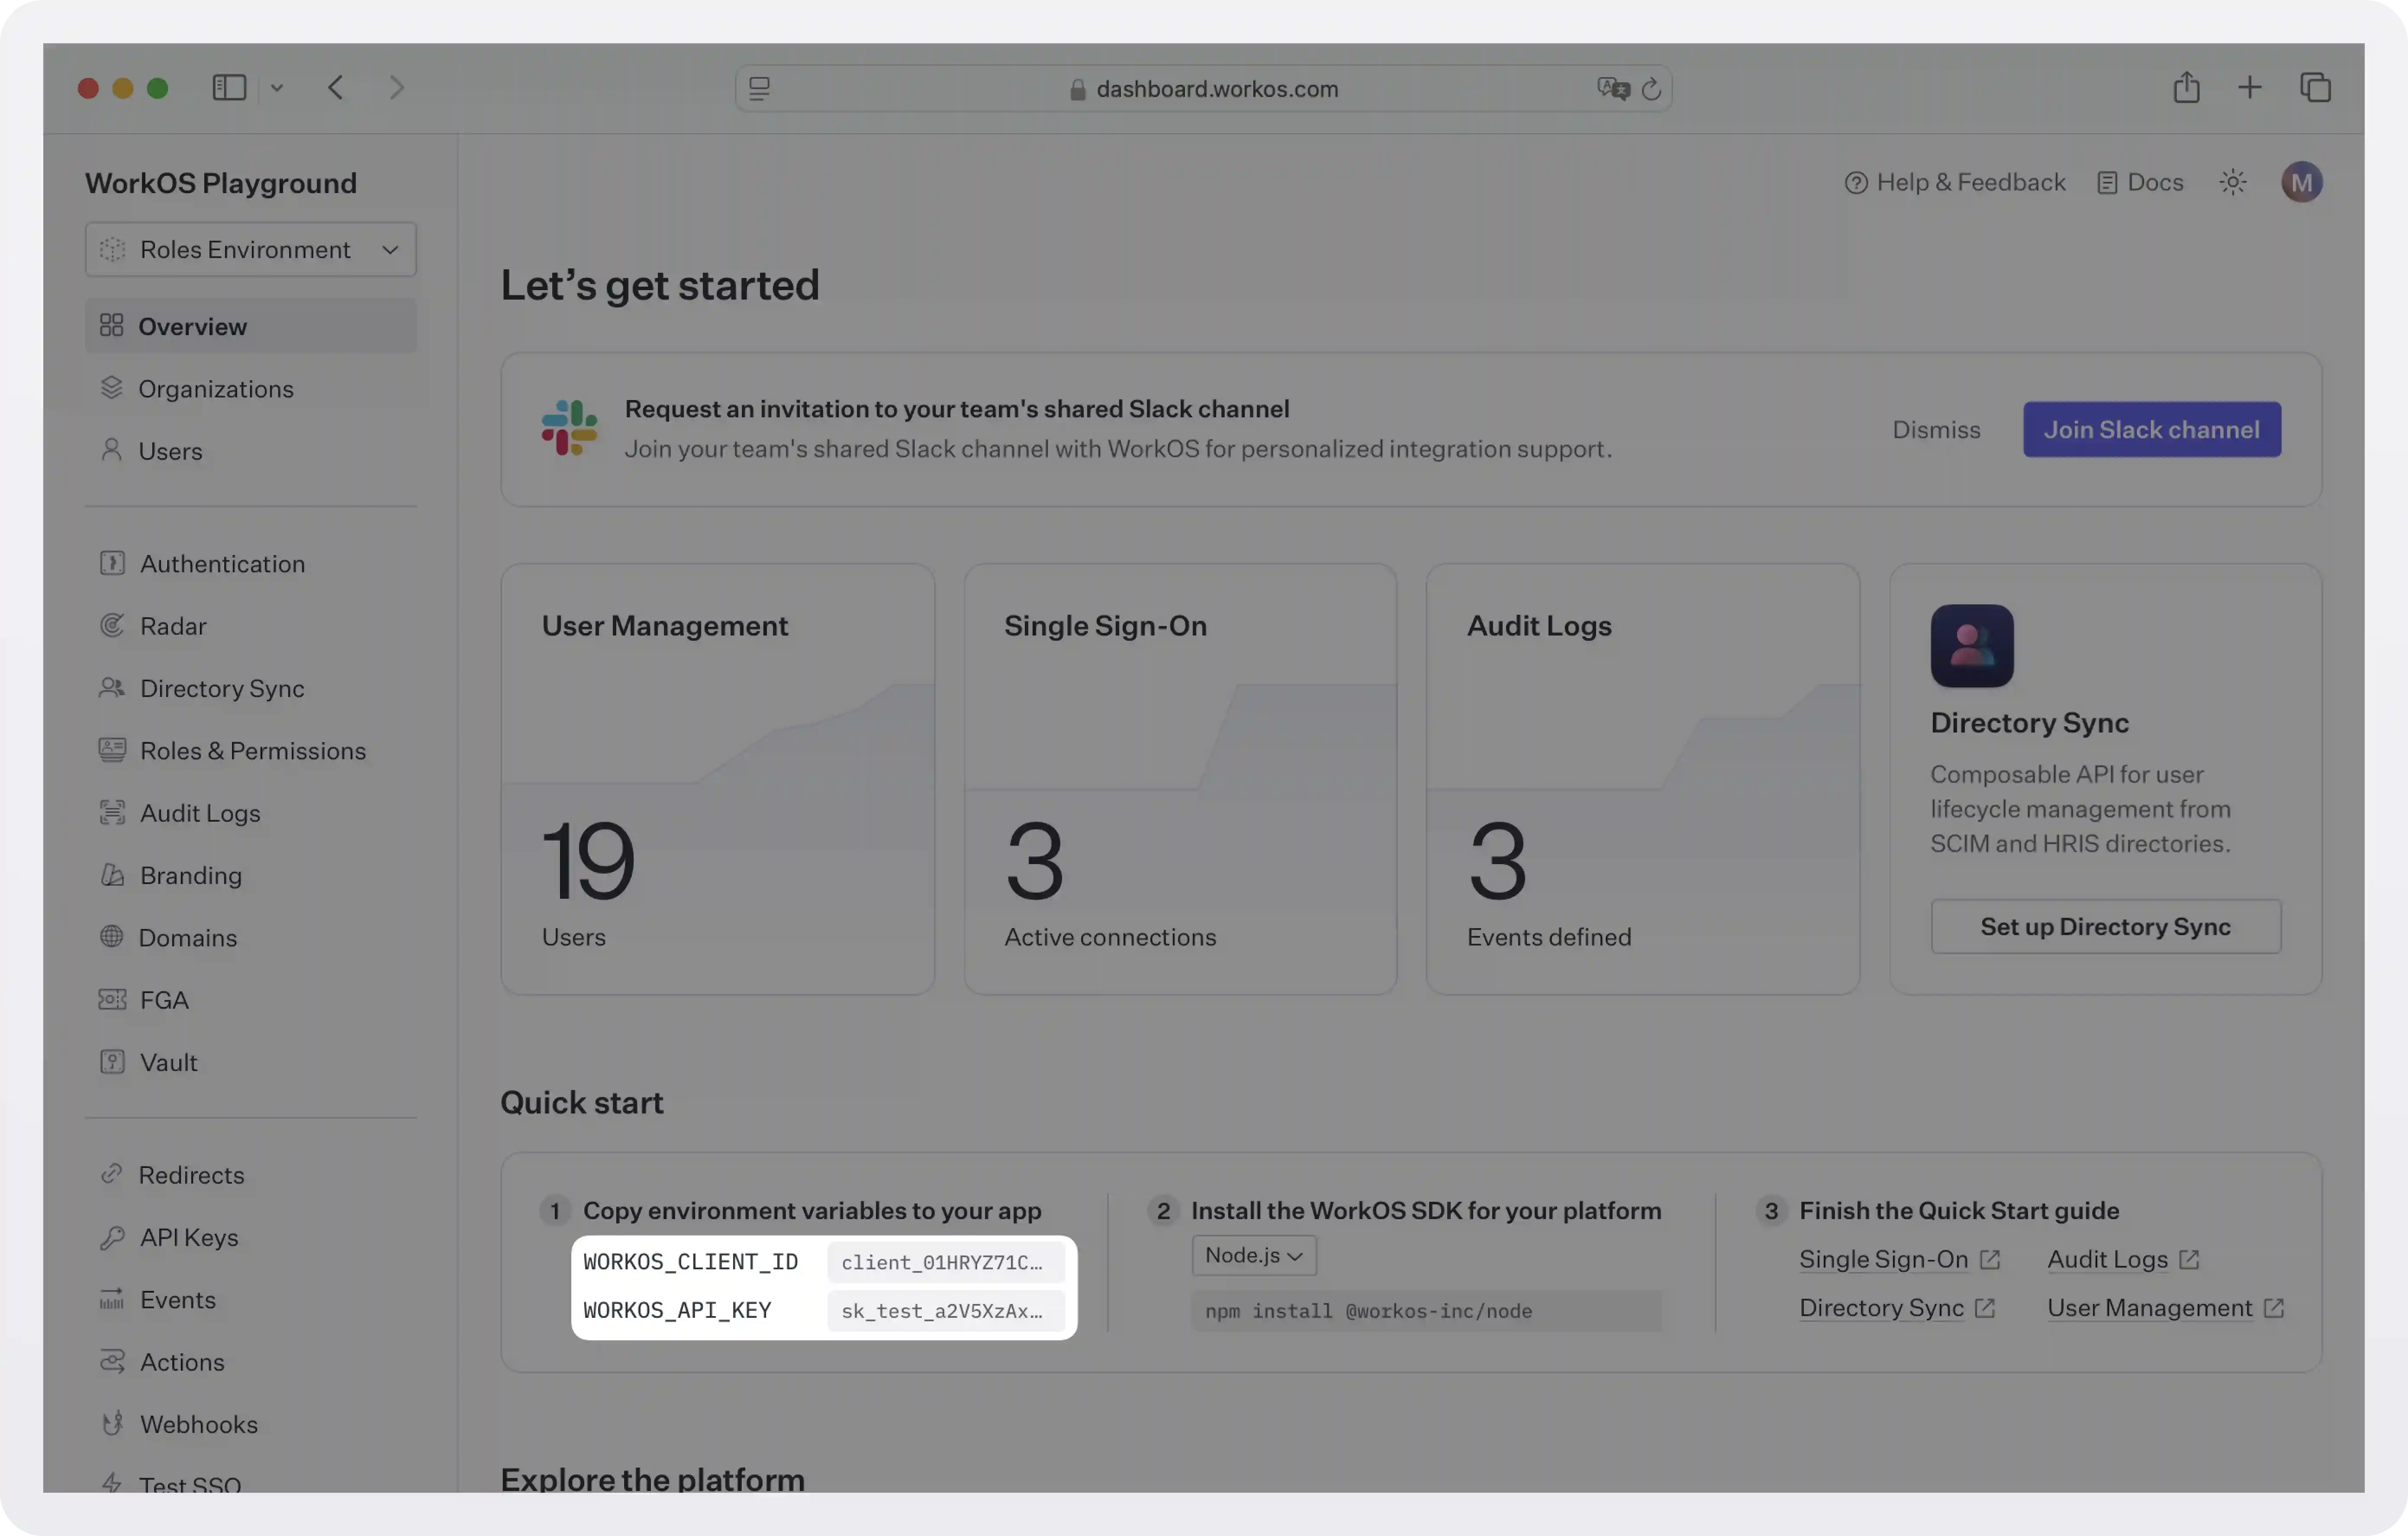
Store the values as managed secrets and pass them to the SDK as environment variables:
Environment variables example:
!!For more information on safely handling secrets, see Best practices for secrets management.!!
2c. Get authorization token
The Pipes Widget makes a call to the WorkOS API to retrieve information about all the 3rd party services the user has the option to enable and their corresponding status, so it needs an authorization token. There are two ways you can get one:
- If you are using the authkit-js or authkit-react libraries, you can use the provided access token.
- If you use one of our backend SDKs, use the
getTokenmethod in the SDK to request a token with the appropriate scope for the widget you want to use. Widget tokens expire after one hour. Node example:
!!To customize the look and feel of the widget see Styling.!!
Step 3: Get an access token and call GitHub
Once the user connects GitHub, your backend can request a fresh access token from WorkOS. Pipes handles refresh logic so you can treat the token as ready to use.
Create pages/api/repos.js:
What this does:
- Calls
workos.pipes.getAccessToken({ provider: 'github', userId, organizationId }) - If the user is not connected or needs reauthorization, it returns an error you can use to direct them back to the widget.
- If it succeeds, you get
accessToken.tokenready for GitHub API calls. This is the “no OAuth in your app” moment:- Your app does not implement the OAuth redirect flow.
- Your app does not store refresh tokens.
- Your app just asks Pipes for a usable token, then calls GitHub.
Sample workos.pipes.getAccessToken response:
Next steps
You now have a working pattern for bringing external data into your application using Pipes. GitHub is just one example. The same approach can be used to connect other providers and pull in data with minimal changes to your application code.
From here, you might:
- Add additional providers such as Slack, Google, Salesforce, or other supported services.
- Reuse the same Pipes widget to let users manage multiple connected accounts in one place.
- Expand your backend logic to fetch different types of data from connected providers, using the same access token flow.
If you need to integrate with a data source that is not currently listed, reach out to us. Pipes is designed to grow with your product, and we are always open to adding new providers based on customer needs.
As your application evolves, Pipes remains the integration layer, so you can focus on building features instead of maintaining OAuth and credential infrastructure.