How to add OAuth to your MCP server
Three ways to add authentication to your MCP server: build your own auth, use WorkOS as a bridge with your existing users, or let WorkOS handle everything with AuthKit.
If you’re building an MCP (Model Context Protocol) server, you’ll quickly run into the question: how do I authenticate users? The MCP spec doesn’t tell you how to do it; it just expects your server to know who’s making requests and what they’re allowed to do.
There’s no one right answer for authentication, but there are three good options depending on how much of the OAuth flow you want to own:
- Build your own OAuth server: Implement the full OAuth 2.0 flow yourself, having total control over how clients authenticate and tokens are issued. Use this if you already have in-house OAuth expertise and time to spare for implementation and ongoing maintenance.
- Bring your own users using WorkOS as an OAuth bridge: Keep your existing login system and let WorkOS act as an OAuth layer between your app and MCP clients. Use this if your app already has users and you just need OAuth tokens to connect MCP clients securely.
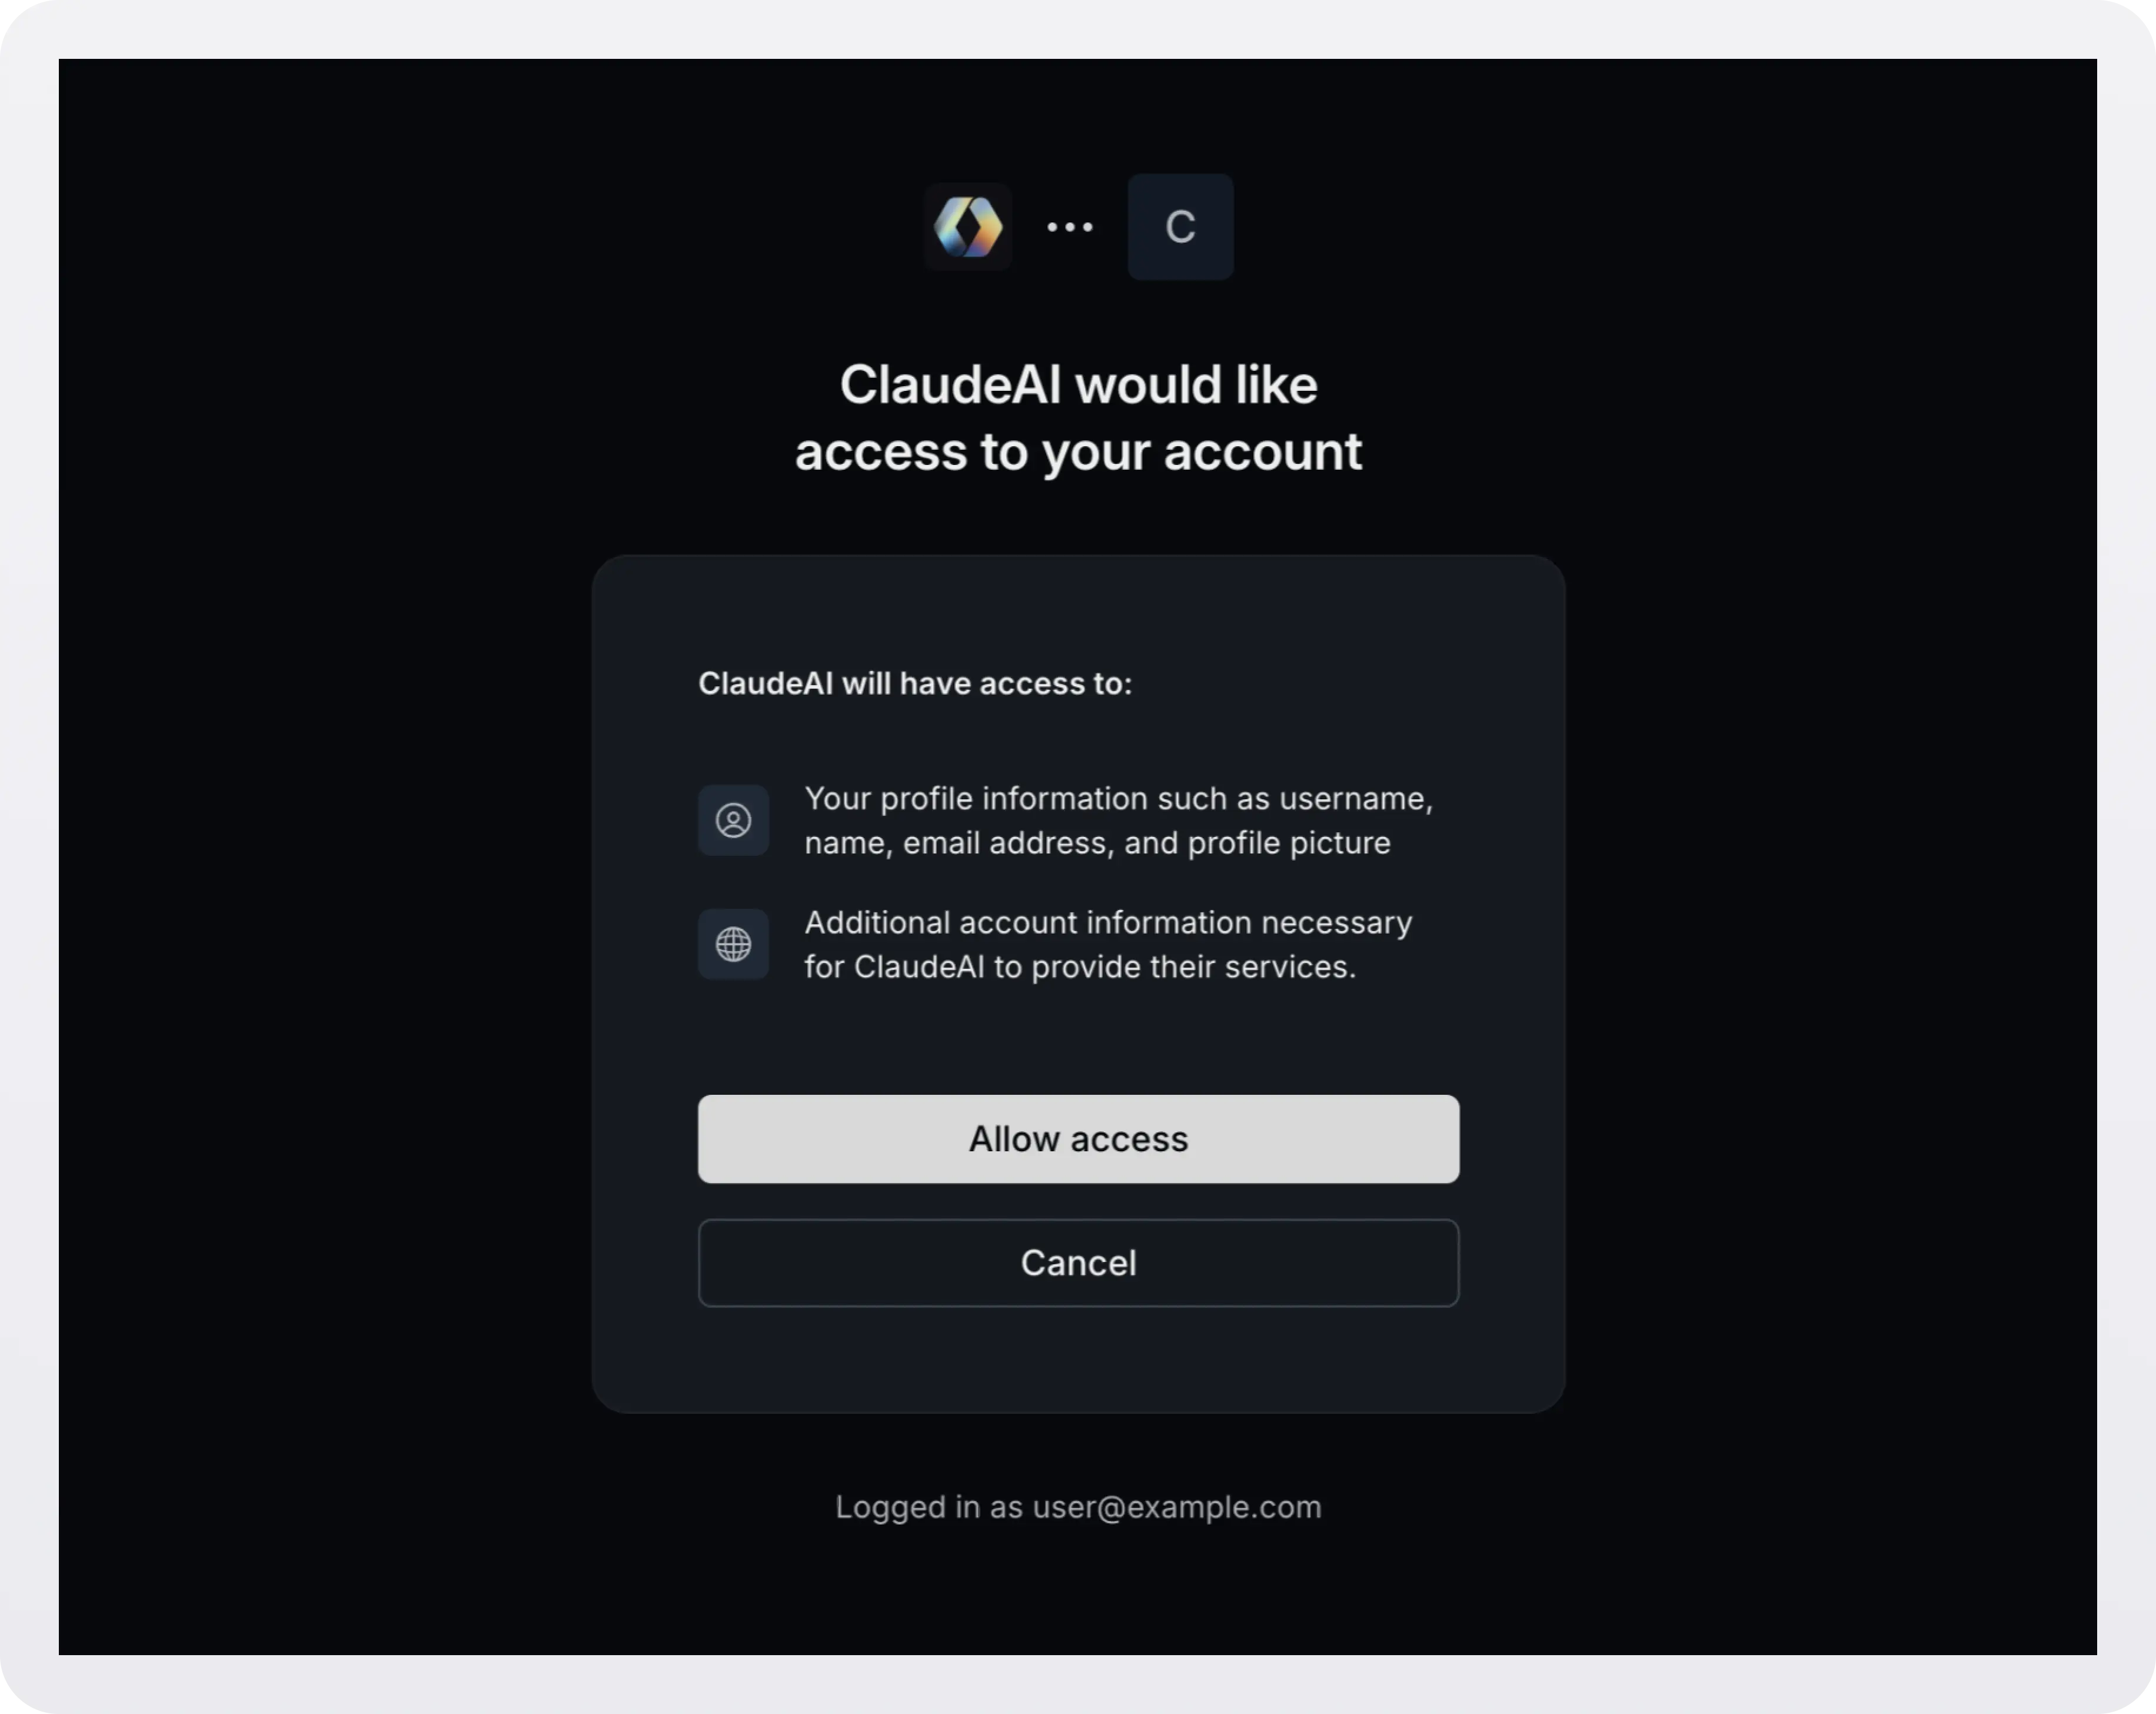
- Use AuthKit to host OAuth for you: Let WorkOS handle the entire OAuth flow, from user login to token validation, through a hosted AuthKit project. Use this if you don’t have your own user system (or you are willing to migrate) and want a fully managed authentication setup with minimal effort.
Let’s go through each option in more detail.
Option 1: Build your own OAuth server
If you like to control every detail, you can build an OAuth 2.0 authorization server yourself. This means implementing the Authorization Code Flow, managing client registration, issuing and validating tokens, and handling scopes and refresh tokens. This path is for teams with deep OAuth expertise, security resources, and the time to maintain their own identity infrastructure.
At a high level, here’s what you’ll need:
- Client registration: You’ll need a way for applications (for example, MCP clients, CLI tools, or internal services) to register for credentials.
- Generate and store a
client_idandclient_secret. - Provide a developer portal or admin interface for registering redirect URIs.
- Support Dynamic Client Registration if you want clients to register automatically.
- Generate and store a
- Authorization endpoint (
/authorize): This endpoint starts the Authorization Code Flow.- Accepts parameters like
client_id,redirect_uri,response_type=code,scope, andstate. - Authenticates the user (via your existing login system, SSO, or MFA).
- Requires PKCE for public clients, which is mandatory in OAuth 2.1.
- Prompts the user for consent if applicable.
- Issues a short-lived authorization code when successful.
- Accepts parameters like
- Token endpoint (
/token): Exchange the authorization code for a token- Exchanges the authorization code for an access token (and optionally a refresh token).
- Supports
grant_type=authorization_code - Validates
client_id,client_secret(for confidential clients), andcode_verifier(for PKCE). - Returns a signed JWT access token.
- Token format and signing
- Choose how to represent tokens; commonly, JWTs are signed with a private key (RS256 or ES256).
- Publish a
.well-known/jwks.jsonendpoint so clients and resource servers can fetch your signing keys. - Include standard claims like
iss,sub,aud,exp, andscope. - Rotate signing keys regularly.
- Token validation: Your MCP server (the resource server) must validate incoming tokens.
- Verify the signature against your JWKS.
- Check
iss(issuer),aud(audience),exp(expiration), andscope. - Reject expired or revoked tokens.
- Introspection and revocation endpoints: Implement RFC 7662 (Introspection) and RFC 7009 (Revocation) if clients need to verify or revoke tokens programmatically.
- Security best practices
- Enforce HTTPS everywhere.
- Validate all redirect URIs against registered values.
- Implement CSRF protection for the login form and state parameter.
- Limit scopes and lifetimes of tokens.
- Audit and log token issuance and failures.
- Discovery and metadata: Publish Protected Resource Metadata metadata at
/.well-known/oauth-protected-resourceso clients can automatically find your endpoints and JWKS URI. - Error handling and 401 responses: Return proper
WWW-Authenticateheaders when tokens are missing or invalid:
In addition to these, you’ll need to monitor and rotate keys, scale the authorization server, patch security vulnerabilities, and ensure compatibility with OAuth 2.1 as it evolves.
Or you can use an authentication provider and keep building your app instead of becoming an authentication and security expert. Keep reading.
Option 2: Bring your own users with WorkOS as your OAuth bridge
With this option, WorkOS acts as a secure OAuth layer between your existing app and MCP clients, handling the token flow while your app keeps control of user authentication. If you already have a user database and login system, but you need OAuth tokens so MCP clients can talk to your MCP server, this option is for you.
In this model:
- OAuth clients (like an MCP client) start the OAuth flow with AuthKit.
- AuthKit redirects the user to your app’s login page for authentication.
- Your app authenticates the user, calls back to AuthKit to complete authentication, and AuthKit issues OAuth tokens.
- Your MCP server validates those tokens using AuthKit’s JWKS endpoint.
This setup lets you keep your user store while offloading OAuth complexity (tokens, scopes, consent screens, and security) to WorkOS. This is how Mux launched its MCP server quickly without rebuilding its auth system.
Implementation steps
- Start by creating an OAuth app. Go to WorkOS dashboard > Applications and click Create application.
.webp)
- Enable Dynamic Client Registration (DCR) if you plan to support MCP clients that self-register. Go to WorkOS dashboard > Applications > Configuration and click Manage under Dynamic Client Registration. Enable DCR and add any scopes you want to grant by default.
.webp)
- On the same page (WorkOS Dashboard > Applications > Configuration), configure your Login URI. This is where AuthKit will redirect users to authenticate with your existing system. The following should apply:
- You can only configure one Login URI per environment.
- The Login URI must use HTTPS in production.
- The Login URI must accept an
external_auth_idquery parameter. This is a temporary identifier used to link your app’s authentication result back to AuthKit.
.webp)
- Implement and publish on your MCP server a well-known endpoint (
/.well-known/oauth-protected-resource) that tells clients how to authenticate and where to discover keys (learn more about Protected Resource Metadata here). Set theauthorization_endpointandtoken_endpointto point to your AuthKit domain (in our code snippers we usesmart-chefs.authkit.app).
- When an MCP client wants to access your MCP server, they start the flow with AuthKit, using a standard OAuth 2.0 authorization URL.
- AuthKit sends the user to your configured Login URI, adding an
external_auth_idquery parameter:
- When your Login URI receives the call, authenticate the user and then call the AuthKit completion API to inform AuthKit that authentication succeeded.
- Redirect the user back to AuthKit using the
redirect_urifrom that API response. AuthKit will display a consent screen if required, issue OAuth tokens, and complete the flow. The client then receives an authorization code that it can exchange for tokens.
- Your MCP server should verify the access token using AuthKit’s JWKS endpoint.
- On unauthenticated or invalid tokens, include a
WWW-Authenticateheader that references your protected resource metadata.
Now your MCP server gets tokens issued by WorkOS, while your users keep logging in through your own system. You get all the benefits of OAuth without migrating or exposing your internal identity logic.
Option 3: Use AuthKit (hosted OAuth)
With this option, WorkOS hosts the entire OAuth flow for you. It provides the login UI, manages users, issues tokens, and exposes a JWKS endpoint for verification. You don’t need to run your own user store or authentication stack; just connect your MCP server to AuthKit’s endpoints.Use this if you’re building a new MCP server and don’t want to manage logins, or if you’re ready to migrate to a fully hosted authentication solution.In this model:
- The MCP client starts the OAuth flow directly with AuthKit.
- AuthKit displays the login and consent screens.
- AuthKit issues tokens when the user grants access.
- The MCP client sends requests to your MCP server with the issued access token.
- Your MCP server verifies the token using AuthKit’s JWKS endpoint.
Implementation steps
- Start by creating an OAuth app. Go to WorkOS dashboard > Applications and click Create application.
- Enable Dynamic Client Registration (DCR) if you plan to support MCP clients that self-register. Go to WorkOS dashboard > Applications > Configuration and click Manage under Dynamic Client Registration. Enable DCR and add any scopes you want to grant by default.
- Go to WorkOS dashboard > Redirects and add one or more redirect URIs where AuthKit will send users after login.
- When an MCP client wants to access your MCP server, they start the flow with AuthKit, using a standard OAuth 2.0 authorization URL.
The user signs in with AuthKit’s hosted login UI.
- Once the user completes the flow, AuthKit redirects back to your client with a short-lived authorization code. The client then receives an authorization code that it can exchange for tokens.
- Your MCP server should verify the access token using AuthKit’s JWKS endpoint.
Note the addition of a WWW-Authenticate header with the resource_metadata challenge parameter containing a /.well-known/oauth-protected-resource URL. This allows clients to dynamically discover the appropriate authorization server, enabling zero-config interoperability between different MCP clients and servers.
- Your MCP server should implement
/.well-known/oauth-protected-resourceendpoint mentioned in the previous section, returning the following minimal JSON response:
MCP clients that support metadata discovery will automatically fetch this metadata when they initially encounter a 401 Unauthorized error from the middleware implemented above. Since AuthKit is included in the metadata under authorization_servers the MCP client will redirect the user to AuthKit in order for them to sign in.
Behind the scenes, AuthKit implements the necessary authorization, dynamic client registration, and token endpoints so that your application doesn’t need to.
Upon successful authentication the client will receive credentials and can start making requests to your application’s MCP endpoints.
Choosing the right option
Wrapping up
Adding OAuth to your MCP server doesn’t have to mean rebuilding authentication from scratch. Whether you need full control or a fully hosted solution, WorkOS gives you a path to production-ready OAuth in minutes.
From DIY OAuth servers to a fully managed AuthKit integration, you can pick the level of abstraction that fits your app, and focus on building your MCP features instead of managing tokens.