How to build Log in with GitHub using Go and WorkOS
Step-by-step tutorial that walks you through the necessary steps to add Log in with GitHub to your app using Go and WorkOS.
Nowadays, it's quite rare to see a login form for a general consumer app that doesn’t offer at least one form of social login, whether from Google, Microsoft, or Facebook, among others. Customers expect it.
In this tutorial, we will go through all the steps required to add the Log in with GitHub functionality to your app using Go as the language and WorkOS as the authentication middleware.
While following this tutorial, please remember that some things might get outdated as products evolve. Dashboards change, and new SDK versions are released every week. If while you follow this tutorial, something is not working for you, please refer to these docs for the most up-to-date guidance:
If you prefer video to text check out this video for a quick how-to.
Prerequisites
To follow this tutorial, you will need the following:
Step 1: Install the SDK
Add the WorkOS Go SDK to your app:
Step 2: Set secrets
To make calls to WorkOS, you must authenticate using the WorkOS API key and client ID. Copy these values from the WorkOS dashboard.
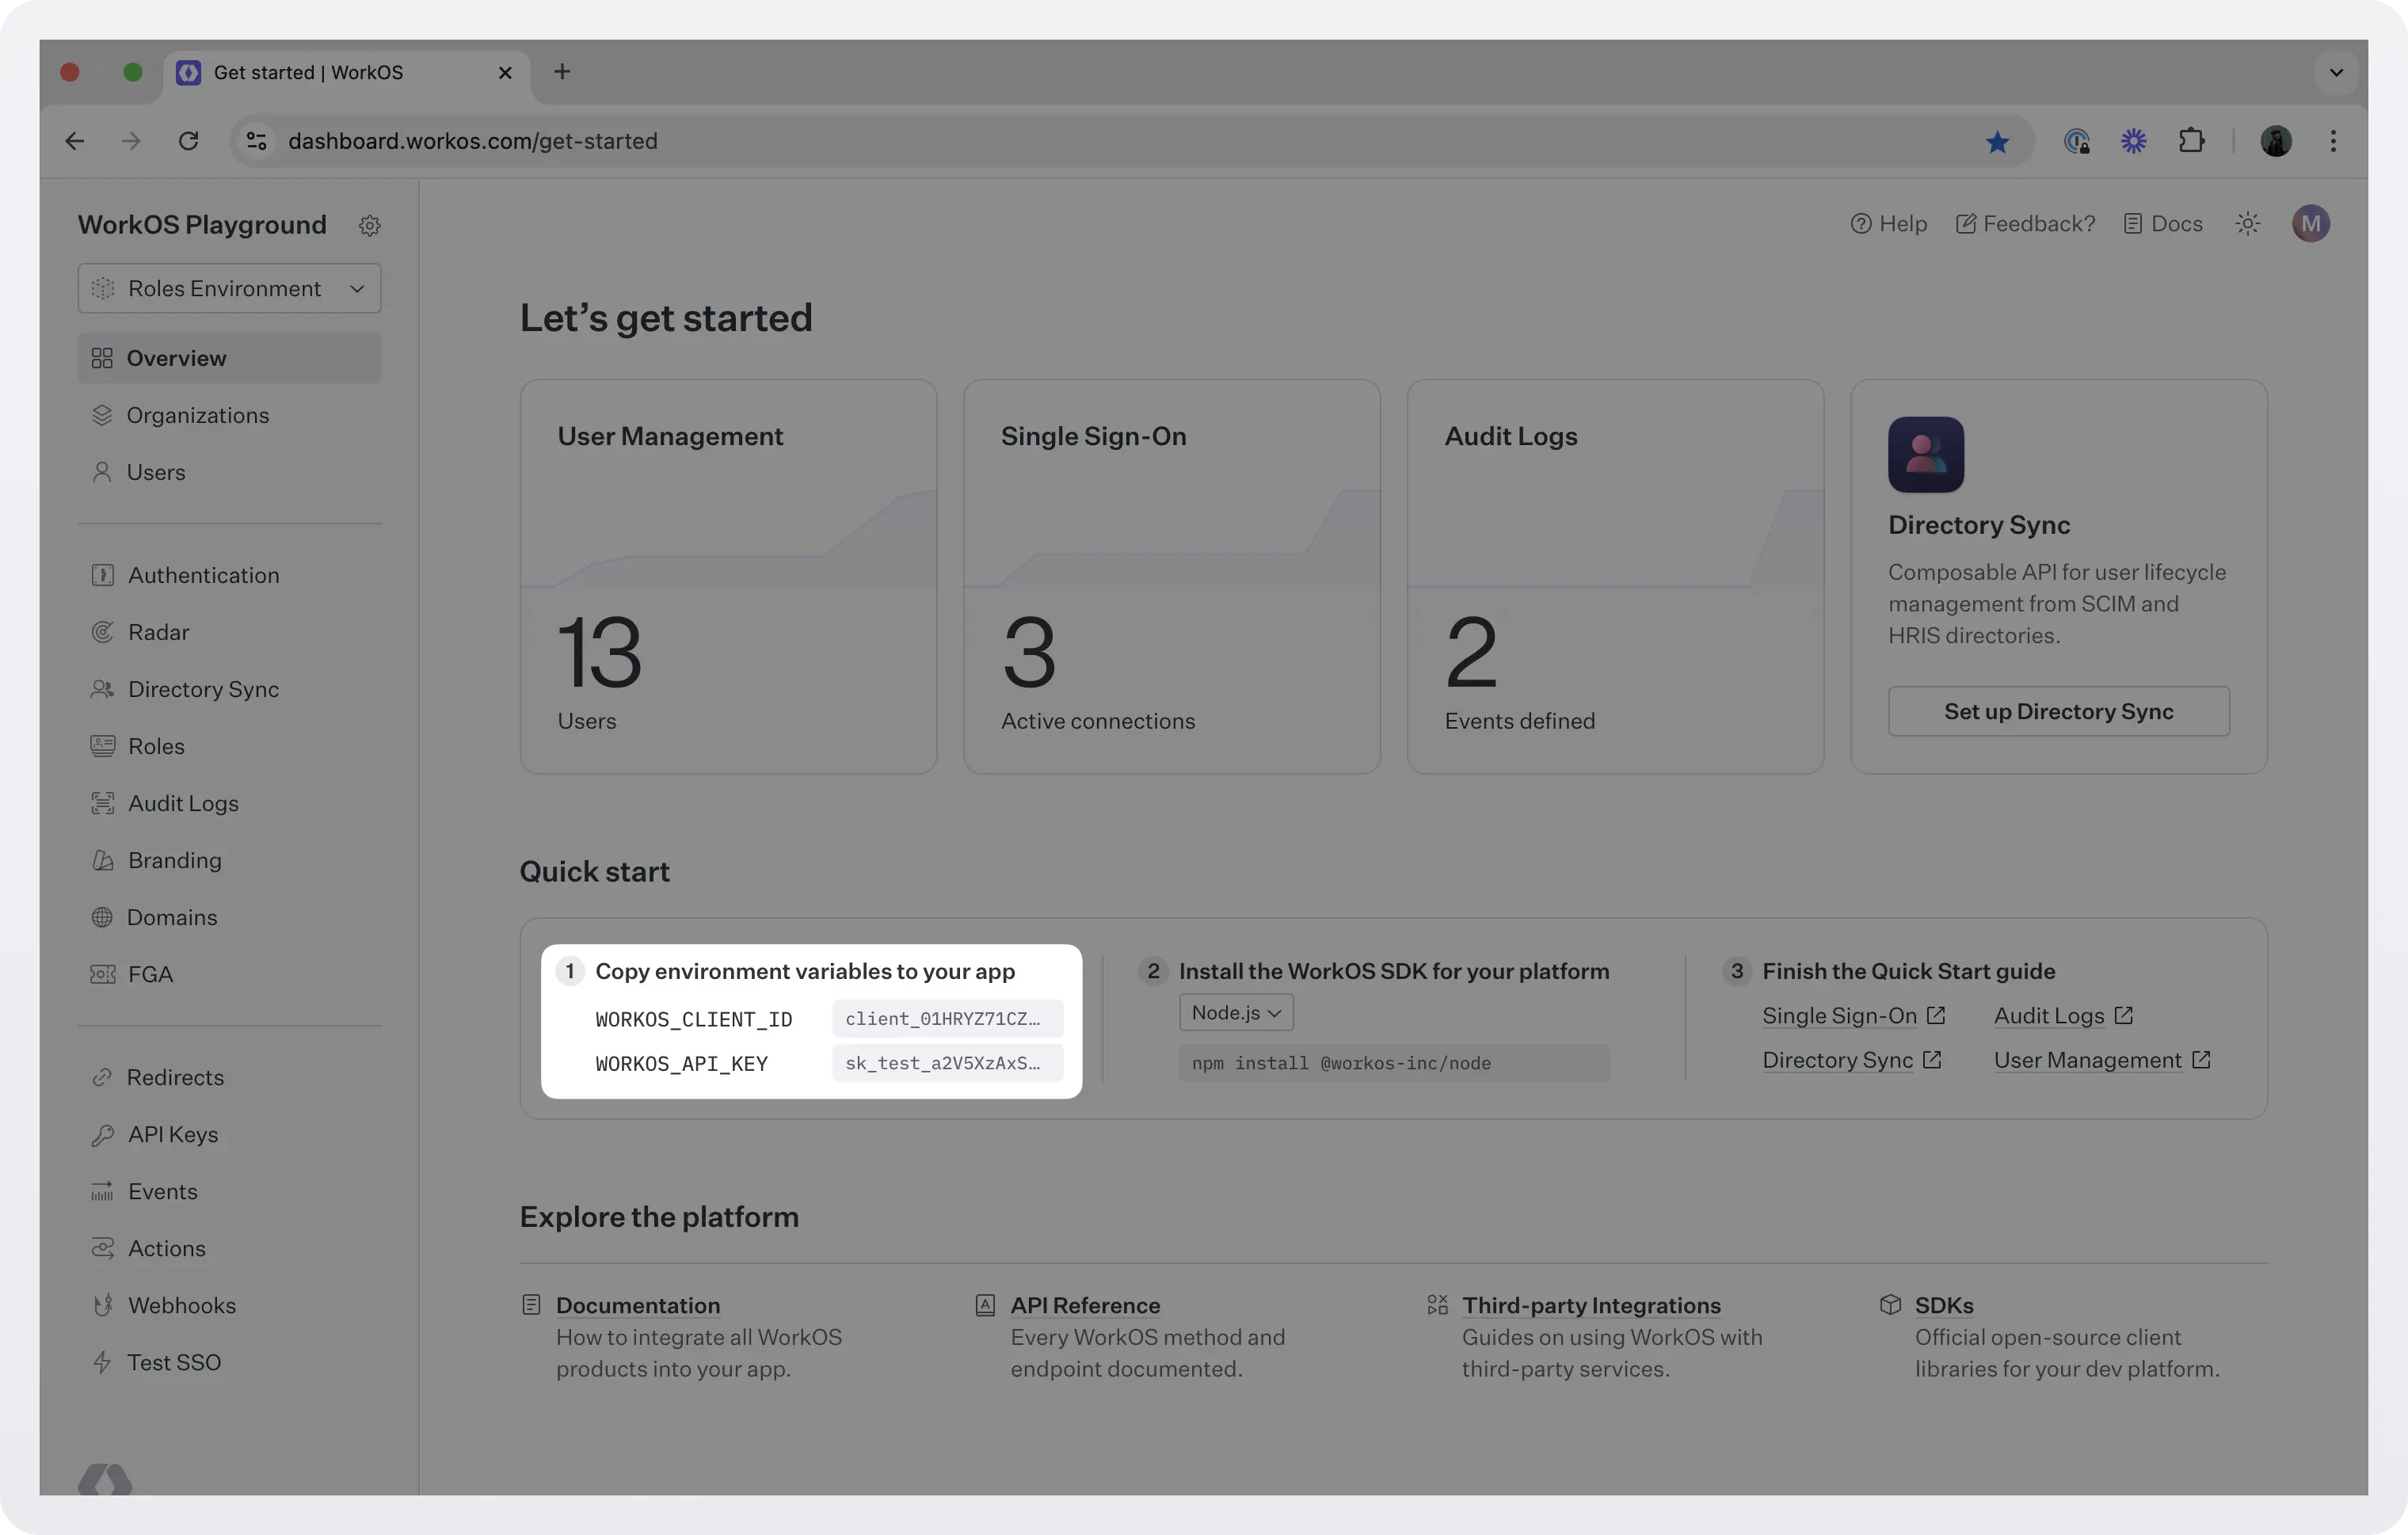
Store the values as managed secrets and pass them to the SDK as environment variables.
Environment variables example:
For more info on how to handle secrets safely see Best practices for secrets management.
Step 3: Configure the GitHub connection
Get the Redirect URI
WorkOS provides the Redirect URI, a whitelisted callback URL. It indicates the location to return an authorized user after they have logged in with GitHub. You need to get this URL from the WorkOS dashboard and provide it to GitHub.
- Go to the WorkOS dashboard and select Authentication on the left hand navigation bar.
- Scroll down to the GitHub OAuth section and click Configure GitHub OAuth.
- Click Your app’s credentials and copy the Redirect URI. We will use it in the next step while configuring the GitHub app.
Note that WorkOS also offers demo credentials if you want to test GitHub OAuth without setting up a GitHub OAuth app. However, this is only for testing purposes and should be replaced by your own before going live.
Please note that when you are using WorkOS default credentials, GitHub’s authentication flow will display WorkOS’ name, logo, and other information to users. Once you register your own application and use its GitHub Client ID and GitHub Client Secret for the OAuth flow, you will have the opportunity to customize the app, including its name, logo, etc.
.webp)
Configure the GitHub OAuth app
To configure the connection on GitHub’s side, follow these steps:
- Login to GitHub and and go to the Developer Settings page in your GitHub settings dashboard and click on Register a new application.
- Start by filling out the form with relevant details about your application, like the application name and description.
- For Authorization callback URL, use the Redirect URI in the GitHub OAuth configuration modal in the WorkOS dashboard.
- Click on Register application.
- On the next page, you will see the GitHub Client ID for your new OAuth application.
- Click on Generate a new client secret to generate a new GitHub Client Secret. Note that this value is only temporarily available, so make sure to save it before proceeding.
For more detailed steps and screenshots follow the GitHub OAuth integration guide.
Add client credentials to WorkOS
- Go back to the Authentication section in the WorkOS dashboard, and click on Configure GitHub OAuth under GitHub OAuth.
- Click Your app’s credentials and paste the client credentials from GitHub that you generated in the previous step.
- Finally, click Save.
.webp)
Step 4: Configure a redirect URI
In this step we will configure your application’s redirect URI (which is different from the one we used before).
A redirect URI is the endpoint of your application where the users are redirected after they sign in. You need to add this URI in the Redirects section of the WorkOS dashboard.
.webp)
While wildcards in your URIs can be used in the staging environment, they and query parameters cannot be used in production. When users sign out of their application, they will be redirected to your app’s homepage, which is configured in the same dashboard area.
Step 5: Set up the frontend
We are ready to start adding code. In this tutorial we will use React to create a simple page with login and logout links.
Create a new React app if you don’t have one already, and add the following code to your App.js:
Step 6: Set up the backend
Before setting up the backend, you have to choose whether you will use AuthKit, a customizable login box powered by WorkOS and Radix, or build you own login box. Depending on the choice you should use a different API:
- If you use AuthKit use the User Management API, a complete authentication platform which includes SSO out of the box.
- If you want to build your own login box, use the standalone SSO API.
This tutorial will cover both cases.
Backend with AuthKit
Initiate login
When the user clicks “Sign in”, we need to start the authentication process. To do that we need to first redirect the user to GitHub so they can authenticate. We will use the usermanagement.GetAuthorizationURL method to generate the authorization URL and then redirect the user there.
Add the following code to main.go:
After the user authenticates, WorkOS redirects them to the RedirectUri including in the query string the authorization code. The URL would look like this:
Your app needs to extract this code and exchange it for a token.
Handle the callback
After the user successfully authenticates, WorkOS will generate a string (the authorization code) and send it back to the app as part of the Redirect URI. The app needs to extract that code and make another call to WorkOS in order to complete the authentication process by exchanging the authorization code for a token and user profile information.
Add the following code to main.go:
The user has now successfully logged in with GitHub. This is what the response looks like:
The user object can be used for further business login like personalizing the UI for the user.
The response also includes an access token and a refresh token. These two tokens can be used to manage the user’s session without asking them to authenticate all the time. The access token is short-lived and allows an application to access resources on a user’s behalf, while the refresh token, which lives a bit longer, can be used to get a new access token when that expires.
Both tokens should be handled and stored securely since if an attacker manages to obtain a user's token, they can impersonate the user and gain unauthorized access to protected resources. WorkOS SDKs use sealed sessions (i.e., sessions encrypted with a strong password) to keep tokens safe. For more information, see Handle the user session.
Backend without AuthKit
Initiate login
When the user clicks “Sign in”, we need to start the authentication process. We will use the sso.GetAuthorizationURL method to generate the authorization URL where the user will be redirected to authenticate.
Add the following code to main.go:
After the user authenticates, WorkOS redirects them to the RedirectUri including in the query string the authorization code. The URL would look like this:
Your app needs to extract this code and exchange it for a token (in the next step).
Handle the callback
After the user successfully authenticates, WorkOS will generate a string (the authorization code) and send it back to the app as part of the Redirect URI. The app needs to extract that code and make another call to WorkOS in order to complete the authentication process by exchanging the authorization code for a token and user profile information.
Add the following code to main.go:
The user has now successfully logged in with GitHub. This is what the response looks like:
The profile object can be used for further business login like personalizing the UI for the user.
Next steps
You have now successfully added Log in with GitHub functionality in your app. This is but the first step in your identity management journey. The next steps are handling the user’s session, implementing logout, adding SAML SSO, implementing access control, provisioning users automatically, handling failed authentication events, and more. Stay tuned for follow up tutorials on all of these areas.
In the meanwhile here are some resources you might find useful:
- User management quickstart: A complete authentication platform that uses AuthKit and includes SSO out of the box.
- AuthKit branding docs: How to customize the look and feel of AuthKit to match your app’s design.
- SSO quickstart: A standalone API for integrating into an existing auth stack.
- GitHub integration guide: Detailed instructions on how to configure a GitHub connection via OAuth.
- Go SSO sample application: An example application demonstrating how to use the WorkOS Go SDK to authenticate users via SSO.
- Admin Portal docs: An out-of-the-box UI for IT admins to configure SSO connections.
- Migration guides: Detailed instructions on how to migrate your users from another service to WorkOS.
- Passkeys: How to use passkeys and AuthKit for a seamless and secure login experience.