What are SAML assertions?
A complete technical guide to understanding SAML assertions, covering their structure, responses, lifecycle, common errors, debugging best practices, and step-by-step implementation of SAML SSO using WorkOS.
If you’ve ever set up Single Sign-On (SSO) for an application, you’ve probably bumped into the term SAML assertion.
They sound intimidating, but in reality, they’re just chunks of XML that carry authentication and authorization data between an Identity Provider (IdP) and a Service Provider (SP).
In this article, we’ll break down what SAML assertions are, why they matter, and even walk through an example.
The basics: SAML and assertions
SAML (Security Assertion Markup Language) is an XML-based, OASIS standard that defines how identity information is securely exchanged between systems. It’s primarily used in federated identity scenarios (think logging into Salesforce using your corporate credentials).
A SAML assertion is a security token that’s:
- Issued by an Identity Provider (IdP): A system like Okta, Azure AD, or OneLogin that authenticates users.
- Consumed by a Service Provider (SP): The application or service the user is trying to access.
- Transmitted over protocols like HTTP POST or HTTP Redirect, usually encoded in Base64 and embedded in an HTML form. Assertions can also be transmitted over SOAP (used in some back-channel communications).
Structure of a SAML assertion
Each assertion is an XML document that follows this hierarchy:
- Envelope: <saml:Assertion>
- Contains metadata like
ID,IssueInstant,Version, andIssuer. - Assertions carry a unique ID and are short-lived to prevent reuse.
- Contains metadata like
- Subject:
- Identifies the user (via <saml:NameID>).
- Includes <saml:SubjectConfirmation> elements for verification.
- Statements: There are three primary types of statements that can be included in an assertion:
AuthenticationStatement:- Details about when/how the user authenticated.
- Includes details like timestamp, authentication method, and session index.
AttributeStatement:- Provide key-value pairs with user data (e.g., email, department, groups).
- Used by the SP for access control and personalization.
AuthorizationDecisionStatement:- Specifies what the user can do (e.g., “Permit” for
ReadorWrite). - Less common but useful for fine-grained authorization.
- Specifies what the user can do (e.g., “Permit” for
- Conditions:
- Time-bound validity (
NotBefore,NotOnOrAfter). - Audience restrictions ensuring only the intended SP can consume it.
- Time-bound validity (
- Signature:
- XML Digital Signature that ensures integrity and authenticity. Typically uses RSA with SHA-256.
This is what a sample assertion looks like:
Below is a structured breakdown of the example SAML assertion:
What are SAML responses?
While SAML assertions carry user identity and authorization information, a SAML response is the message wrapper that delivers assertions from the Identity Provider (IdP) to the Service Provider (SP).
- A SAML response is an XML document that contains one or more assertions.
- It’s signed by the IdP and sent to the SP’s Assertion Consumer Service (ACS) endpoint.
- A response can indicate either success (with assertions included) or failure (with error status codes).
What is the difference between a SAML assertion and a SAML response?
A SAML assertion is the actual security token with authentication, attributes, and authorization decisions.
A SAML response is the envelope that contains assertions, along with status info.
Think of it like an email (response) that contains an attachment (assertion).
Lifecycle of a SAML Assertion
Understanding the detailed lifecycle of a SAML assertion is critical for building secure and reliable SSO implementations. Here’s what happens from creation to expiration:
1. Creation
- A user authenticates with the Identity Provider (IdP).
- The IdP verifies credentials (e.g., username/password, MFA).
- IdP generates a signed SAML assertion containing user identity and attributes.
- A unique Assertion ID is created to avoid replay attacks.
- The assertion is signed with the IdP’s private key and includes:
IssuerinformationAuthnStatement(method, timestamp, session index)AttributeStatement(user metadata)AuthorizationDecisionStatement(if applicable)
- Optional encryption: The assertion or its attributes can be encrypted with the Service Provider’s (SP) public key to ensure confidentiality.
2. Transportation
- Assertion is encoded (Base64) and sent in a SAML response via HTTP POST or Redirect binding to the SP’s Assertion Consumer Service (ACS) endpoint.
- TLS ensures confidentiality during transmission.
- Parameters like
RelayStatemaintain the user’s navigation context.
- This is typically done through the browser as part of the SSO handshake.
3. Validation
- The SP receives the SAML response.
- Validation checks include:
- Signature verification:
- SP uses the IdP’s X.509 certificate (public key) to verify the XML digital signature.
- Ensures data hasn’t been tampered with.
- Conditions validation:
NotBeforeandNotOnOrAftertimestamps checked against SP’s system time.- Audience restriction ensures the assertion is intended for this SP.
- Subject confirmation:
- Bearer token confirmation (recipient matches SP ACS endpoint).
- Optional InResponseTo verification for correlation with the SAML request.
- Signature verification:
- If all checks pass, the assertion is trusted.
4. Consumption
- Upon successful validation, the SP establishes a session for the user.
- SP generates a local session or issues its own session token (e.g., JWT).
- The SAML assertion itself is not reused for subsequent requests.
- User attributes are mapped to application roles, permissions, and personalization. For example, Role=Admin enables admin dashboards.
- SP typically logs the Assertion ID and session index for future audit and troubleshooting.
5. Expiration and revocation
- Expiration is defined by NotOnOrAfter in <Conditions> and <SubjectConfirmationData>. After this time, assertions are automatically rejected by SPs to prevent replay attacks.
- Revocation:
- SAML itself does not support assertion revocation mid-lifecycle.
- Revocation usually occurs via session termination:
- IdP sends a Single Logout (SLO) message to the SP.
- SP invalidates the session token (local logout).
- Best Practices:
- Use short assertion lifetimes (e.g., 5–10 minutes).
- Rely on IdP-initiated or SP-initiated logout for revoking access.
- Implement continuous session checks for long-lived applications.
Common SAML assertion errors and how to fix them
!!For more, see Diagnosing SAML assertion failures: A step-by-step debugging guide.!!
Best practices for debugging SAML assertion errors
- Double-check metadata configuration: Regularly verify entity IDs, endpoints, certificates, and bindings in both IdP and SP configurations.
- Verify time synchronization: Use NTP to sync clocks and ensure assertions meet time-based validity conditions.
- Use SAML-tracer or browser extensions: Capture and decode raw SAML requests/responses for analysis.
- Implement robust error handling and logging: Log detailed error messages, stack traces, and masked SAML content for easier debugging.
- Validate assertion signatures: Ensure certificates are valid and trusted; use XML signature validation tools.
- Use online SAML validator tools: Check XML structure, signature, and compliance with SAML standards.
- Perform network traffic analysis: Use Wireshark or tcpdump to detect TLS handshake failures or HTTP redirect issues.
- Verify metadata consistency: Confirm Entity IDs, ACS URLs, and bindings match between IdP and SP.
- Test attribute mapping: Ensure attributes like NameID, Email, and Role are correctly released and mapped.
- Protect against replay attacks: Log and reject reused Assertion IDs.
- Use test environments: Leverage WorkOS sandbox, Okta developer tenants, or staging IdPs to safely debug issues.
Implementing SAML SSO with WorkOS
Implementing SAML SSO manually can be complex, but WorkOS simplifies it significantly:
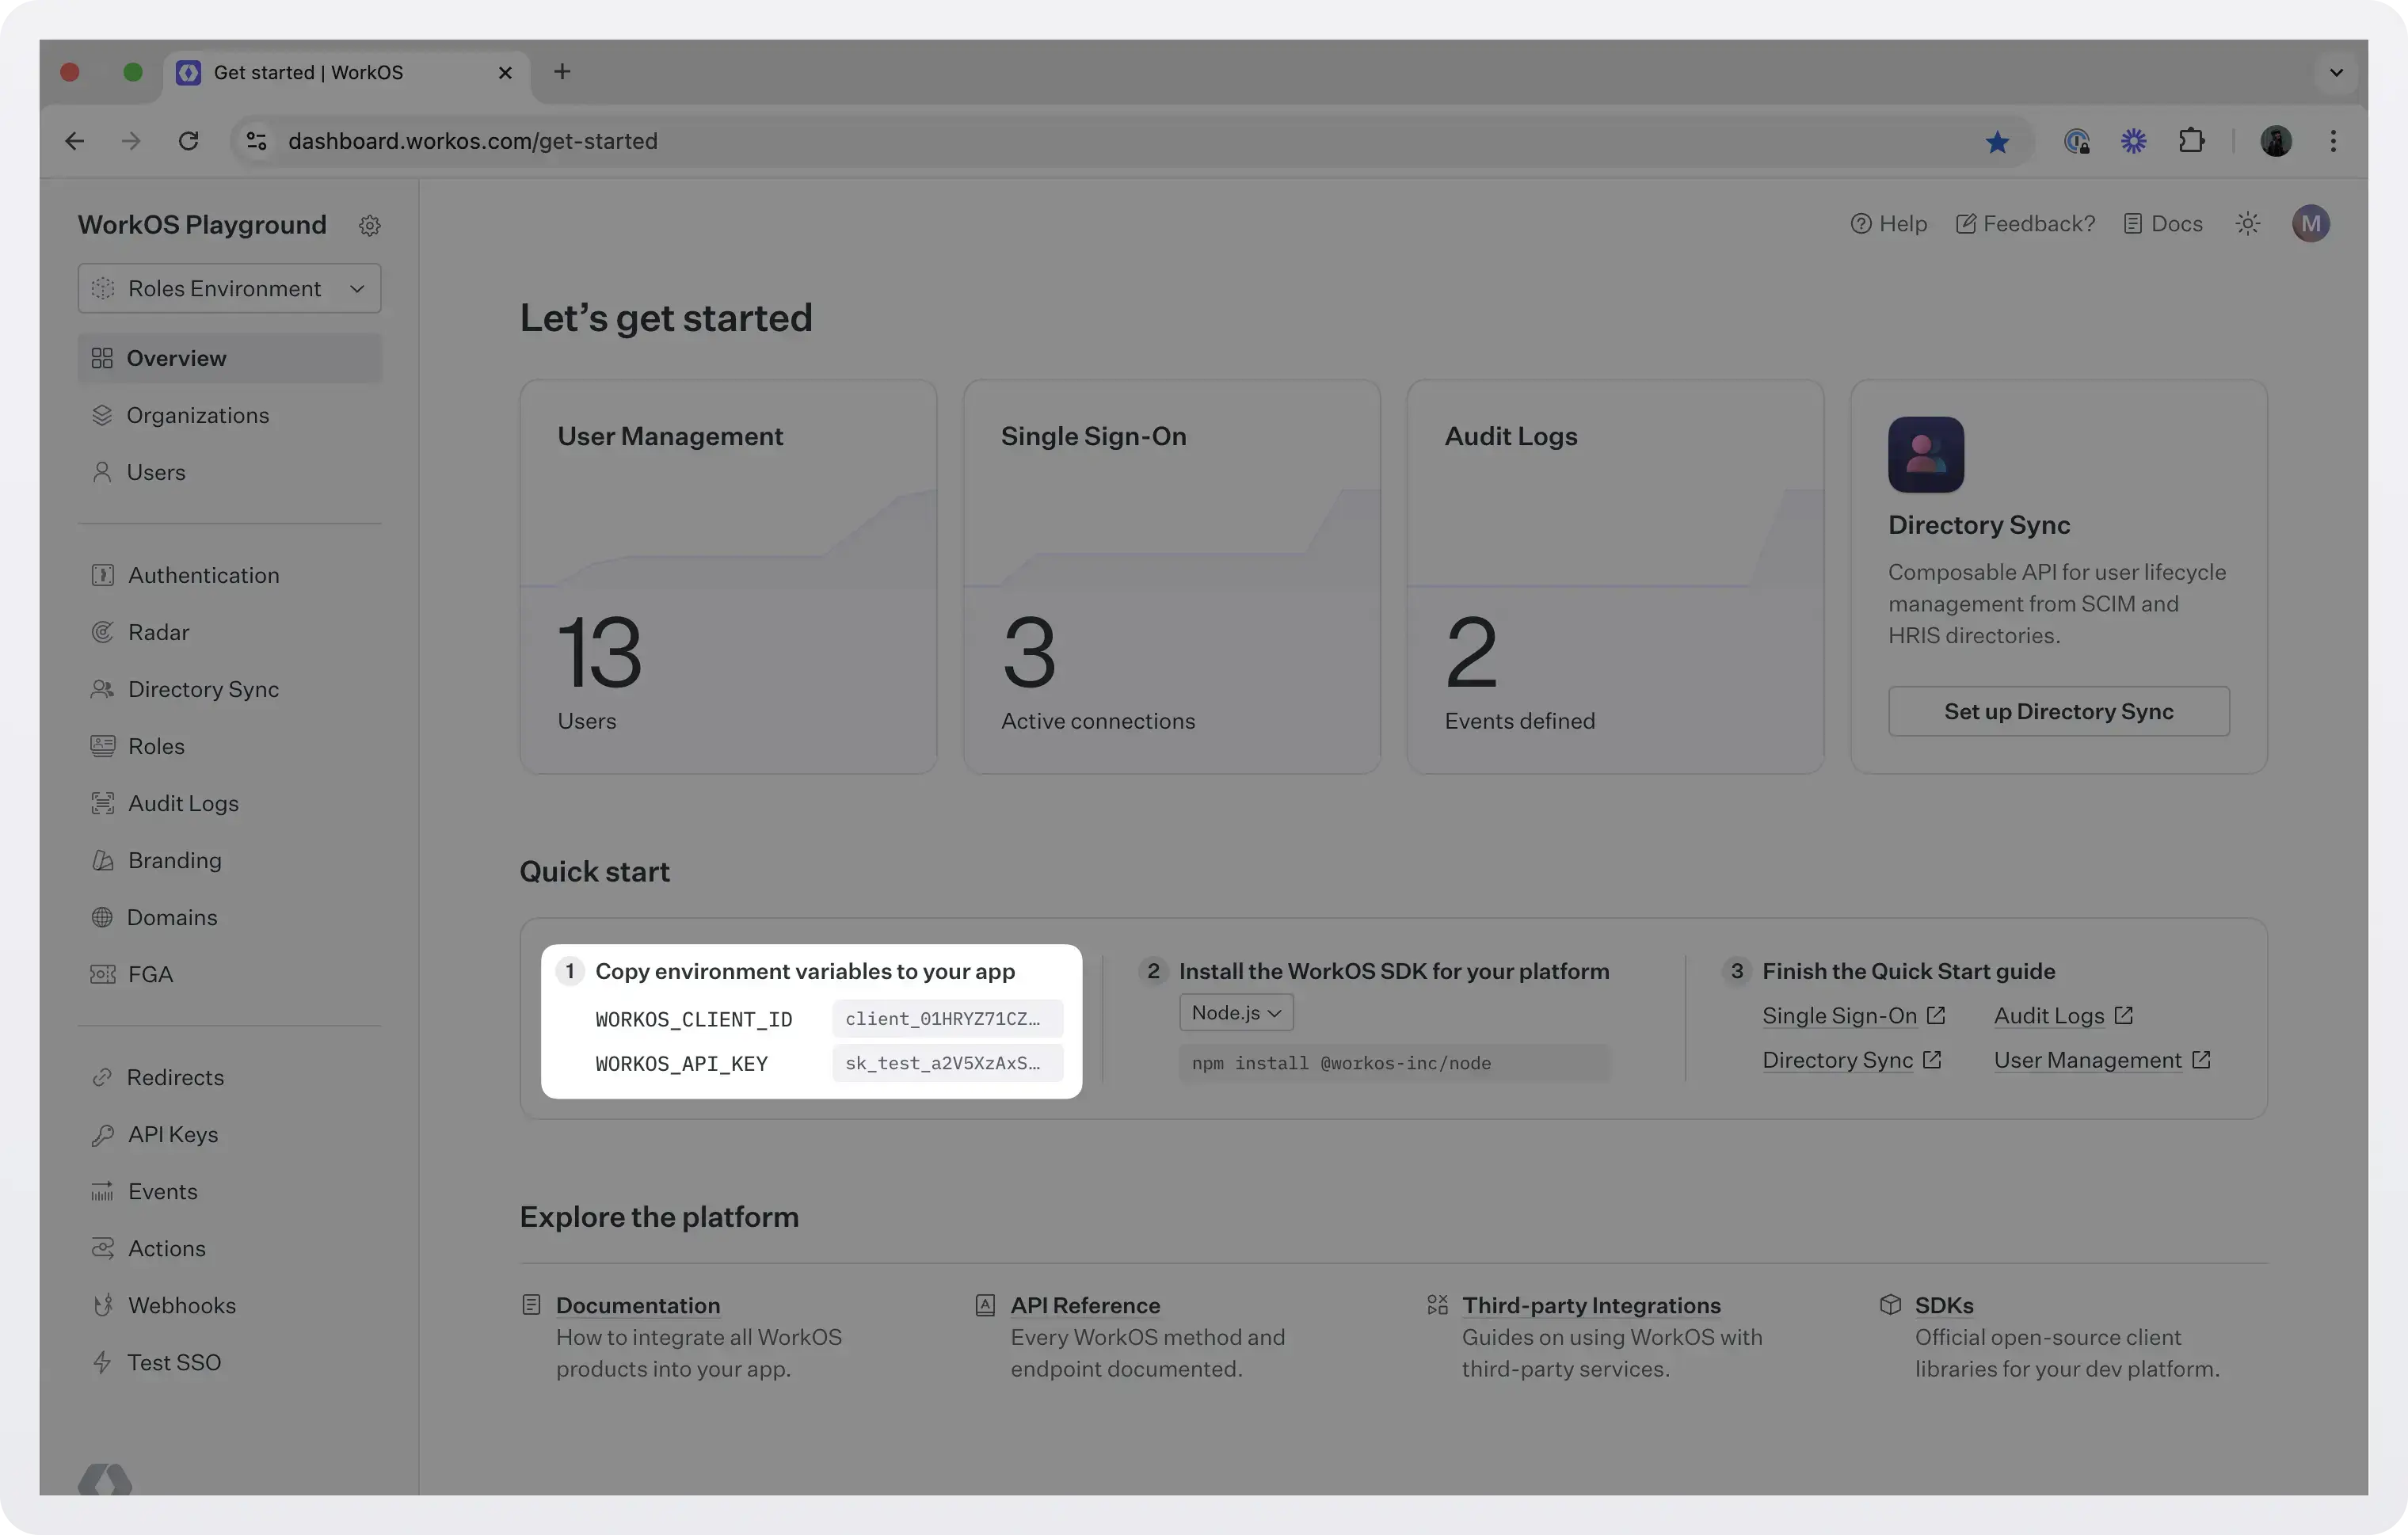
1. Sign up for WorkOS
- Sign up for a free WorkOS account.
- To make calls to WorkOS, you must authenticate using the WorkOS API key and client ID. Copy these values from the WorkOS dashboard.
2. Configure an SSO connection
- Add an IdP connection (Okta, Azure AD, Google Workspace, etc.).
- WorkOS handles fetching and managing SAML metadata automatically.
3. Integrate the SDK
- Use the WorkOS SDK in your app to handle authentication flows.
- You need to add a
loginendpoint and acallbackendpoint. - The
loginendpoint will be where users will be directed to sign in (or sign up). Example in Node.js:
- The
callbackendpoint will be where the user will be redirected after they have signed in. Example in Node.js:
4. Validate the authentication flow
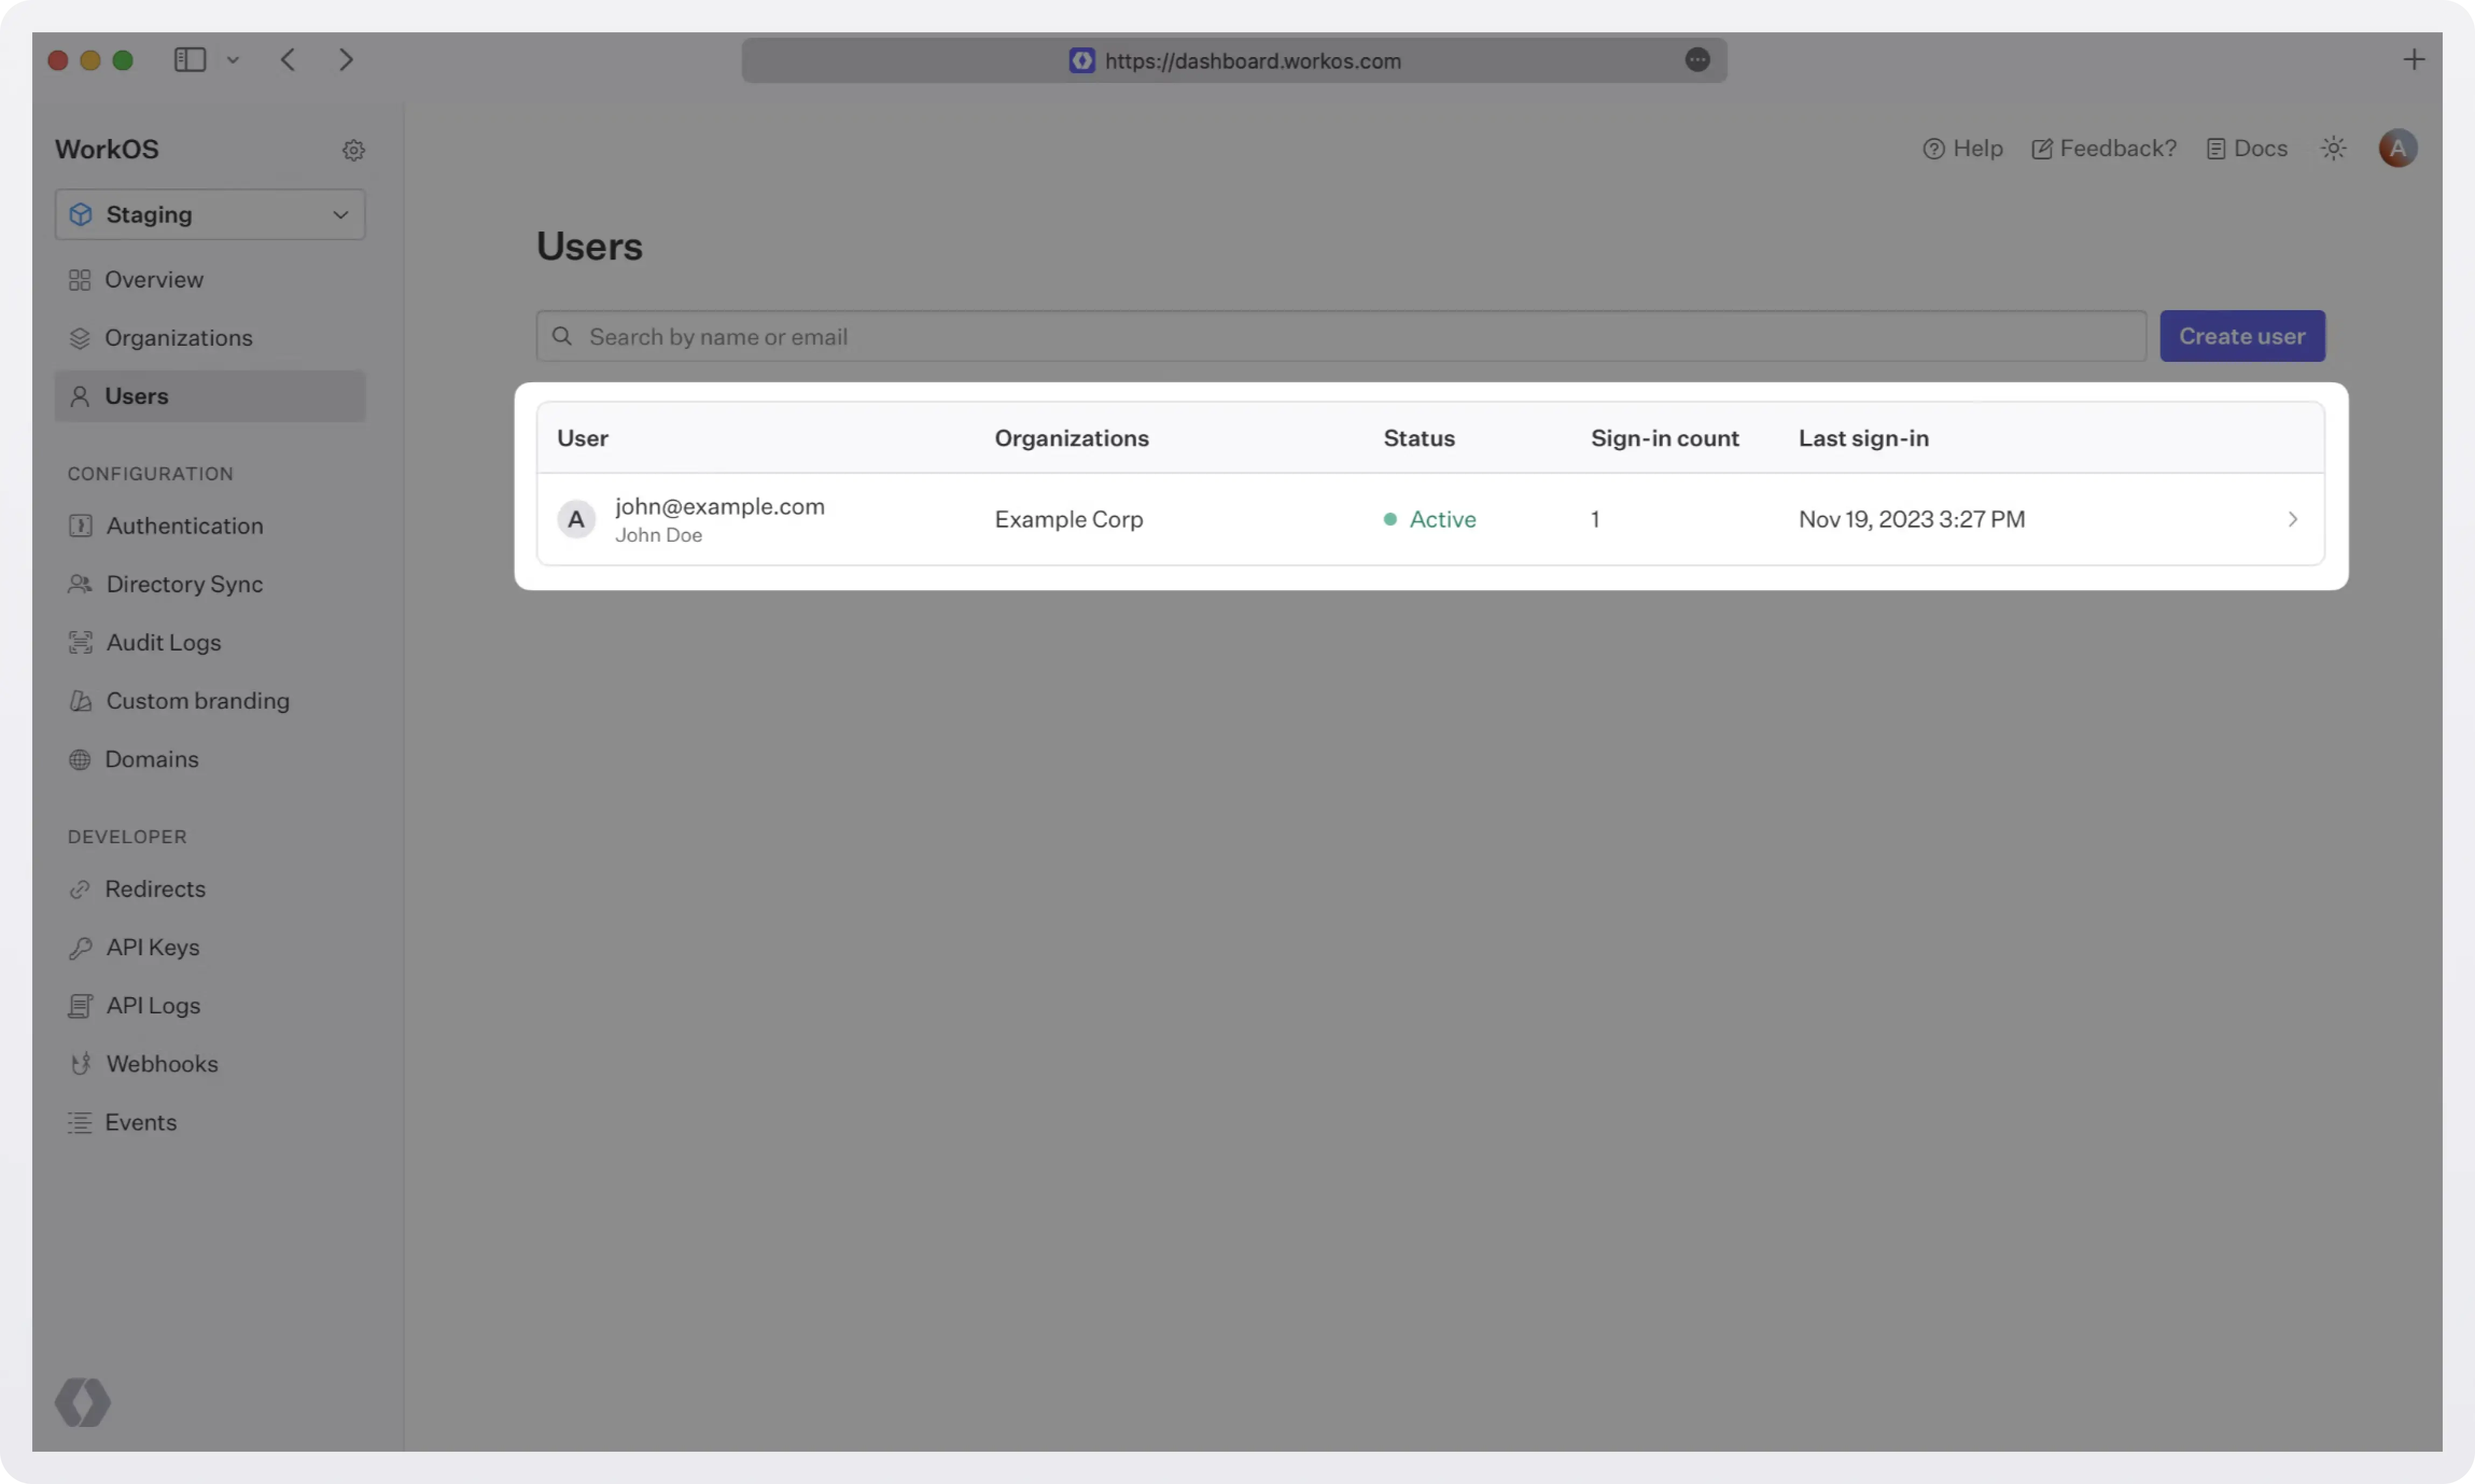
Navigate to the authentication endpoint we created and sign up for an account. You can then sign in with the newly created credentials and see the user listed in WorkOS dashboard > Users.
For more details, see the quickstart:
- If you use AuthKit for the UI, see WorkOS AuthKit docs.
- If you use your own login box, see WorkOS SSO docs.
Final thoughts
SAML assertions form the foundation of Single Sign-On integrations, securely carrying user identity and authorization data between Identity Providers and Service Providers. Understanding their structure, lifecycle, and the potential errors that can occur is essential for building robust authentication flows. With proper validation, debugging strategies, and adherence to best practices, developers can avoid common pitfalls and ensure seamless login experiences.
Modern tools like WorkOS further simplify SAML SSO implementation by handling complex protocol details behind the scenes. This allows engineering teams to focus on their applications while still supporting multiple identity providers with enterprise-grade security.