Securing a FastAPI Server with WorkOS AuthKit
Add production-ready authentication to your FastAPI server in under an hour.
FastAPI has become one of the most popular Python frameworks for building APIs. It's fast, async-native, generates interactive docs automatically, and has a type system that catches bugs before they hit production. But building an API is only half the job. Once you have endpoints worth protecting, you need an auth layer you can actually trust.
Rolling your own authentication is a common trap. JWT handling, JWKS rotation, session management, secure cookie storage: each piece looks simple in isolation, but the surface area adds up fast and the failure modes are subtle. Most teams are better off delegating that responsibility to a purpose-built identity platform and keeping their application code focused on business logic.
WorkOS is that platform. It's an authentication service that handles the full auth flow: sign-in UI, session management, token issuance, and key rotation. Your FastAPI server connects to it via the WorkOS Python SDK, verifies tokens on incoming requests, and lets AuthKit handle everything else. The result is a secure API without the overhead of building and maintaining an auth system from scratch.
This tutorial walks through the full integration: setting up a FastAPI project, connecting it to WorkOS AuthKit, protecting endpoints with session-based auth, and testing the flow end to end.
What we'll build
We'll build a simple Expense Tracker API. Users can log expenses and retrieve them, but only after authenticating.
The API has three endpoints:
Prerequisites
- Python 3.10 or later.
- A WorkOS account (free for up to 1 million active users, no credit card required).
- Basic familiarity with FastAPI.
We'll use uv to manage our project. It's a modern Python package manager written in Rust that replaces pip, virtualenv, and poetry in one tool. Install it with:
Step 1: Set up the project
Create a new project and navigate into it:
Now install our dependencies:
Here's what each package does:
- fastapi[standard]: FastAPI plus its built-in development server (
fastapi dev) - workos: The official WorkOS Python SDK for user management and auth
- PyJWT[crypto]: JWT decoding and verification (the
[crypto]extra adds RSA/ECDSA support, which WorkOS uses) - python-dotenv: Loads environment variables from a
.envfile
Step 2: Configure WorkOS
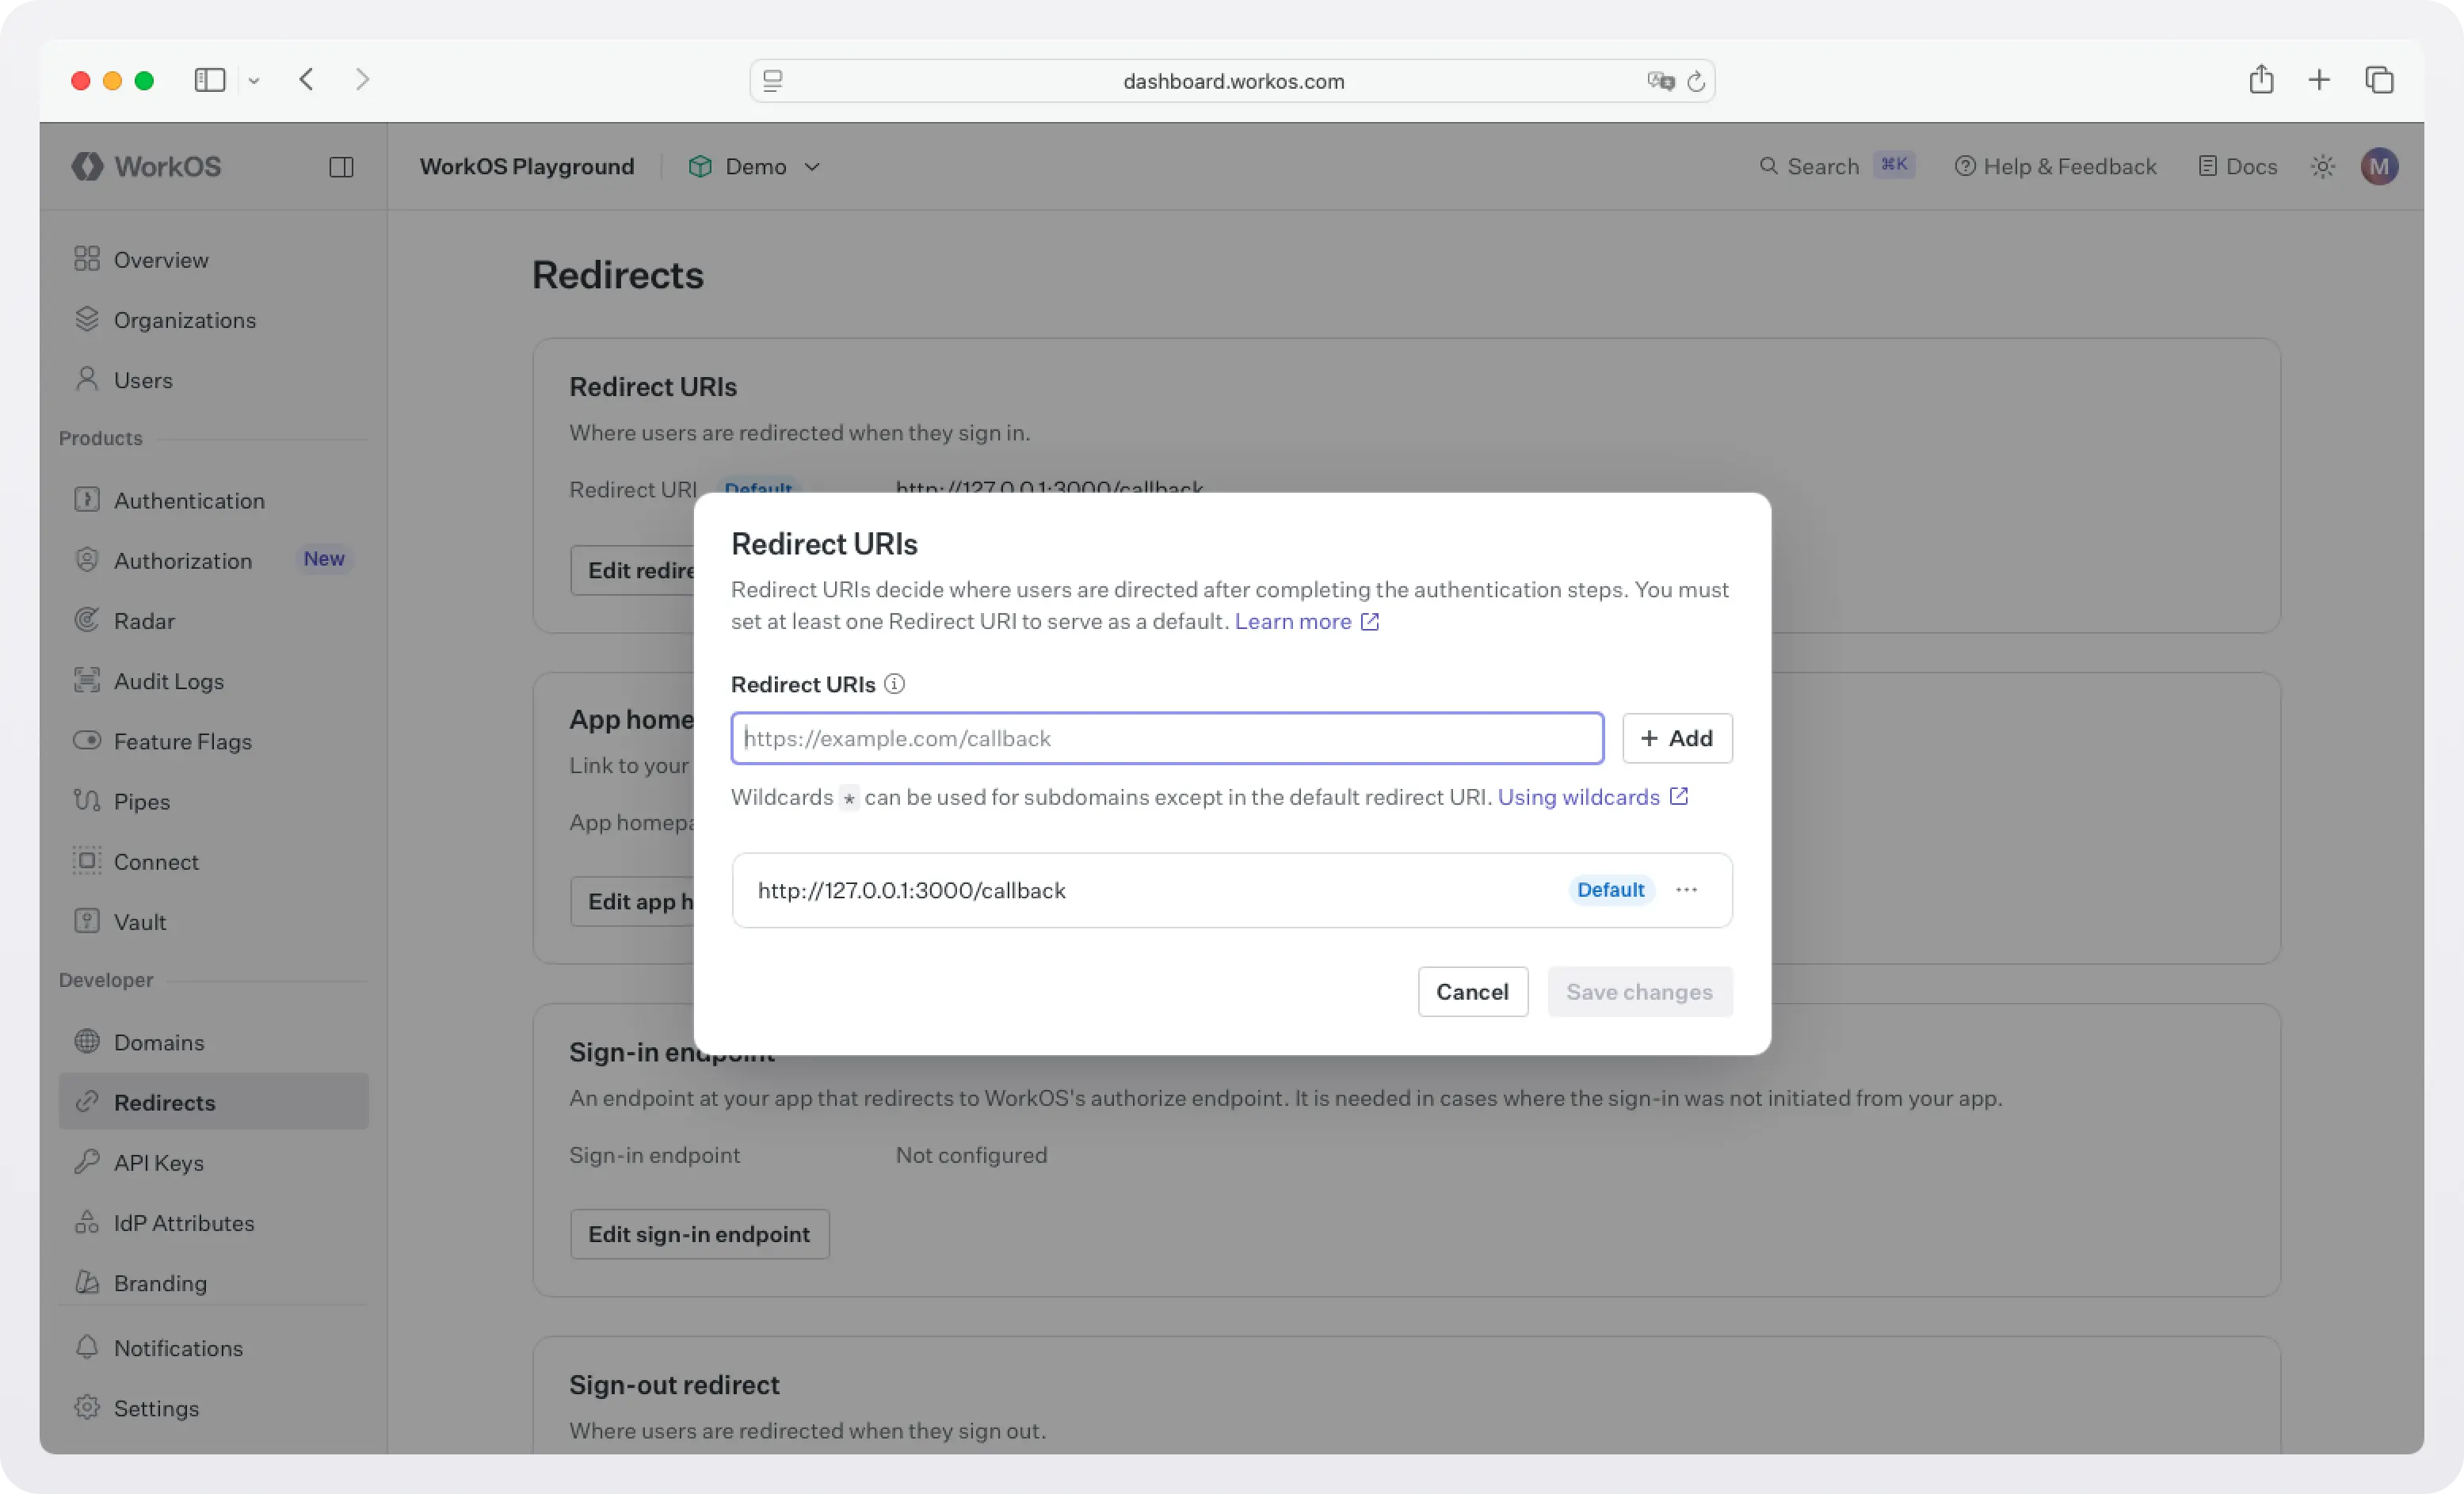
1. Configure your app's endpoints
You need to configure three endpoints:
- Redirect URI: This is a callback endpoint that WorkOS will redirect to after a user has authenticated. This endpoint will exchange the authorization code returned by WorkOS for an authenticated User object. We’ll create this endpoint in the next step.
- Sign-in endpoint: Sometimes sign-in requests may not begin at your app. For example, some users might bookmark the hosted sign-in page or they might be led directly to the hosted sign-in page when clicking on a password reset link in an email. In these cases, AuthKit will detect when a sign-in request did not originate at your application and redirect to your application’s sign-in endpoint. We’ll create this endpoint in the next step.
- Sign-out redirect: The page where users will be redirected when they sign out of your application.
Go to WorkOS dashboard > Redirects and configure these three endpoints.
!!If you have multiple apps, then configure the redirects per app at WorkOS dashboard > Applications.!!
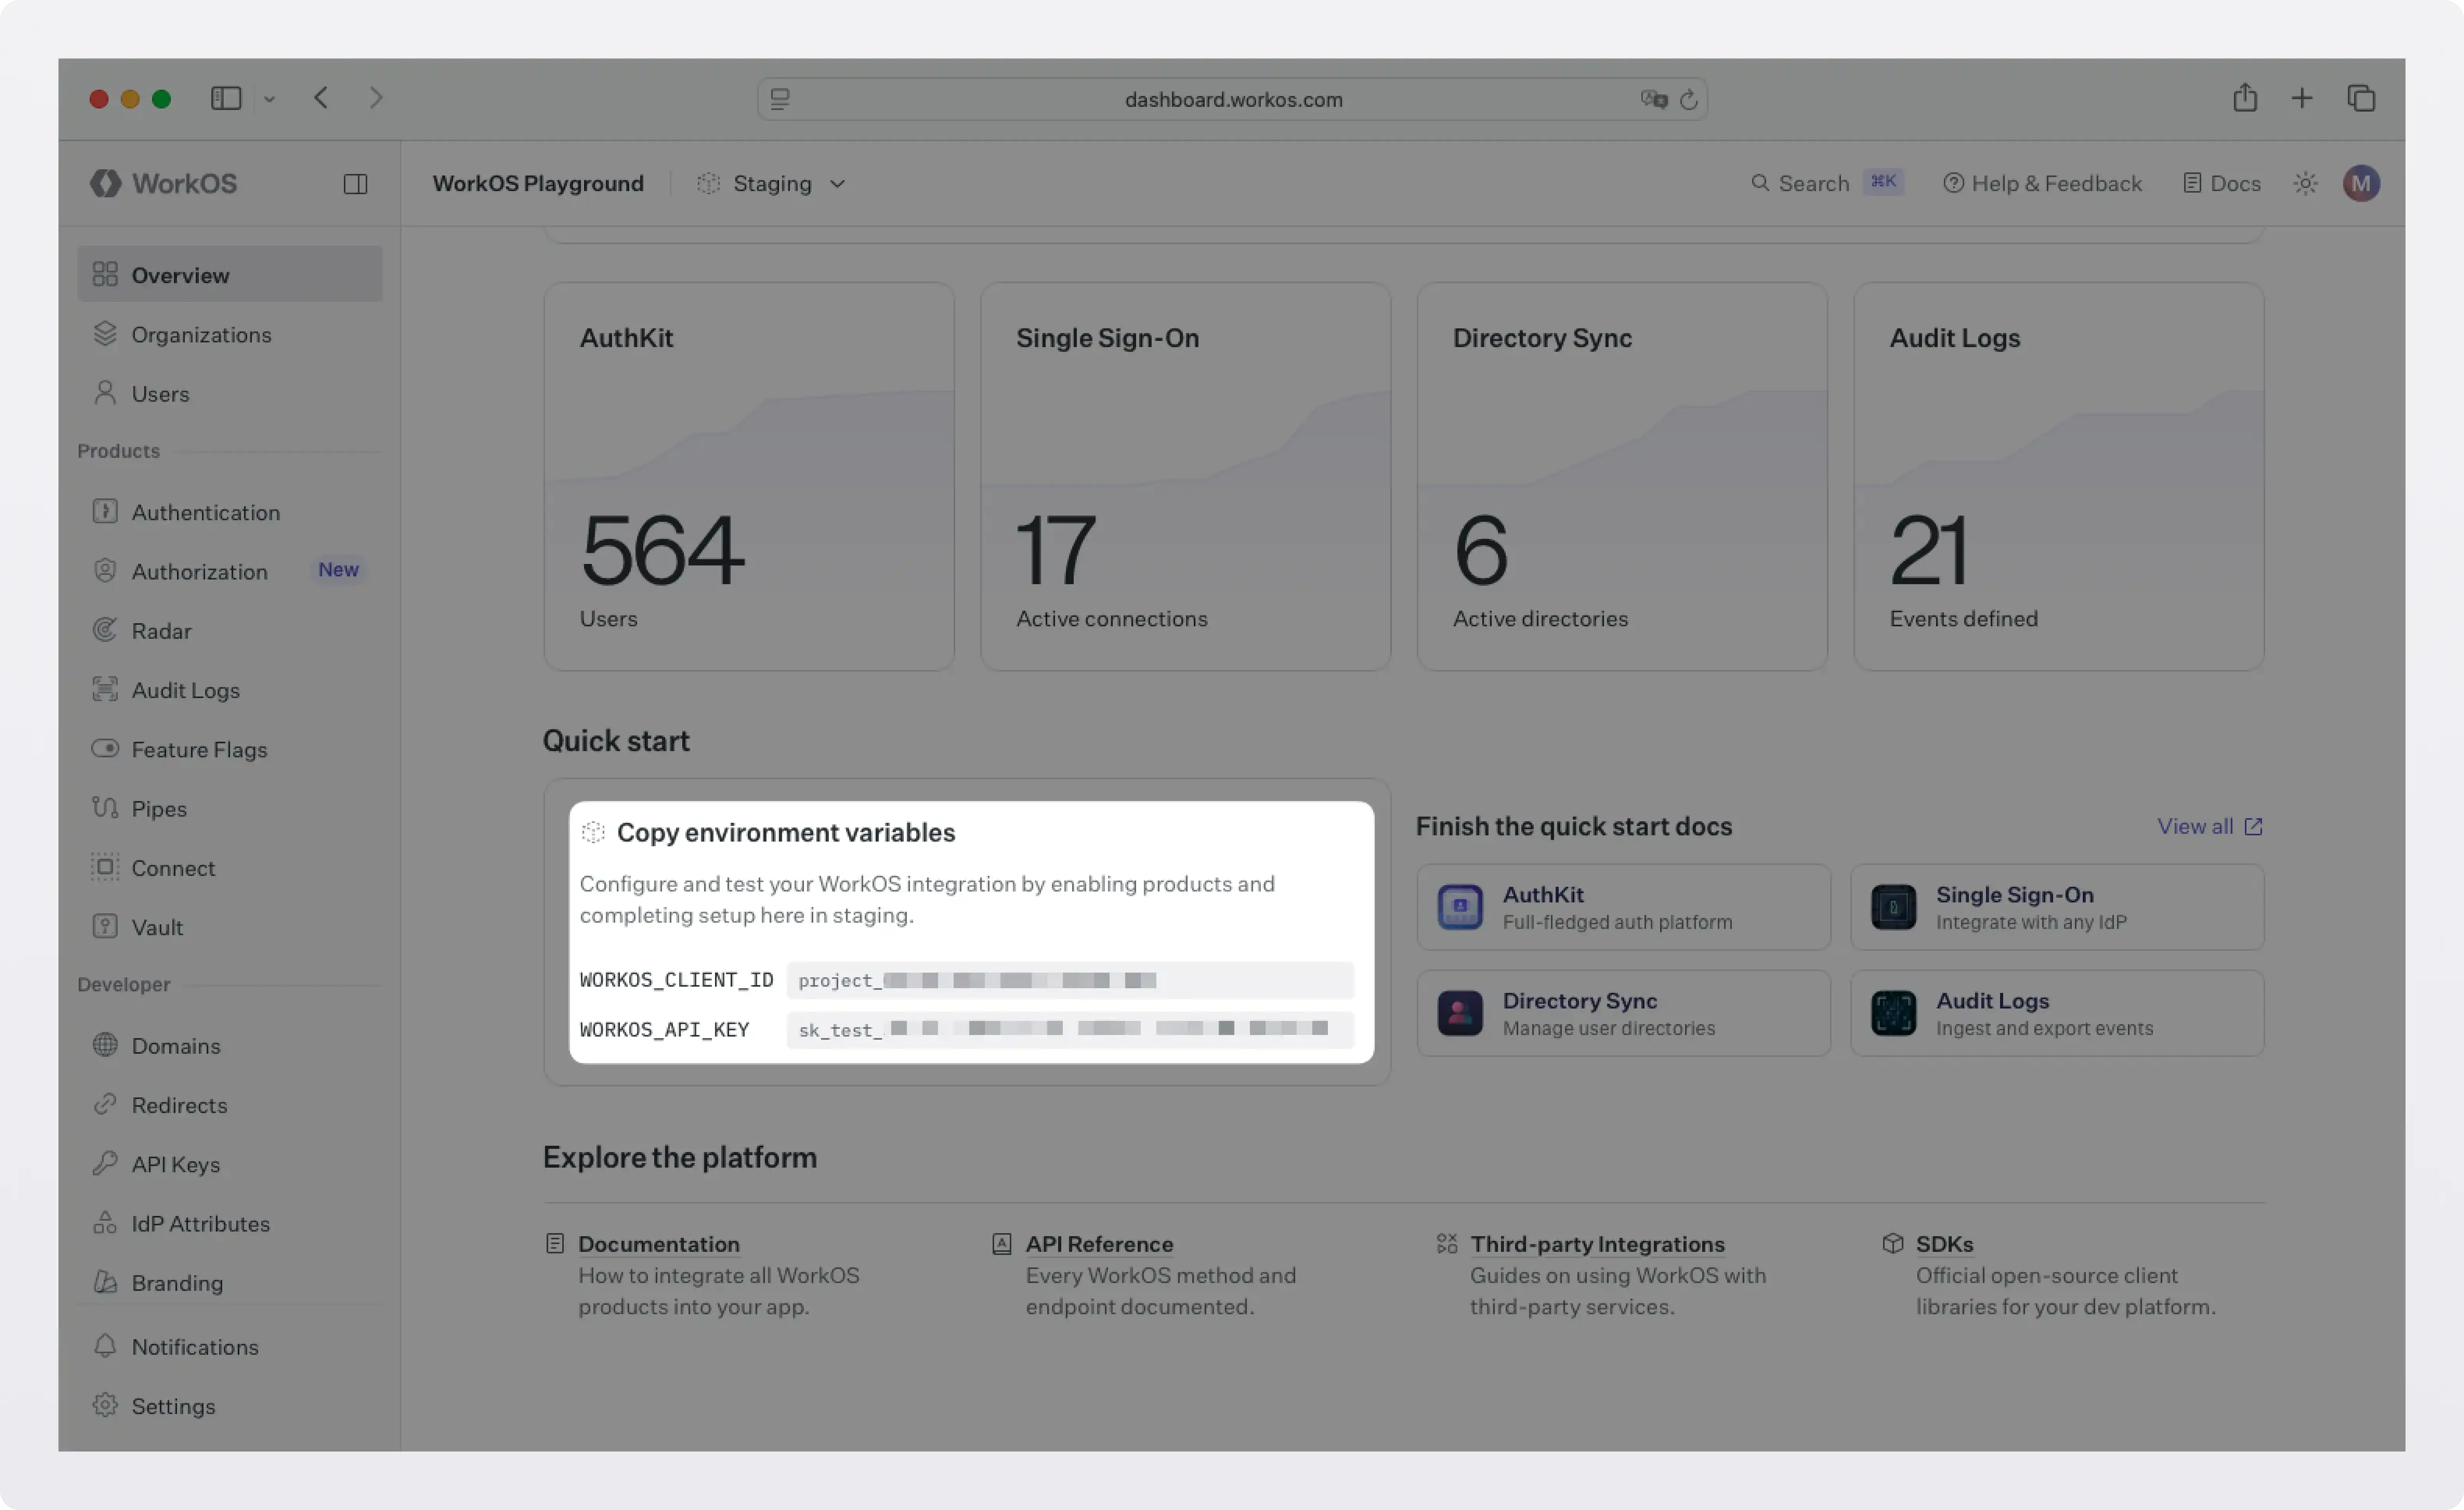
2. Grab your credentials
Grab your API key and client ID from the WorkOS dashboard.
Then create a .env file in the root of your project:
WORKOS_COOKIE_PASSWORD is used to encrypt cookies and must be at least 32 characters long. You can generate a secure password by using the 1Password generator or the openssl library via the command line:
Add .env to your .gitignore, never commit this file:
Step 3: Build the API
Create a main.py file in the project root. We'll build it up piece by piece.
Base setup
We're importing FastAPI's HTTPBearer class, which handles extracting the Authorization: Bearer <token> header automatically. The WorkOS client is initialized once at startup and reused across all requests.
Define the expense model
FastAPI uses Pydantic models for request body validation. If someone sends a malformed request (missing a field, wrong type), FastAPI returns a descriptive 422 error automatically so we don't need to write any validation code.
Add the public endpoint
This endpoint is fully open. Good for load balancer health checks or a quick sanity test that the server is running.
Add the WorkOS auth endpoints
Before we protect our expense endpoints, we need to give users a way to sign in. AuthKit provides a hosted UI that handles sign-up, sign-in, password reset, and MFA out of the box; you just redirect to it.
A few things worth noting here:
- The authorization code flow: WorkOS redirects the user to AuthKit's hosted sign-in page. When the user successfully authenticates, WorkOS redirects back to your
/callbackwith a short-livedcodeparameter. Your server exchanges that code for a session. This is the standard OAuth 2.0 authorization code flow. - Sealed sessions: WorkOS encrypts the session data (including the refresh token) before you store it in a cookie. This means even if someone reads the cookie value, they can't extract the refresh token without your
COOKIE_PASSWORD. It's the same concept as encrypted session cookies in frameworks like Rails or Django. httponly=True: This flag prevents JavaScript running in the browser from reading the cookie. It's a simple but effective defense against XSS attacks stealing session cookies.
Add the protected endpoints
Now for the interesting part. We need to verify the session on every request to a protected endpoint. Let's write a dependency that does this:
This is a FastAPI dependency. By passing it to an endpoint via Depends(), FastAPI automatically runs it before the endpoint handler. If it raises an HTTPException, FastAPI returns that error response and never calls the endpoint. If it returns successfully, the returned value is injected into the endpoint as a parameter.
Now add the protected endpoints:
Notice that both endpoints have current_user: dict = Depends(get_current_user) in their signature. That single line is all it takes to lock down an endpoint, FastAPI's dependency injection handles the rest.
Step 4: Run It
Start the development server:
FastAPI generates interactive API docs automatically. Open http://localhost:8000/docs to see them. You can explore every endpoint, see the request/response schemas, and try requests directly in the browser.
Test the public endpoint:
Test the protected endpoints:
Now, visit http://localhost:8000/login in your browser. You'll be redirected to WorkOS AuthKit's hosted sign-in page. Create an account or sign in, and you'll be redirected back to /expenses with a session cookie set.
Now your browser is authenticated. If you test /expenses again from your browser, you'll see an empty expense list (you haven't added any yet). Try creating one:
Then, fetch expenses again:
What WorkOS handles for you
It's worth pausing to appreciate what you didn't have to build:
- The sign-in UI (email/password forms, social login buttons, error states).
- Password hashing and storage (bcrypt, salting, secure comparison).
- Email verification flows (sending verification emails, handling tokens).
- Session token signing and rotation (JWKS, key rotation, refresh token management).
- Cookie encryption (the sealed session is securely encrypted before it ever touches the browser).
For a production app you'd also get MFA, social login (Google, GitHub, etc.), and, when you're ready to sell to enterprises ,SSO with SAML and OIDC, all without changing your FastAPI code.
What's next
This tutorial covered the human authentication case: a user signs in via a browser and your API validates their session on each request. WorkOS supports several other auth scenarios that build naturally on what you've set up here:
- Expose your API as MCP tools for AI agents: If you want AI clients like Claude or Cursor to call your API on a user's behalf, WorkOS AuthKit is a spec-compliant OAuth authorization server that MCP clients already know how to talk to. You'll need to add JWT verification on incoming requests and a couple of OAuth discovery endpoints. Your existing business logic endpoints stay unchanged. See the WorkOS MCP docs for the full integration guide.
- Machine-to-machine auth: When another service needs to call your API without a browser or a human in the loop, WorkOS supports M2M authentication via client credentials. See the M2M documentation.
- Enterprise SSO: When your B2B customers need to authenticate via their own identity provider (Okta, Azure AD, Google Workspace, and others) WorkOS handles the SAML and OIDC plumbing. No code changes are required on your FastAPI server; you configure the provider once (or ask your customer to configure their own provider using the Admin Portal) and the existing auth flow works as-is.
We will follow up with more tutorials for these use cases soon.
Full code
The complete main.py: