UI/UX best practices for IdP & SP-Initiated SSO
Explore the UI/UX best practices for IdP and SP-initiated SSO flows, like subdomaining tenants and separating email and password screens.
.webp)
Have you ever clicked “Sign in with Twitter”? That’s Single Sign On (SSO), a popular authentication mechanism that allows users to log into multiple apps using a single identity.
SSO involves validation between the Identity Provider (e.g., Okta) and the service provider (e.g., your app). Users can initiate sign-in from either side — via the IdP or the SP. As you develop your app, you'll need to consider the actual mechanics of both sign-in methods.
In this article, we will discuss:
- What IdP-initiated SSO is, and how it affects user experience
- Different UI/UX approaches to SP-initiated SSO
- Best practices for building an SSO login page
IdP-initiated SSO and its impact on user experience
SSO providers typically offer an application marketplace/dashboard that shows enterprise users all the applications they can access. For instance, Okta provides a browser extension that allows users to view and sign into their applications quickly.
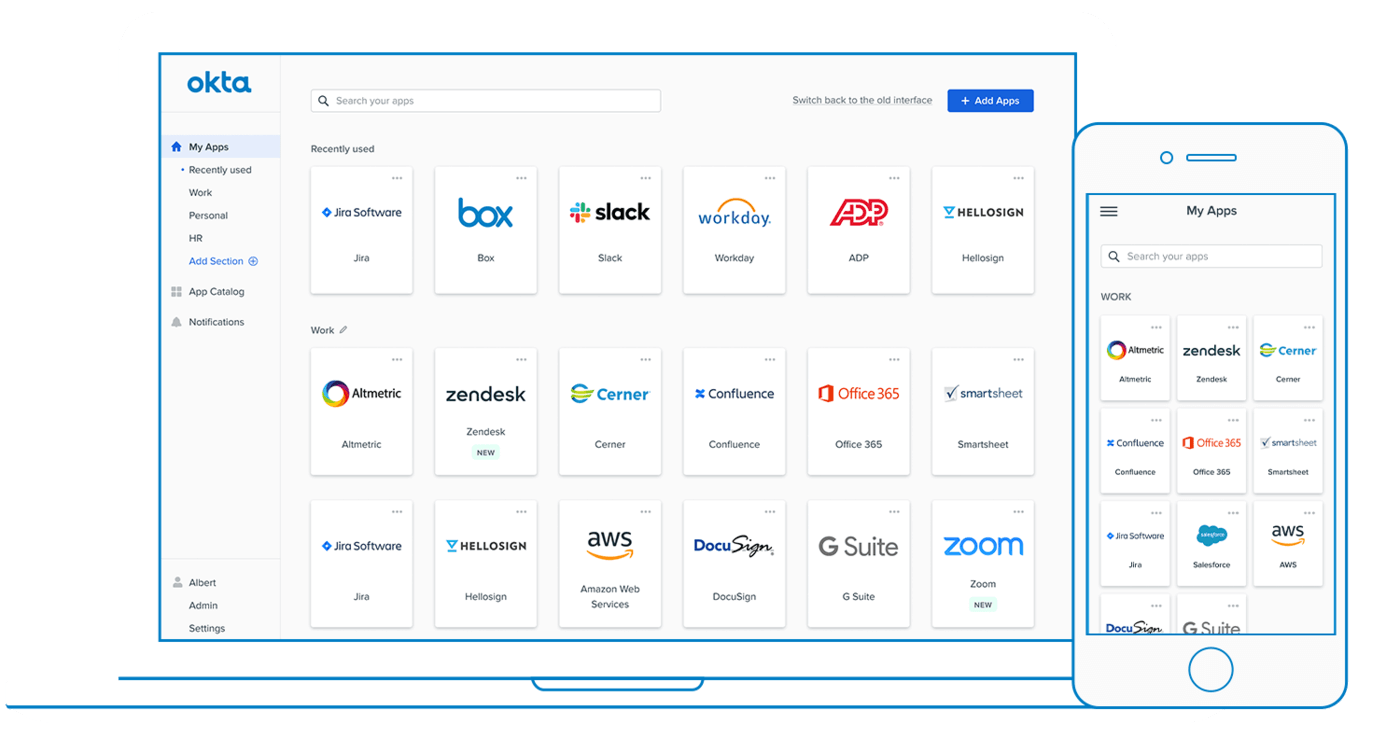
IdP-initiated SSO occurs when an enterprise user selects your app from this marketplace. This action initiates the sign-on process directly from the IdP, hence the term "IdP-initiated SSO."
Relying solely on IdP-initiated sign-on for your enterprise SSO needs has its limitations:
- Not all IdPs support this method, and not all apps are designed to accommodate it.
- The user experience for those coming directly to your app is poor. They might not always remember to navigate through their IdP's dashboard.
Read more: SP-initiated vs. IdP-initiated SSO: key differences explained
UI/UX approaches to SP-initiated SSO
SP-initiated SSO is when an enterprise user signs in by visiting an app directly. If you decide to allow your enterprise users to sign in to your app, here are a few different approaches you should consider:
- Subdomain your tenants
- Signing in with SSO
- Separating the email and password fields
- Dynamic password fields
Subdomain your tenants
One approach you can take would be to serve your application at a subdomain per tenant/enterprise. Slack does this. When you visit Slack.com and click on the Sign In button, you’re taken to this page:
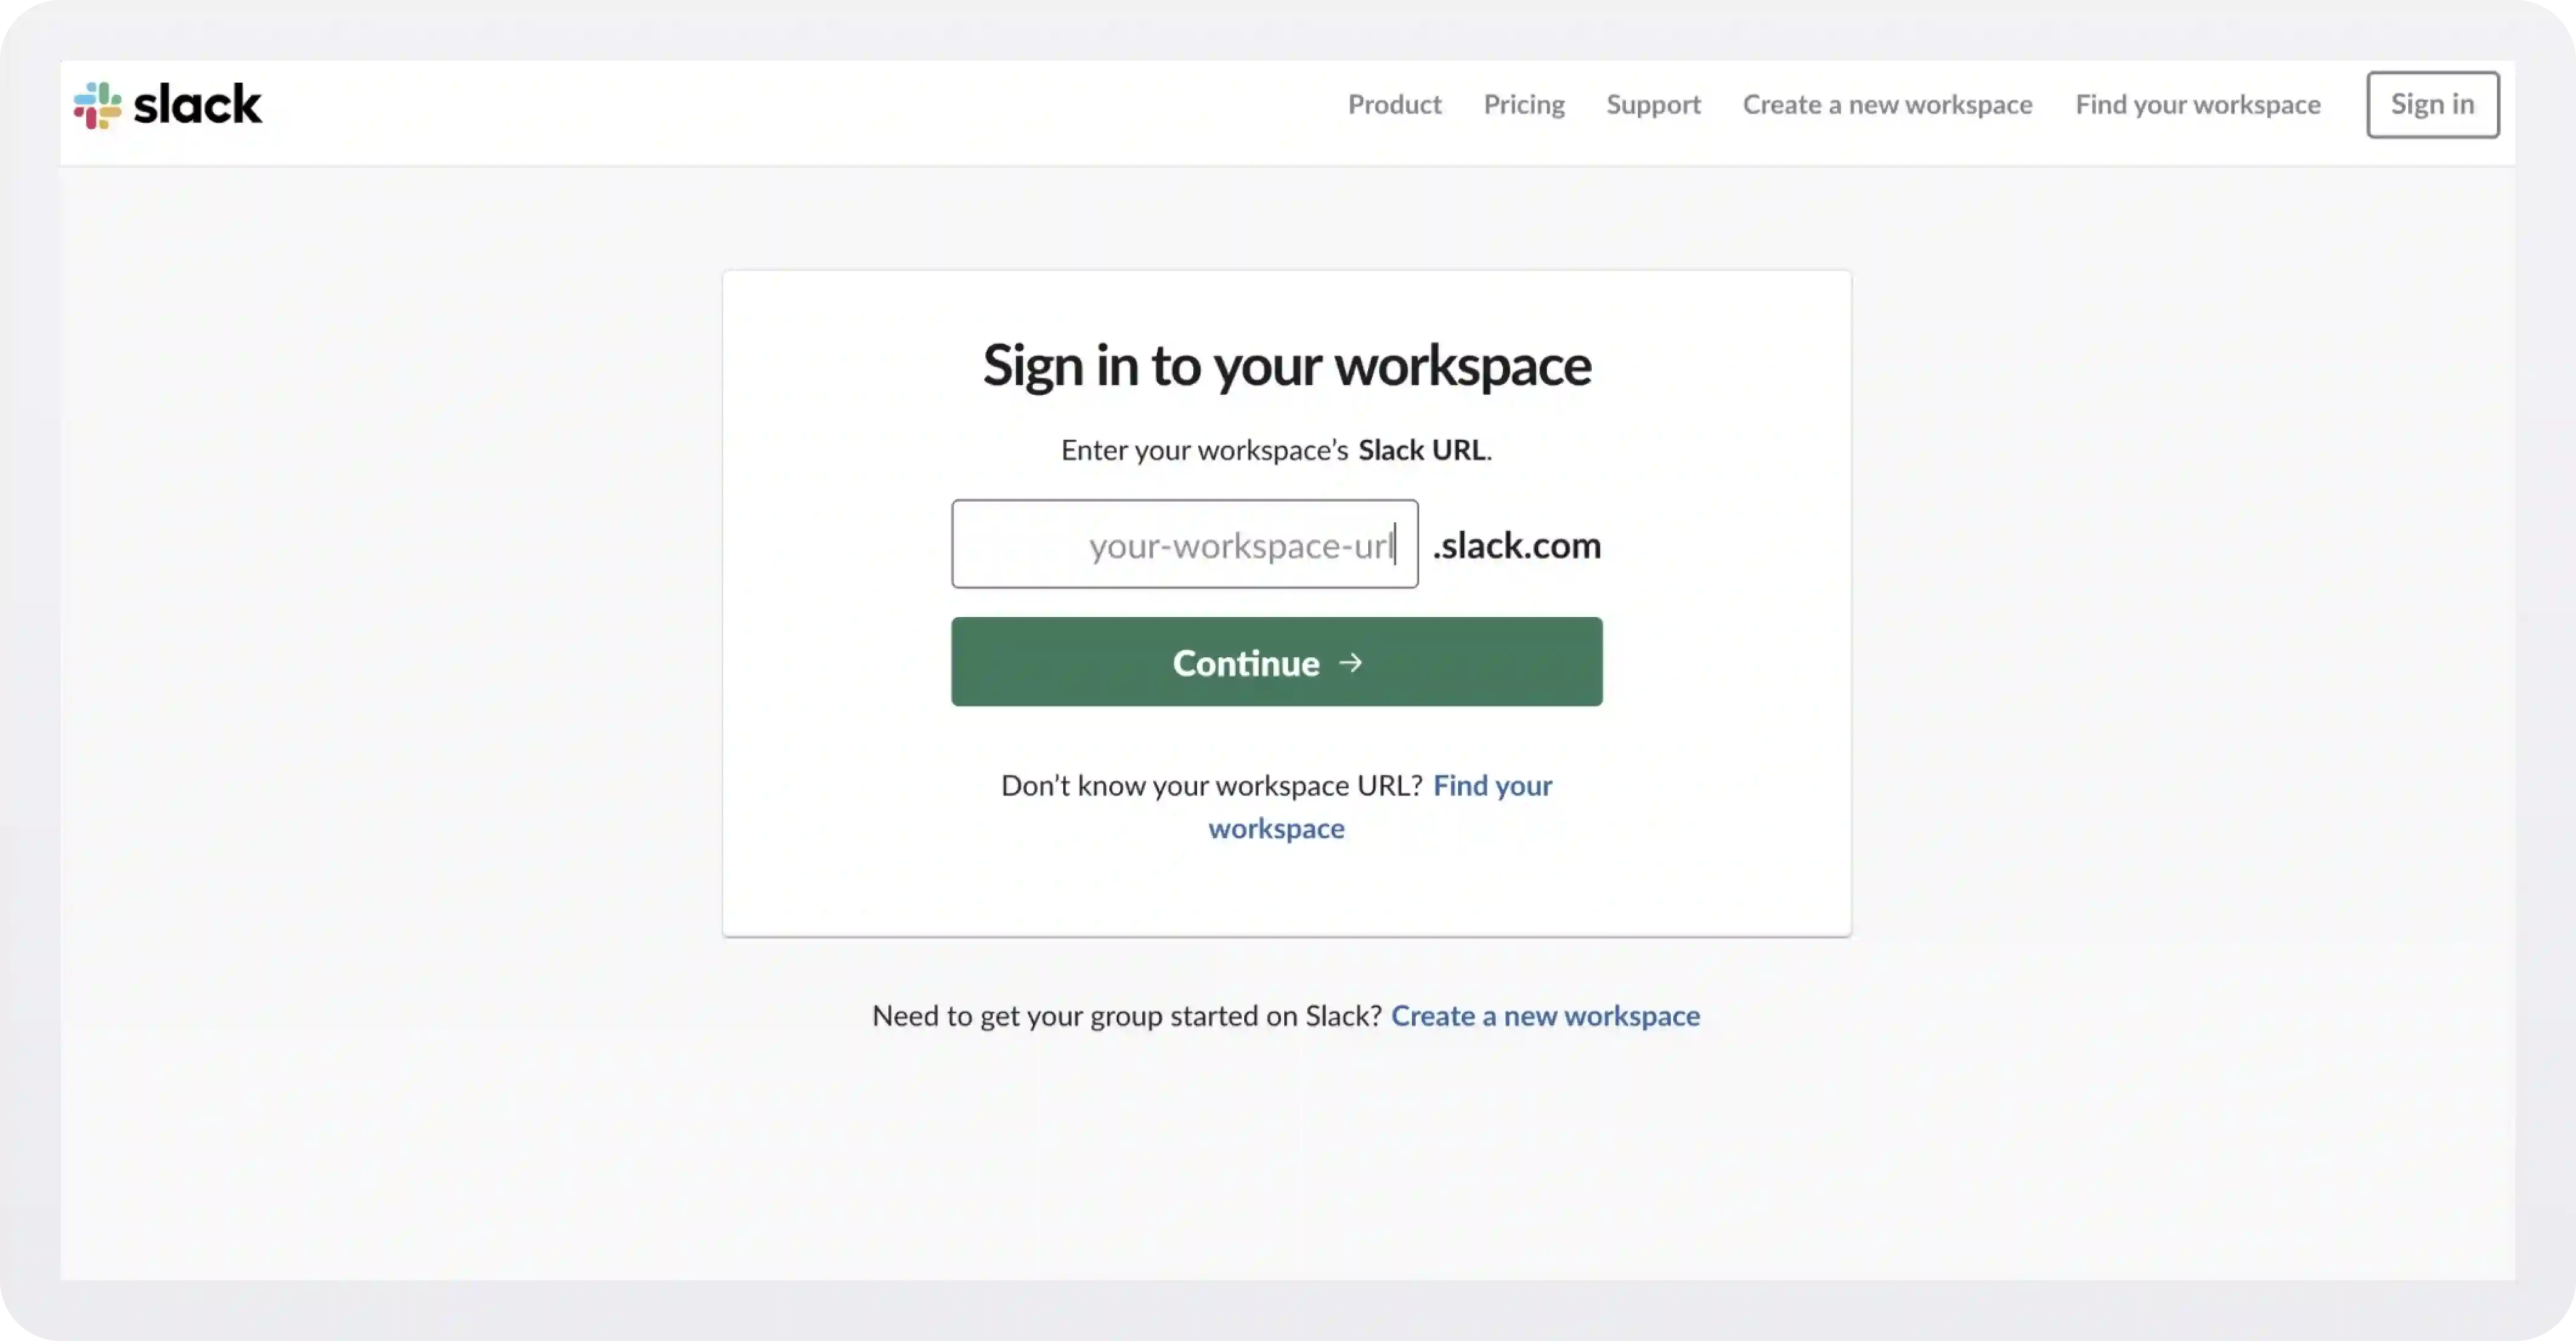
Let's use WorkOS as an example. A WorkOS employee would enter "workos" into the input. Slack looks up what sign-in options are allowed for WorkOS and, on the next page, offers the user the various methods their organization may use for signing in.
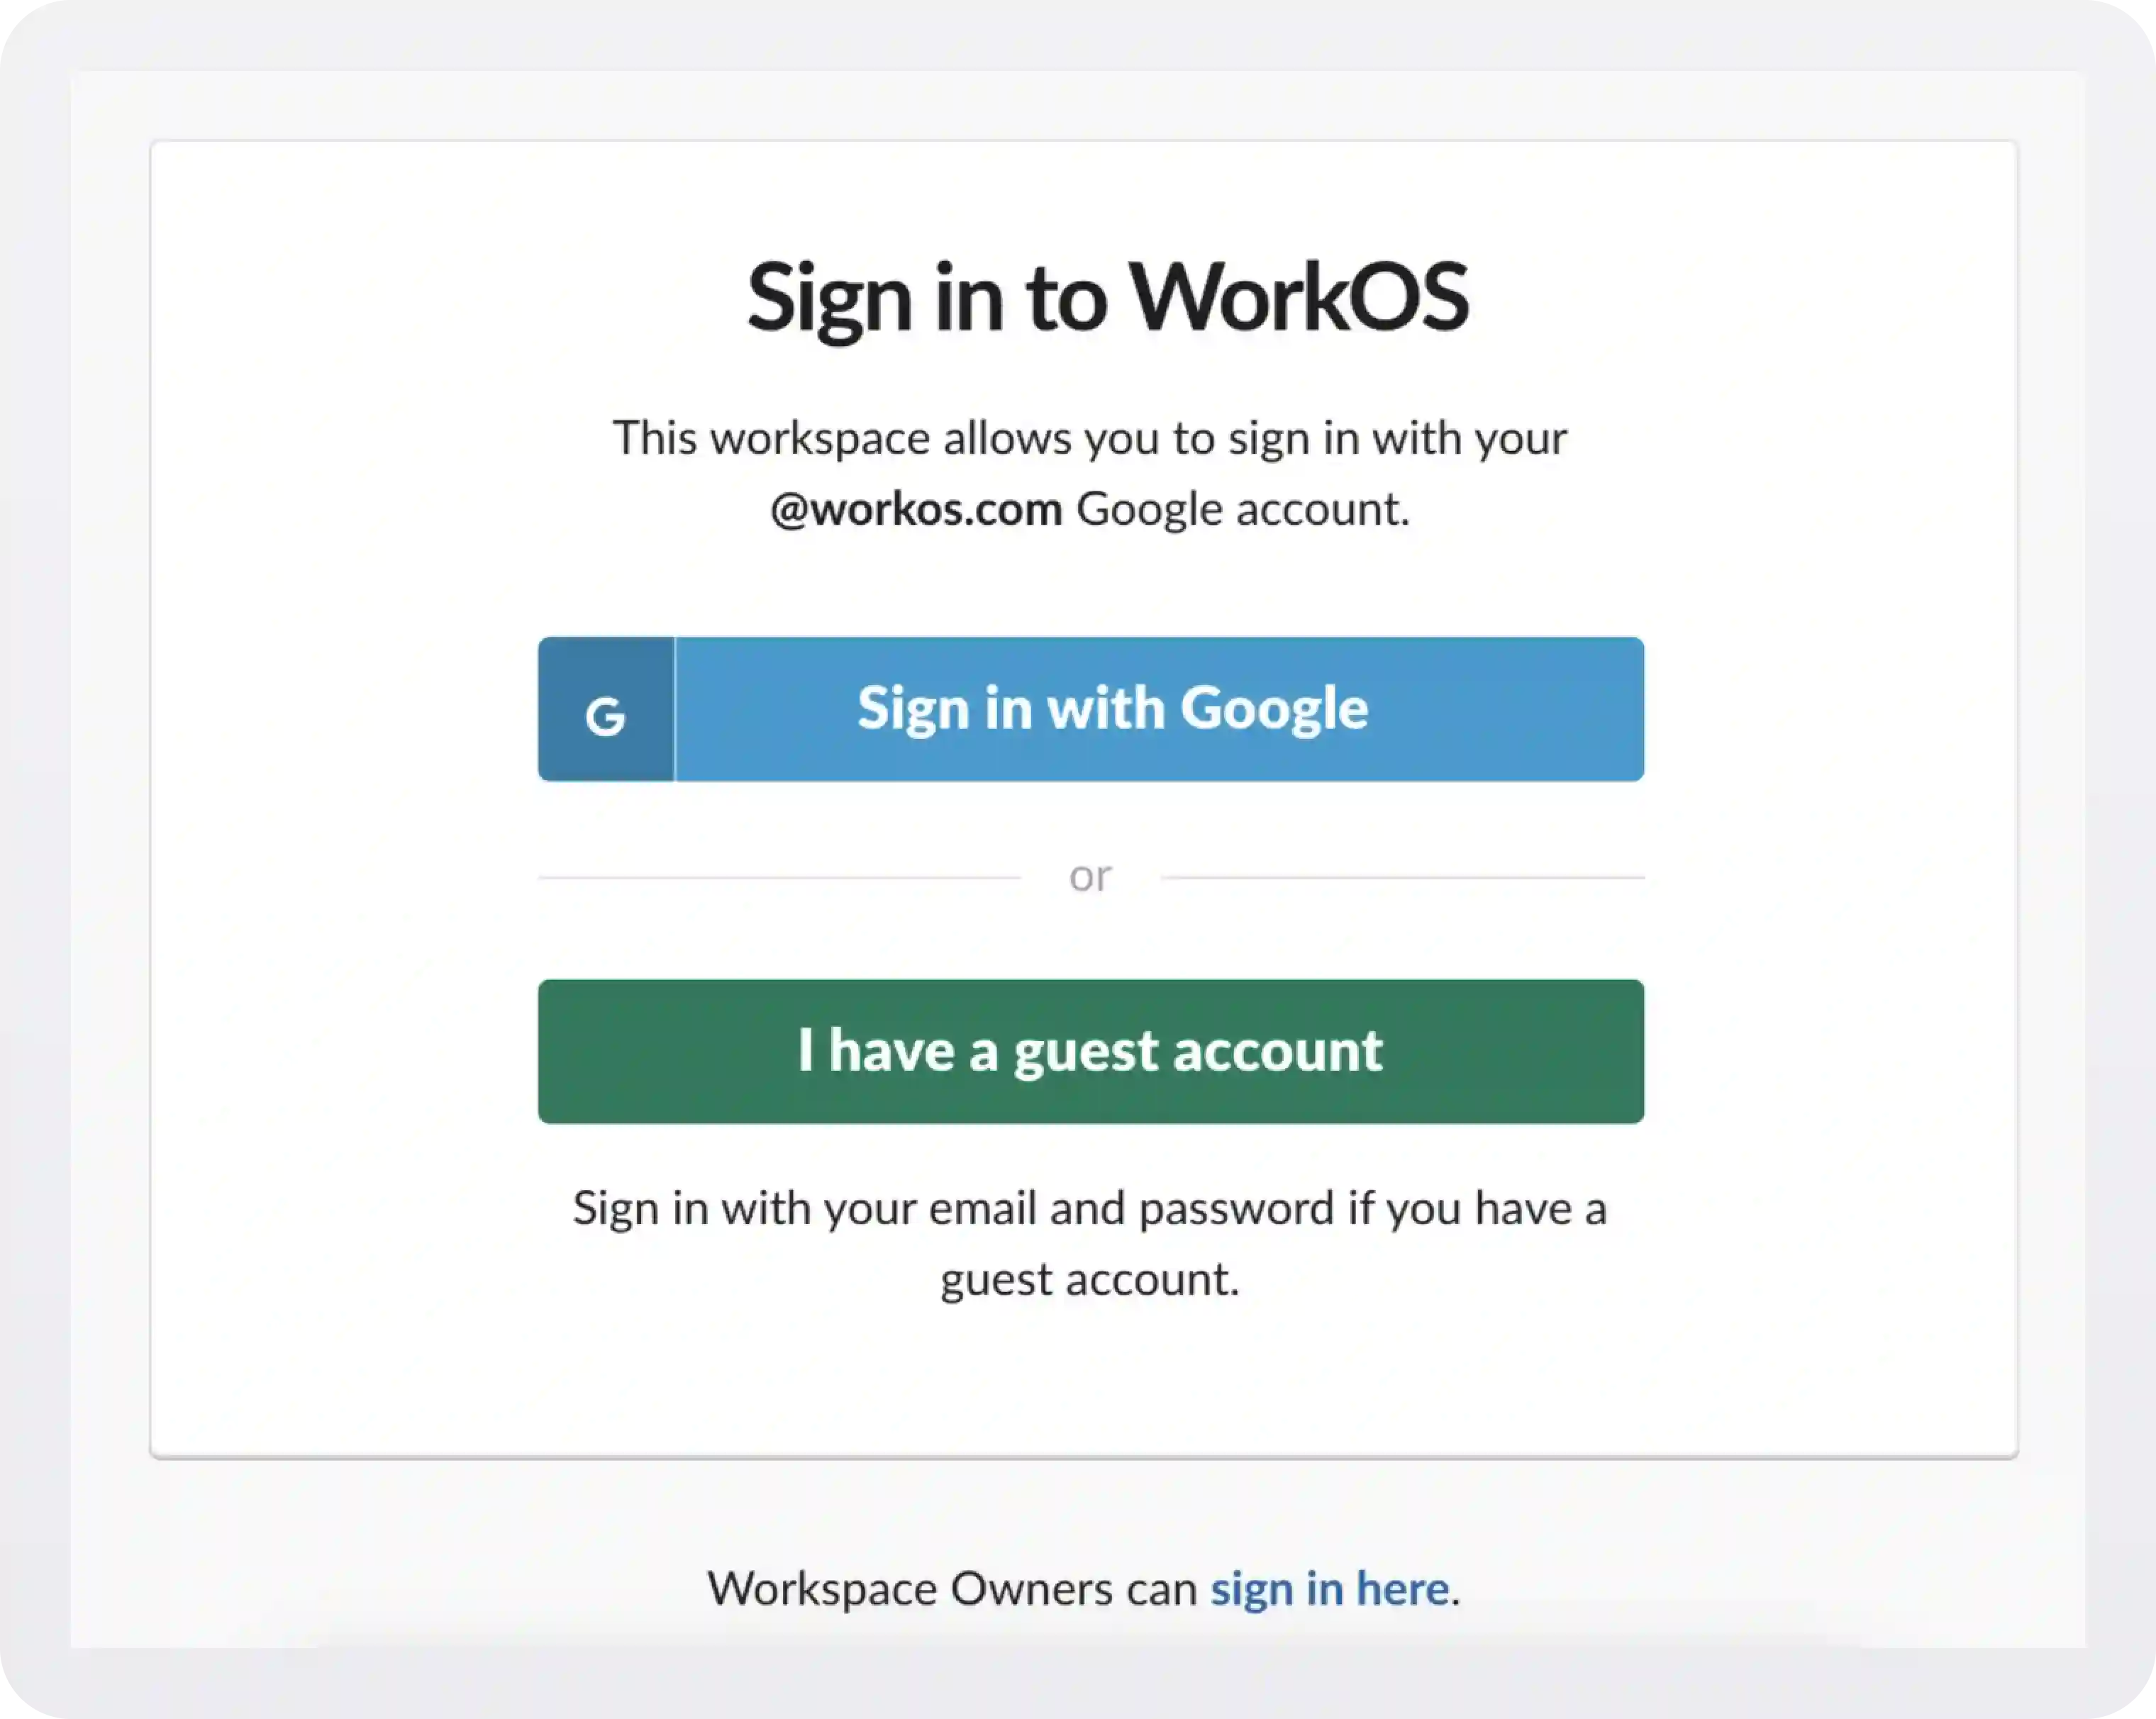
Sign in with SSO
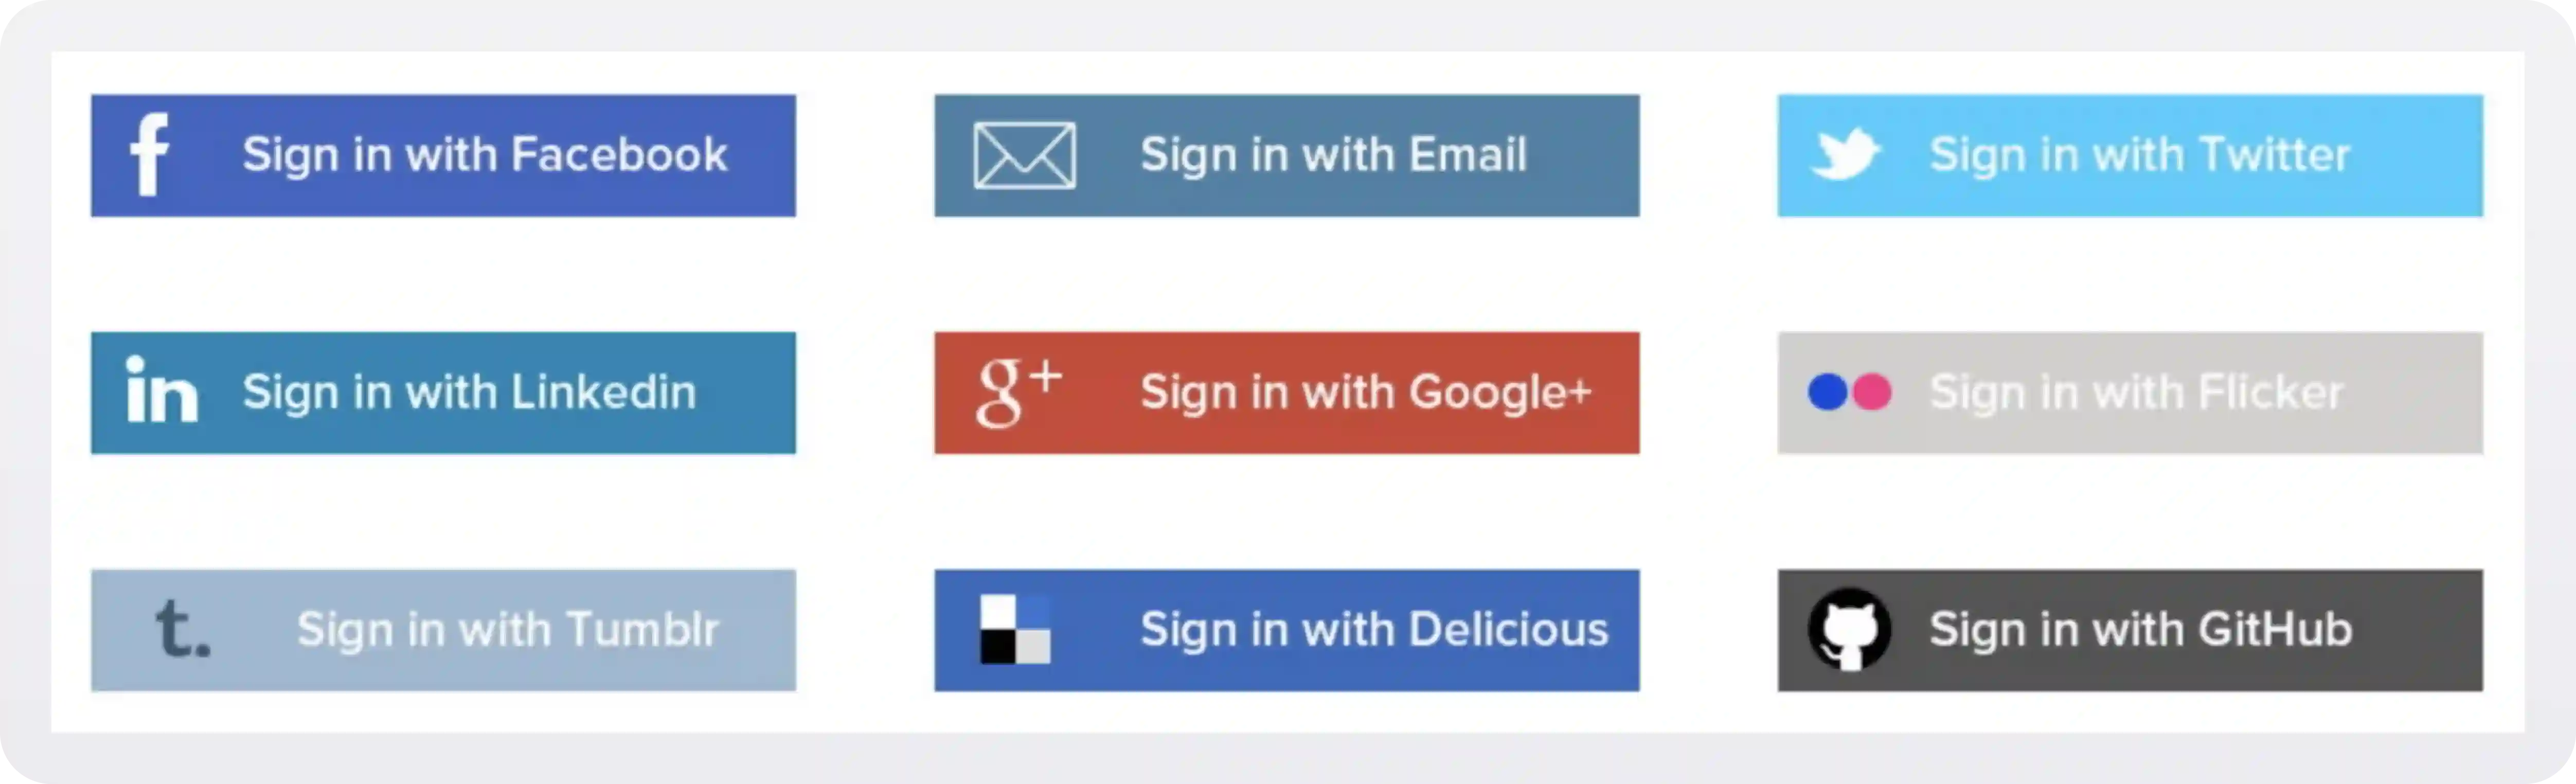
A second approach would be to put a link or button on your SSO login UI page. One thing to remember is the NASCAR problem — where a cluster of 3rd party branded buttons creates both visual noise and confusion on behalf of the user.
Cypress takes this approach, but is careful to only offer a couple of sign in options that are relevant to their user base:
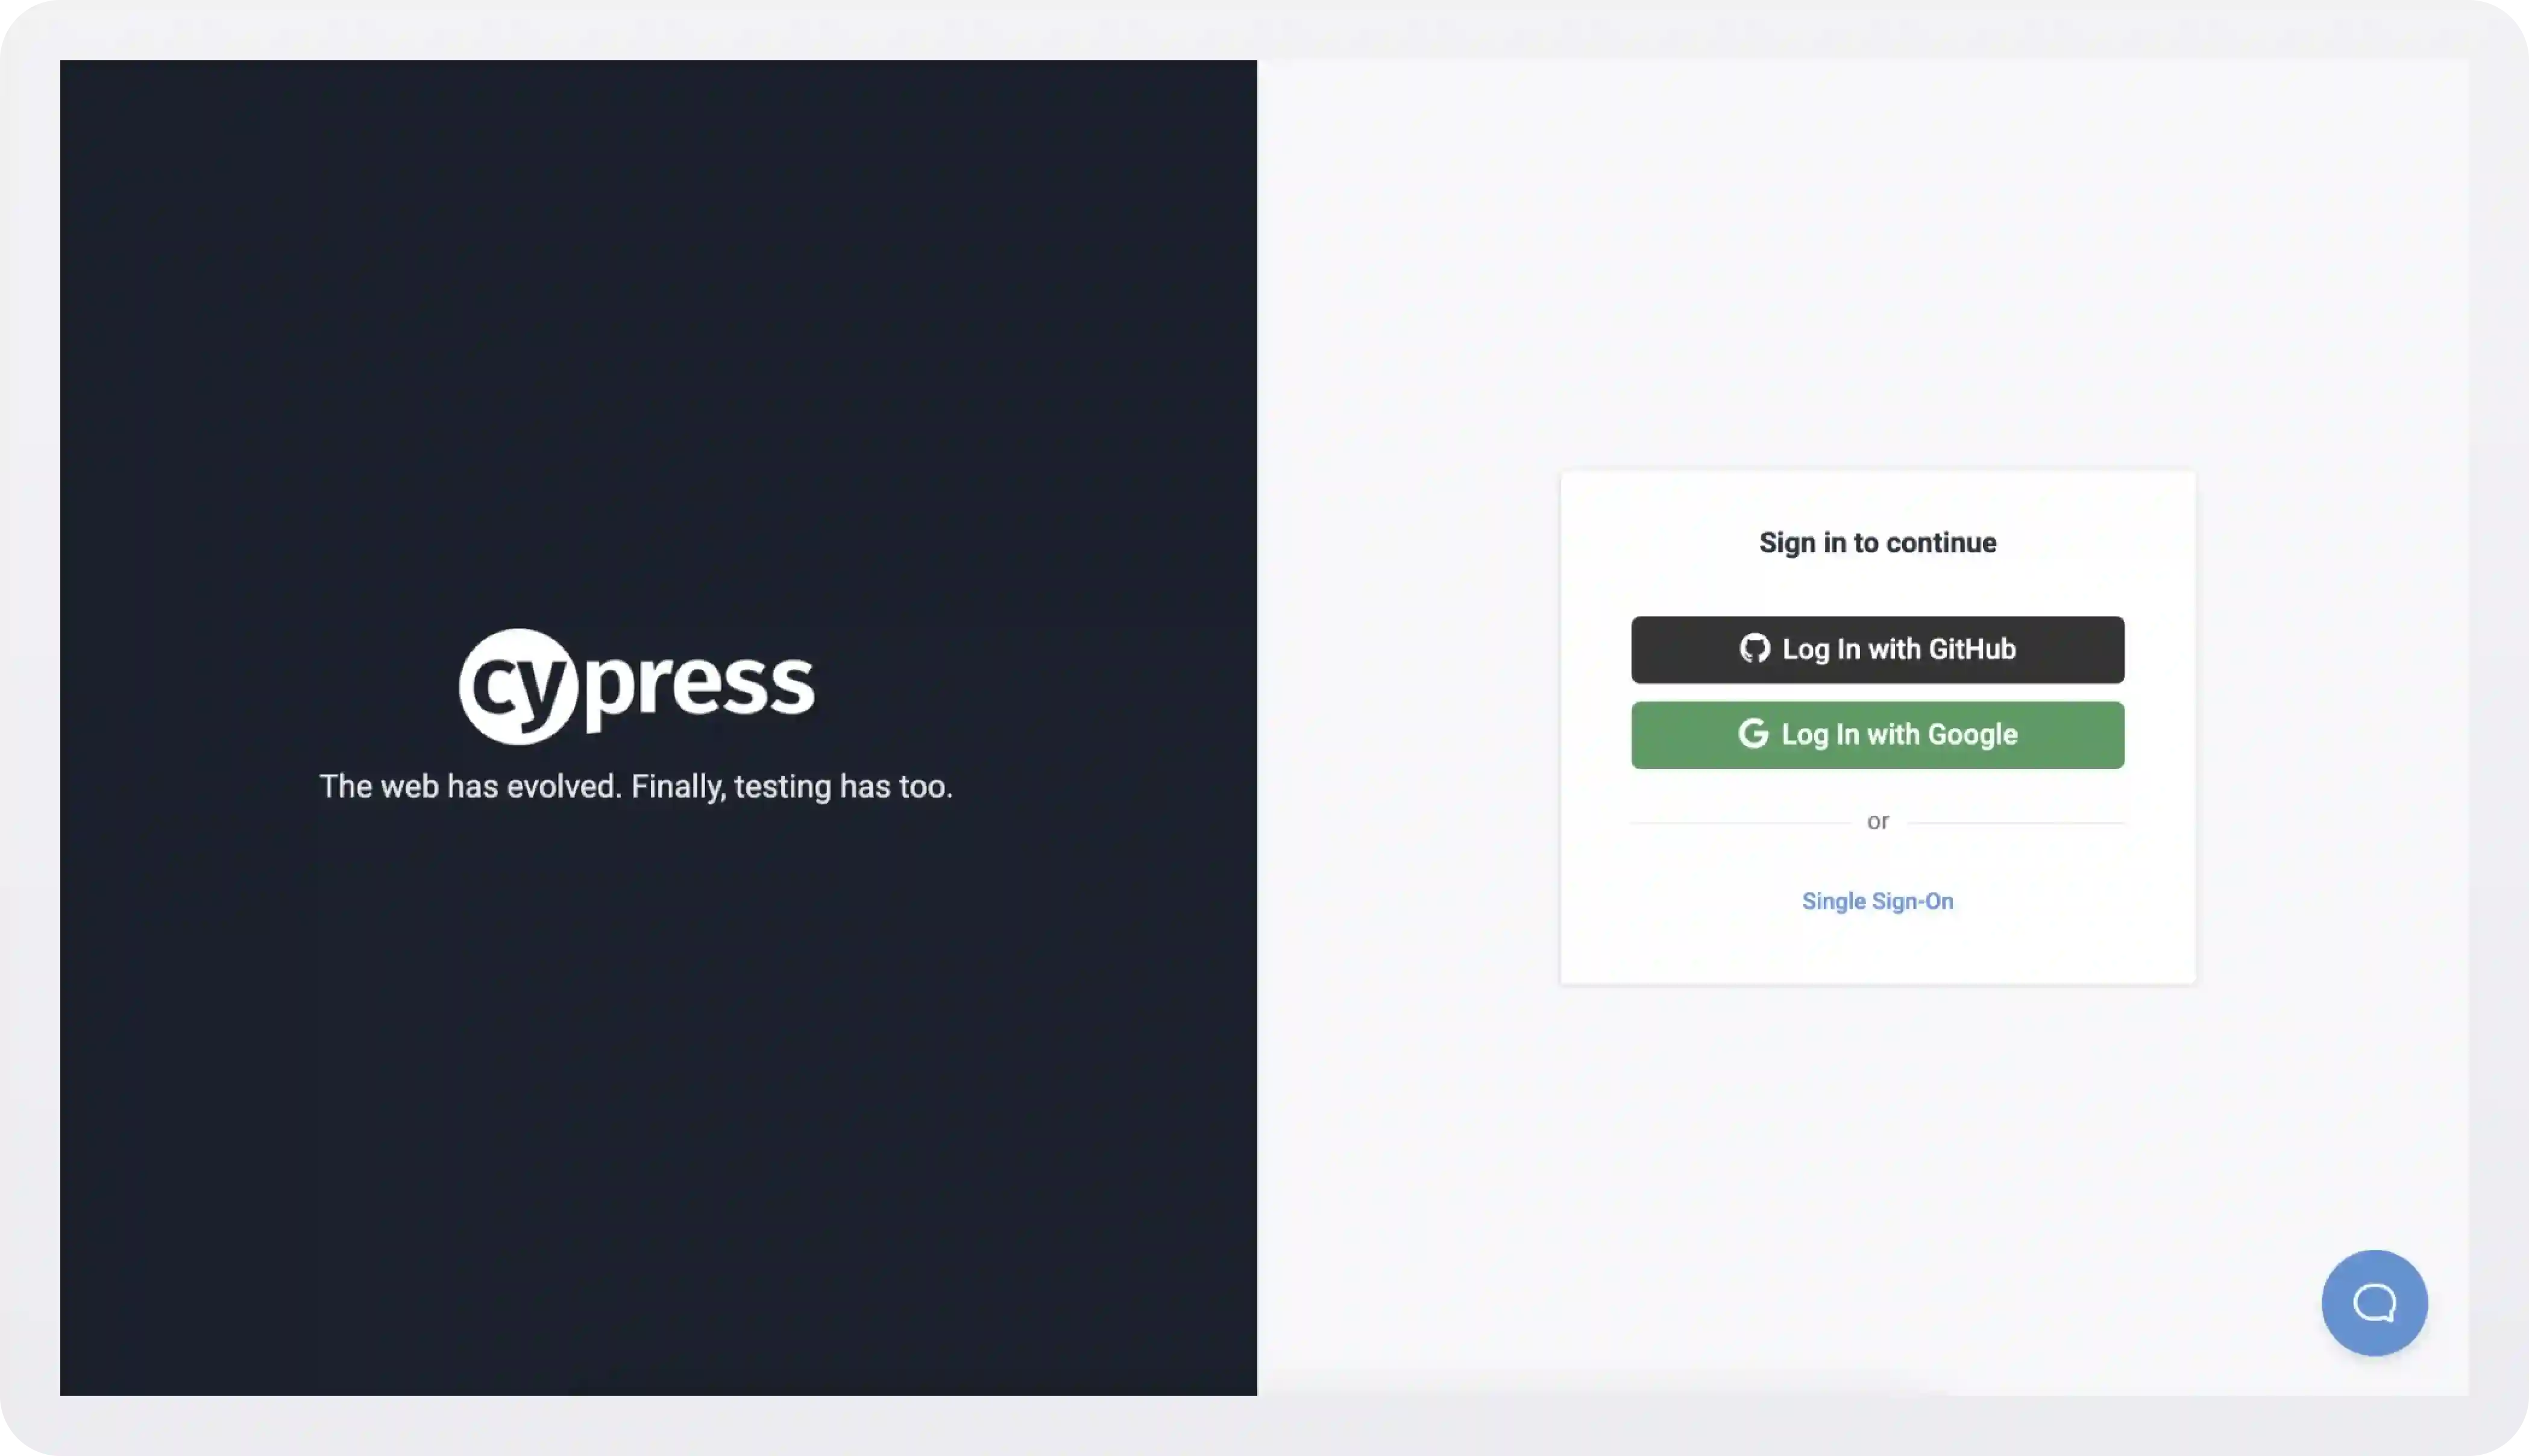
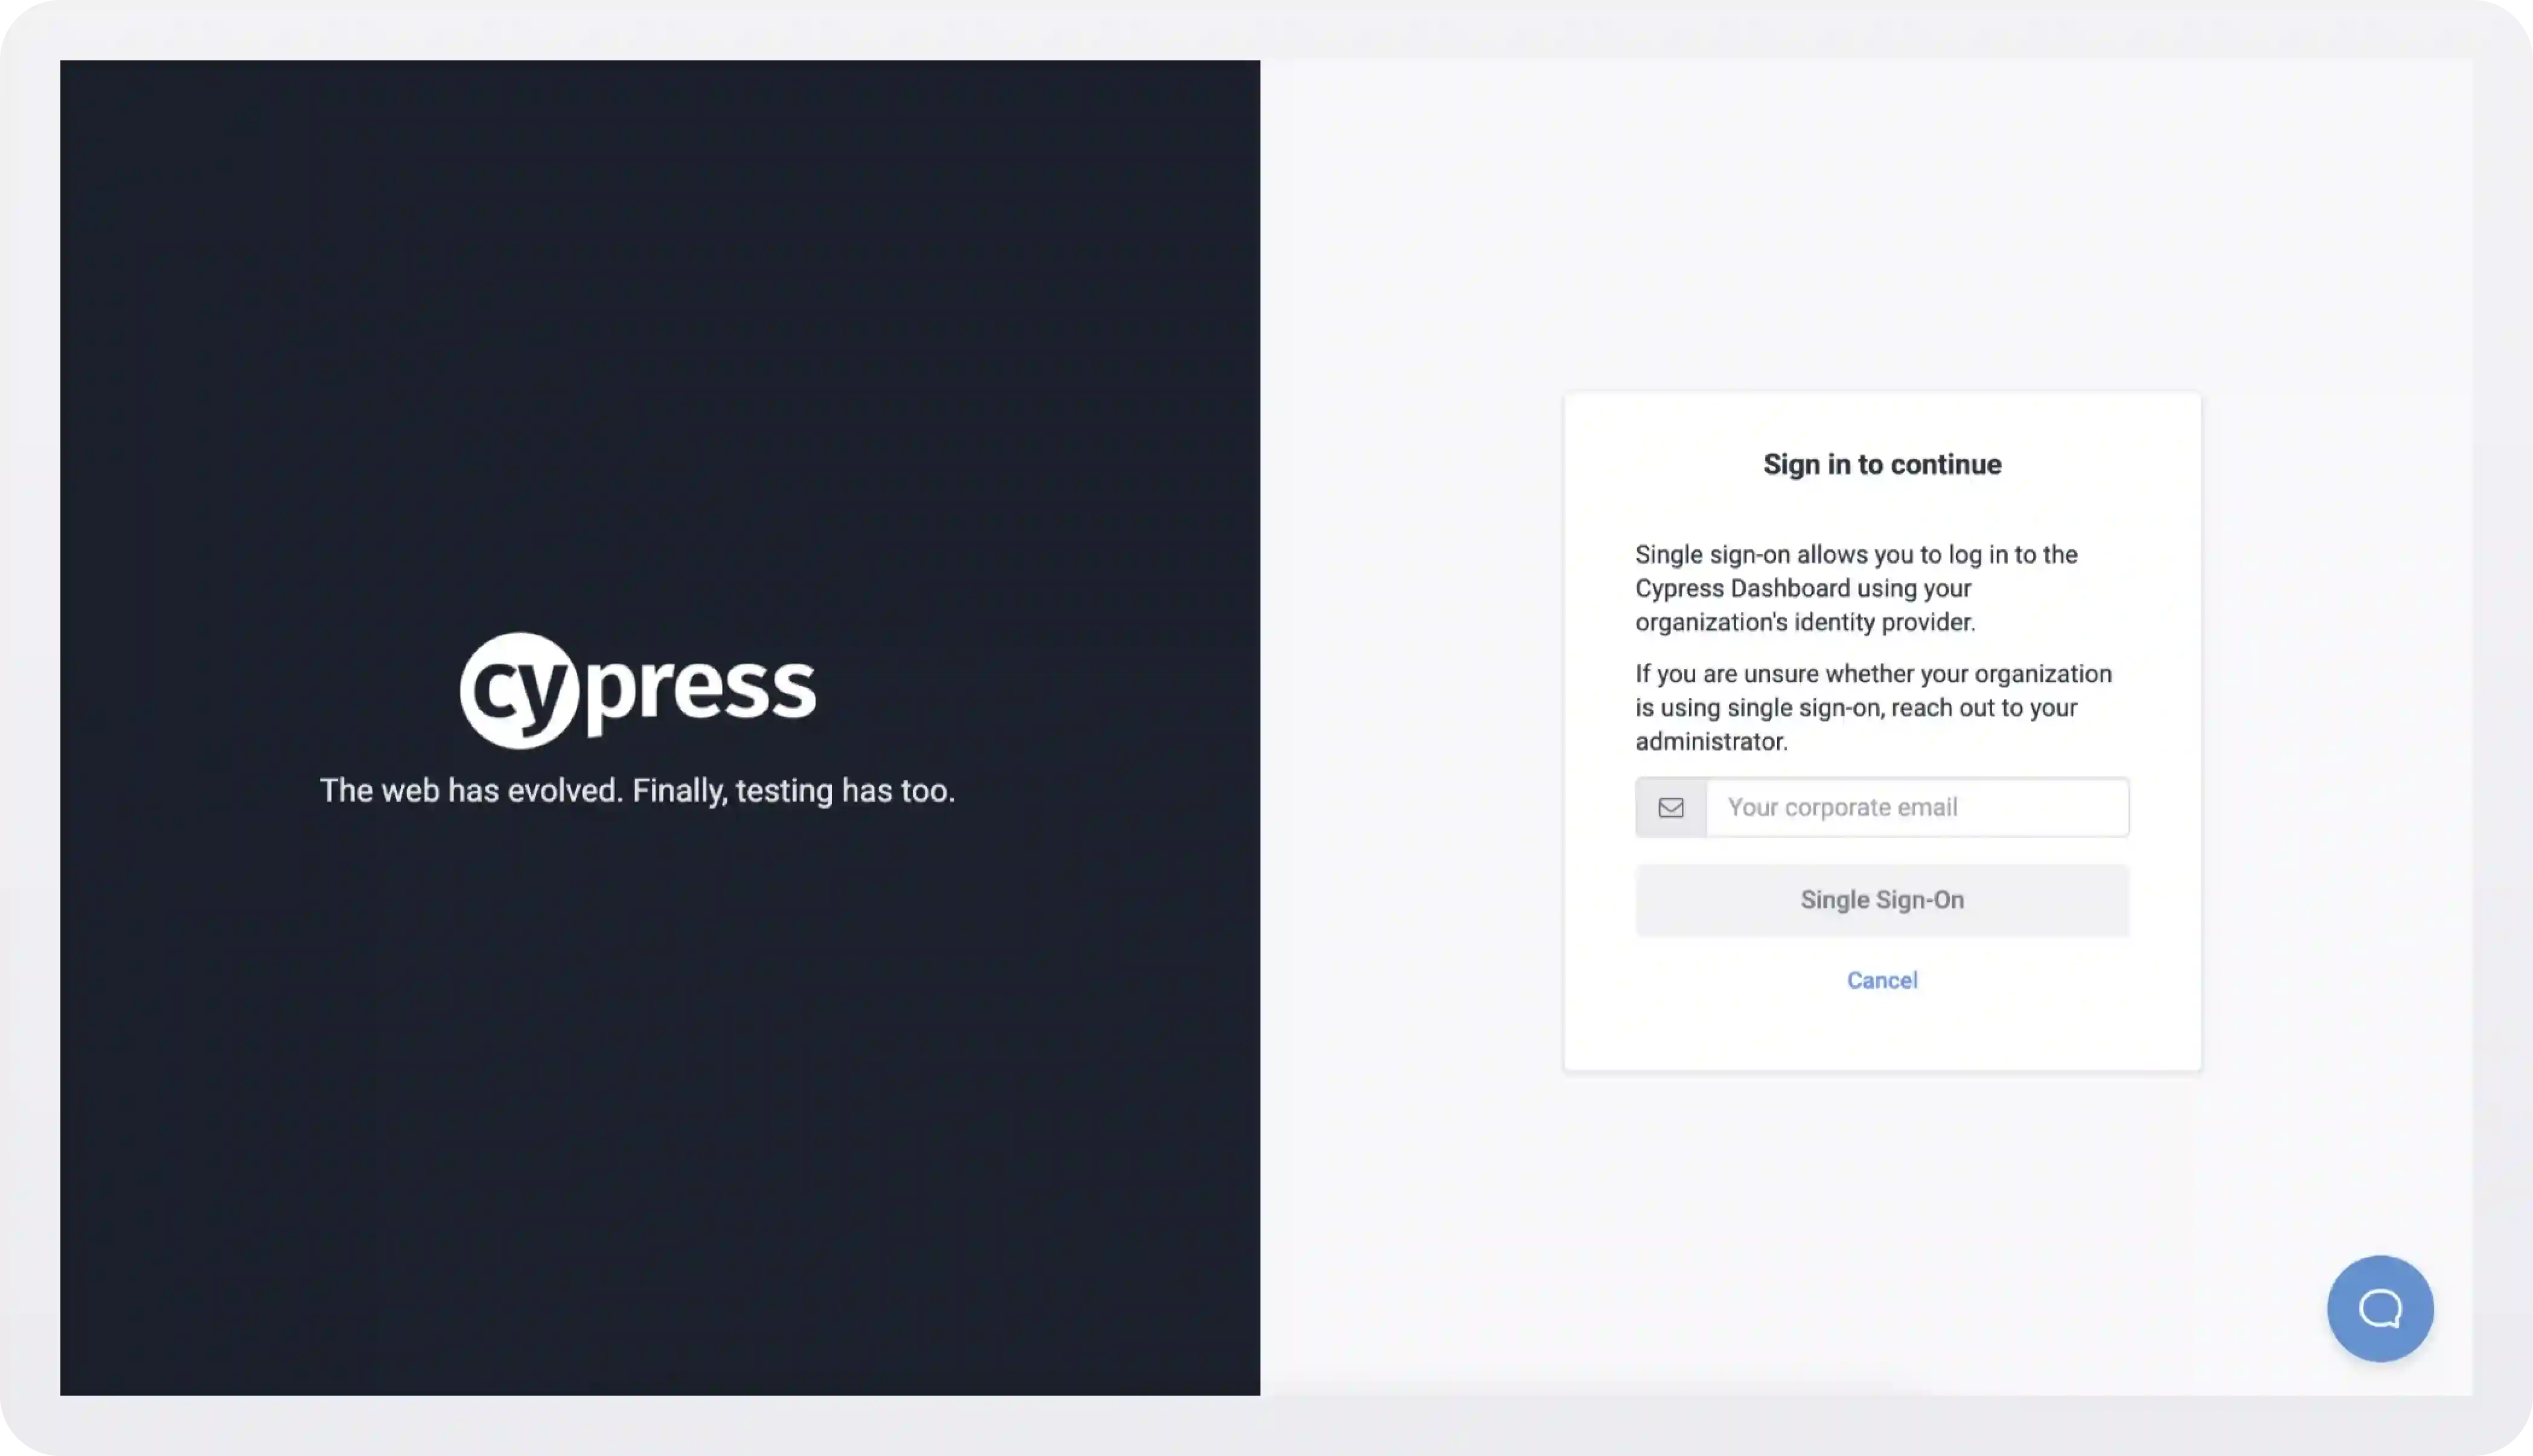
Clicking the Single Sign-On link takes you here:
Separate email/password fields
Take a look at the initial login screens of two of the world’s largest tech companies. Notice anything missing?
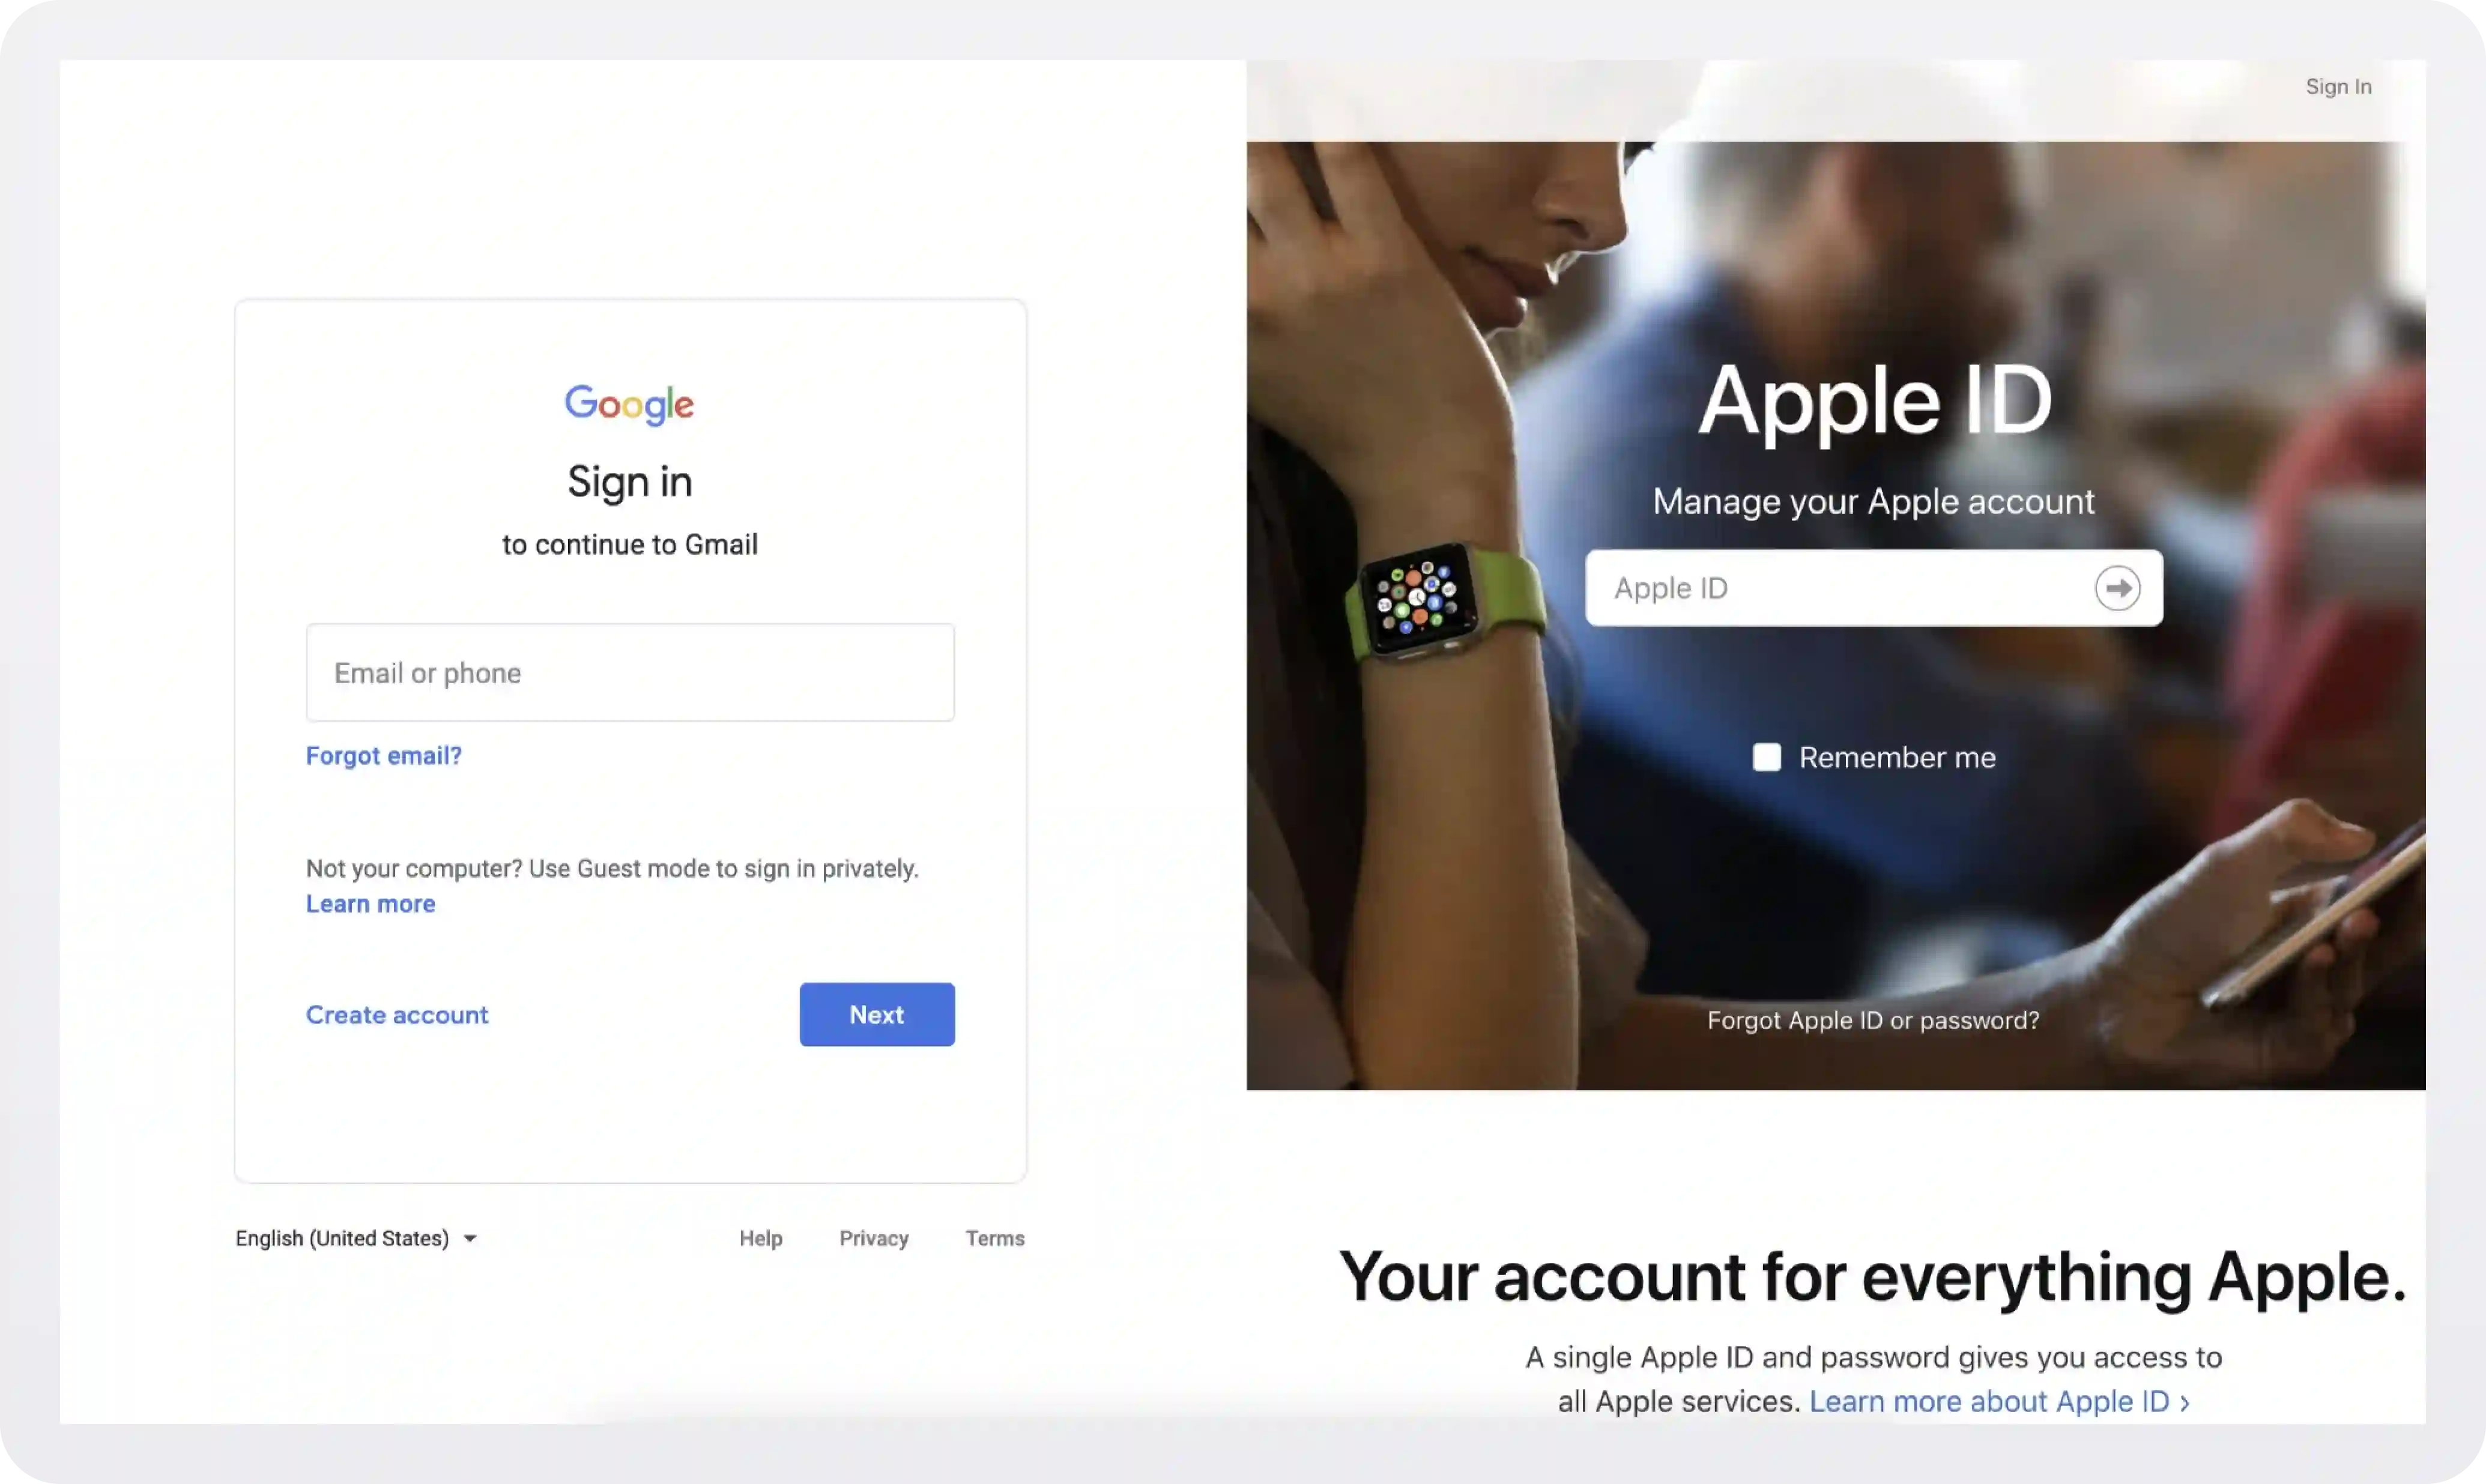
They separate the login process into multiple steps or pages. When signing into Apple’s developer portal, it first asks only for your email and then your password because, between the steps, Apple is looking up to see if your domain is SSO-enabled.
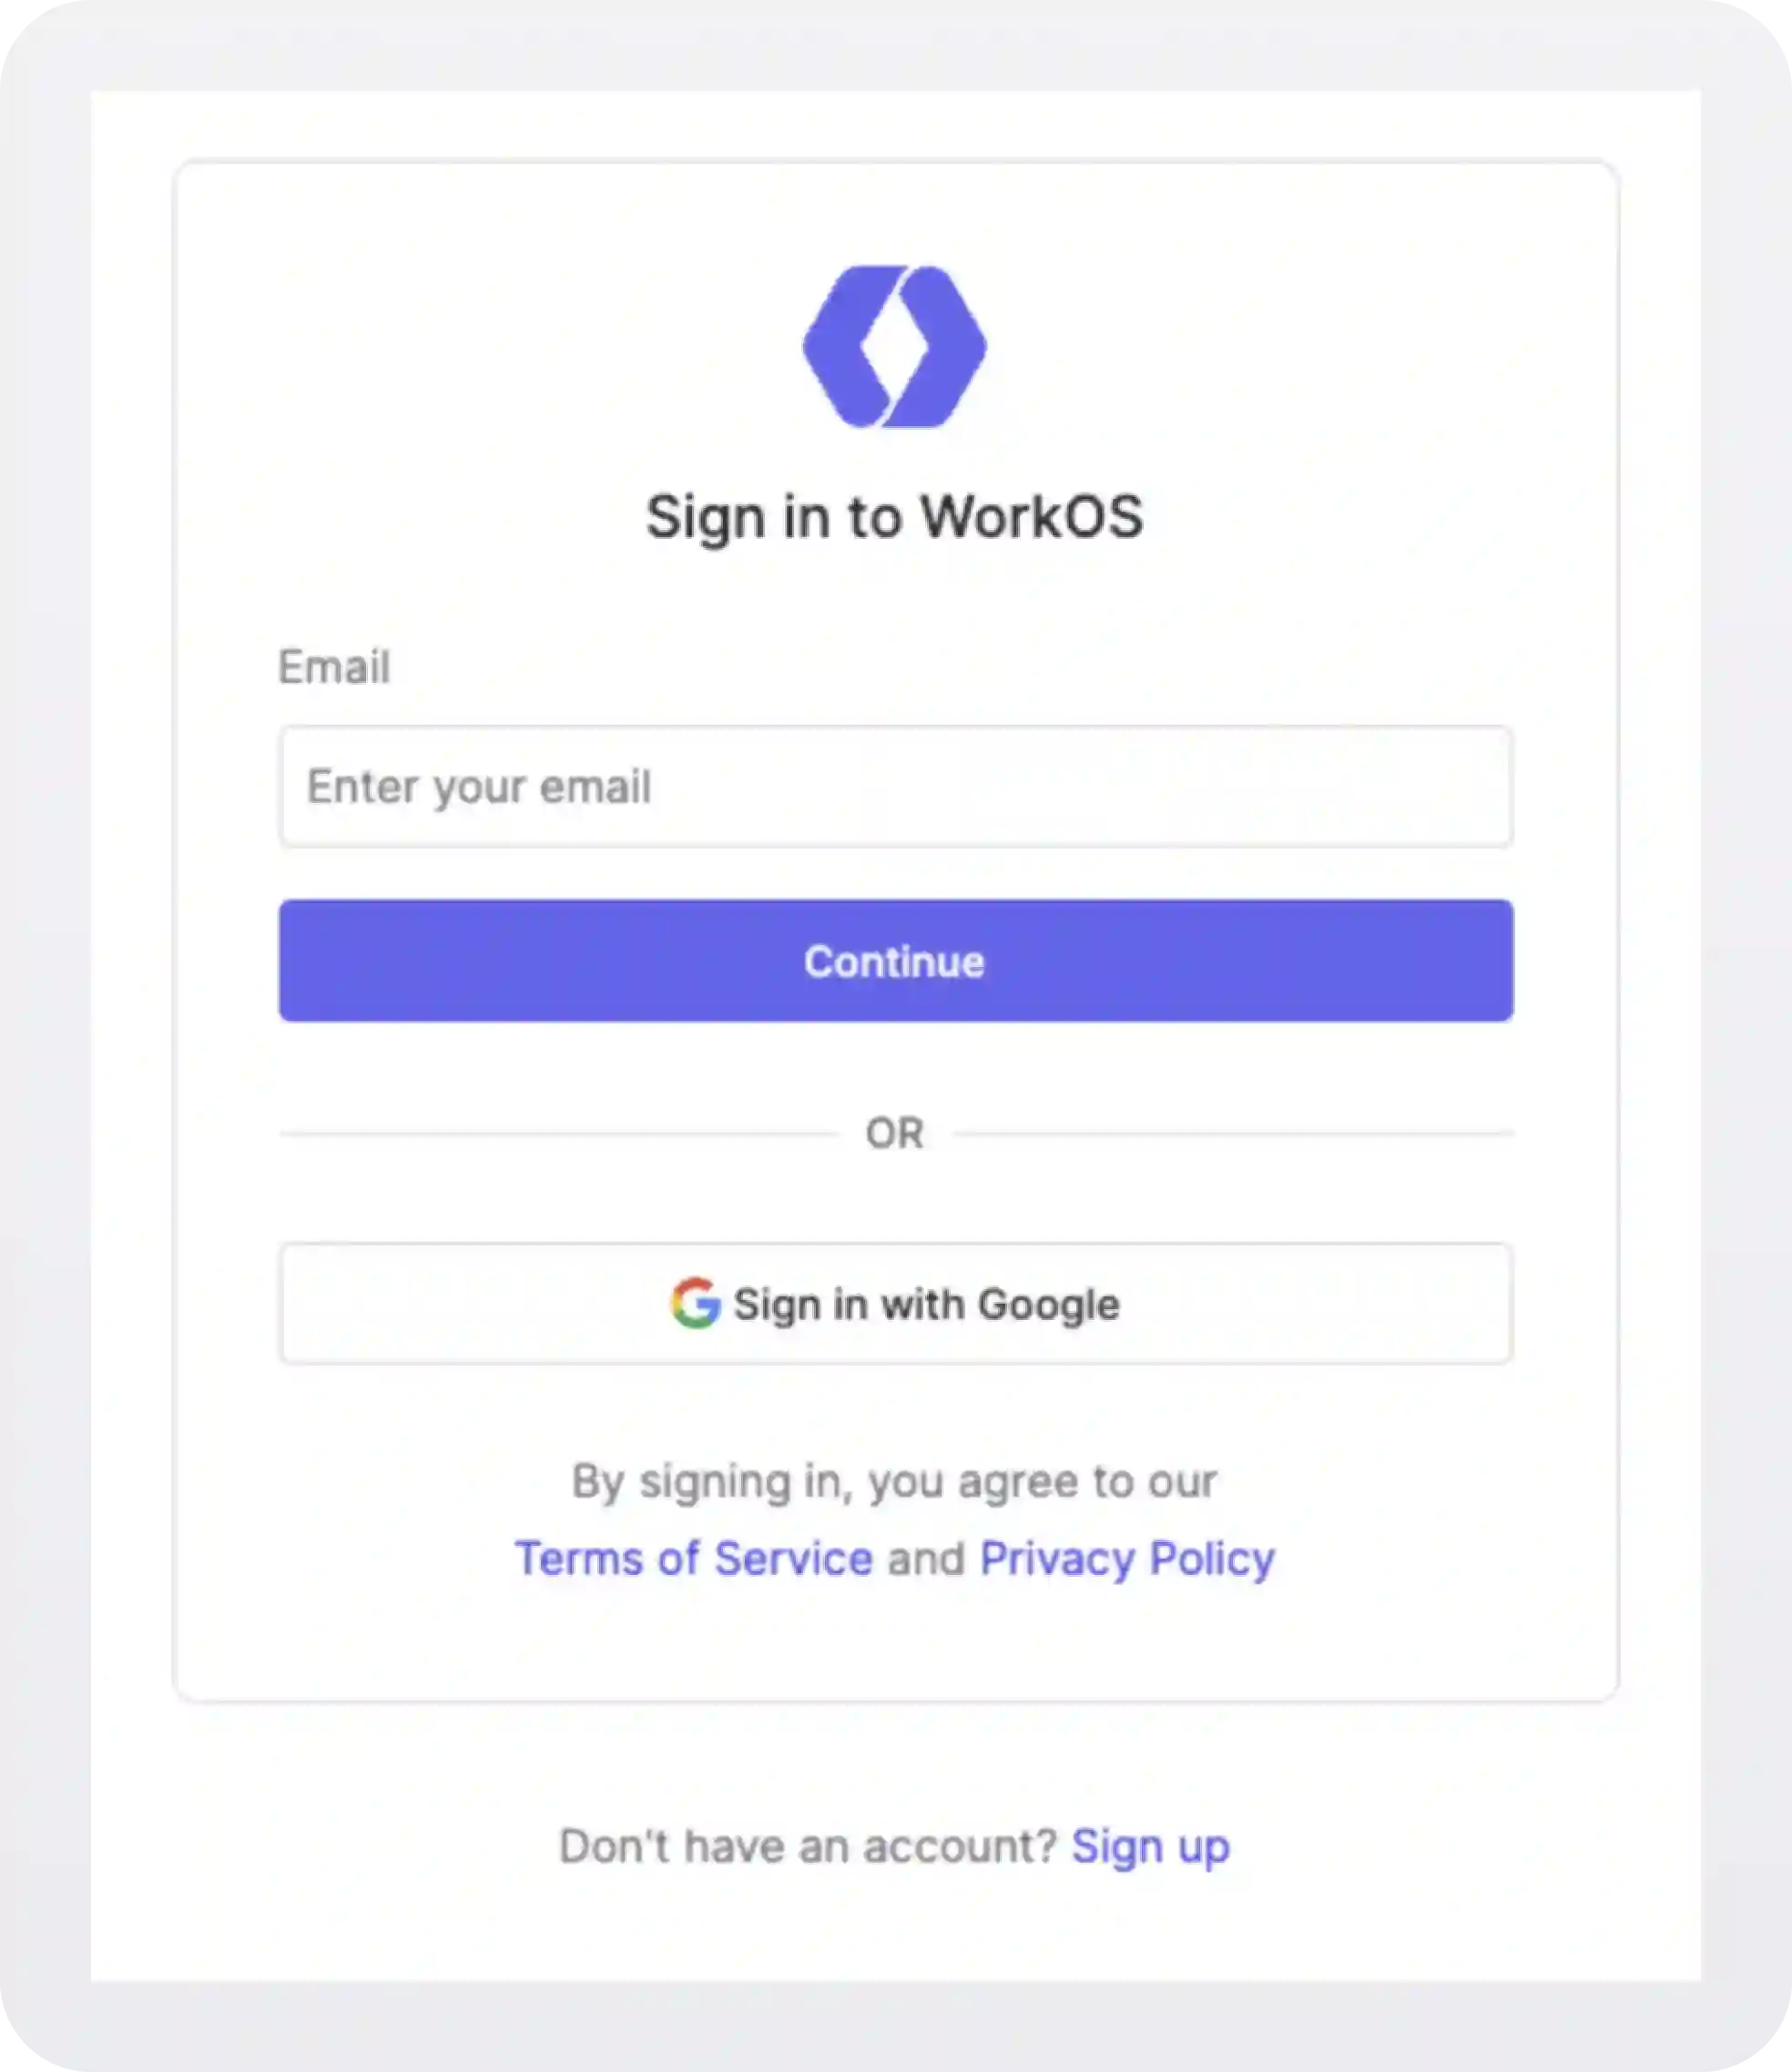
If it is SSO-enabled, it will take you through the SSO flow instead of showing your password. At WorkOS, we use this same pattern for our login page.
Read more: How to add SSO to your app with WorkOS
Dynamically hide the password field
An extension to the previous approach is dynamically hiding the password field — but only for domains with SSO enabled. Implementing this is a bit more complicated, but it provides a nicer and more “unified” user experience.
An example of this style is implemented on the Dropbox login form.
Dropbox has implemented SSO, but that’s not immediately apparent from their login screen. As a user, for example, marc@salesforce.com types their email into the respective field, a search is executed on the backend on every keypress to check if a matching SSO-enabled domain exists.
Once a match is found, the password experience is replaced with the Single sign-on enabled flow. Now, the user just clicks Continue to sign in.
We believe this is the smoothest SSO UI/UX, but again, we understand it’s more work to implement and test.
.webp)


.webp)
.webp)

_.webp)
.webp)
.webp)


.webp)


.webp)

