Single Sign-On
Facilitate greater security, easier account management, and accelerated application onboarding and adoption.
Single Sign-On is the most frequently asked for requirement by organizations looking to adopt new SaaS applications. SSO enables authentication via an organization’s identity provider (IdP).
This service is compatible with any IdP and supports both the SAML and OIDC protocols. It’s modeled to meet the OAuth 2.0 framework specification, abstracting away the underlying authentication handshakes between different IdPs.
AuthKit greatly simplifies the process of integrating SSO into your application. AuthKit will make the necessary API calls automatically and handle the routing of SSO users when their account is associated with an existing SSO connection.
Navigate to the Authentication settings section in the WorkOS Dashboard and enable Single Sign-On.
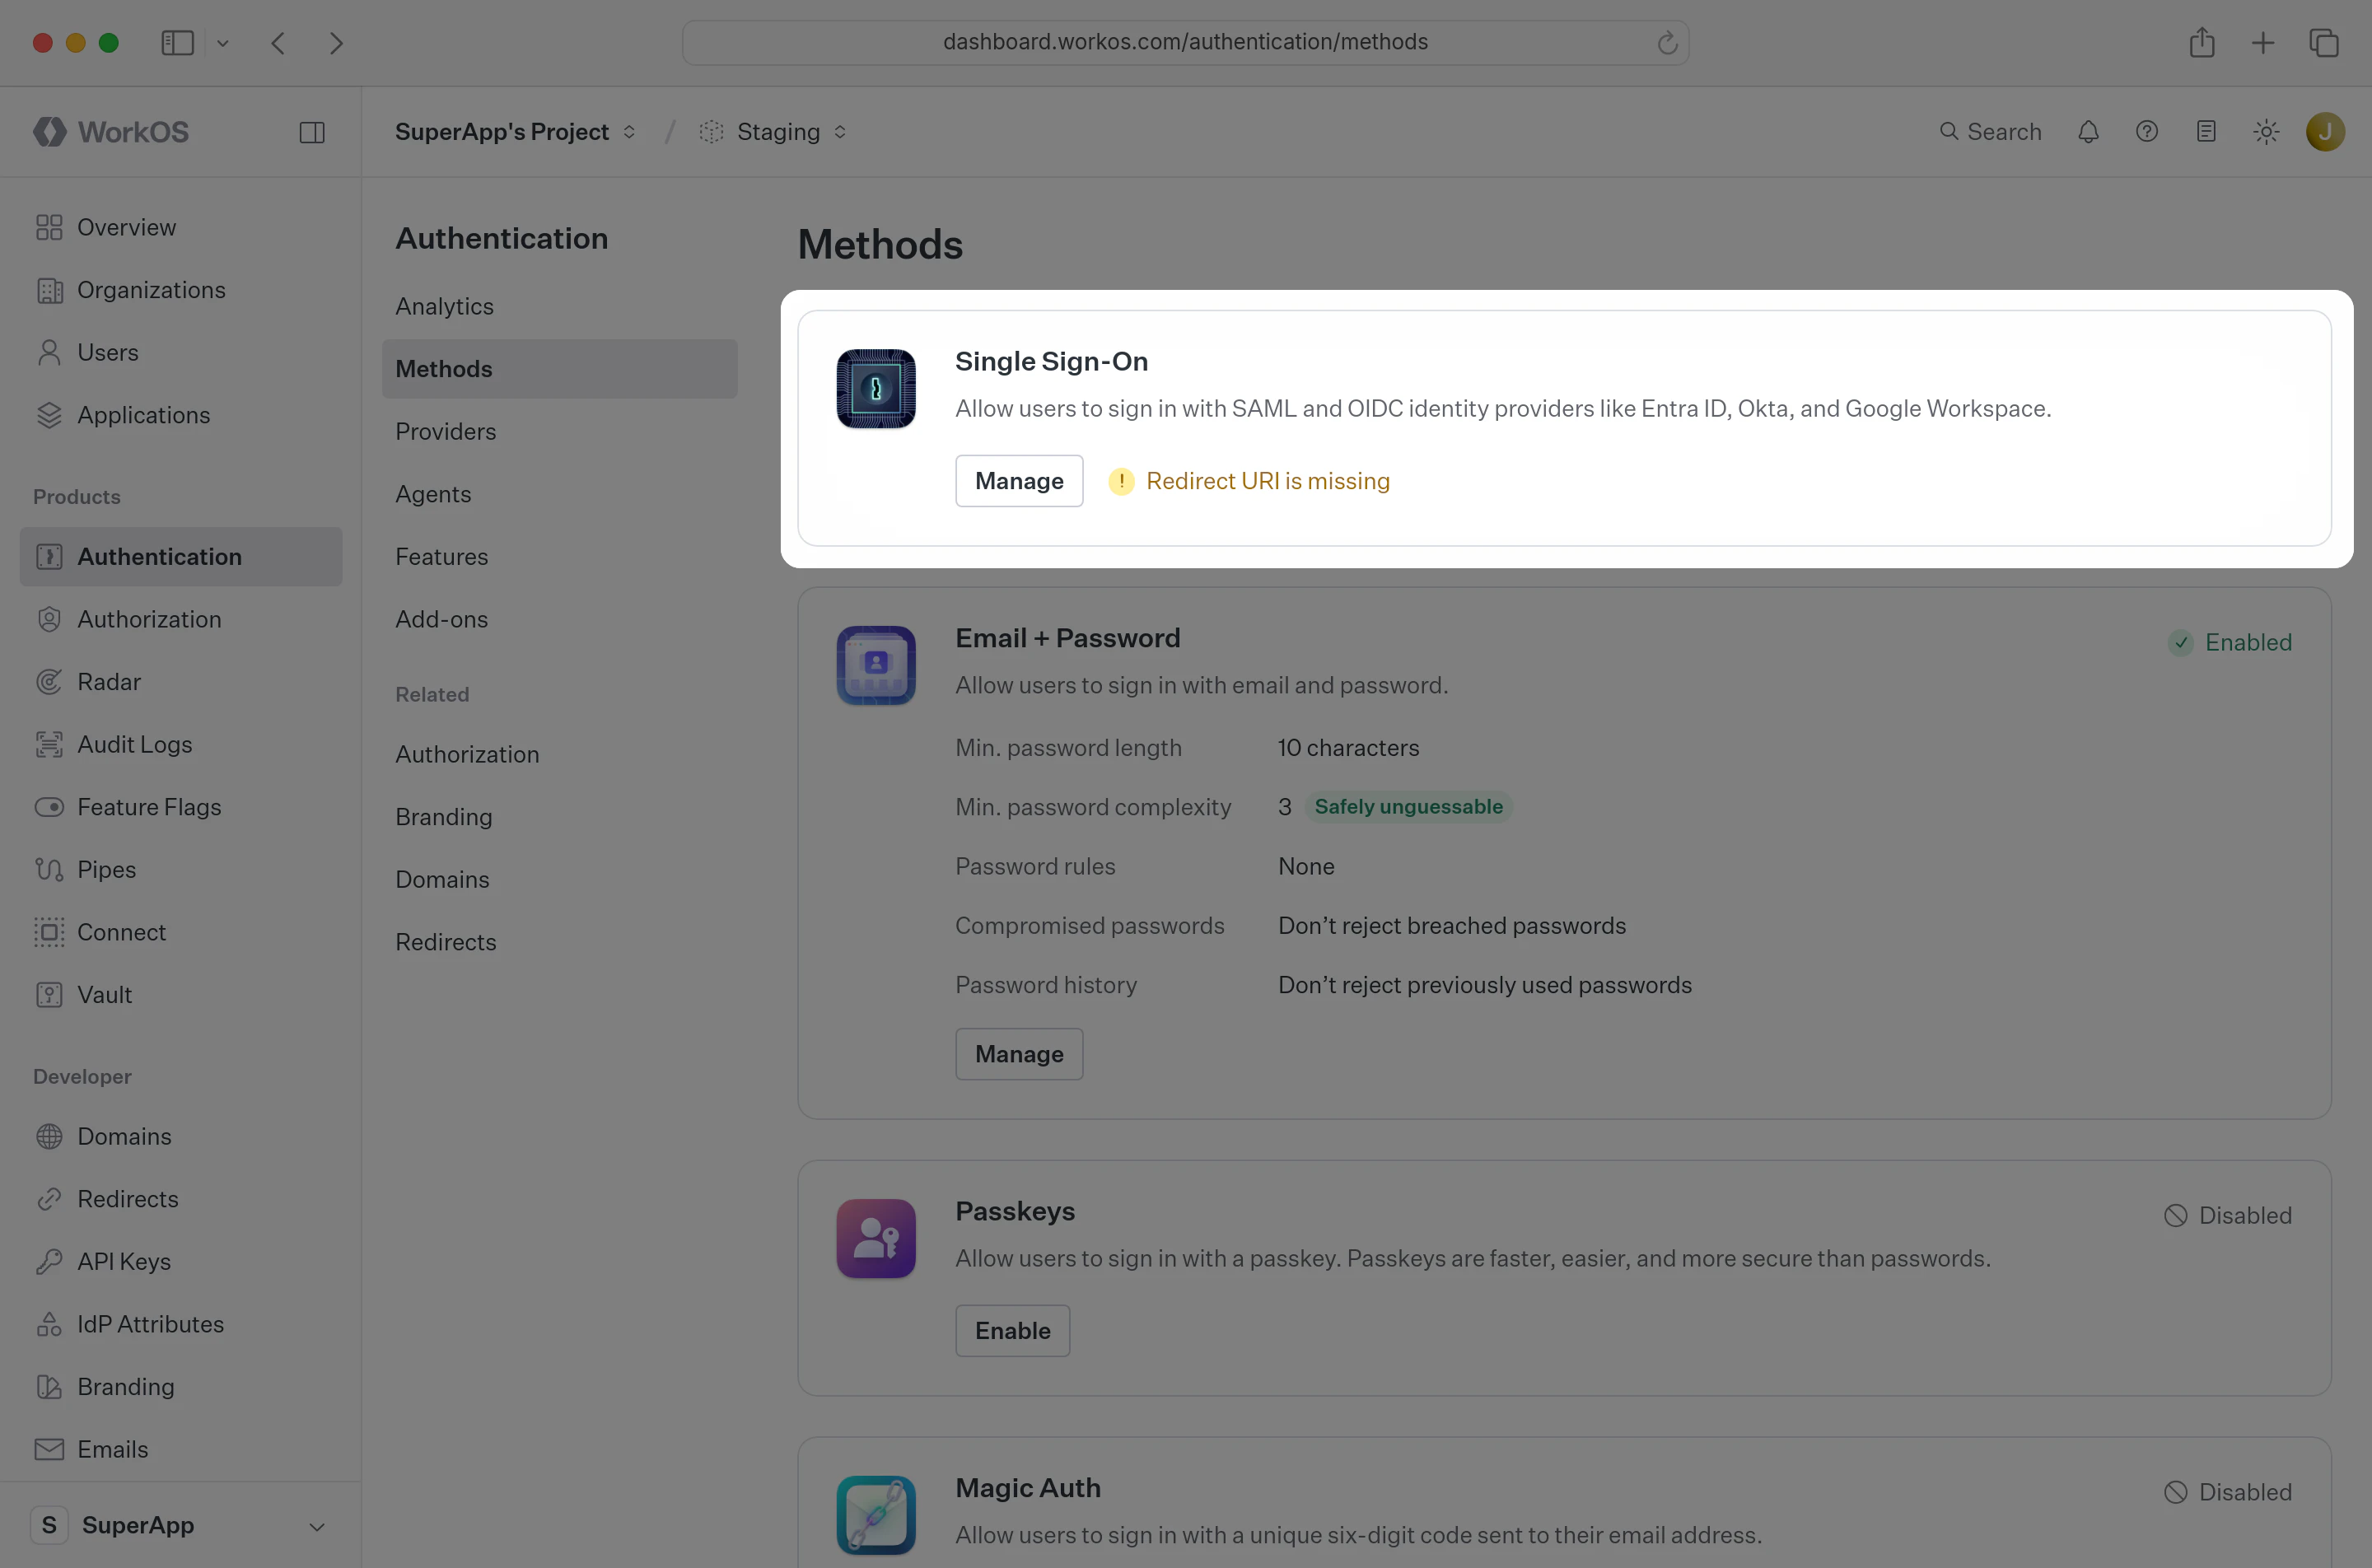
AuthKit will now detect when a user is eligible to sign in with SSO and route them based on the organizations that have verified their email domain:
- If an organization includes the domain in its domain policy, that policy applies. When it requires SSO, the user is redirected directly to that organization’s IdP.
- If the user is already an active member of exactly one of the organizations that verified the domain, that organization’s policy applies. When it requires SSO, the user is redirected directly to its IdP.
- Otherwise, when shared-domain SSO discovery is enabled, AuthKit offers eligible SSO connections on the domain. A single option appears as Continue with SSO without naming the organization. With multiple options, AuthKit asks the user to choose an organization before continuing with SSO.
The same policies apply during sign-up.
An explicit organization or invitation normally scopes authentication to that organization, subject to enforced domain policies. See shared domains for discovery limits, SSO requirements, and invitation routing.
To confirm your Single Sign-On integration works correctly you can use the Test Identity Provider to simulate login flows end-to-end. Your staging environment includes a default Test Organization and active SSO connection configured with the Test Identity Provider.
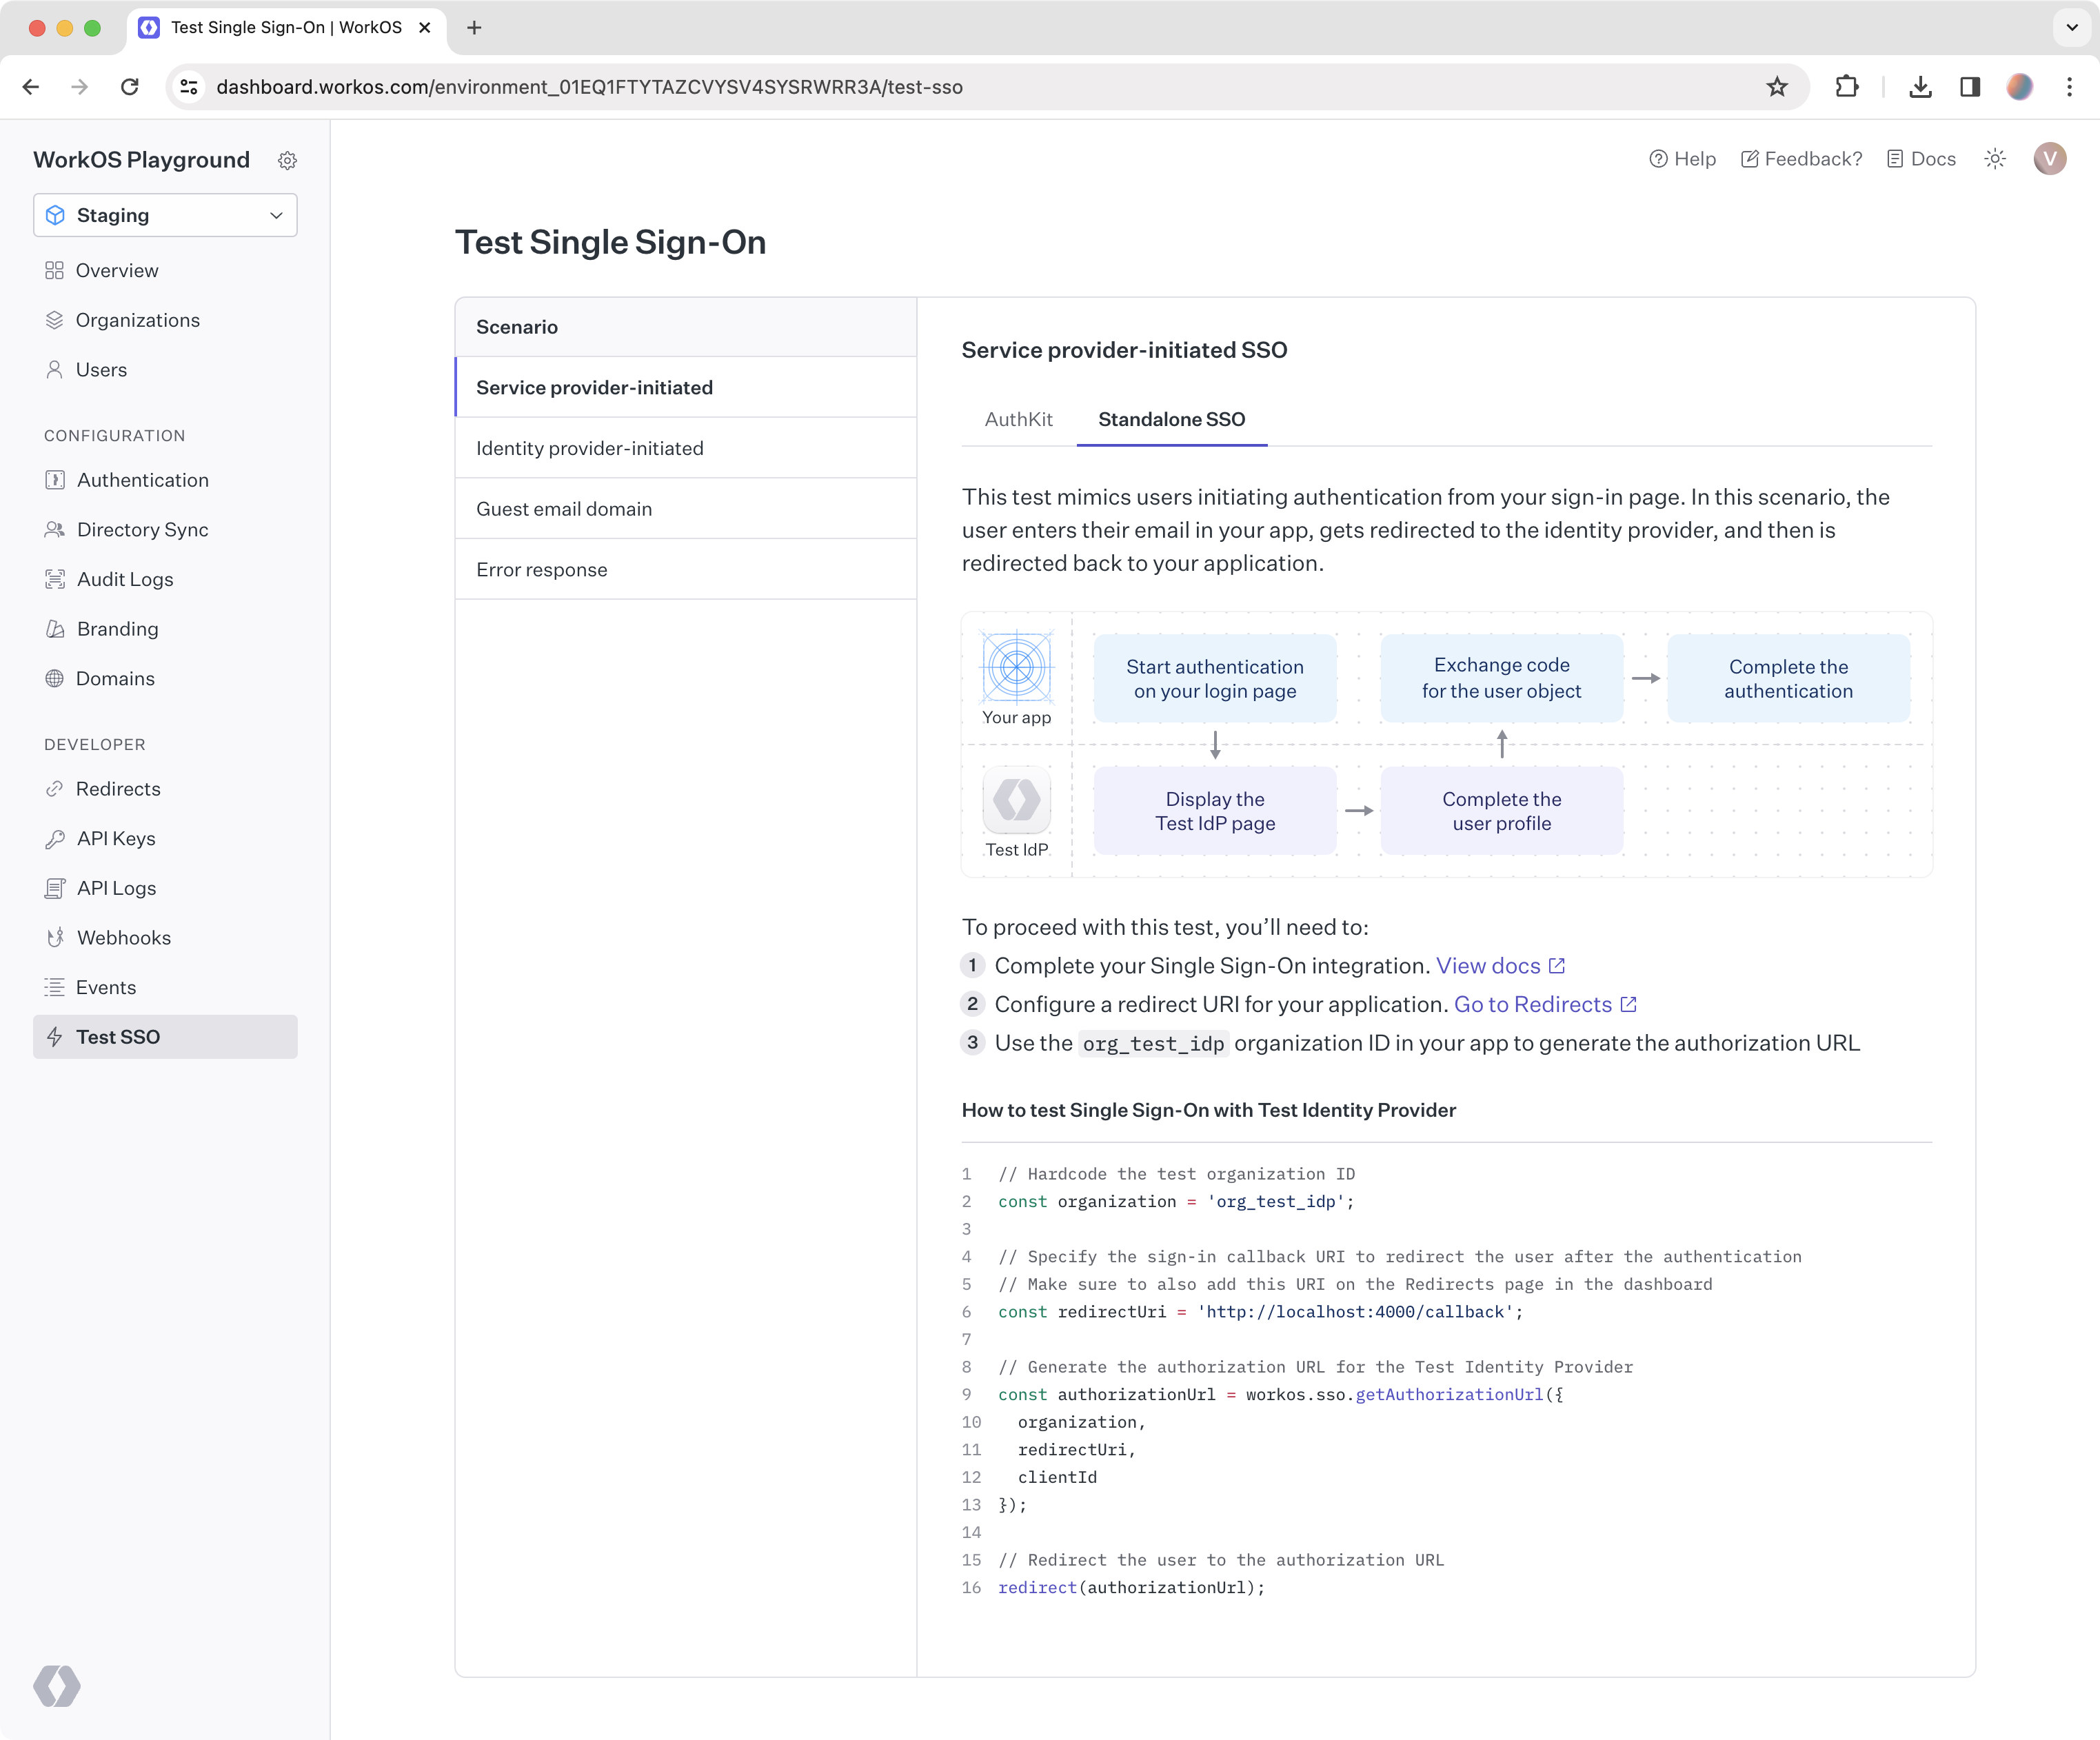
Log into the WorkOS Dashboard and navigate to the Test SSO page to get started with the Test IdP. This page outlines a number of different SSO scenarios you can follow and provides all the necessary information to complete the tests.
This case is likely the first login flow you would test when implementing SSO in your app. The test simulates users initiating authentication from your sign-in page. In this scenario, the user enters their email in your app, gets redirected to the identity provider, and then is redirected back to your application.
This test simulates users initiating authentication from their identity provider. It is a common login flow that developers forget to consider. In the scenario, users log in to the identity provider directly, select your application from their list of SSO-enabled apps, and are redirected to your application upon successful authentication.
This test simulates users authenticating with an email domain different from the verified domain of the test organization, example.com. A relevant scenario is authenticating freelance users, whose email domain is not owned by the company.
This test simulates a generic error response from the user’s identity provider. In this scenario, SSO authentication has failed for the user. Below is an example of the error-related parameters passed to the redirect URI in your application.
Test Identity Provider saves time by providing an out of the box experience compared to the configuration process that someone using a real identity provider would have to go through to enable Single Sign-On for your app.
If your integration works with the Test Identity Provider, you can be sure it will work with other identity providers. However, it may be helpful to also learn about the setup process that your customers will go through on their side, which varies depending on a specific identity provider.
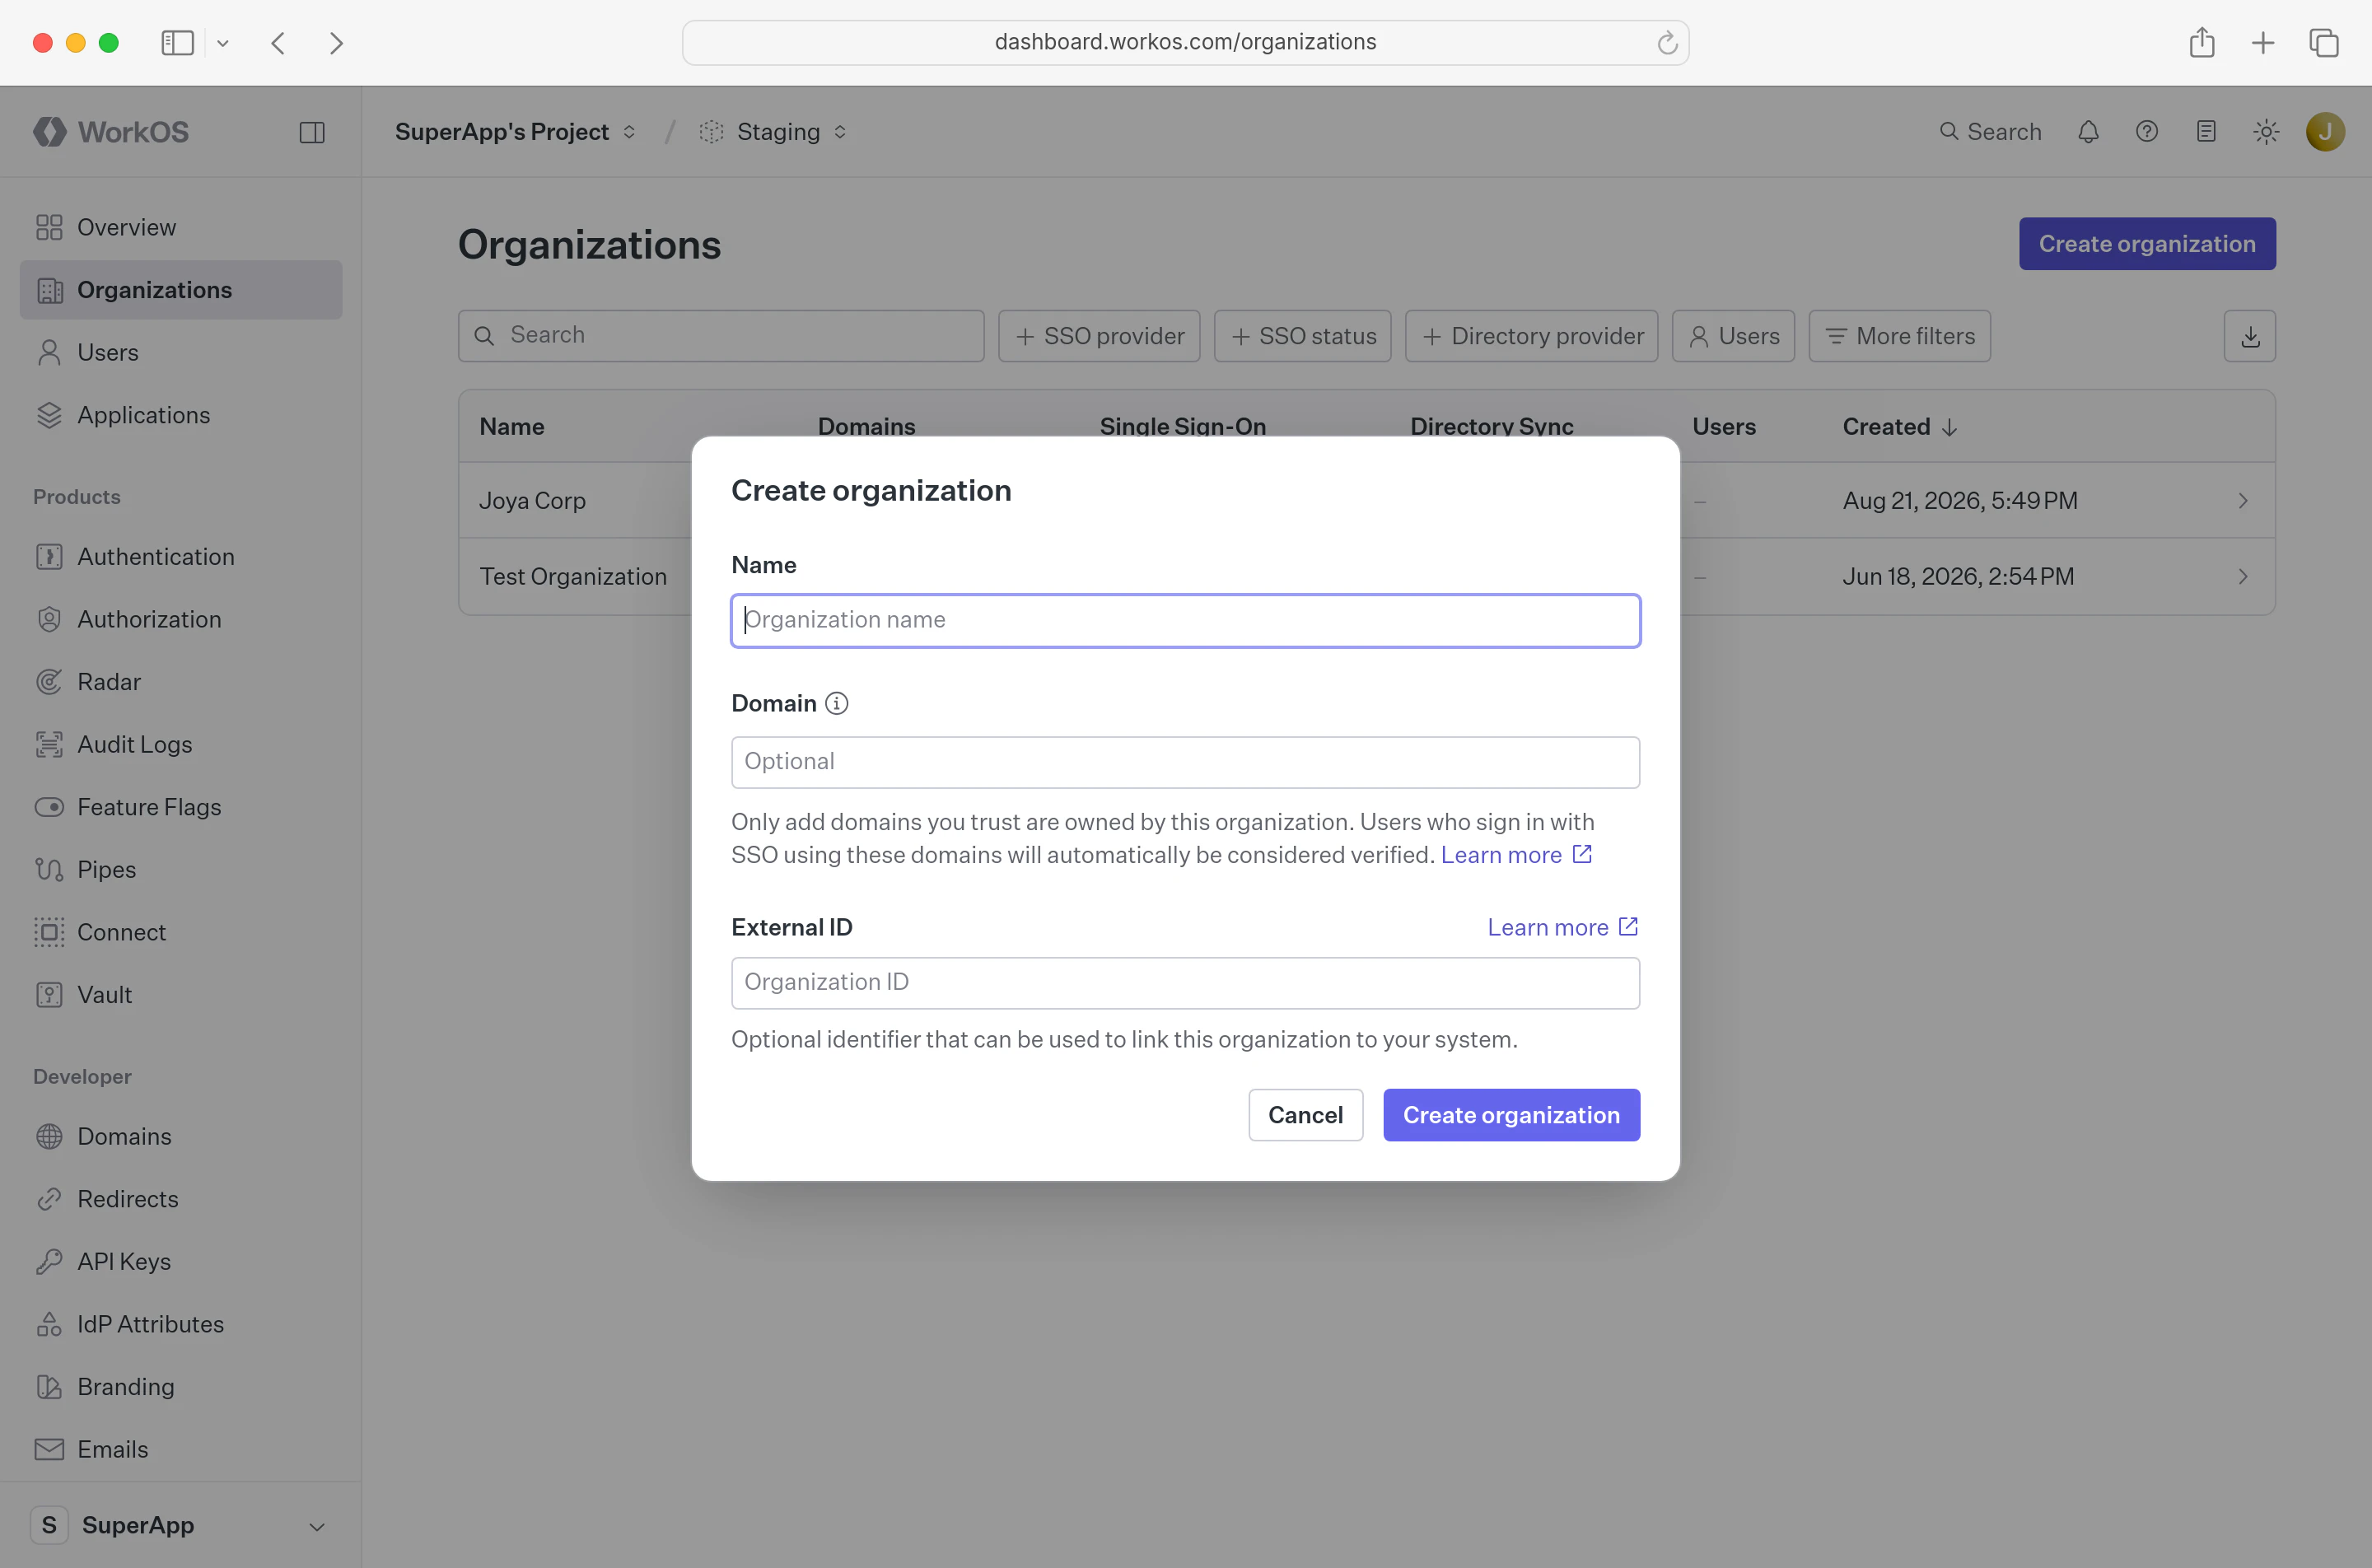
To get started, you will need to create an organization in the WorkOS Dashboard. Organizations in WorkOS represent your customer, so by creating an organization, you can test your SSO connection the way your customers will experience it.
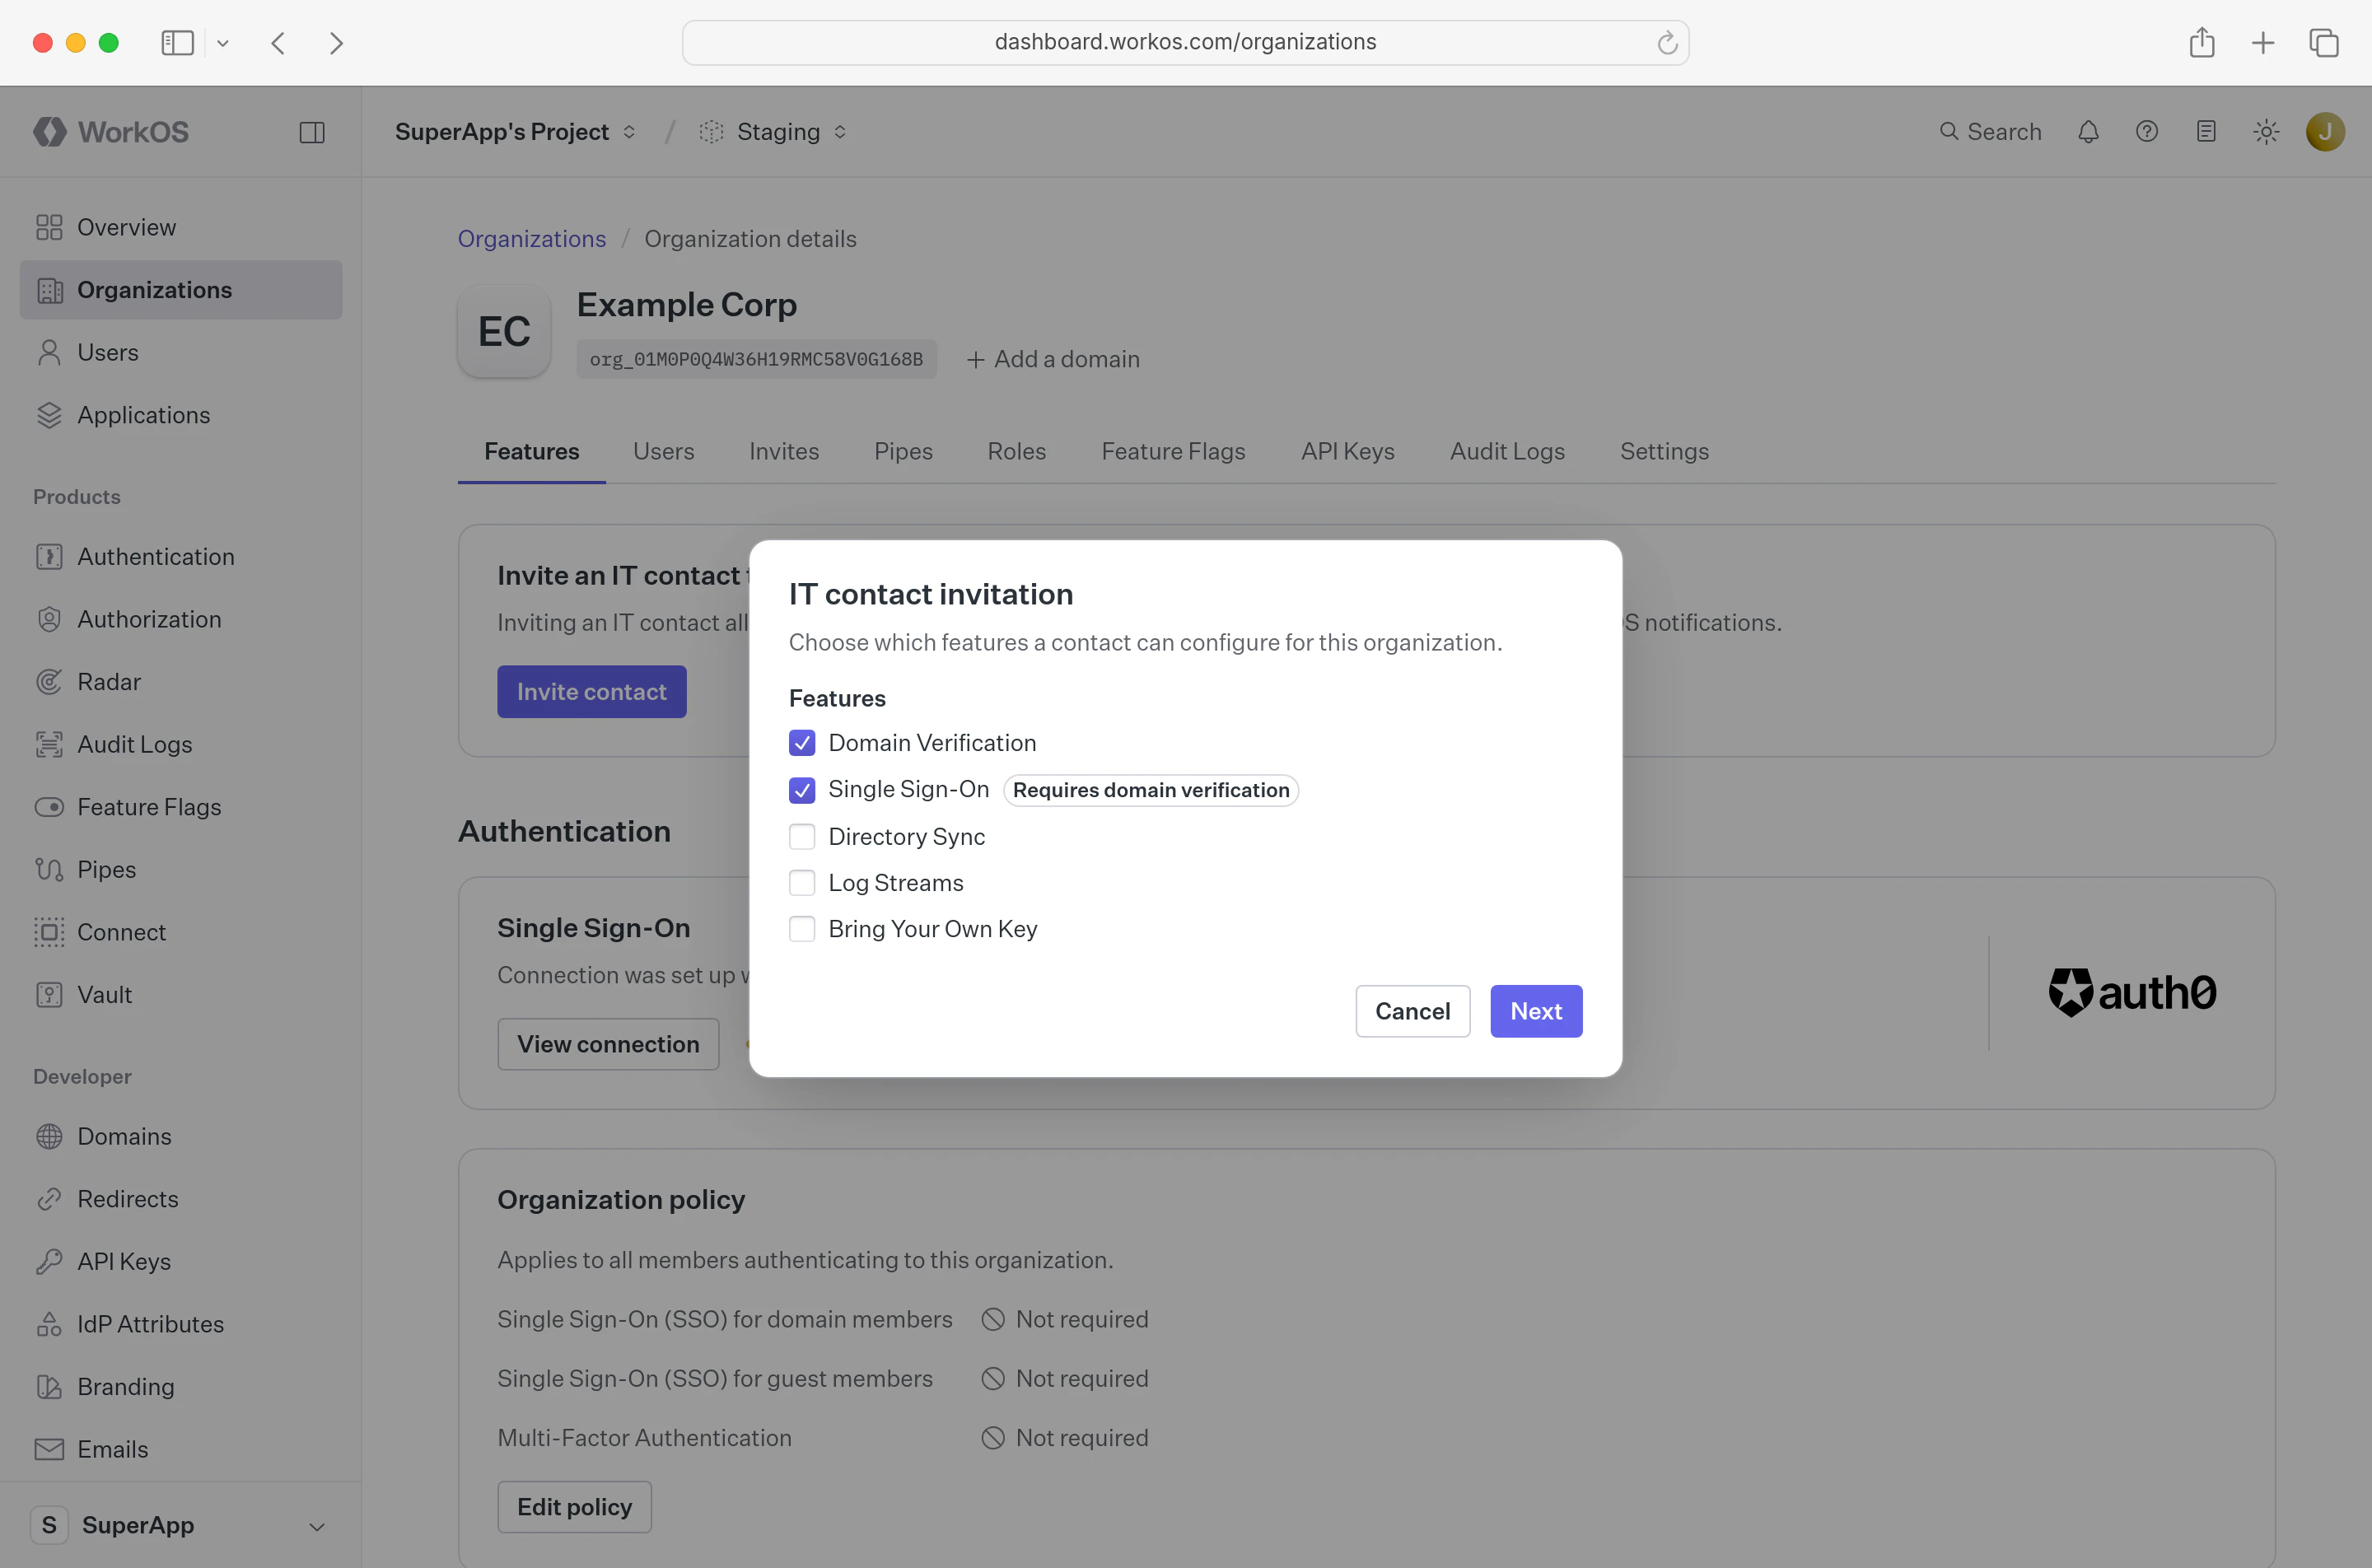
Go to the organization you created and click Invite admin. Select Single Sign-On from the list of features. In the next step, enter an email address to send the setup link to, or click Copy setup link.
The setup link goes to Admin Portal, where your customers get the exact instructions for every step they need to take to enable Single Sign-On with your app.
To complete the integration, you’ll have to also create an account with the identity provider you want to test with. After you have signed up with an identity provider of your choice, follow the corresponding Admin Portal instructions from the setup link. Once done, you can start testing your SSO integration with that identity provider.
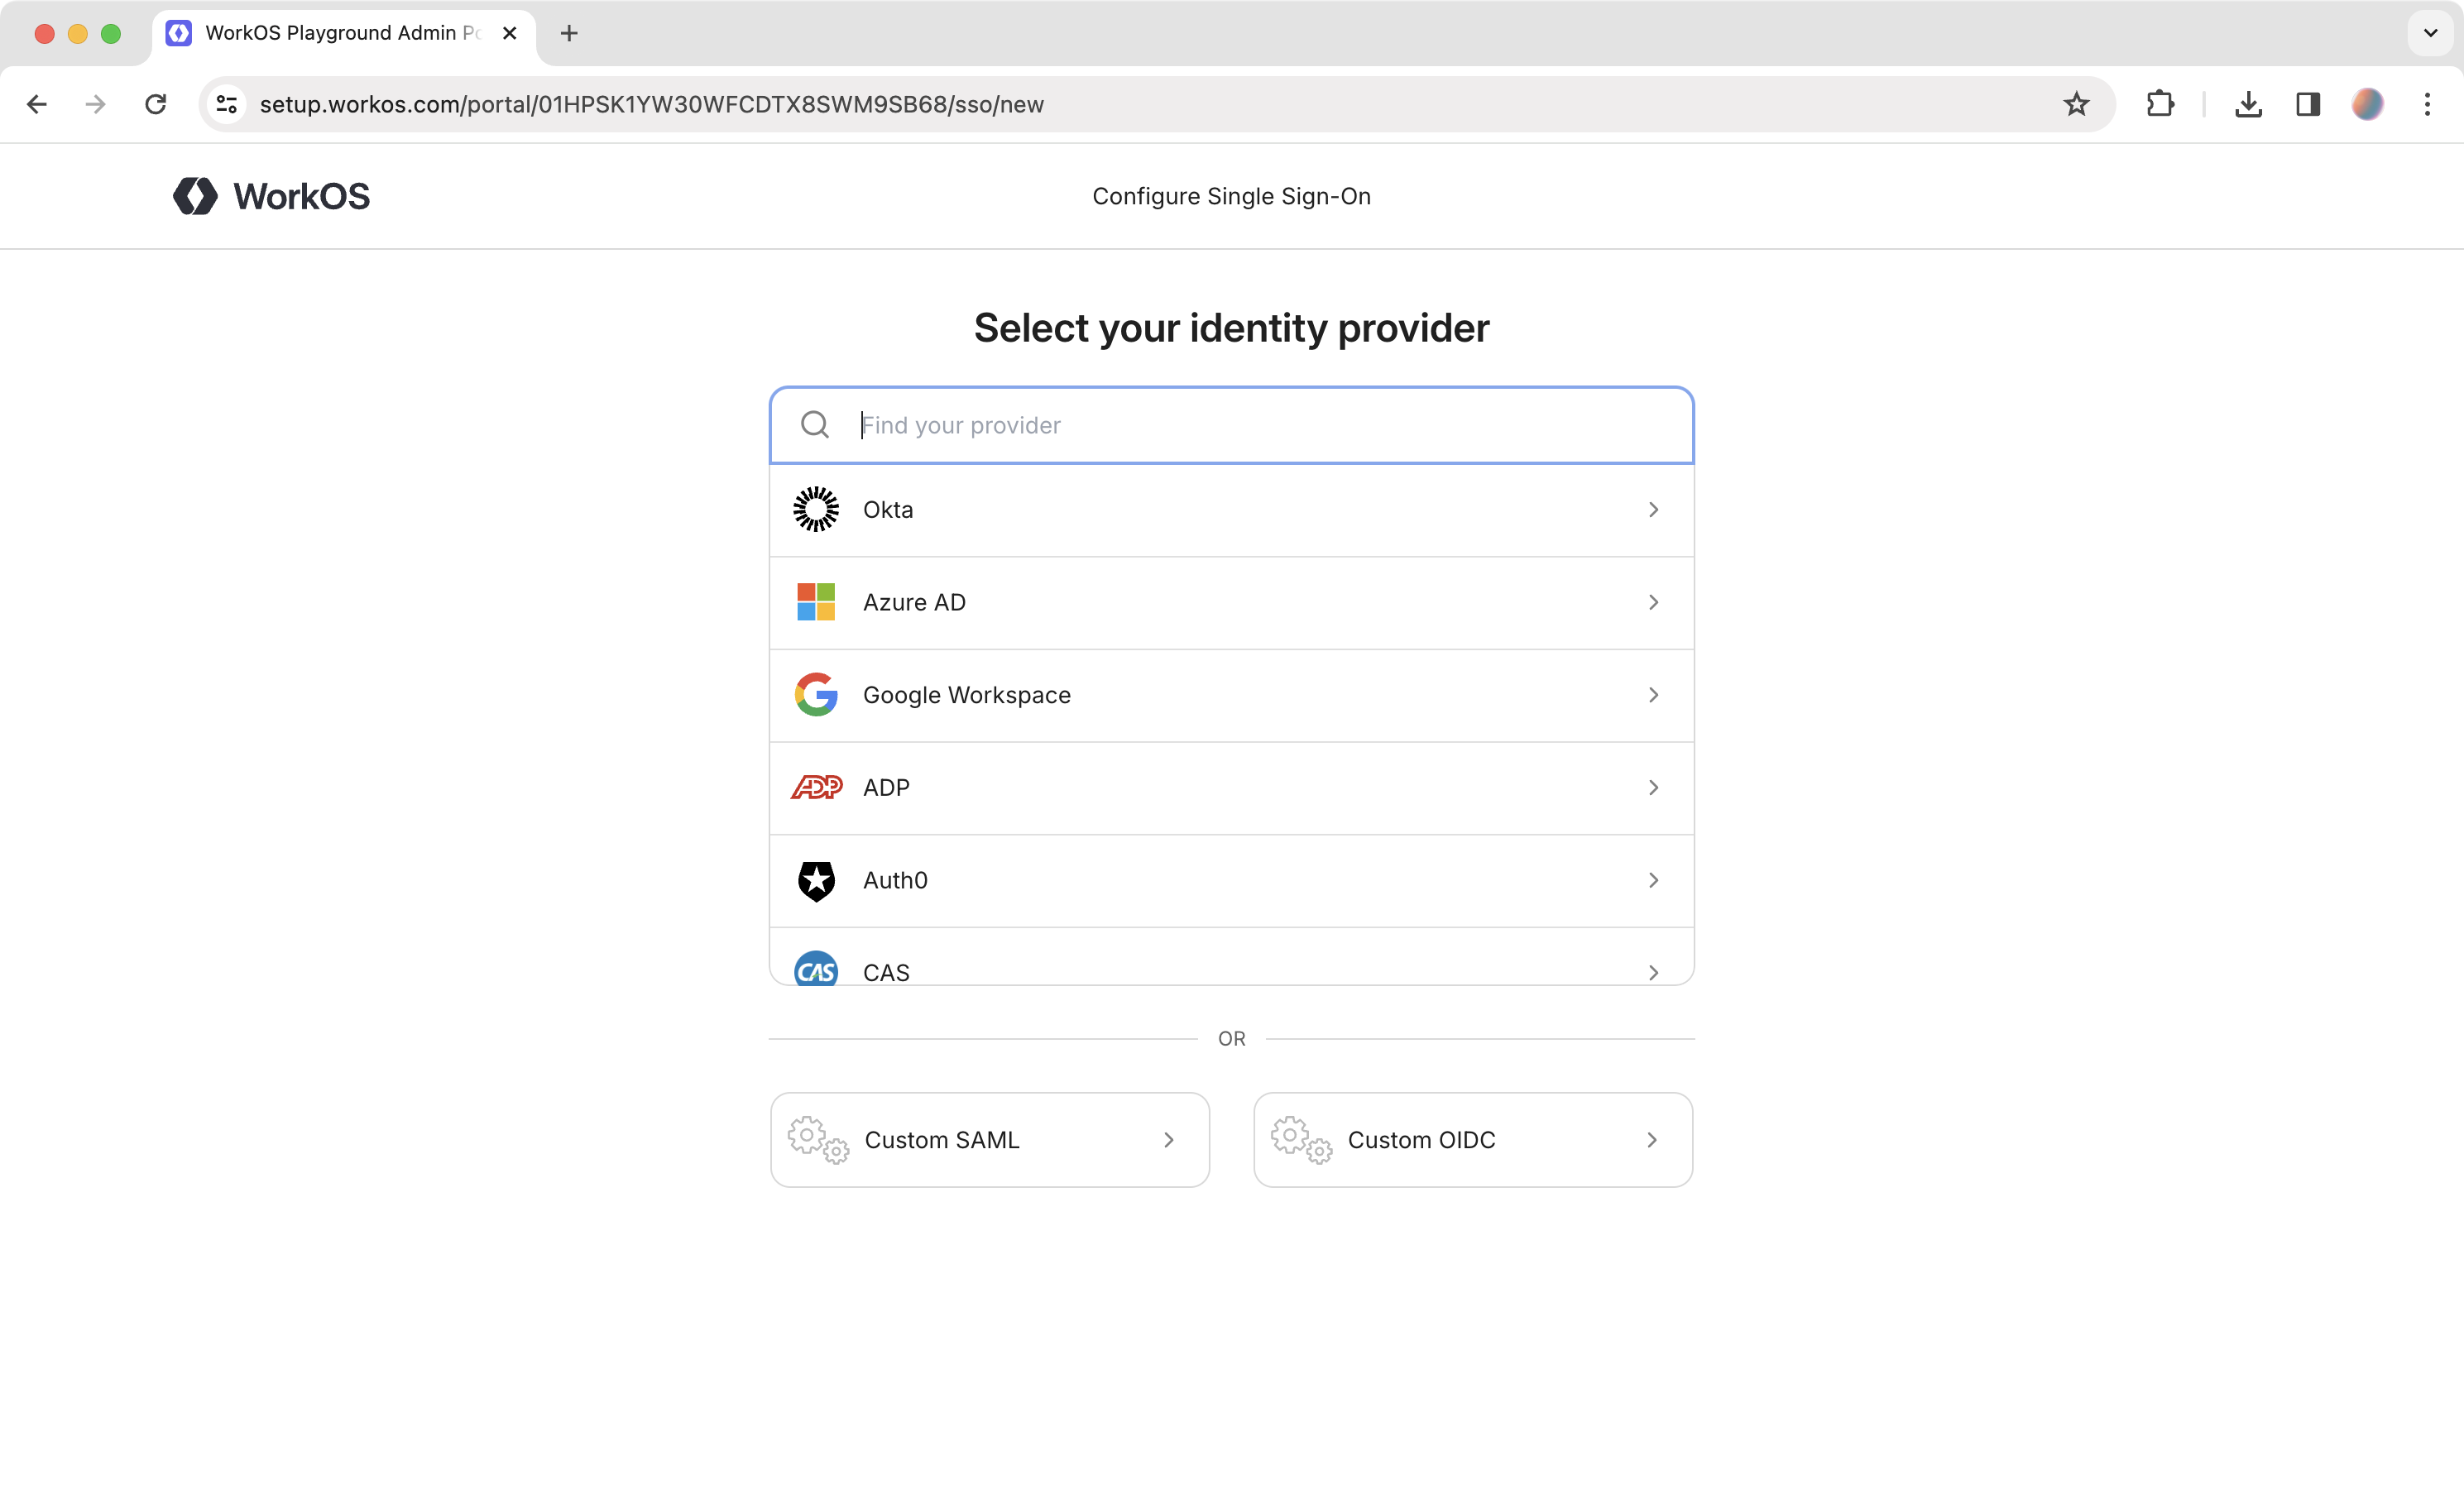
The setup instructions you’ve seen in the Admin Portal are also available directly in the docs if you want to create a connection manually:
If you’d prefer to build and manage your own authentication UI, you can do so via the AuthKit Authentication API.
Examples of building custom UI are also available on GitHub.